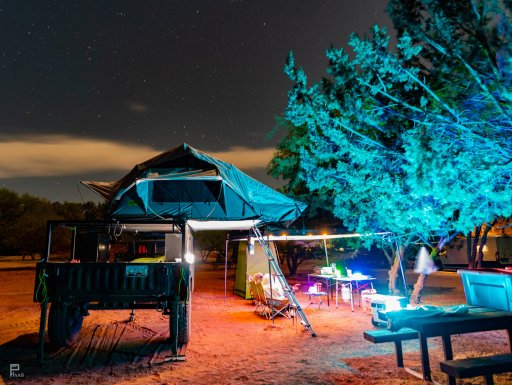
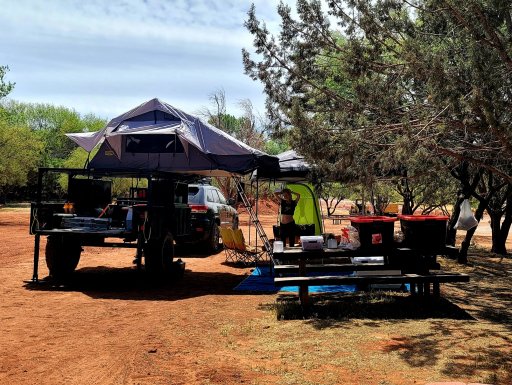
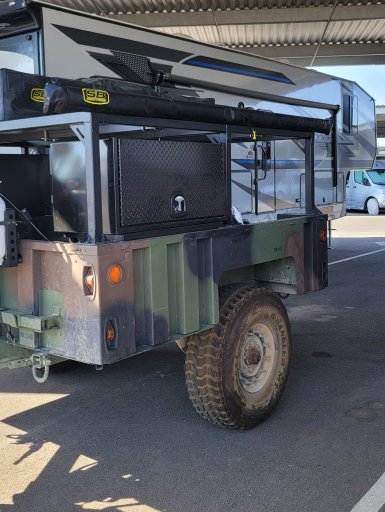
Enthusiast III
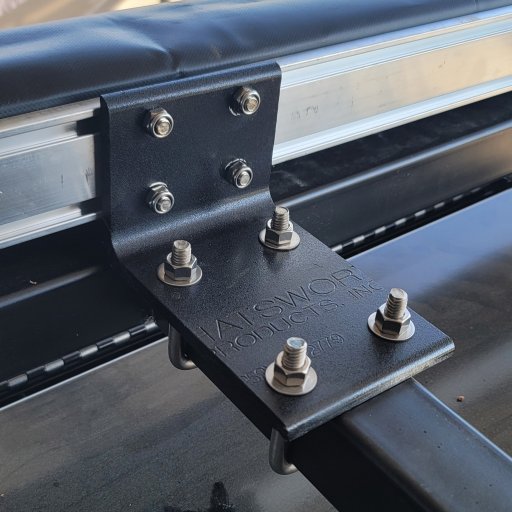
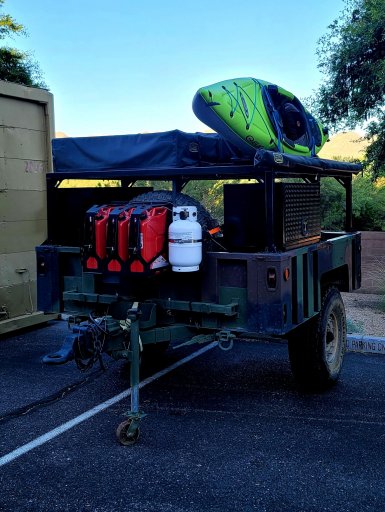
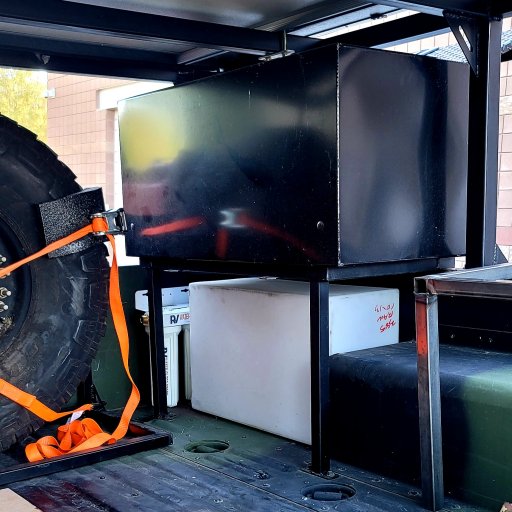
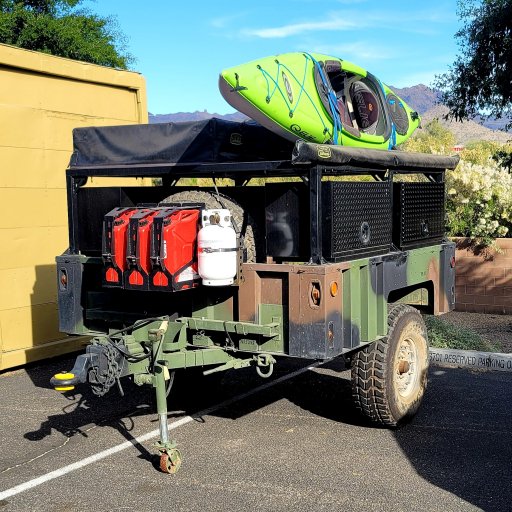
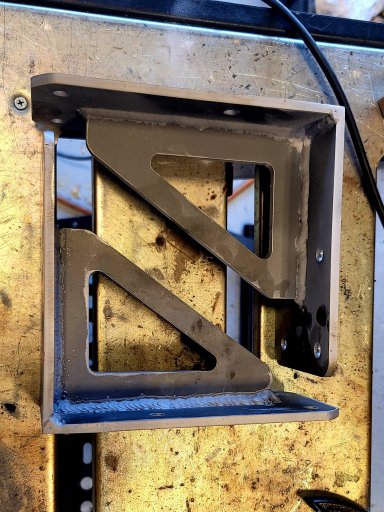
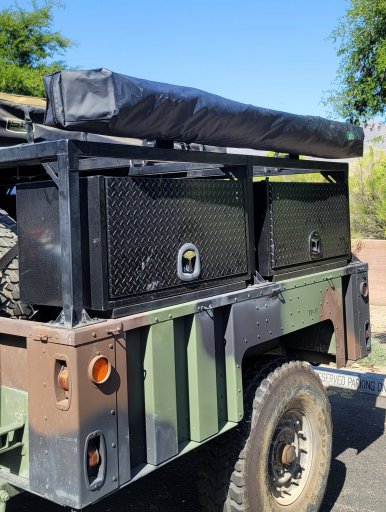
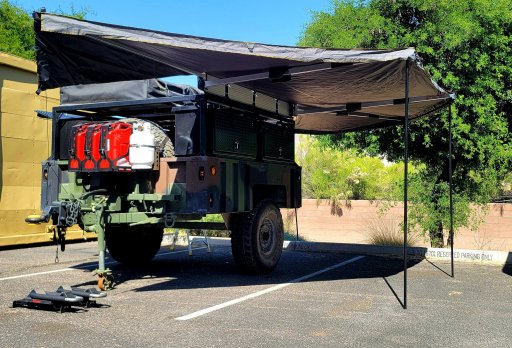
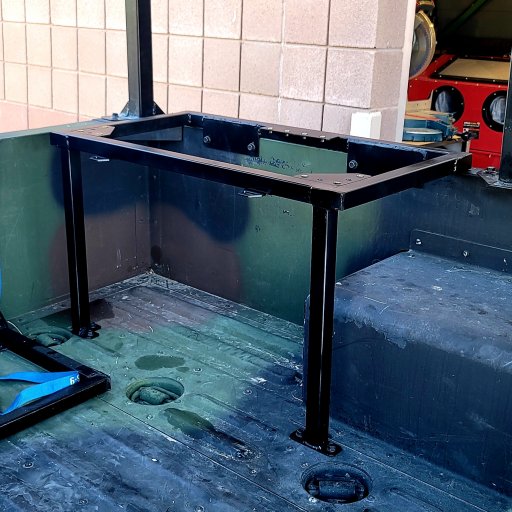
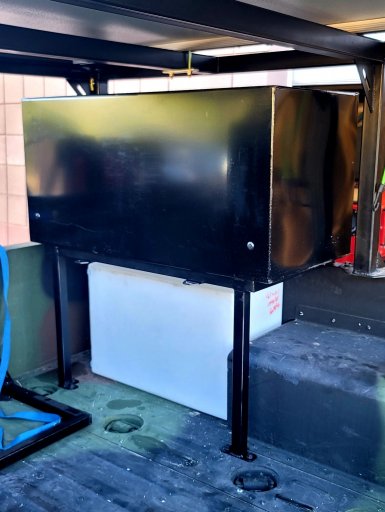
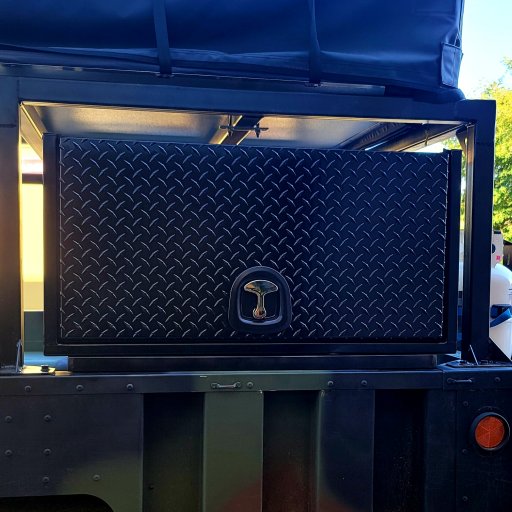
Between my consulting busy season and furiously cleaning the homestead for my families first visit to AZ I haven't had a whole lot of time to work on the trailer. However with the weather warming up I'm itching to get it ready for the road. I was able to mount the first tool box and I'm happy with the design for the support structure. I like how the 16 gallon tank fits, probably could have snuck in a 20 gallon into that spot but having more room for plumbing is the better move.
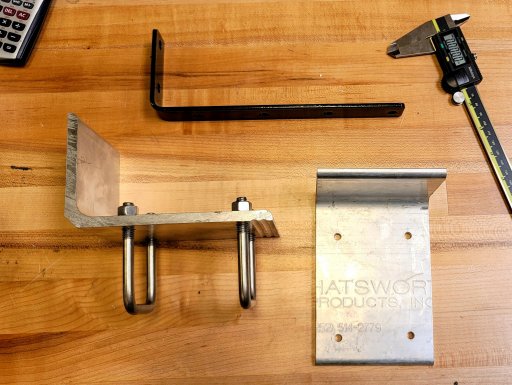
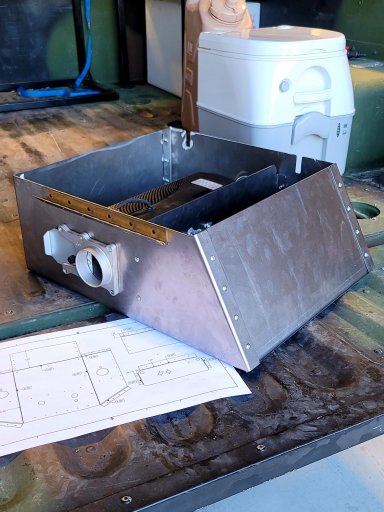
Before installing the second box I decided to work on the diesel heater box to get that out of the way. Happy with how it's coming out so far, still need to bend up the door before I paint it:
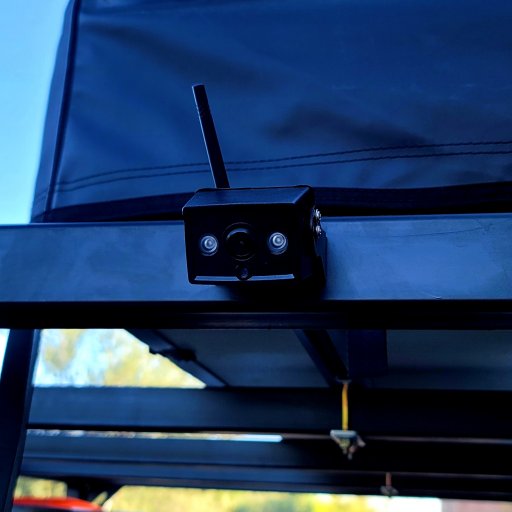
Picked up a wireless backup/rear view camera, I'm hoping the refresh rate is high enough so I can use it as a rear-view camera when in transit. If the refresh is low I'll have to find a better option.
Before installing the second box I decided to work on the diesel heater box to get that out of the way. Happy with how it's coming out so far, still need to bend up the door before I paint it:
Picked up a wireless backup/rear view camera, I'm hoping the refresh rate is high enough so I can use it as a rear-view camera when in transit. If the refresh is low I'll have to find a better option.
Attachments
-
 393.7 KB Views: 41