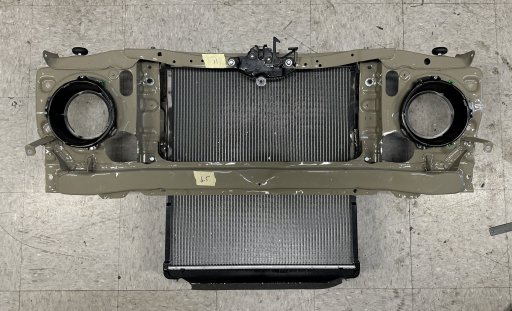
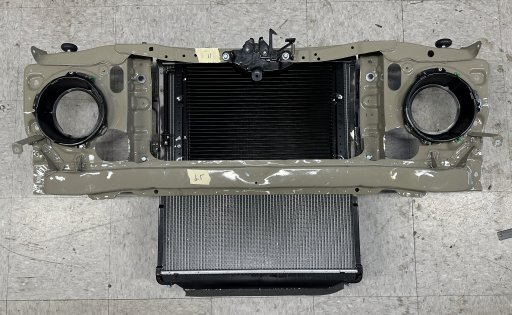
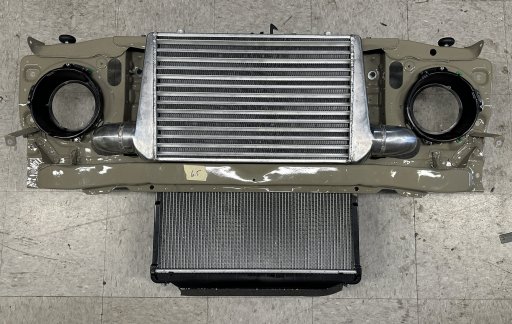
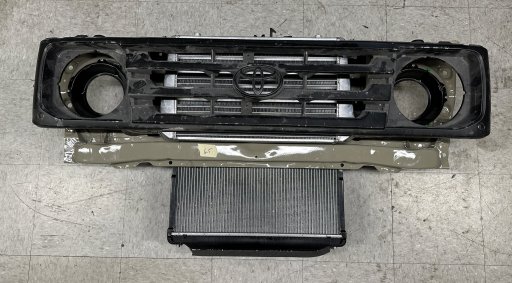
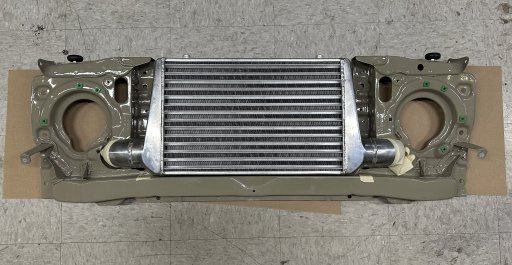
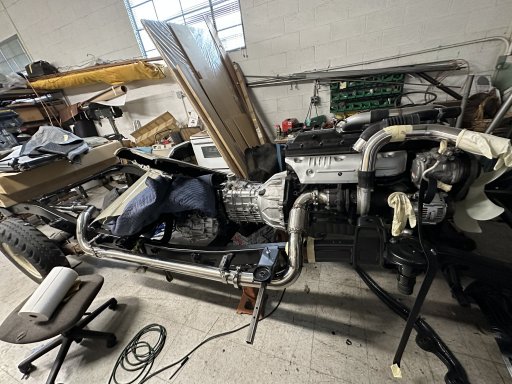
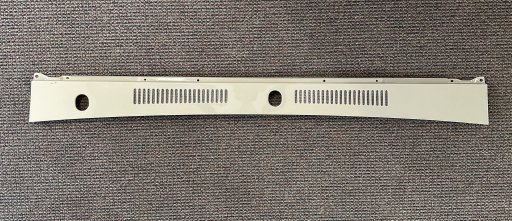
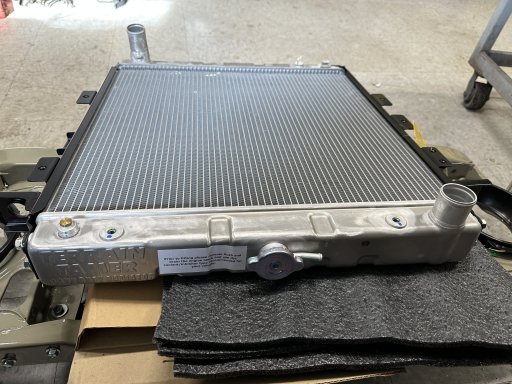
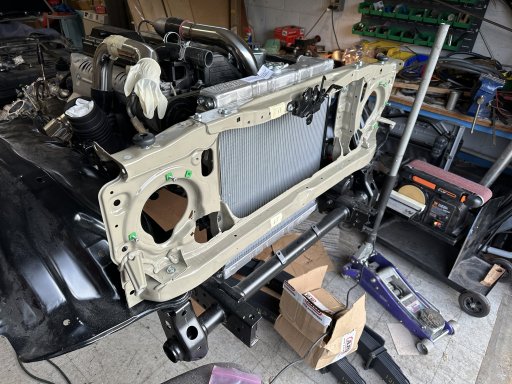
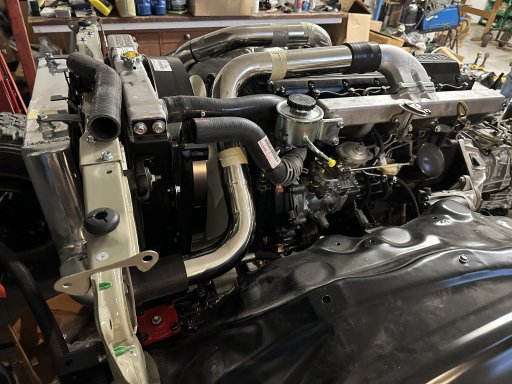
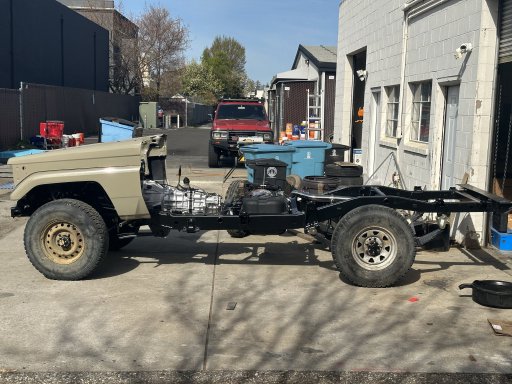
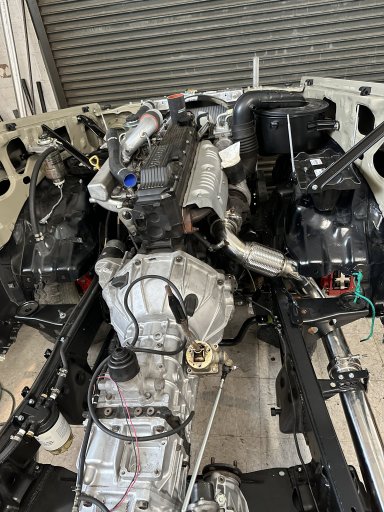
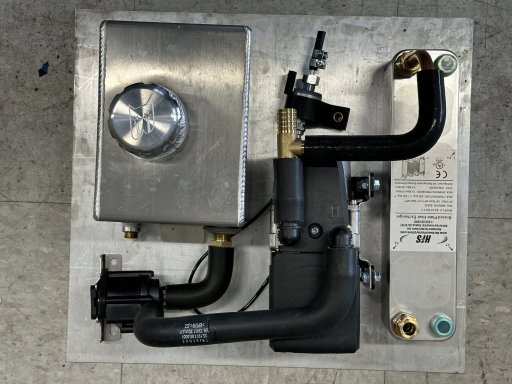
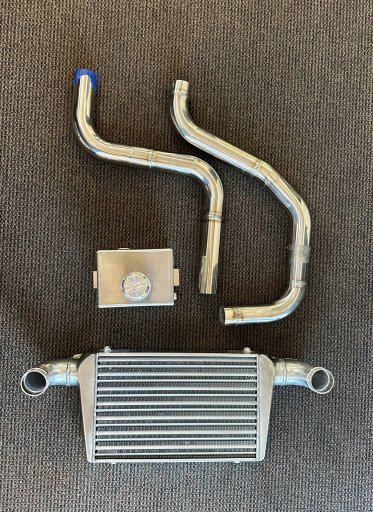
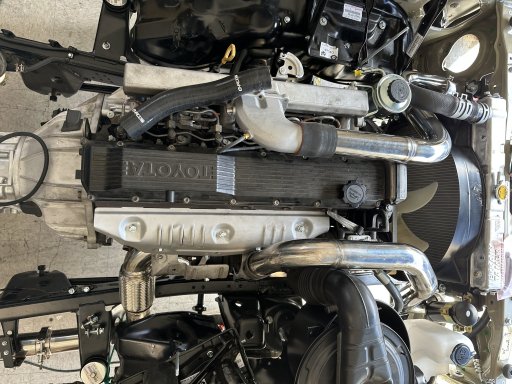
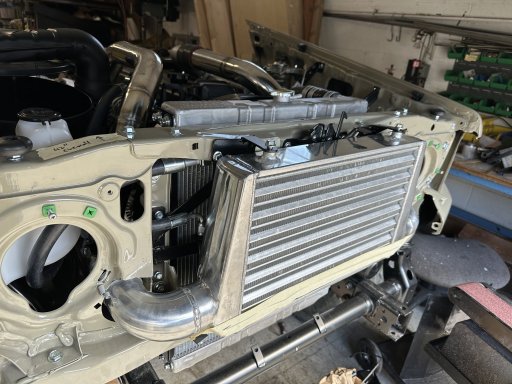
Been working fitting the 3 radiators in place. HVAC. The engine rad is from a 78/79 landcruiser so a bit different and bigger so had to modify the bracket. Have an OEM but have on order a Terrain Tamer from Australia. The AC condenser came with a kit for the troopy that I got from my friend and will need a bracket. Fitting the intercooler will require a custom grill because it needs to be much thinner.
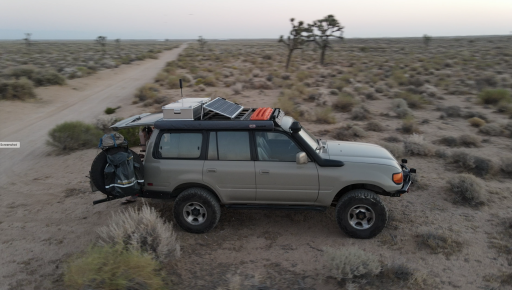
All in all it is an international rig.
Parts and source...
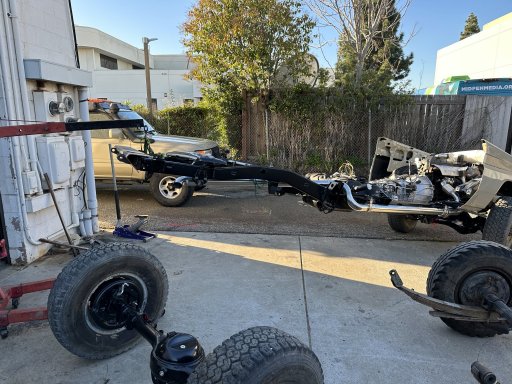
-- HJ75 from Nicaragua
-- 1HDT engine came from JDM
-- H151 transmission came from England
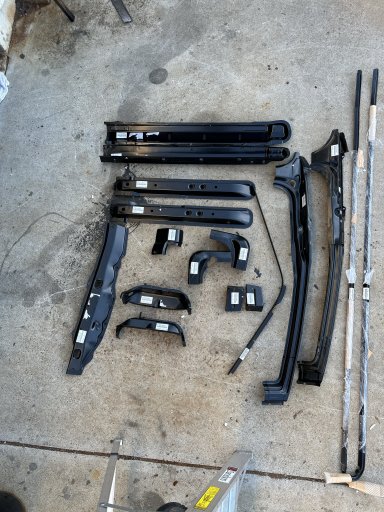
-- rear doors from UAE
-- Driver door from Austin
-- Passenger door from Canada
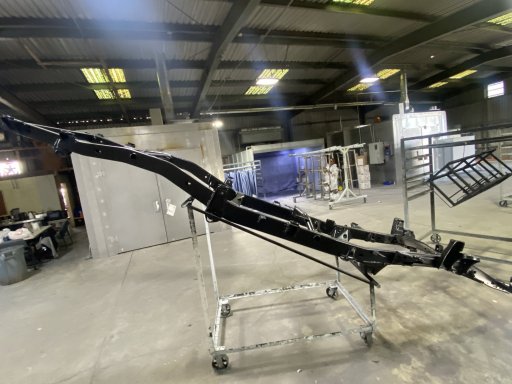
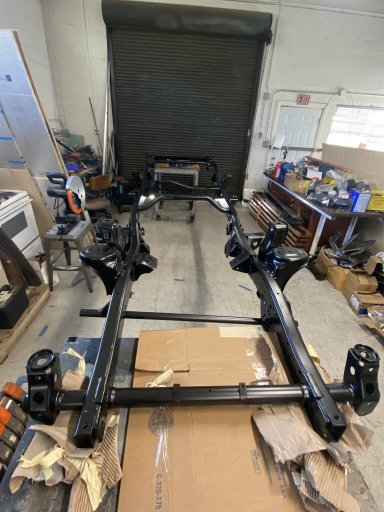
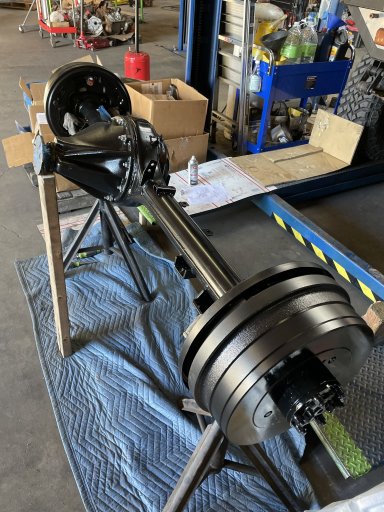
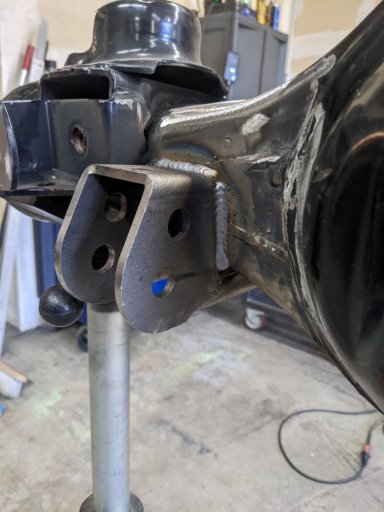
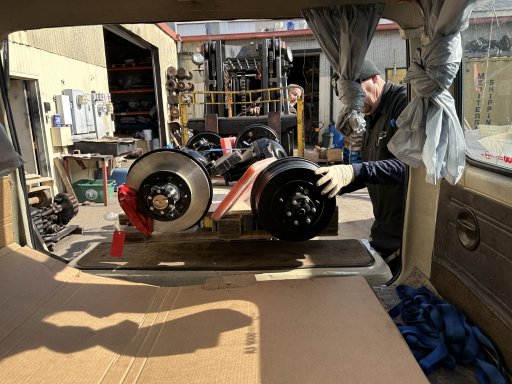
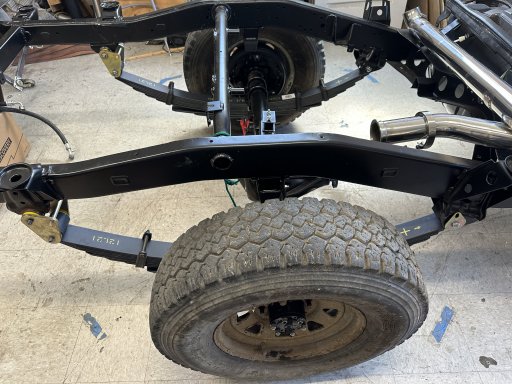
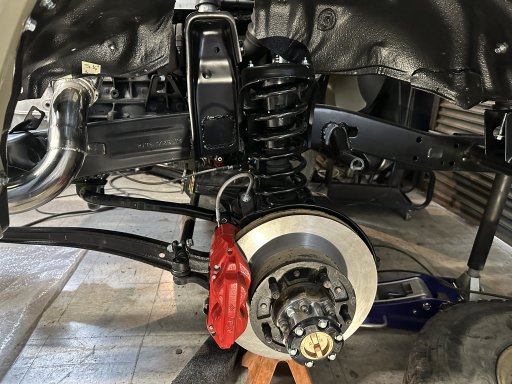
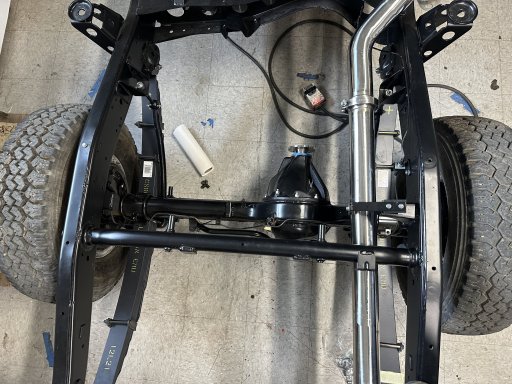
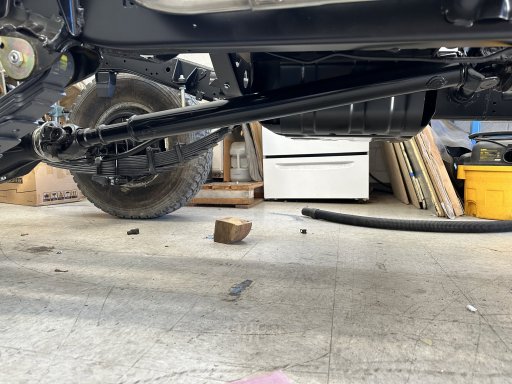
-- front axle (coil suspension) from 79 mine truck
-- rear FF axle from Valley Hybrids and mine truck parts
-- front coil parts/frame brackets from Japan4x4
-- rear fenders from Japan4x4
-- low/high shifter from Venezuela
-- adjustable steering column from TX.
-- seats from a BMW M3
-- complete wire harness from Europe.
-- instrument cluster from Indonesia
-- fender flares from Australia
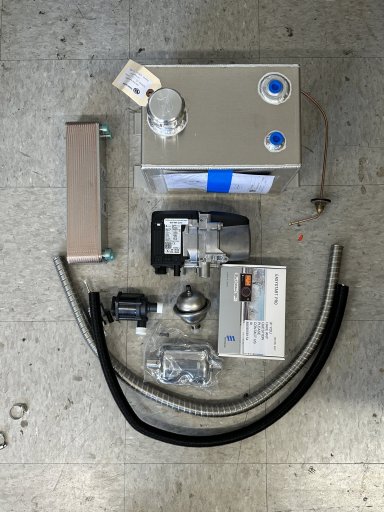
-- AC and all the heater assembly/ducks from TX
-- Cruise control 80 series (servo, computer, etc) from Toy connection
-- speed sensor (both mechanical and electrical) from
@Trail Tailor in Redding.
-- most parts fabricated and sourced from Amazon, etc.
So now brackets…