1988 HJ75 Landcruiser Troopy build

  • HTML tutorial

Ob1

Rank VI
Launch Member

Influencer I

3,057
Palo Alto, CA, USA
First Name
Ofer
Last Name
Bruhis
Member #

17919

Ham/GMRS Callsign
KD6UKE
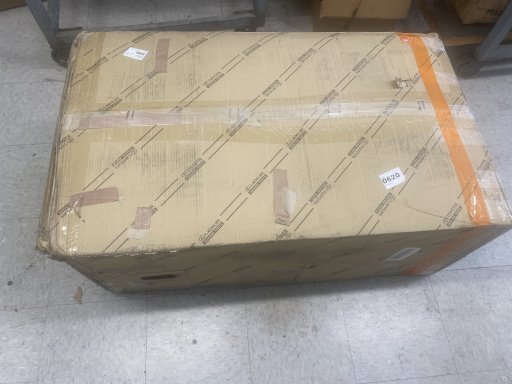
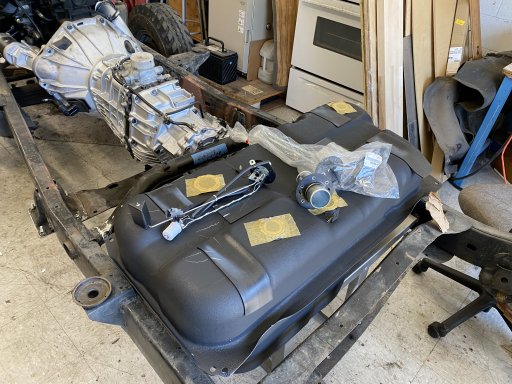
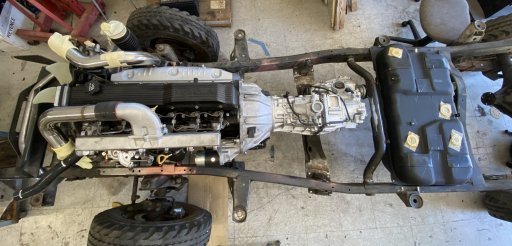
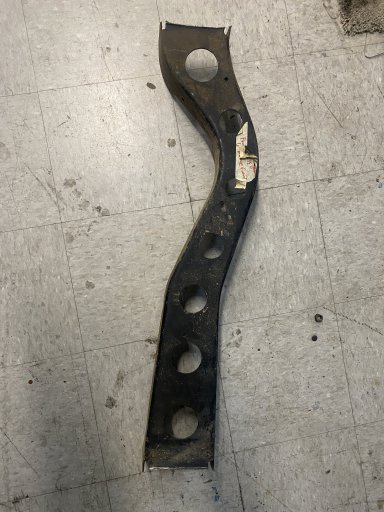
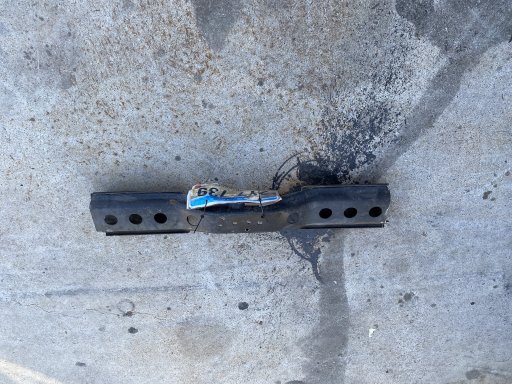
Finally fuel tank arrived from cruiserparts. Have to admit I was skeptical getting this, but they sure delivered and I am thankful. I need a few more fittings, but will start working on the fuel system while waiting for the "rolling frame of the 79". The 78/79 tank is a bit shorter (front to back) then the 75 but does not have the slot for the exhaust on the driver side, so my guess they are the same capacity. I rotated the round tube crossmember backwards to allow space for the TC, and did not have to move the cross member behind the fuel tank. I'll use these both the connect the tank support straps.

IMG_8290.JPGIMG_8292.JPGIMG_8294.JPG
 

Ob1

Rank VI
Launch Member

Influencer I

3,057
Palo Alto, CA, USA
First Name
Ofer
Last Name
Bruhis
Member #

17919

Ham/GMRS Callsign
KD6UKE
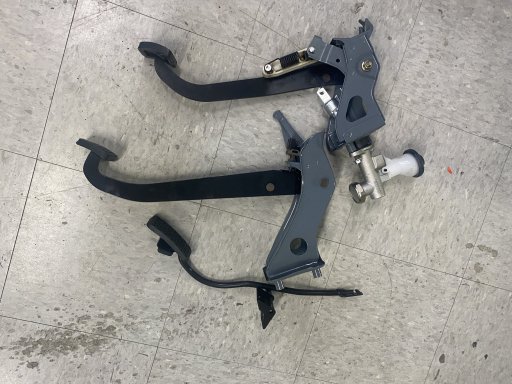
Got a few parts from the paint shop. They were bead blasted and powder coated in the oven BK208 black and RAL7011 gray. Most of the gray parts are under the dash and some were never painted. Probably install an 80 series clutch that has the spring assist. It works similar to a booster.
IMG_8209.JPG
IMG_8299.JPG
 

Ob1

Rank VI
Launch Member

Influencer I

3,057
Palo Alto, CA, USA
First Name
Ofer
Last Name
Bruhis
Member #

17919

Ham/GMRS Callsign
KD6UKE
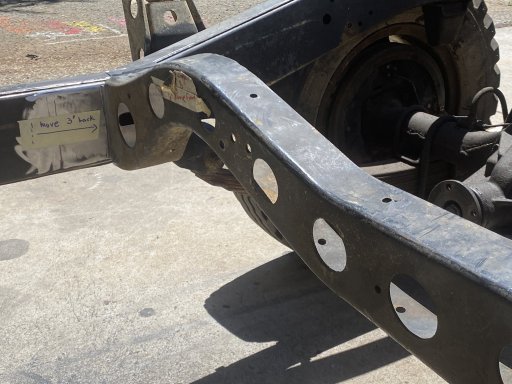
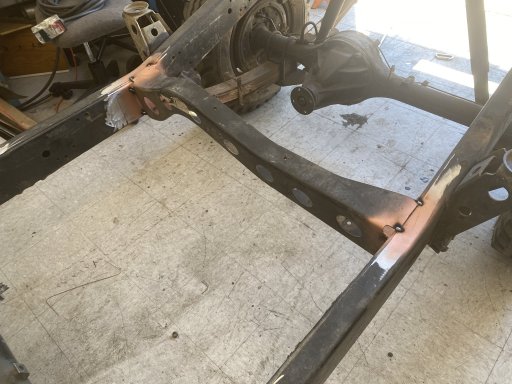
Was concerned about the rear driveshaft hitting the bottom of the tank at full axle deflection so decided to move the cross member 3" back. Did not take long and for now it is just tack welded.

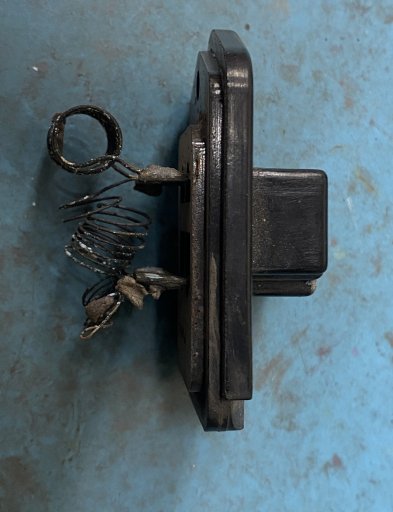
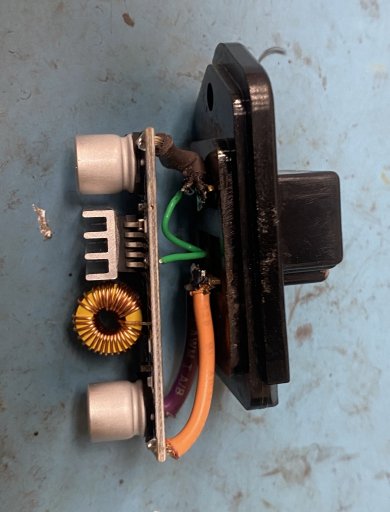
Also the 3 resistors that control the 3 speeds of the fan/blower were broken and rusted. I decided to buy a 5A DC/DC on Amazon for $3 and modify it so it works with an external 10K pot with a switch. It provides variable speed control and a solid state device. The OEM connector with the resistors is nearly $100 and burns every 10 years. The 4 pins on the connector are exactly the number needed for this application.

IMG_8341.JPGIMG_8343.JPGIMG_8345.JPGIMG_8318.JPGIMG_8319.JPG
 
Last edited:

Ob1

Rank VI
Launch Member

Influencer I

3,057
Palo Alto, CA, USA
First Name
Ofer
Last Name
Bruhis
Member #

17919

Ham/GMRS Callsign
KD6UKE
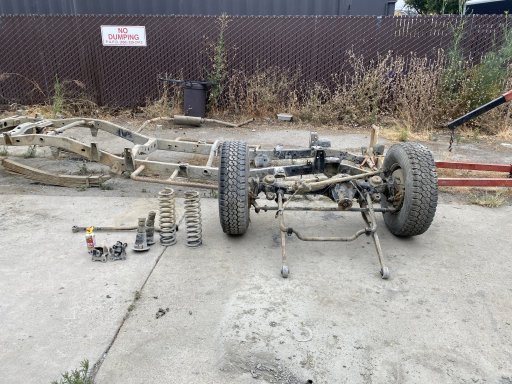
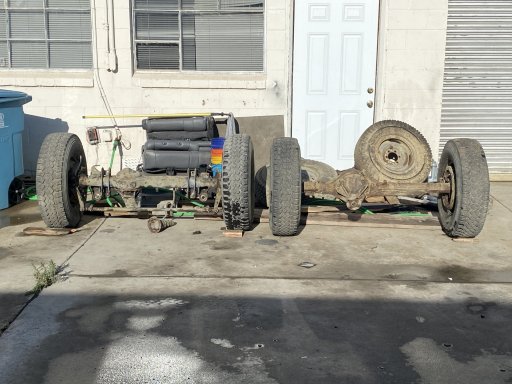
Got a doner 79 series landcruiser rolling frame. I’ll use the axles from it. The front has coil spring to replace my leaf springs. The rear is a bolt on but it is a full floating axle. Axles are going to Valley Hybrids in Stockton, CA for a full rebuild.

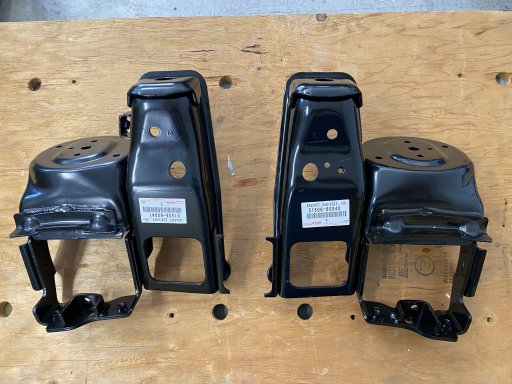
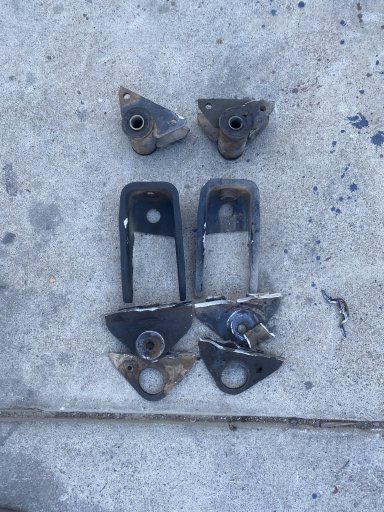
I’ve ordered all OEM Toyota brackets that weld on the frame for the coil conversion.
F41F7D12-6B32-4372-8D5C-A05A713C4558.jpeg899C10F7-89D8-4633-A289-68EC99136546.jpeg0109C1DC-4C26-4337-8522-C6878ED7CF05.jpeg298C595E-8CB8-4685-9D34-5991BB8585FA.jpegF7A147C1-B6A9-4040-9737-7F3DB4DFF9B6.jpeg
 

Ob1

Rank VI
Launch Member

Influencer I

3,057
Palo Alto, CA, USA
First Name
Ofer
Last Name
Bruhis
Member #

17919

Ham/GMRS Callsign
KD6UKE
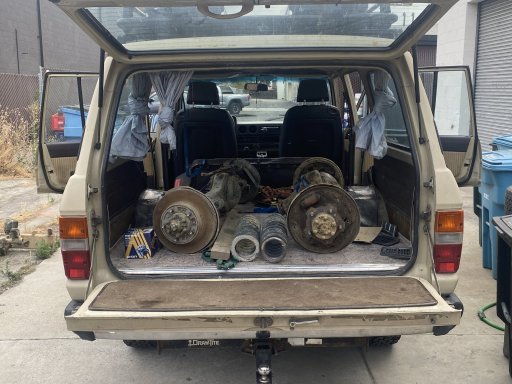
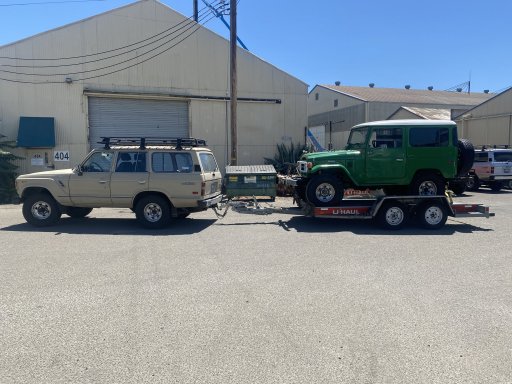
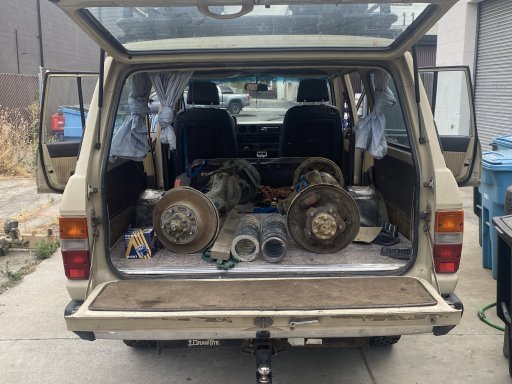
Dropped the axles with my good friend Georg. I consider his shop Valley Hybrids in Stockton, the holiest site in the central valley, CA for diesel Landcruiser. The axles did fit in the back of our diesel 60 and since on Friday I'm towing my son's 1978 FJ40 to Oregon, we rented a trailed and I brought back Kermit after replacing the diffs with 3.73. The 1HDT has way too much torque, so we figured we could use better gearing. I could not strap the front tires because the strap was meant for a Yaris, so I took the air out of the front tires. Made it home safely.

Also got most parts to assemble the painted pedals. They do look better then new with that powder coating. All new bushings and pads.
07AA68EF-35CB-4051-9379-67FD0DAFEA2D.jpeg
F90B5085-E942-4F0E-82B4-554DEEC5652C.jpeg12B47BEA-8F85-4F7B-915E-EA46FCE1D52B.jpeg
 

Ob1

Rank VI
Launch Member

Influencer I

3,057
Palo Alto, CA, USA
First Name
Ofer
Last Name
Bruhis
Member #

17919

Ham/GMRS Callsign
KD6UKE
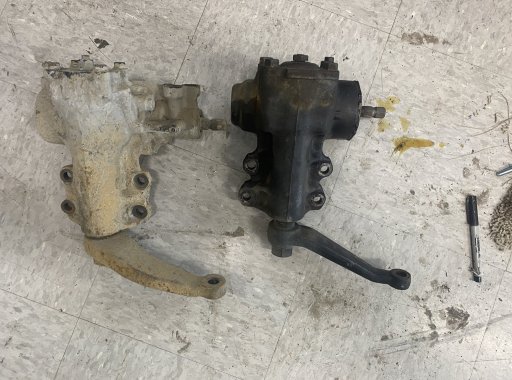
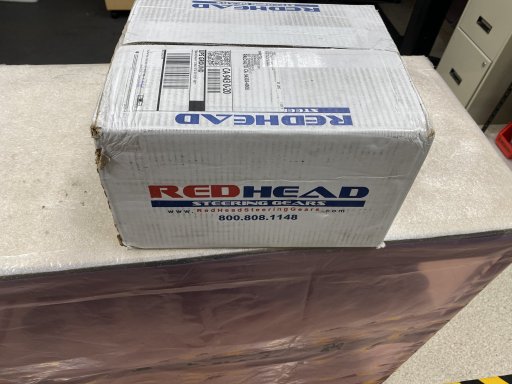
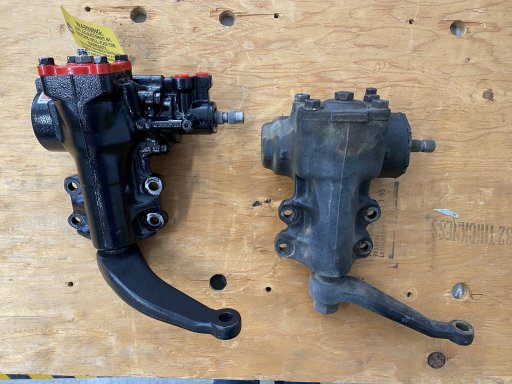
Today I got the steering box from Red Head Steering. These guys are just phenomenal. They inspect and rebuild it better then specs. It came out of the 79 which is similar to the 105. Note the difference in the size of the arm. The original one (on the right) was not power steering, so I'll have to shorten the steering rod that connects to it.

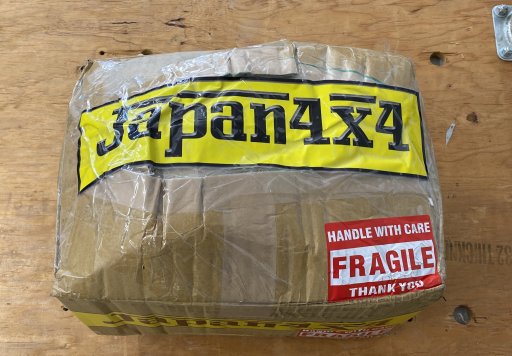
One more box arrived just now from Japan. Dave Steadman is a savior for finding hard parts. The front coil towers are in, and I have all the parts for the coil conversion. At first the plan was to rip it from the 79 frame, but the price was right, and that frame can be used by someone to build a rock crowler.

Stay tuned.

IMG_8397.JPGIMG_8550.JPGIMG_8552.jpgIMG_8553.jpgIMG_8554.jpg
 
  • Love
Reactions: GLOCKer

Ob1

Rank VI
Launch Member

Influencer I

3,057
Palo Alto, CA, USA
First Name
Ofer
Last Name
Bruhis
Member #

17919

Ham/GMRS Callsign
KD6UKE
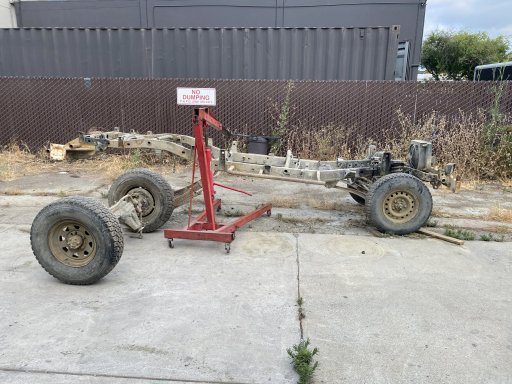
Productive morning. I’m at point of no return. The brackets for the leaf springs are cut off the frame. Still need to grind and smooth the weld marks. Once it’s done, I’ll clean the spots on the frame for the new brackets for the coil springs and tack weld them. The location I can measure from the 79 frame. It’s sitting right there just for that.

B15E77AF-FBB0-4314-AE5A-357BAC33A33C.jpeg4F0EC565-4FF7-4080-9E22-8C7C4A89C0B4.jpeg144E33EC-F8A1-4FC5-9132-83121A7D28A3.jpeg18BBB749-37D1-4D0D-9681-703E2E10CF2C.jpegFD5A25CA-190D-4285-B422-FDC5A56CDE23.jpeg
 

Ob1

Rank VI
Launch Member

Influencer I

3,057
Palo Alto, CA, USA
First Name
Ofer
Last Name
Bruhis
Member #

17919

Ham/GMRS Callsign
KD6UKE
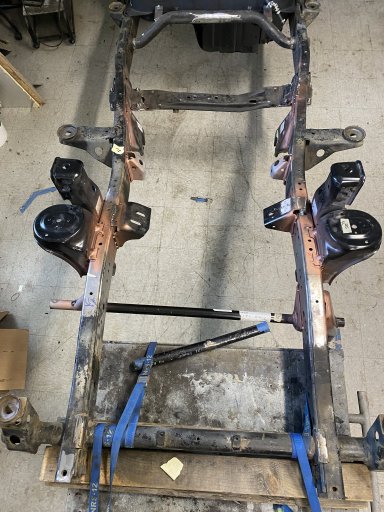
Got all the OEM brackets tack welded on the frame for the front coils. Measured it 50 times on the HDJ79 frame and one more to be sure to locate them. The HJ75 and HDJ79 frame rails are identical in shape, length and spacing. Only the brackets/gussets are different.

The drivetrain seems antsy to be mounted. I think it is prettier the Michelangelo's David statue. But that could be just me...
IMG_8643.JPGIMG_8644.JPGIMG_8645.JPGIMG_8647.JPGIMG_8646.JPG
 

Ob1

Rank VI
Launch Member

Influencer I

3,057
Palo Alto, CA, USA
First Name
Ofer
Last Name
Bruhis
Member #

17919

Ham/GMRS Callsign
KD6UKE
Got the calipers all cleaned up and powder coated. Rebuild them with new OEM kit. Dash has been powder coated and the body being worked on at the body shop.

IMG_8536.JPGIMG_8619.JPGIMG_8723.jpgIMG_8703.JPG
 

Ob1

Rank VI
Launch Member

Influencer I

3,057
Palo Alto, CA, USA
First Name
Ofer
Last Name
Bruhis
Member #

17919

Ham/GMRS Callsign
KD6UKE
Axles from the 79 series are taken to Valley Hybrids for full rebuild and E-lockers. They will convert from 5 lugs to 6 lugs using 80 series parts. The reason for using the 79 is the coil springs in the front and full floating axle in the back.

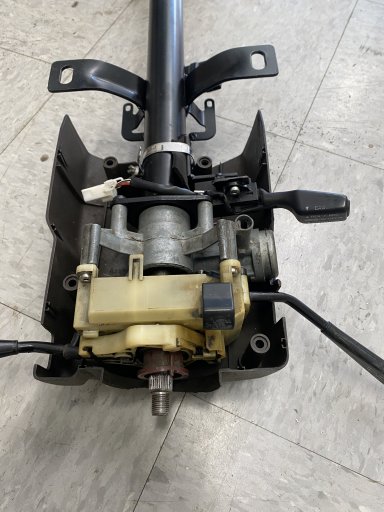
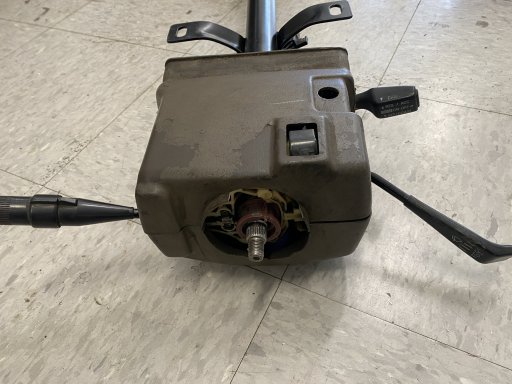
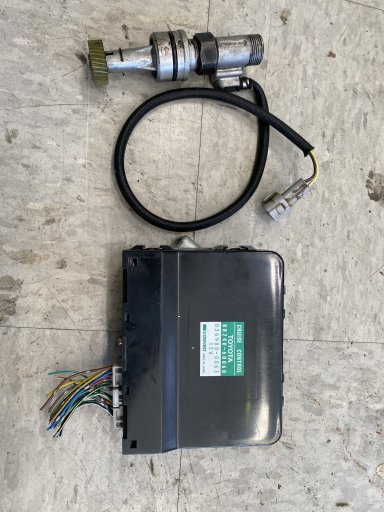
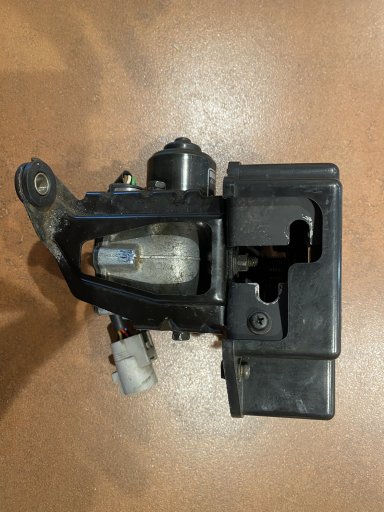
I've also been working on installing 80 series cruise control. The speedometer is mechanical (cable) so I'll install a speed sensor for 91-92 80 series that has both outputs mechanical and electrical to feed into the speedo and the cruise computer. The steering shaft is tight, but I think I can install the cruise switch somewhere there.
IMG_8484.JPGIMG_8716.JPGIMG_8717.JPGIMG_8718.JPGIMG_8719.JPG
 

Ob1

Rank VI
Launch Member

Influencer I

3,057
Palo Alto, CA, USA
First Name
Ofer
Last Name
Bruhis
Member #

17919

Ham/GMRS Callsign
KD6UKE
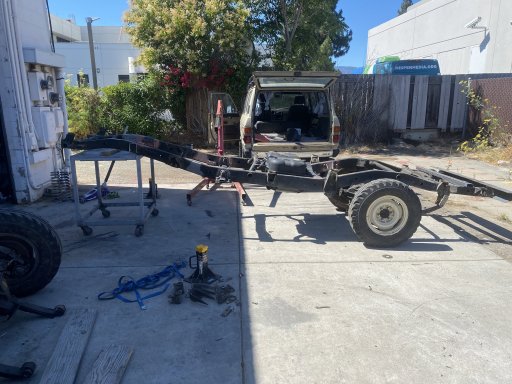
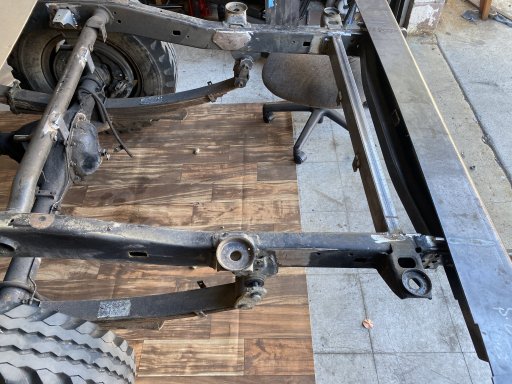
Today I cut off the cross member that supports the spare wheel. I welded a cross member at the end of the frame with 2 M8 threaded stubs. Also added the same stubs on the cross member that hold the top of the shocks over the rear axle. This can hold the frame that will sustain the water tanks and maybe a diesel heater. Cutting the cross member adds plenty of space there. The frame is ready for sand blast and powder coat. Waiting to get a trailer to transport it.
Also reinforced the back part of the frame to hold the 4x4labs bumper.

A5EC0BB8-CA44-4517-AB08-7329026FBFB8.jpeg4BE9423B-7C67-4F76-A4E5-2550E2A895EE.jpeg
 
  • Like
Reactions: AggieOE

Ob1

Rank VI
Launch Member

Influencer I

3,057
Palo Alto, CA, USA
First Name
Ofer
Last Name
Bruhis
Member #

17919

Ham/GMRS Callsign
KD6UKE
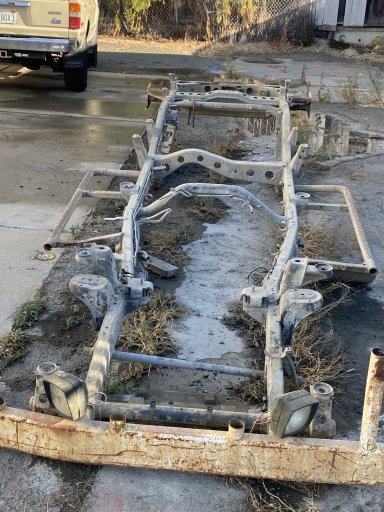
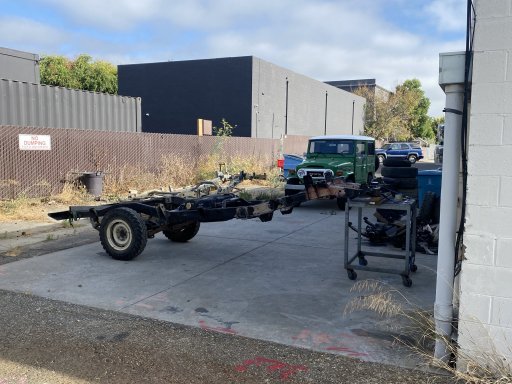
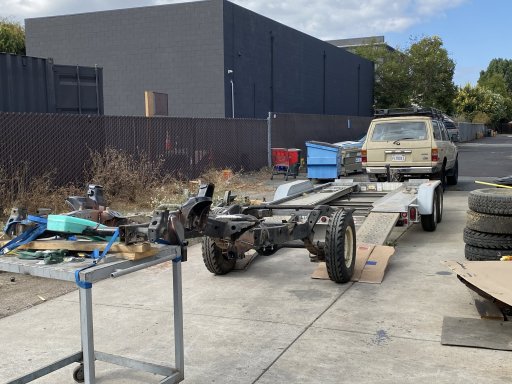
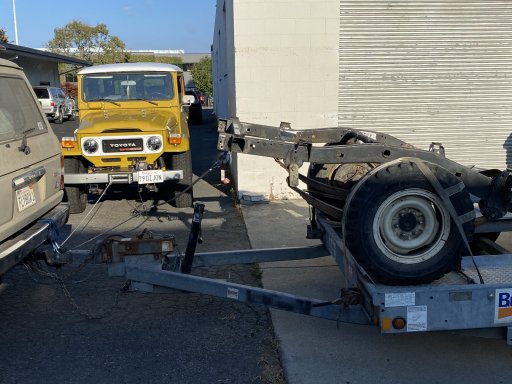
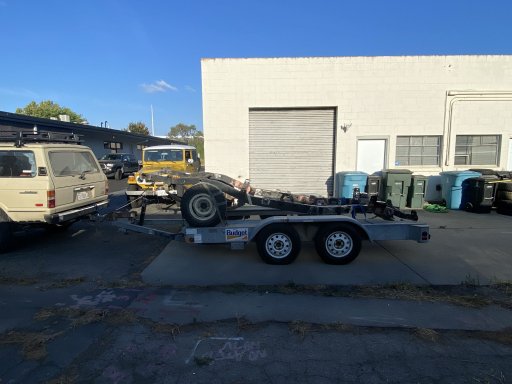
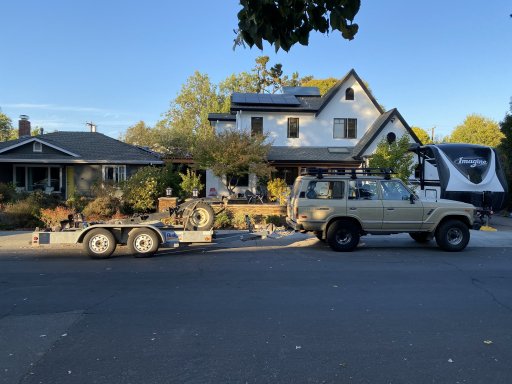
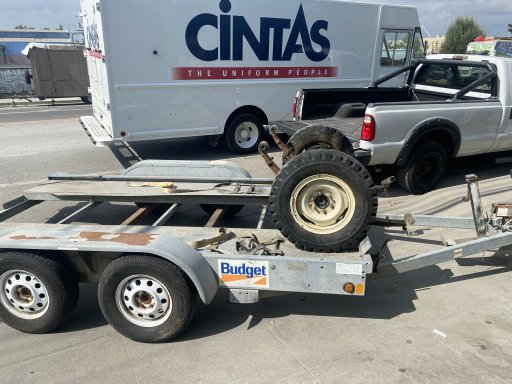
Today the frame went to sand blast and powder coat. Was a challenge loading it on a borrowed trailer. Used the 40 series winch 90 degree to the rear bumper with a pulley. How fun to use the winch without getting stuck.
Removed the front axle at the paint shop and delivered only the frame.
Now we wait…
0D691AC4-9FC9-460A-B6D3-351F1F3C9E24.jpegD11E23B9-FBF3-4577-AC21-3719124537B5.jpeg7BC18443-C6A2-4150-A6FF-F01A3F05A3C8.jpeg6D561C23-28CD-4067-9EEB-40C8EF0FD40D.jpeg7FF328FF-1028-4106-8BA7-B29DDFC9D57F.jpeg
 

Traveler III

2,190
San Francisco, CA, USA
First Name
Vladimirs
Last Name
P
Member #

25591

Ham/GMRS Callsign
K6VVP
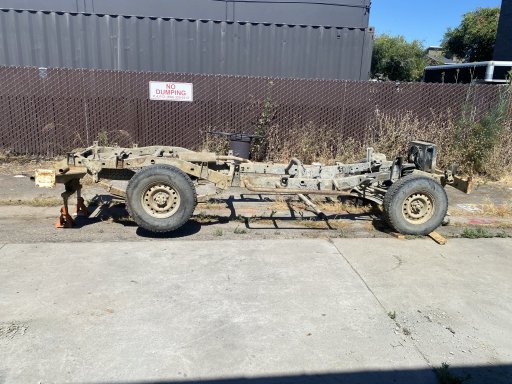
Our 80 series Landcruiser project has matured. It is perfect and nothing is left to improve it. In order to stay out of trouble, I needed a new project and stumbled on a 1988 HJ75 Landcruiser Troopy. The vehicle has not been serviced well and needed serious work. The 2H diesel engine needs a rebuild, it has no breaks and the steering has a dead band of about 90 degrees. The body has serious rust and the interior is ripped and neglected. The electrical wiring was a night mare. Seemed like a perfect project.

View attachment 219910
View attachment 219912
View attachment 219913

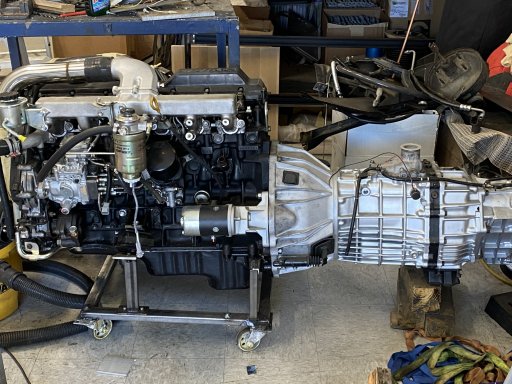
I started also looking for a 1Hx engine with a manual 5 speed transmission. In a few days I found on eBay a JDM (which usually means low miles) 1HDT Toyota 4.2 liter diesel engine. It would be a perfect engine to replace the old 2H, but will require different engine brackets on the frame for the engine mounts. It also came with an automatic, which will be traded with a H151 5 speed manual.

View attachment 219911


Compression numbers were around 440 psi on all cylinders so only the IP, injectors will be serviced as well as the bottom end bearings replaced. A new 12V starter will replace the 24V one, and a Terrain Tamer 120A alternator.

On our trip to Seattle 2 weeks ago we passed by Bend and picked an AluCab Hercules popup roof. We stopped at FitGarage and chatted with Alex. They are a bunch of really nice young guys that deal mostly with Troopies. Would be a great source of knowledge.

View attachment 219914

After further inspection, I decided to do a body off restoration before building the camper.

so the work begins...

View attachment 219915

Stay tuned...
Wow looking forward to see the progress on this build.
 
  • Like
Reactions: Ob1

Traveler III

2,190
San Francisco, CA, USA
First Name
Vladimirs
Last Name
P
Member #

25591

Ham/GMRS Callsign
K6VVP
Some engine work this weekend. Bottom End Bearings were replaced. Oil pan is going to the paint shop for BK208 black powder coating. The bearings were not seriously worn. Good news I guess. It is so easy when the engine is up side down. You only hope not to drop something in and forget about it....

This week I am suppose to get the H151 rebuilt transmission and transfer case. Drivetrain is going back in to 'fix' the body hump so the shifters are exposed. Once this is done the body will go to the body/paint shop and I can work on the frame. Plan is to replace the front end with a 79 series coil spring suspension.

View attachment 222509View attachment 222510
Wow, looking forward to see the progress on this build!
 
  • Like
Reactions: Ob1

Ob1

Rank VI
Launch Member

Influencer I

3,057
Palo Alto, CA, USA
First Name
Ofer
Last Name
Bruhis
Member #

17919

Ham/GMRS Callsign
KD6UKE
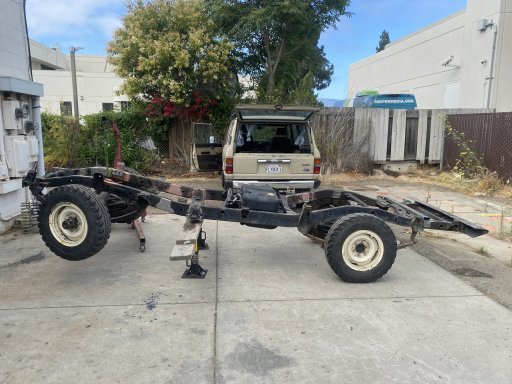
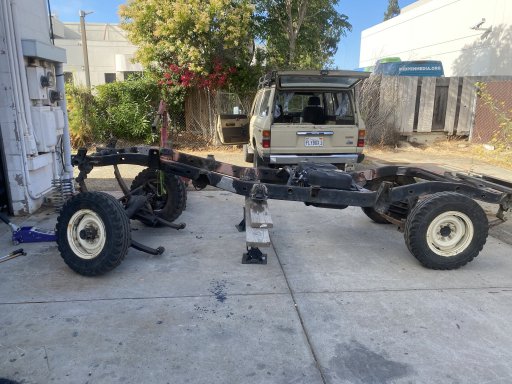
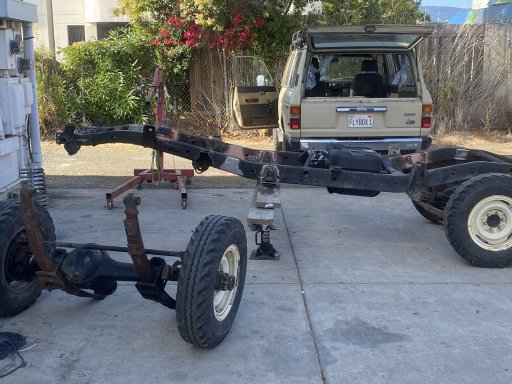
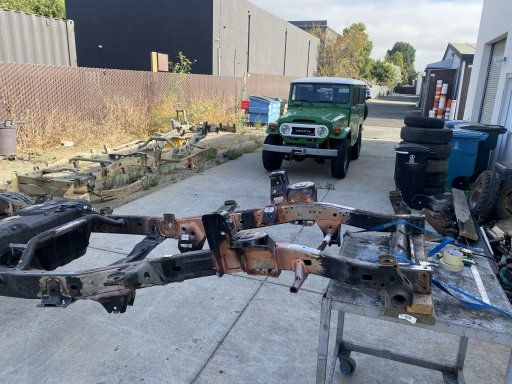
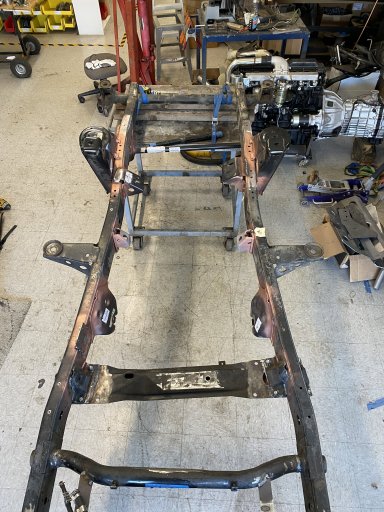
So when say ‘frame off’ I think this is what they mean.
It’s now at they paint shop for black powder coat Cardinal BK208.
2457111C-6515-4EC1-A804-102EC56B4C57.jpeg
 

Ob1

Rank VI
Launch Member

Influencer I

3,057
Palo Alto, CA, USA
First Name
Ofer
Last Name
Bruhis
Member #

17919

Ham/GMRS Callsign
KD6UKE
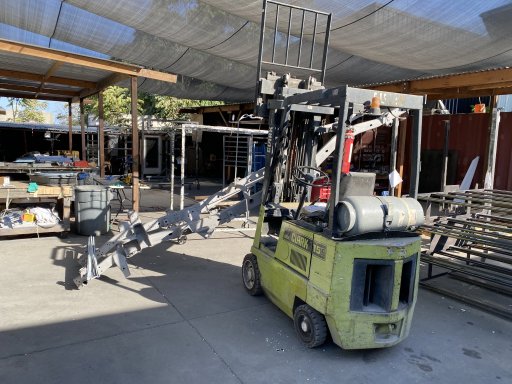
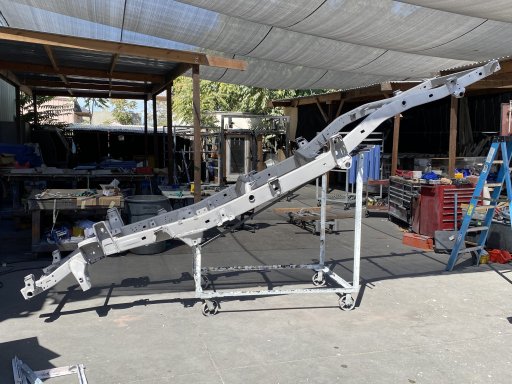
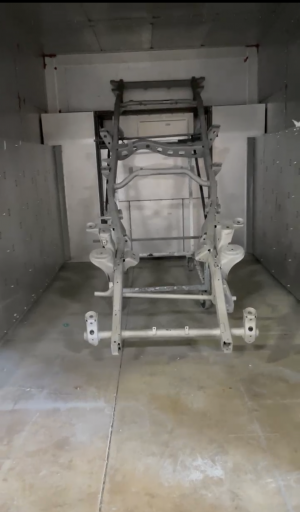
Moving slowly. Too slow in my opinion. Frame has been sand blasted and now at the paint shop. Today I built a cart to support the frame that will roll into the oven. Frame is 15.5' long and the oven is only 14' at the bottom so we had to tilt it to fit over the blower of the oven. We shall see how that will come out in a few days. I'm lucky to have a friend that own a commercial paint shop. Sand Blast was $550 at a place close by the paint shop, but the painting was free.

IMG_8993.JPGIMG_8997.JPGIMG_9005.PNG