Pulled the heads off the VW engine and as suspected the #3 exhaust seat is hammered. There is also a crack starting its way from the spark plug hole to the exhaust valve seat. This thing definitely made it home on borrowed time. The head had already been welded sometime in the past. It's had a good run, but it's done. Found another head locally that was pretty crusty but cleaned up okay. New head has no combustion chamber cracks and good valve seats. The exhaust guides on the new head were smoked though so I replaced them. On an aircooled VW, guide replacement is a pretty basic affair of hammering out the old guide, putting the new one in the freezer for a while to shrink it a bit, and then hammering it in. Easy. Replaced the exhaust valves in both heads. Transferred valve springs, keepers, and intake valves from the bad head to the new one. Lapped in all valves on both heads and lapped cylinders to heads as Type-1 aircooled VW engines don't use head gaskets. The cylinder seals right against the combustion chamber. Cleaned and honed the cylinders and cleaned up the old pistons. New piston rings and a seal kit are on the way. I have to clean out the plugged heat riser in the intake manifold, replace the engine compartment seal on the car, and replace the transaxle mounts as they have turned to jelly from years of oil leaking on them. Then I'll put it all back together and hopefully get a couple more years and 20k or so out of the engine. Not a proper rebuild by any means, but I just want the car functional again while I build a more powerful replacement engine as having only 40hp is getting tough in modern traffic.
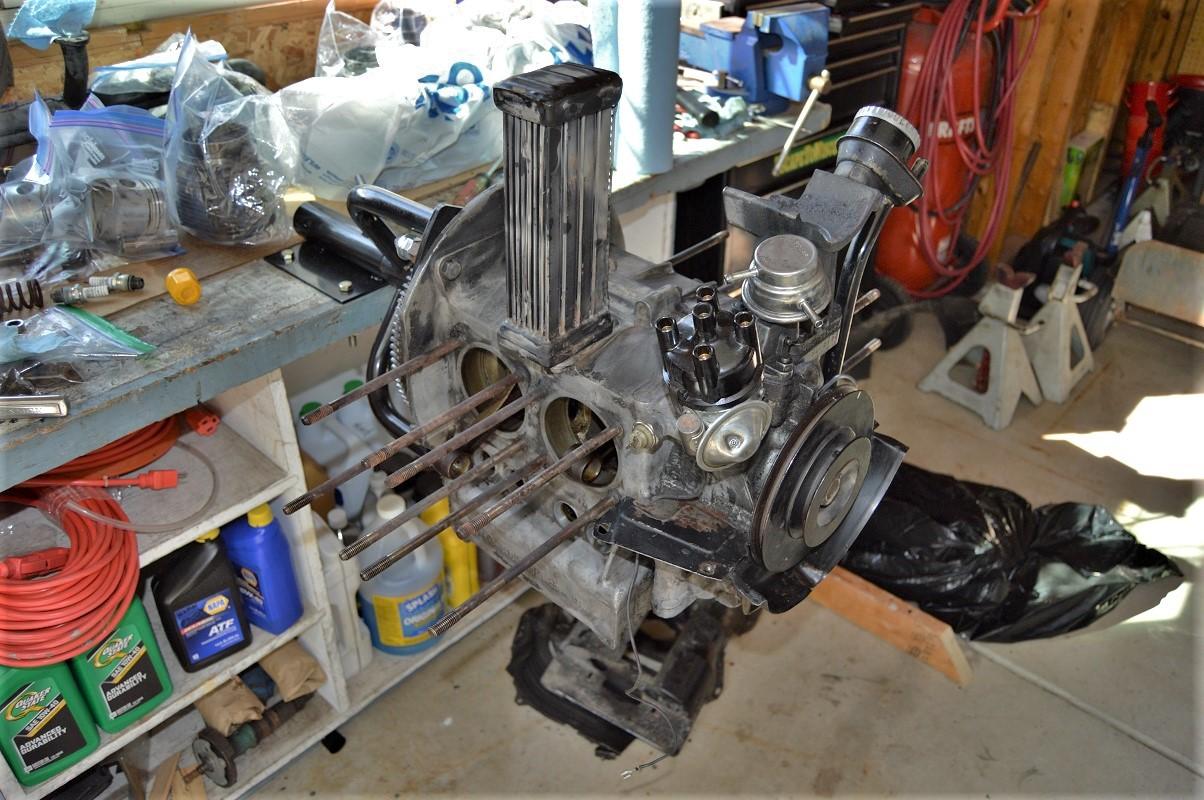
Here are some pictures of where the engine is at currently.
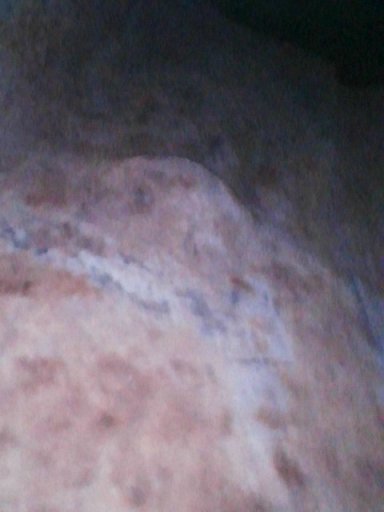
Engine as it sits this afternoon after cleaning. Surprisingly it is totally dry around the oil cooler. I'm not messing with those seals. Don't fix what's not broken, right?
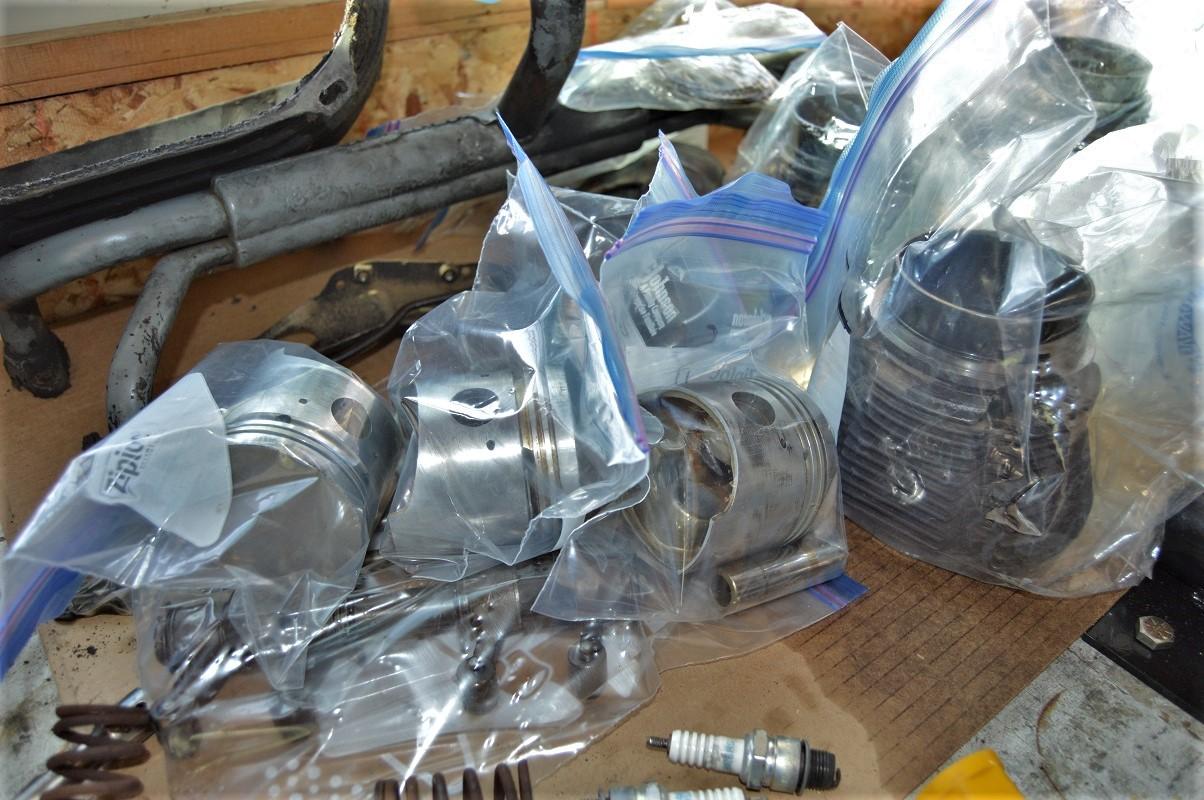
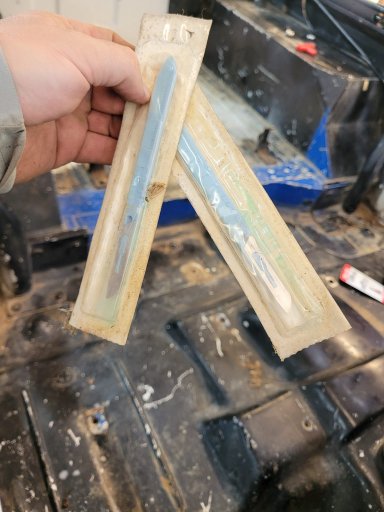
Pistons and cylinders cleaned and bagged. Sorry didn't feel like unpacking them for a picture. They're not all that interesting anyway.
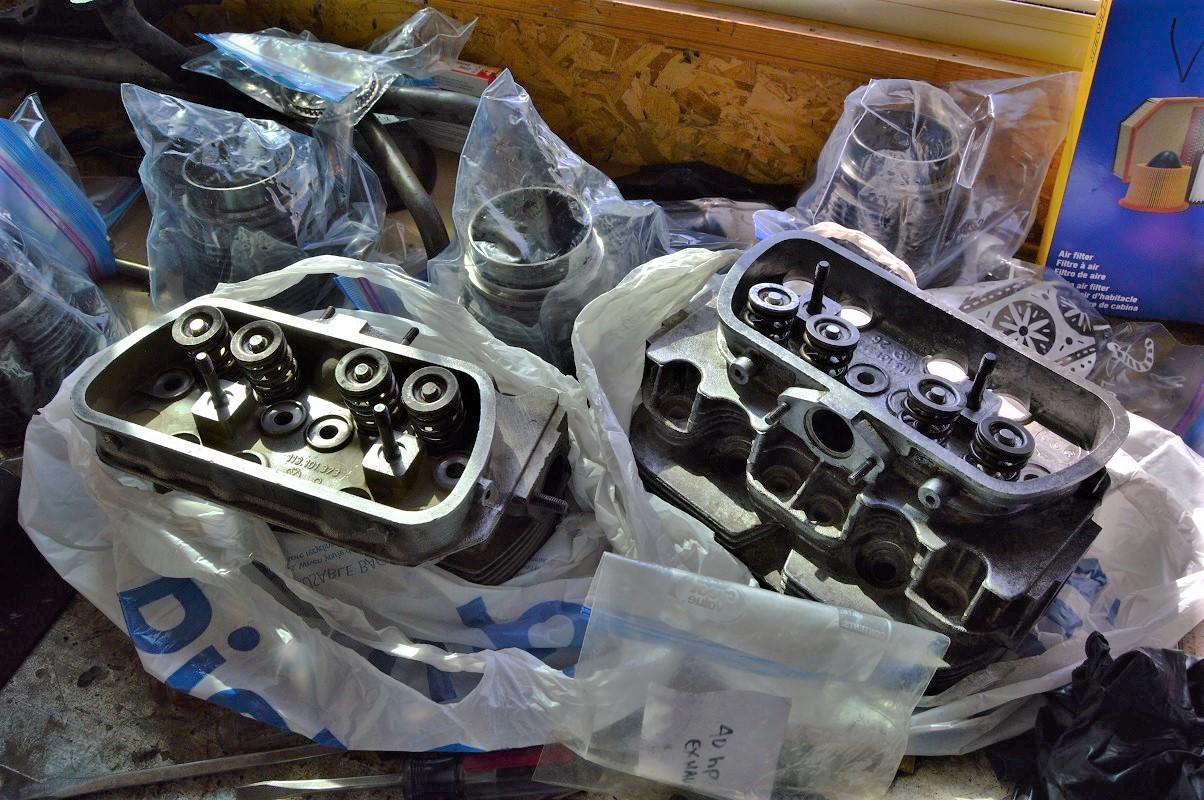
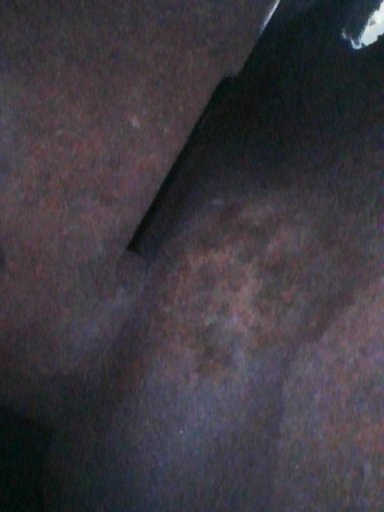
Cylinder heads "rebuilt". New head is on the right. Still need to install exhaust studs on the new one.
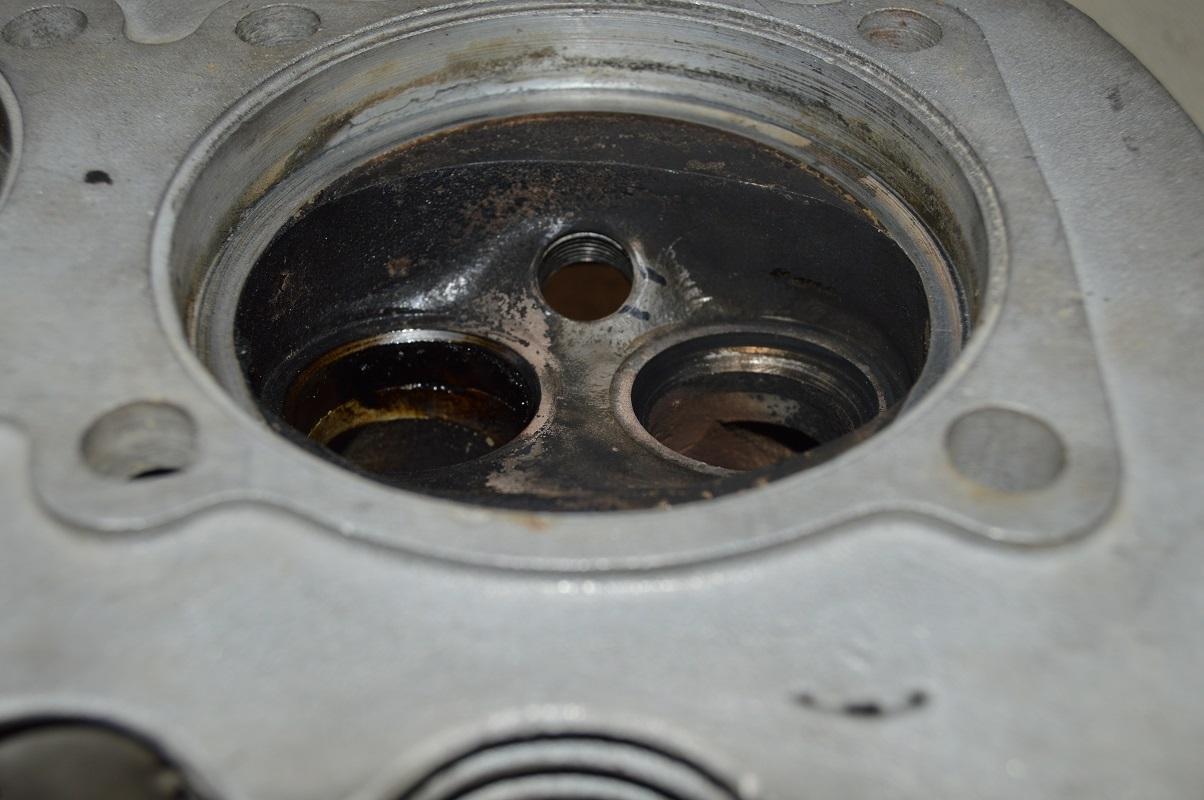
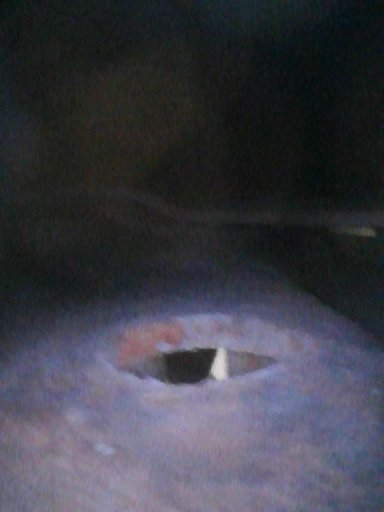
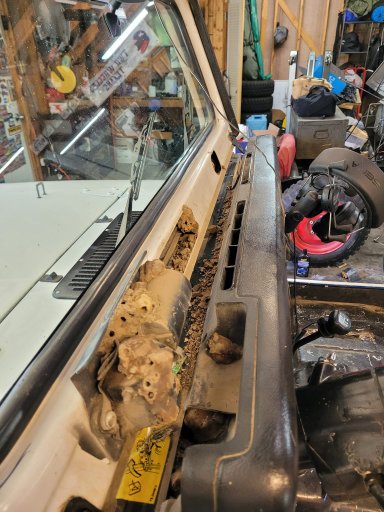
Here's the #3 combustion chamber on the old head with the hammered seat on the right. It is BEAT in. The crack from the spark plug hole is hard to see between the Sharpie marks. The head had already been welded in that spot as well as several others sometime in the past. It's had a good run.


 623 KB Views: 50
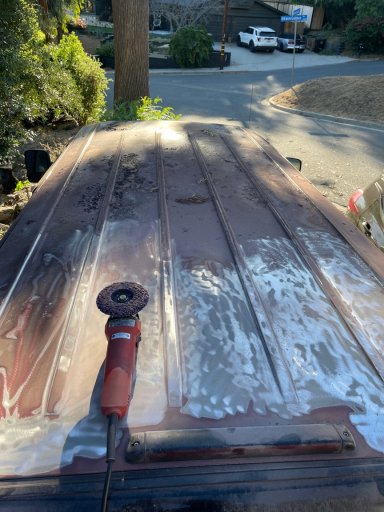 353.6 KB Views: 50
 408.4 KB Views: 49
 351.7 KB Views: 48
 563.5 KB Views: 49


![20230722_112125[1].jpg](/forums/data/attachments/263/263892-a2dfacc991dc4de27cc99a26a98743d5.jpg)