Goal: simple day to day life, small(ish), offroad capable – a Jeep Gladiator build

  • HTML tutorial

rtexpeditions

Rank V
Launch Member

Advocate II

2,315
Hobart, Tasmania, Australia
First Name
Randall
Last Name
Treloyn
Member #

5615

Ham/GMRS Callsign
VK7VWK
Be careful with the Gladiator. The main problem is payload and I heard that Australia is much more strict about this than other jurisdictions.

It's one of the reasons we go to some length to keep things reasonably light. Still, I'd appreciate maybe 200 or 300kg more payload. In Australia, there's absolutely no way I'd personally get a Gladiator, I'd go with a Land Cruiser Troopy and roof conversion. But that might just be me.
A lighter vehicle is more appealing to me. In my opinion, Landcruisers are too heavy and also too heavy on the pocket.
I also need back passenger seats, so without the seat delete, I'm carrying a whole lot less.
 
  • Like
Reactions: cug

cug

Rank II

Enthusiast III

473
San Jose, CA, USA
First Name
Guido
Last Name
GNE
I also need back passenger seats, so without the seat delete, I'm carrying a whole lot less.
Again, be aware of weight limitations. The Gladiator has a payload around 450 to 500kg (unless you have the Sport version with the MaxTow package, that one has more). Four passengers, that's already between 250 and 300kg gone, depending on the passengers. Put the Alu-Cab (210kg for the basic shell, up to 250kg with awning, shower tent, etc.) on and you're done. No other items. That includes taking off the tail gate (~ 20kg or so).

For us, it's just the two of us at 140kg clothed, the rear seats are ~ 40kg vs. our platform at 16kg, so we have about 340 to 390kg left (plus the savings from the tailgate). Wtih the cab on it's down to 90 to 140kg. With the water and fuel tank full and our gear, we are over payload. Nothing I can do about that.

I'm not criticizing the idea, I'm trying to make you aware of the limitations of the Gladiator. The payload is just plain laughable. Our Land Cruiser in Europe has 1300kg payload. That's 800kg more than the Gladiator. You don't have to use all that, but it's good to have some of it.

In Europe I could improve suspension and brakes and get the payload uprated. Not so here in the US. No idea how complicated it is in Australia.
 
Last edited:
  • Like
Reactions: John Bishop

cug

Rank II

Enthusiast III

473
San Jose, CA, USA
First Name
Guido
Last Name
GNE
Again, there haven't been many updates in the last few days, we've been busy with two projects:

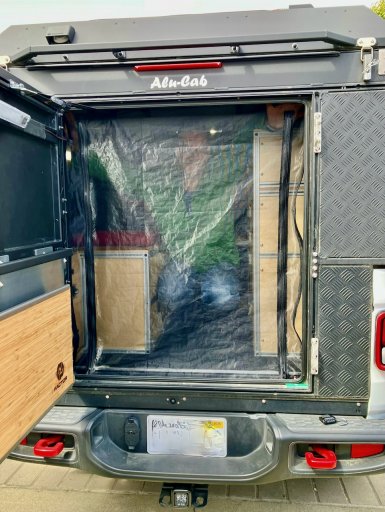
1. Rear Door Mosquito Screen

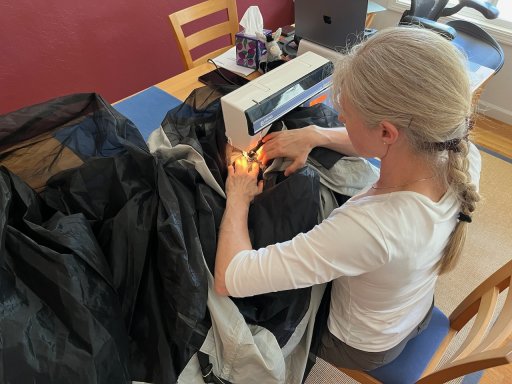
Since the mounting of the original mozzie screen didn't work with our furniture, my wife made our own version of it. The velcro will get attached in slightly different places and it does not have a canvas layer – for which I never saw the point anyways.
IMG_6269 (1).jpeg

Otherwise it works similar to the Alu-Cab mosquito screen: zippers for the middle panel, it drops perfectly into the gab between door frame and bedplate, is attached with velcro at the top and sides, can be rolled up and secured in place when rolled up. The straps to secure it in place don't have velcro, but use "toggles" (plastic thingies that go through a loop to hold the fabric in place, more like a camping tent).

The screen is done, we'll wait with final mounting until we don't have to move furniture around anymore.

2. Various brackets for the rear

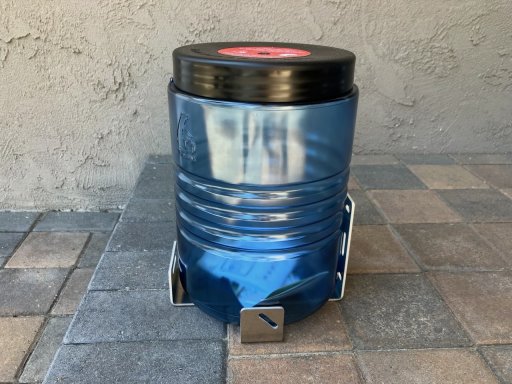
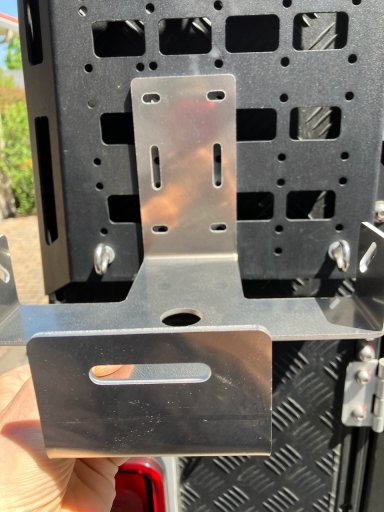
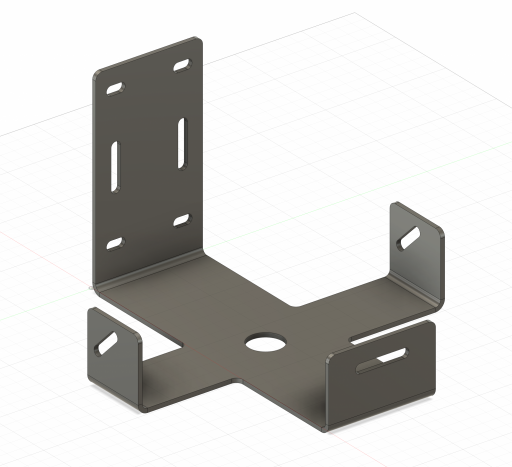
In additon to the various door panel and brackets, I have now also designed a bracket to hold our "trash container". We are going to use a large Bear Vault as our trash can. This needed a way to attach to the outside. Goals were easy removal and secure mounting.

Here's the sketch:
Screenshot 2024-04-25 at 12.02.18.png

There won't be much if any weight on the rear bend, since the container will be held against the camper with a RokStrap attached to this little bracket:
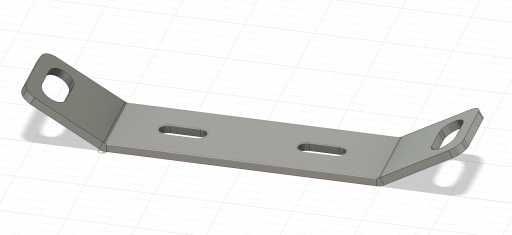
Screenshot 2024-04-25 at 12.12.31.png

So, I'm not concerned about stability. The flanges are mostly to conveniently hold the container in place while mounting/unmounting it.

This will all be mounted to the molle panel on the driver's side. The mounting holes are optimized for the hole distances and can be moved slightly left and right for individual adjustment. I've made sure that we can also mount it to one of our own door brackets if we ever wanted to.

This was quite an order for aluminum cutting now:
  • Bear Container bracket plus strap holder
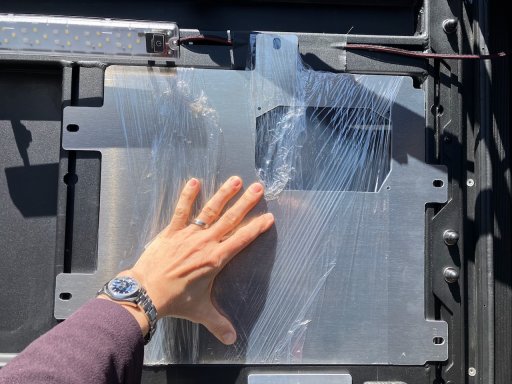
  • Door inside panel for mounting the Redvision display (shit, I forgot to get the cover for the opening in the GP-Factor panel, need to add this to the order – DONE)
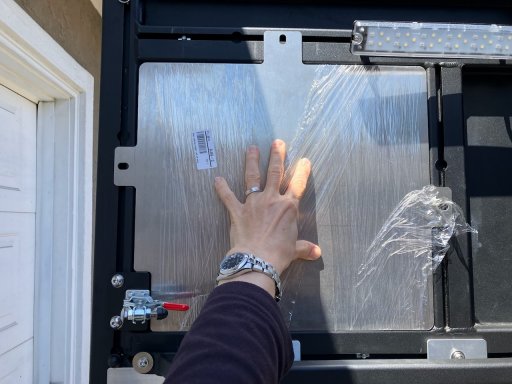
  • Door inside panel for behind a Last US Bag Half Caddy, to hold insulation in place
  • 2x Mounting brackets for between upper two Rhino load bars
  • 2x Mounting brackets for between lower two Rhino load bars
  • 2x Spacer in case I want to mount upper and lower brackets exactly in line.
So, now waiting for the parts to arrive and actually fit ... ;-) Although I'm relatively confident since I measured and checked about a billion times.

They also come in raw aluminum, so we can make corrections if needed and then have it powder coated locally.

On that topic, we saw a local powder coating shop yesterday and talked to the owner – they made us a great price if we bring all parts in one go and have only one color to be applied. Perfect, exactly what I was looking for, since powder coating at the online cut-and-bend-place was outrageously expensive.

I can only recommend talking to local fabrication shops, they are generally super nice to work with!
 
  • Like
Reactions: John Bishop

cug

Rank II

Enthusiast III

473
San Jose, CA, USA
First Name
Guido
Last Name
GNE
I've been traveling out of country since the beginning of May, but since my wife is still working on stuff, there are at least some teasers.

The bracket to hold the bear container we'll be using for our trash:

IMG_6298.jpeg

It'll get mounted to the driver's side molle panel:

IMG_6299.jpeg

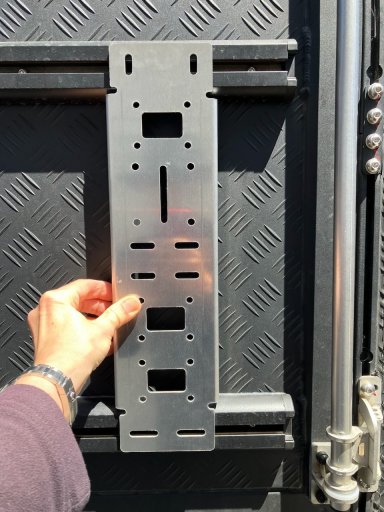
For inside, in the upper right quadrant of the door, we'll mount the Redvision panel:

IMG_6301.jpeg

Upper left will just hold in the insulation:

IMG_6302.jpeg

And four small panels to mount to the loadbars on the door:

IMG_6303.jpeg

Once we have properly tested these, they'll get powder-coated black.
 

cug

Rank II

Enthusiast III

473
San Jose, CA, USA
First Name
Guido
Last Name
GNE
All this while I've been having fun as well.

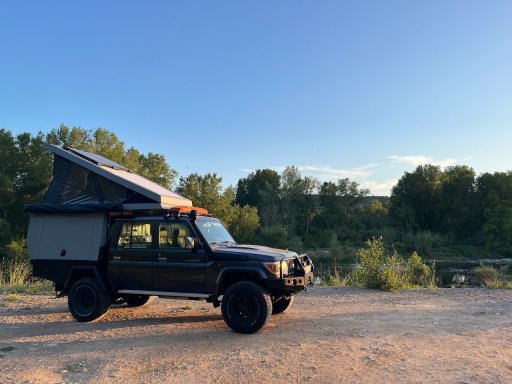
Overnight spot in Spain:

IMG_6410.jpeg

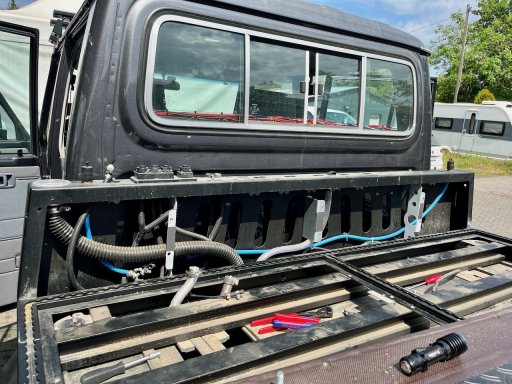
Camper off to seal the drawer and repair the water system:

IMG_6421.jpeg

IMG_6422.jpeg

Added quite a lot of plastic protectors around water and air hoses there.

IMG_6427.jpeg

The weather has been a challenge though:

IMG_6430.jpeg

IMG_6437.jpeg
 

El-Dracho

Ambassador, Europe
Moderator
Member
Supporter
Investor

Inventor I

13,232
Lampertheim, Germany
First Name
Bjoern
Last Name
Eldracher
Member #

20111

Ham/GMRS Callsign
DO3BE

cug

Rank II

Enthusiast III

473
San Jose, CA, USA
First Name
Guido
Last Name
GNE
Cool. Happy to meet along the route if possible. Just let me know when you are in Germany.
Darn, should have thought about that beforehand. I'm already back in Portugal right now and flying back home to California next week. I'll be back in Europe towards the end of the year, but don't have a plan set just yet.
 
  • Like
Reactions: El-Dracho

Ebbs

Rank VI
Member

Influencer III

4,518
Spokane, WA, USA
First Name
Brandon
Last Name
Eberhardt
Member #

20143

Ham/GMRS Callsign
KE0JBH
Service Branch
Air Force 02-18
Damn, love to hear/see more about the 79! (Dream rig)
 

cug

Rank II

Enthusiast III

473
San Jose, CA, USA
First Name
Guido
Last Name
GNE
;-)

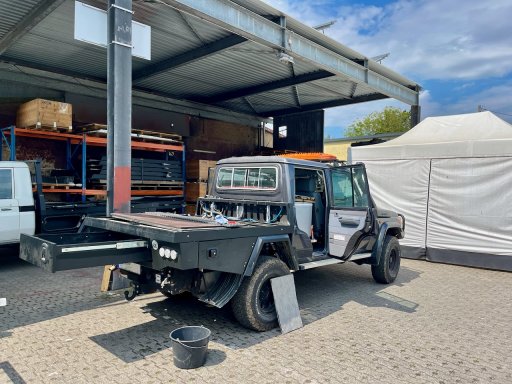
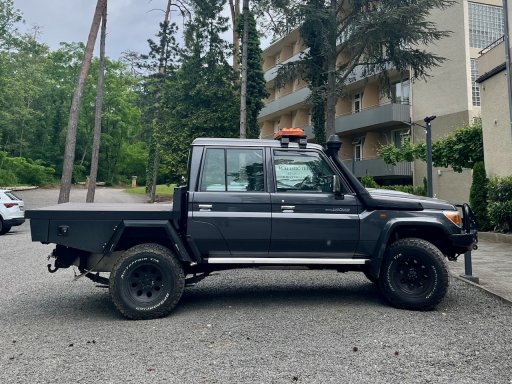
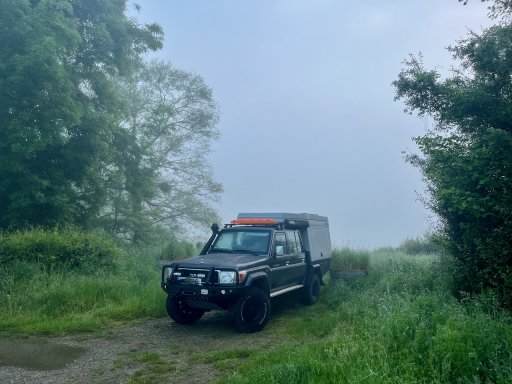
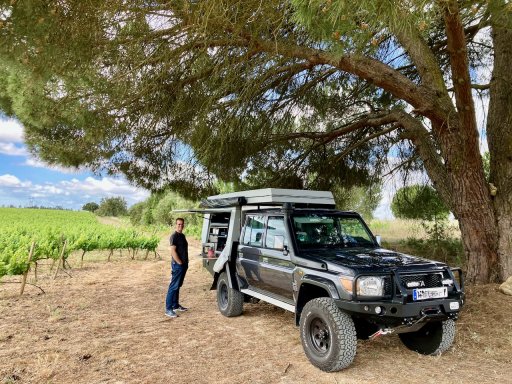
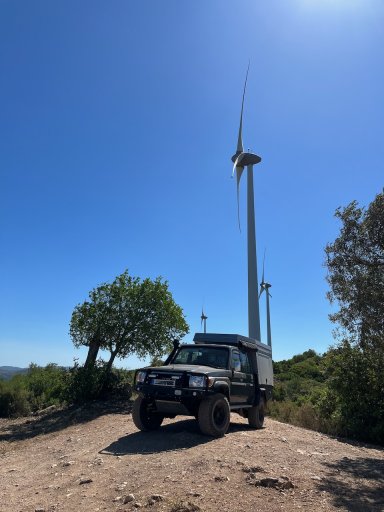
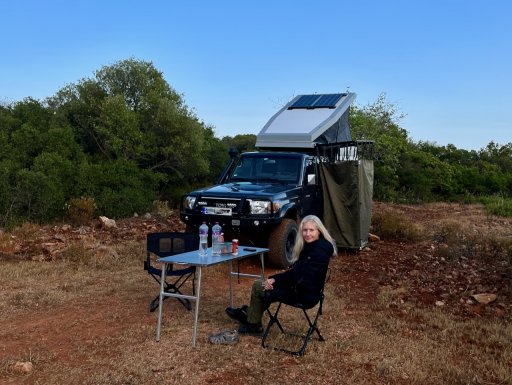
It has it's downsides. I'd prefer a Troopy (78) for lighter weight and smaller size, but the 79 is what we have. It's been a good rig so far. not nearly as comfortable as the Jeep, but we didn't have to build it either ... ;-)
 
  • Like
Reactions: El-Dracho

El-Dracho

Ambassador, Europe
Moderator
Member
Supporter
Investor

Inventor I

13,232
Lampertheim, Germany
First Name
Bjoern
Last Name
Eldracher
Member #

20111

Ham/GMRS Callsign
DO3BE
Cool. Happy to meet along the route if possible. Just let me know when you are in Germany.
Darn, should have thought about that beforehand. I'm already back in Portugal right now and flying back home to California next week. I'll be back in Europe towards the end of the year, but don't have a plan set just yet.
Have a good time in Portugal. It's an awesome place to travel also. Just let me know once you have further plans for the next Europe trip if you like.
 

cug

Rank II

Enthusiast III

473
San Jose, CA, USA
First Name
Guido
Last Name
GNE
Have a good time in Portugal. It's an awesome place to travel also. Just let me know once you have further plans for the next Europe trip if you like.
Yeah, happy do so.

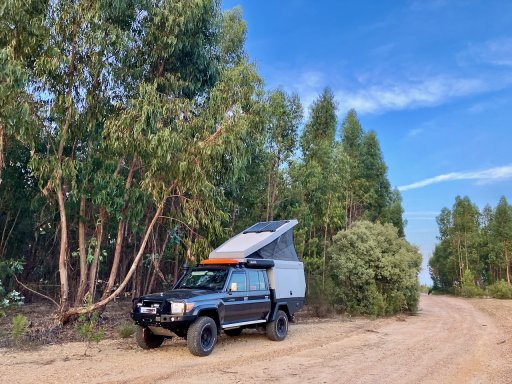
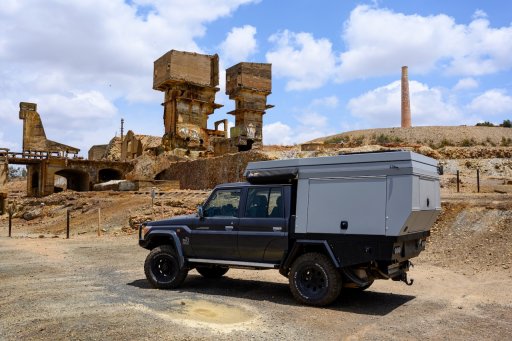
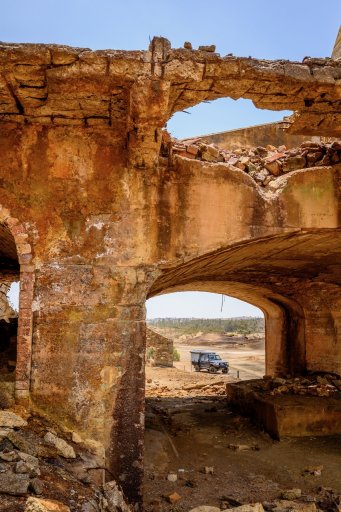
We've been traveling around Portugal last summer a bit:

IMG_5242.jpeg

IMG_5367.jpeg

IMG_5418.jpeg

IMG_5443.jpeg

Some fun trips, mostly in the Southern half.
 
  • Like
Reactions: El-Dracho

cug

Rank II

Enthusiast III

473
San Jose, CA, USA
First Name
Guido
Last Name
GNE
So, back working on the Jeep again after the time in Europe.

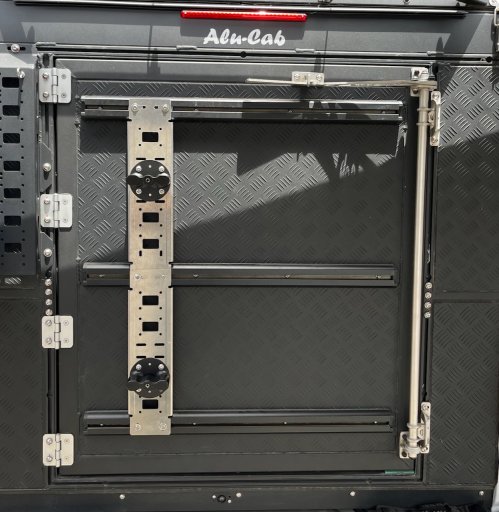
Testing parts I had designed and ordered before I left, the rear door really is slowly coming together.

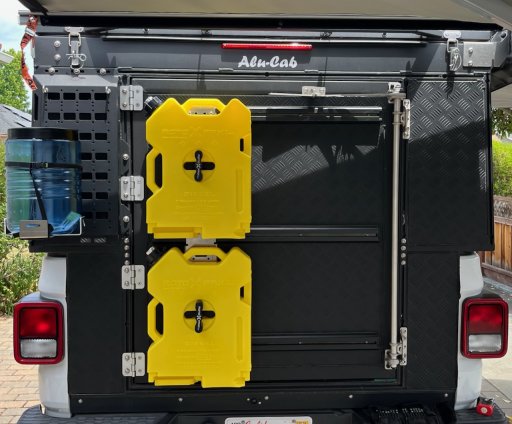
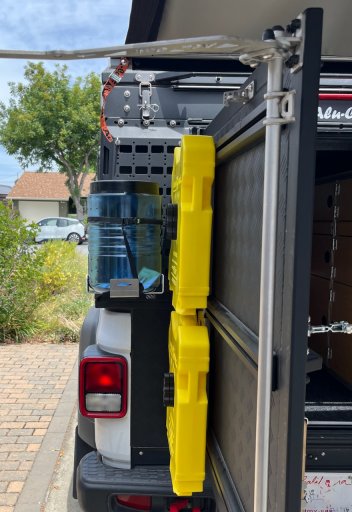
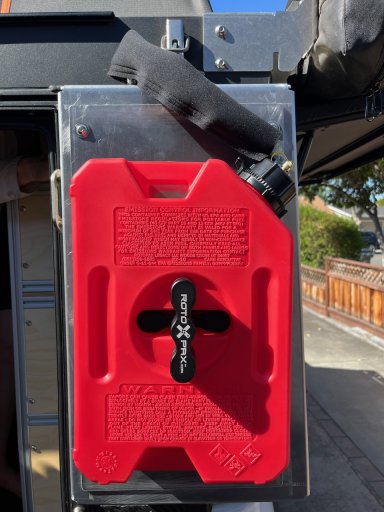
Brackets for Rotopax:

IMG_6456.jpeg

Mounted:

IMG_6453.jpeg

The bear container on the left doesn't stick out as much as it looks like here, this photo shows it a bit better why it has to be where it is and how far it actually sticks out to the side:

IMG_6454.jpeg

I'm very happy how this turned out. Today or tomorrow I'll test the other outside parts and put it all together for a photo. So far, so good.
 

cug

Rank II

Enthusiast III

473
San Jose, CA, USA
First Name
Guido
Last Name
GNE
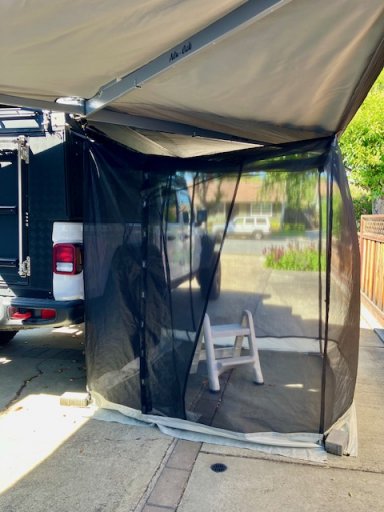
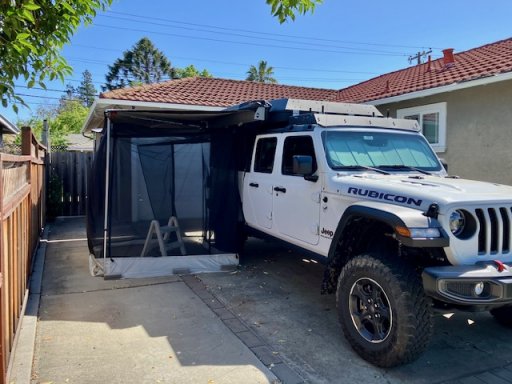
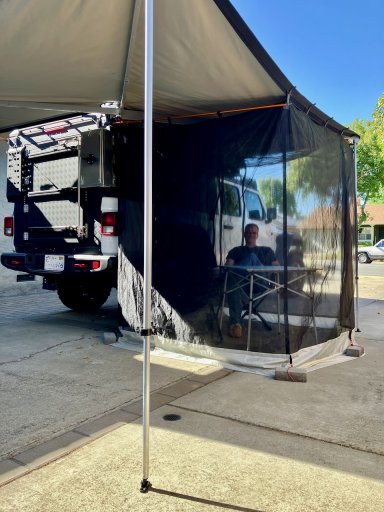
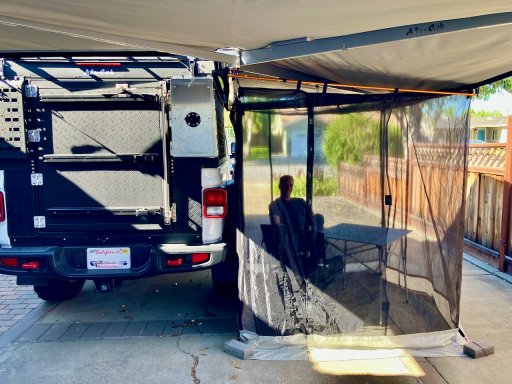
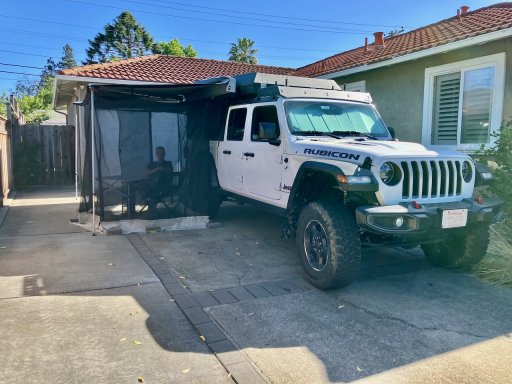
Mosquito tent done:

IMG_6421.jpeg

IMG_6422.jpeg

IMG_6425.jpeg
Big enough for two people to sit comfortably at a table and eat or just relax. Set up is about 3 or 4 minutes for one person.
 

cug

Rank II

Enthusiast III

473
San Jose, CA, USA
First Name
Guido
Last Name
GNE
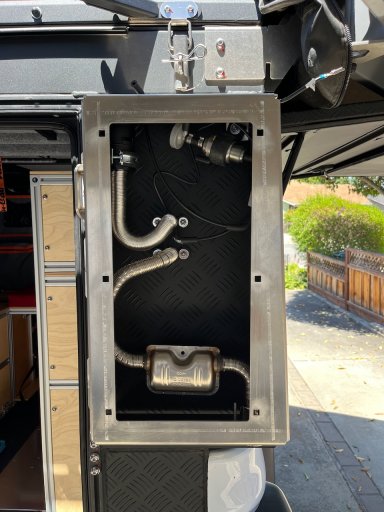
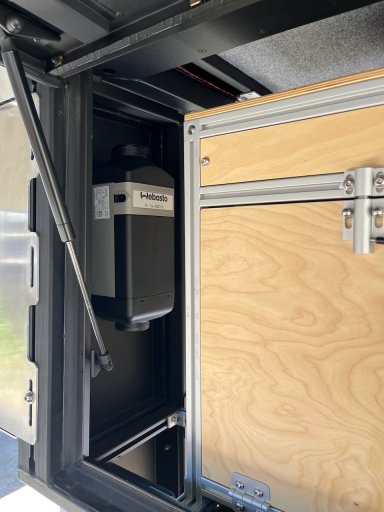
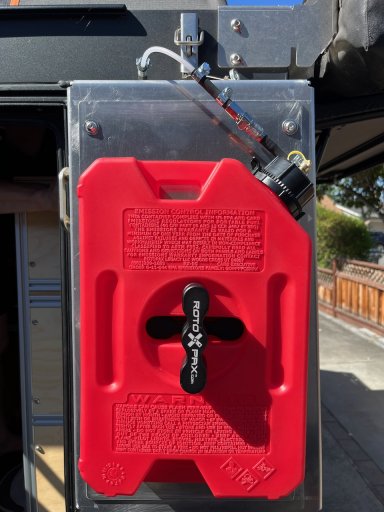
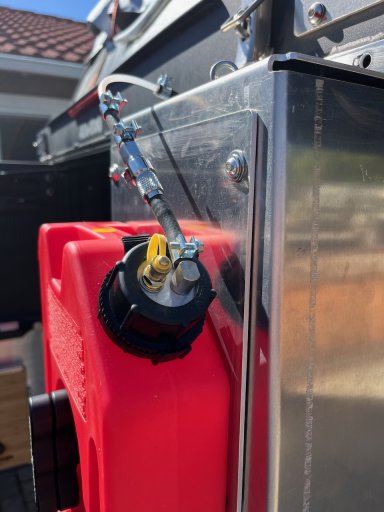
And the last few bits for the Webasto install:

IMG_6475.jpeg

Proper venting also through the cap:

IMG_6477.jpeg

UV protection for fuel line and rubber fuel hose connectors:

IMG_6479.jpeg

This is a velcro close neoprene strip. Likely not the final verison of this, but it'll do.

Thursday all the new metal parts to to the powdercoater.

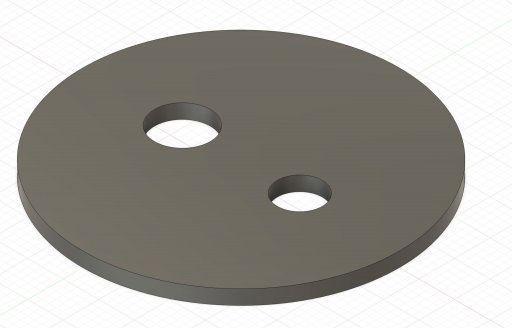
For the fuel pickup and venting through the Rotopax cap, I made a prototype in aluminum I had here, then designed these quickly in Fusion:

screen.jpg

When I went to order them, they were so cheap, I had to order a whole bunch of them to get to the minimum order value since I had no other ideas for metal parts right now.

So, if you want one, they're very cheap, let me know, I'll have plenty. They work with a fuel pickup and vents from Amazon, so not just for Webasto, but all kinds of diesel heaters, just as long as you provide fuel from a Rotopax.