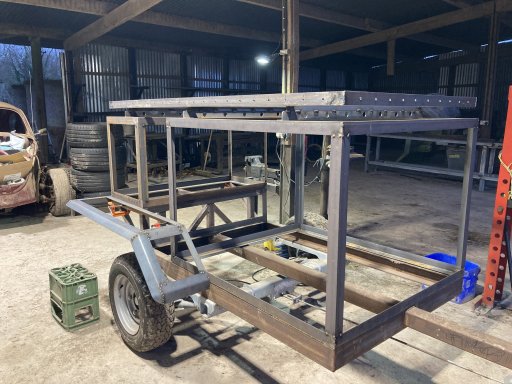
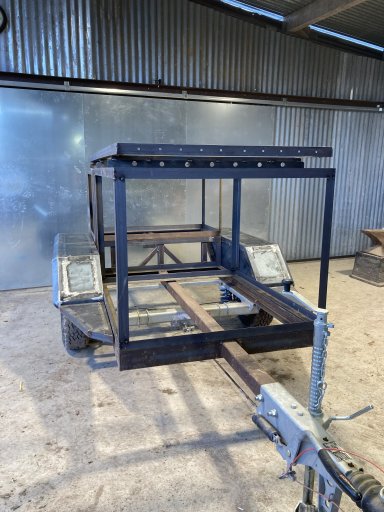
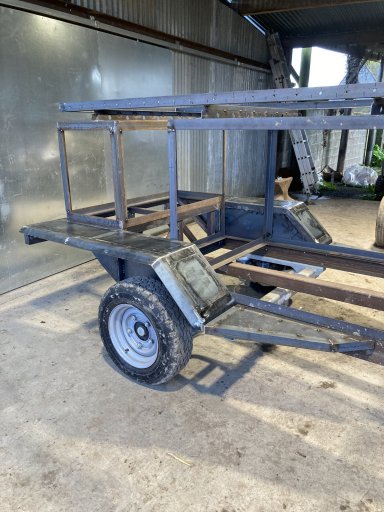
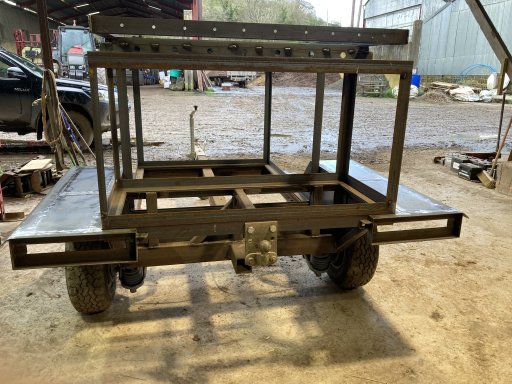
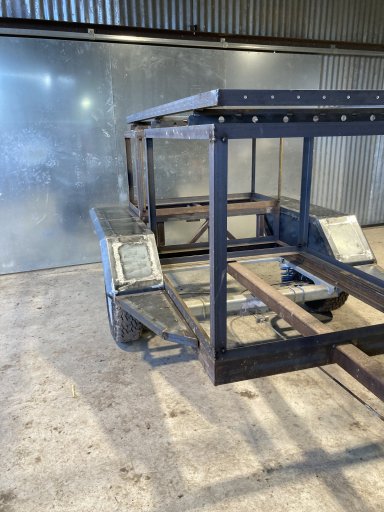
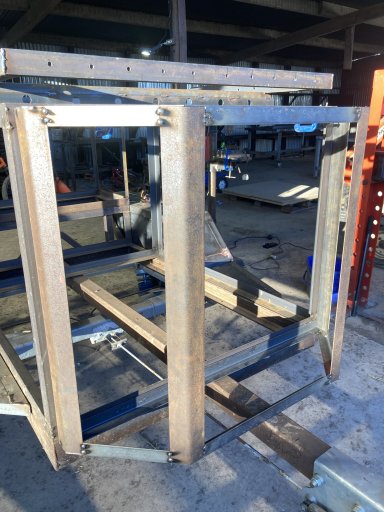
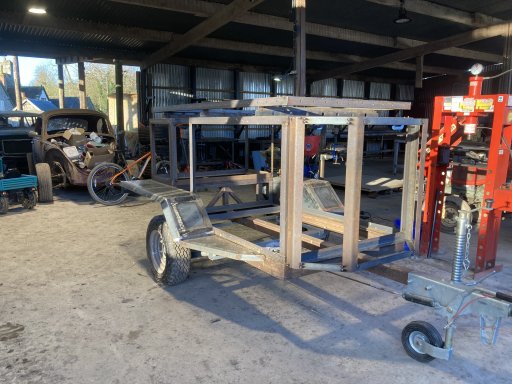
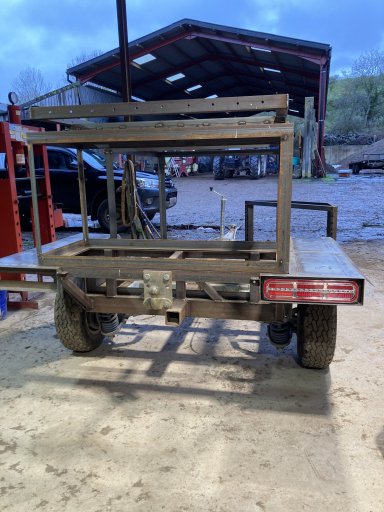
Family adventure trailer

  • HTML tutorial

WYWander

Rank III
Member

Off-Road Ranger I

676
Wyoming
First Name
Ken
Last Name
Veltkamp
Member #

47213

Ham/GMRS Callsign
WSDA676
The departure angle is high on this design-it always looks like the axle is a little too far back though? I’m not sure how it will feel when it’s loaded. I half half a plan th put a removal mounting on the back to take my sons crf125-that will surely add some weight to the back- do you have a build thread for your trailer?
No thread yet but will try to get that going soon...

I don't think your axle is too far back. Not much worse to tow than a tongue-light trailer. Of course keep your GVWR in mind, but I can't imagine the tongue weight on your trailer being more than a few hundred pounds.

And I can affirm your thought that putting a dirt bike hitch-hauler on the back will balance things. I did that on my first teardrop build and it worked well. Let's just pretend I did it intentionally... :)
 

tyndall

Rank II

Enthusiast III

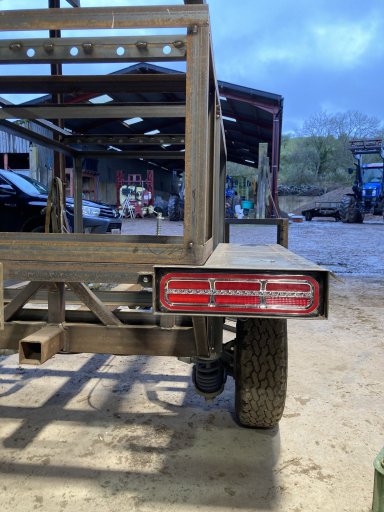
I thought I would have some fun with the tail lights-

IMG_0977.jpeg


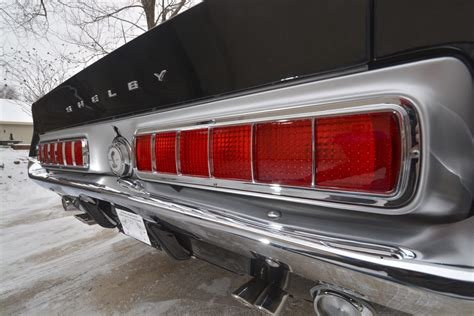
they’re not very practical but they remind me of this below which has to be a good thing

IMG_0107.jpeg

i have been pricing up some pre-made locker doors-for the 5 I need I will have to spend about £3000, so I think I might make my own
 

Attachments

  • Like
Reactions: WYWander

tyndall

Rank II

Enthusiast III

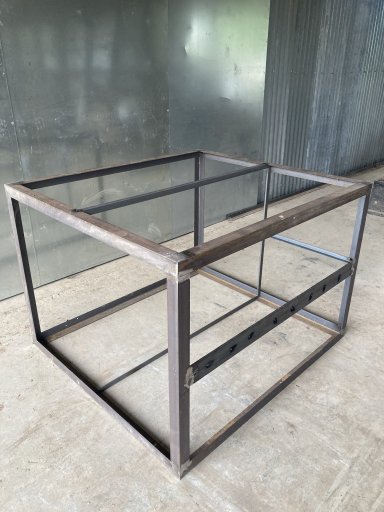
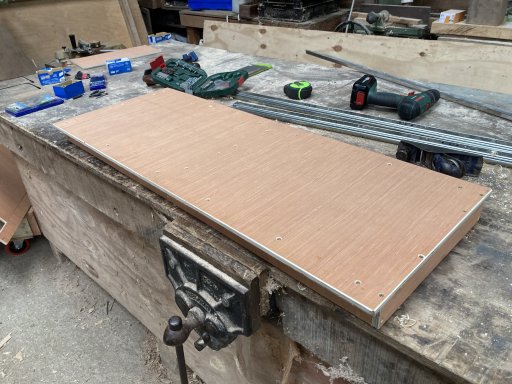
IMG_1189.jpeg

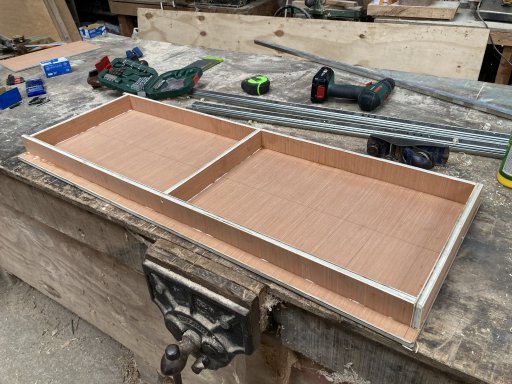
IMG_1190.jpeg

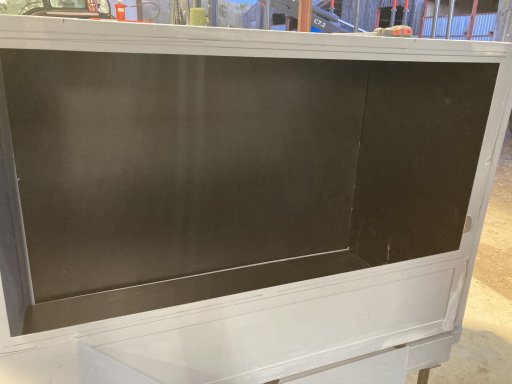
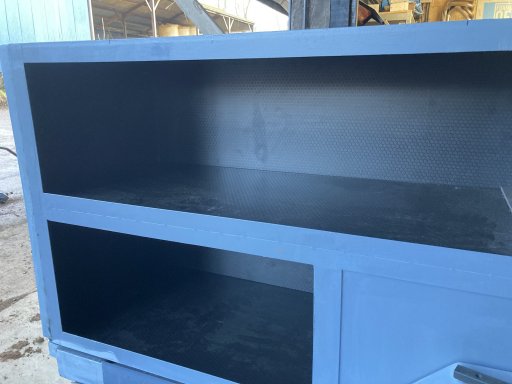
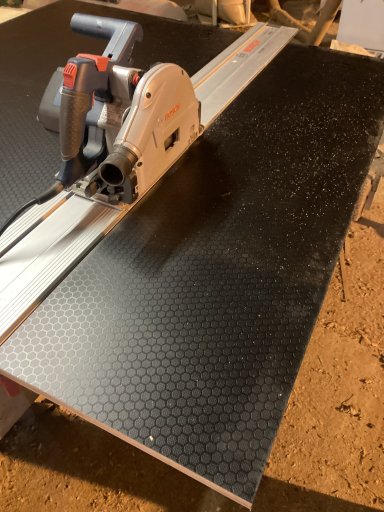
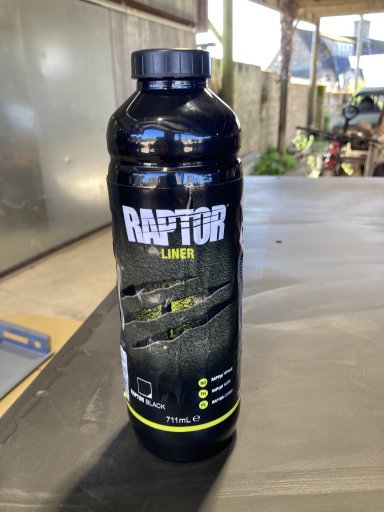
got some time on the trailer-making the fridge shelf for the rear box. Going to spray it with aerosol bed liner which I have lying around unused,interested to see how it will come out
 

tyndall

Rank II

Enthusiast III

After a busy summer,I am finding some time in the dark mornings to get some more of the trailer done.
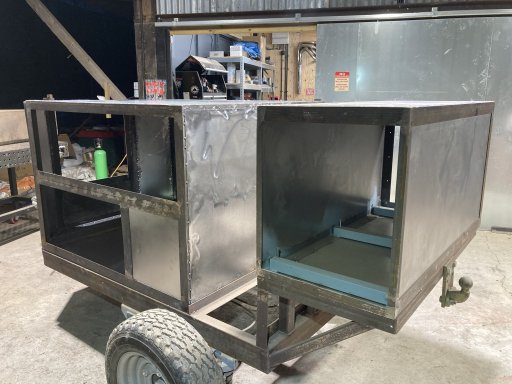
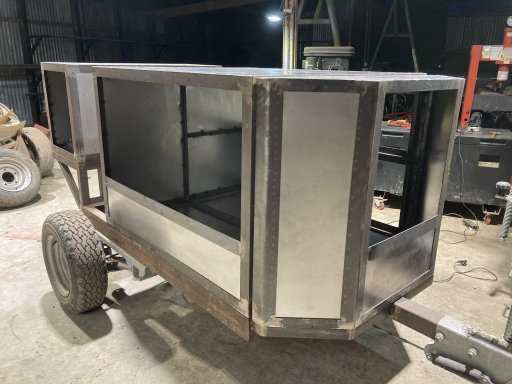
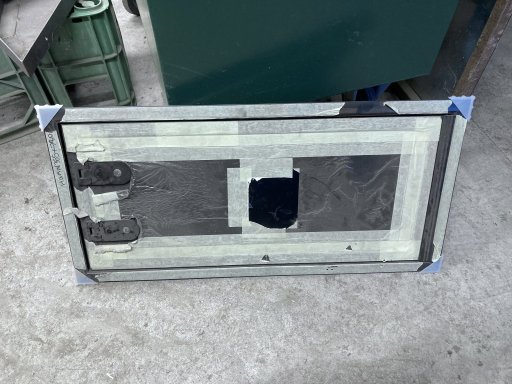
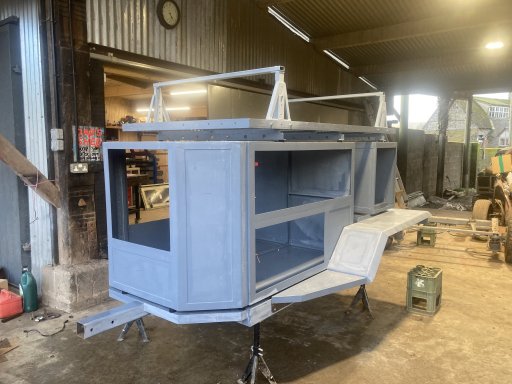
I have skinned the boxes with sheet steel- leaving gaps for the doors. I was offered a much better price on the pre made doors,so I bit the bullet-now have 5 doors ready to go in .
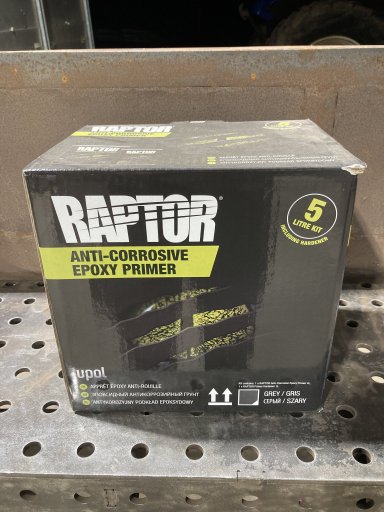
Next job will be getting some undercoat on to stop the rust.
 

Attachments

tyndall

Rank II

Enthusiast III

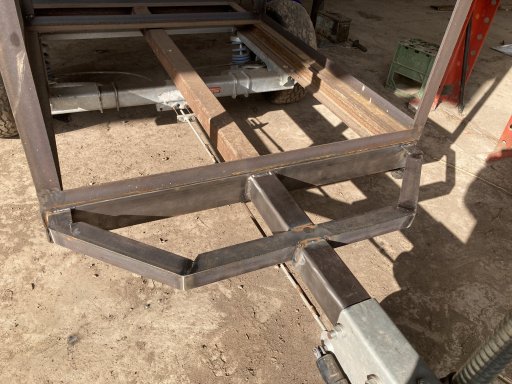
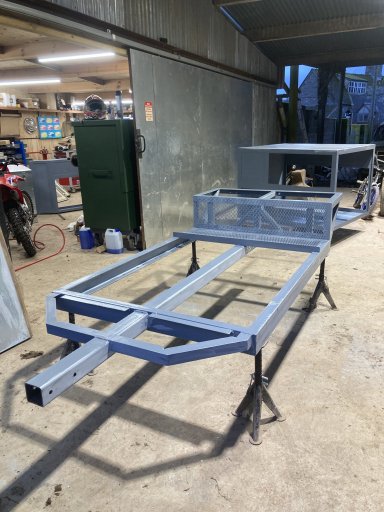
IMG_1691.jpegIMG_1692.jpeg

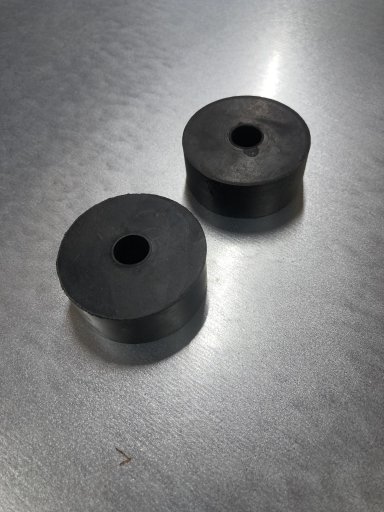
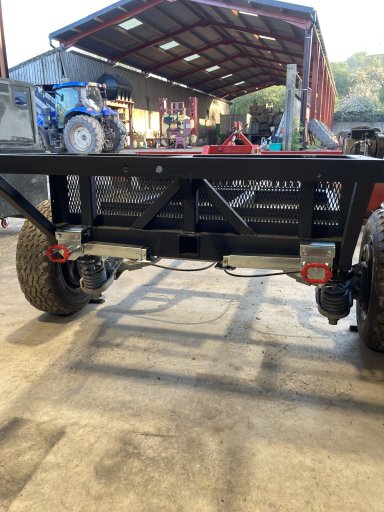
Got some paint on it now-next is a test fit of all the parts-I’m thinking to use rubber spacers to isolate the boxes from the chassis