Advocate III
- 5,584
- First Name
- Michael
- Last Name
- Rose
- Member #
20990
- Ham/GMRS Callsign
- W7FSB
- Service Branch
- US ARMY Retired
Advocate III
20990

Explorer I
23711
No updates yet. I'm still working out the design. I toyed with the idea of making the box removable so I can still use the trailer for utility purposes as well. I just don't think it's gonna work that way.Any updates on your trailer build?
Explorer I
23711
Explorer I
23711

Explorer I
23711
Yeah, they're not crazy expensive right now here either, but I like the idea of using extruded aluminum.2x4 8s just dropped here from $17 each to $4 each
but you won't regret using aluminium
Explorer I
23711

Steward I
Explorer I
23711

Advocate II
27527
Advocate III
20990
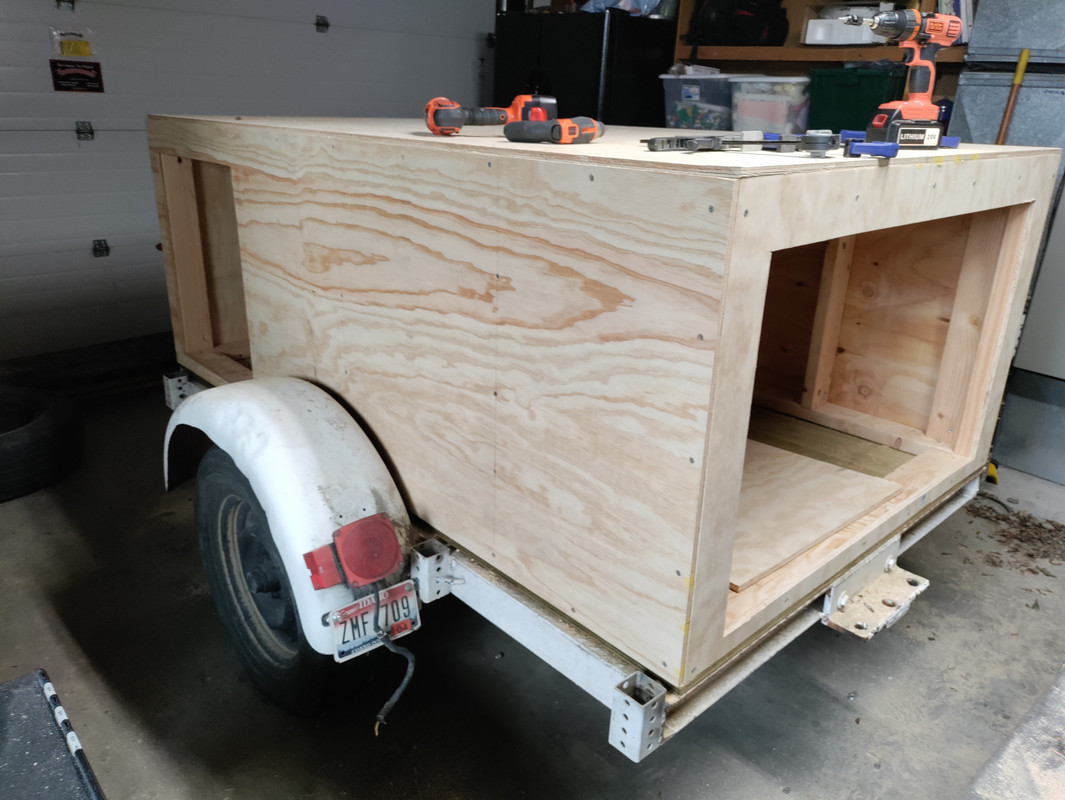
Looking good buddy… but wow that’s going to be one heavy trailer… way to over build it… me likesSo, with getting the week off of work, and the fact that I have many trips planned for next year, I decided it was time to start building the trailer.
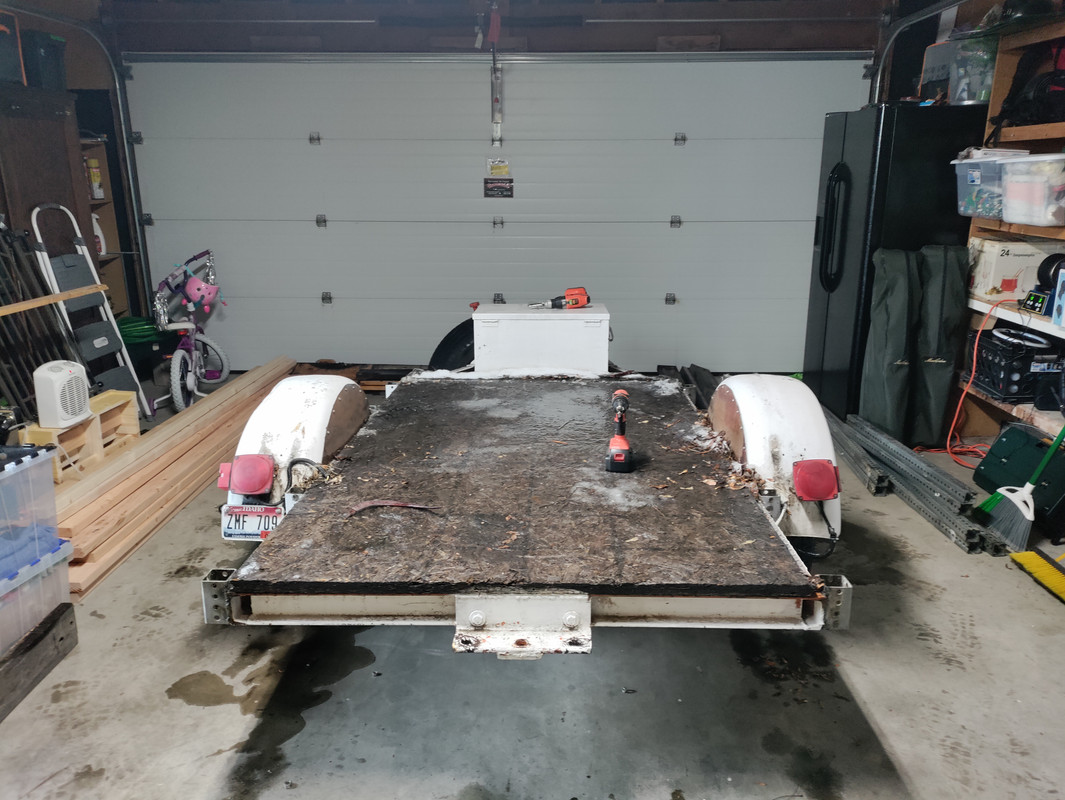
I've taken over my parents garage for the week, and today, my dad and I got ALOT done on the trailer.
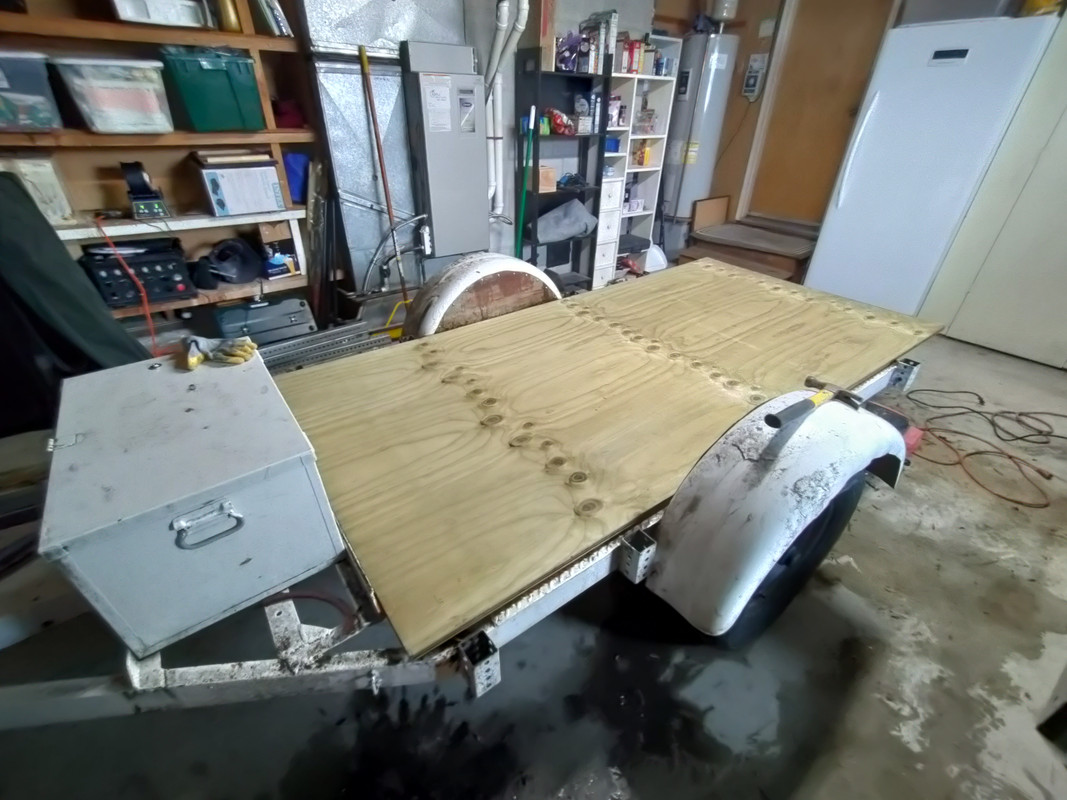
We got all the old wood and steel signpost uprights off the trailer.
Hadn't taken the old deck off yet at this point.
Once we got the old rotten osb off, I cleaned up the sheet metal on the bottom, and inspected the frame. No rust, no deterioration to speak of.
With the bare frame exposed, we measured the length of the deck, and decided to bump the length from 72in to 78 3/4 inches.
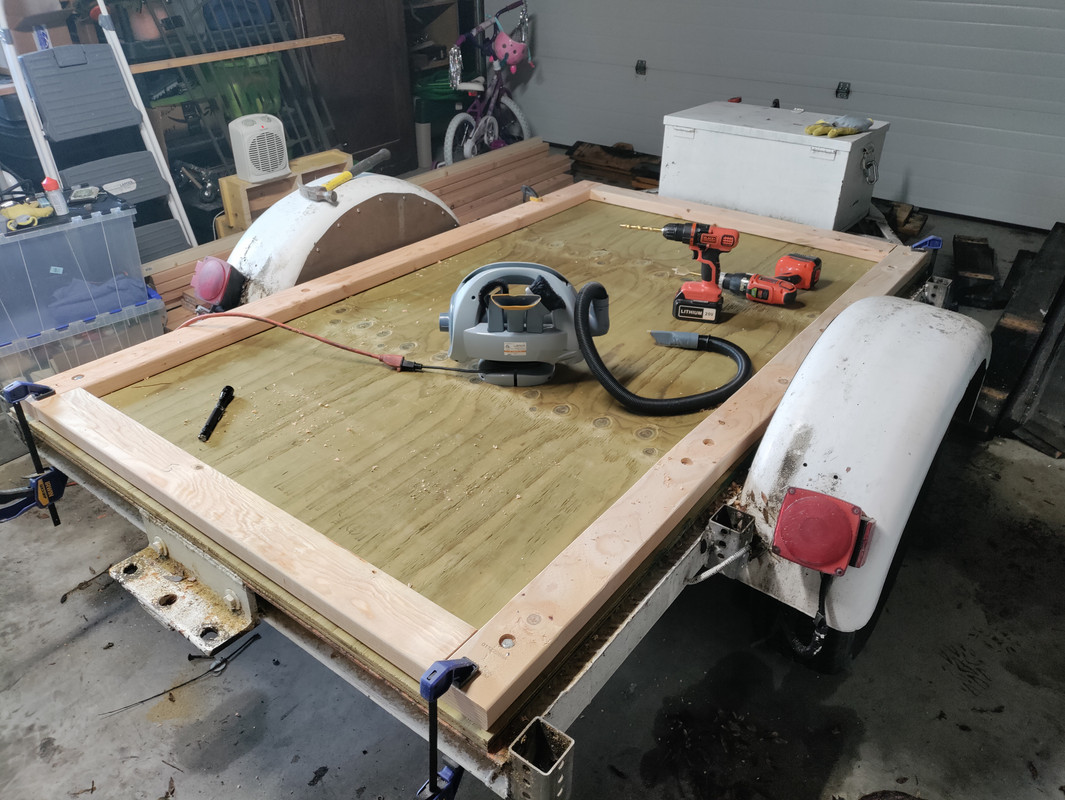
We then layed the 2x4 runners that the base of the walls will screw to at the bottom, and drilled 8 holes all the way through the steel deck to bolt the box to the frame.
We then glued and screwed the vertical supports to the runners.
And finally, we glued and screwed the horizontal supports.
That's all for day one. Tomorrow the walls go on, and we start working on how to do the doors. I also need to order the taillights, which will likely be here Wednesday.
Explorer I
23711
I don't think it'll be too bad. It'll probably weigh about 1000 lbs or so when empty. But.... It'll definitely hold all our stuff.Looking good buddy… but wow that’s going to be one heavy trailer… way to over build it… me likes
Advocate III
20990
I don't think it'll be too bad. It'll probably weigh about 1000 lbs or so when empty. But.... It'll definitely hold all our stuff.Looking good buddy… but wow that’s going to be one heavy trailer… way to over build it… me likes
I need to call a local guy about rhino lining the exterior of the box.
Explorer I
23711
My dad and I talked about that today, and figured out a way we're we can lift the box off the frame. Once it warms up in the spring, it's getting a diy bedliner coating.Rhino Liner rolls on really easily. I would DIY it.
Advocate II
27527
I don't think it'll be too bad. It'll probably weigh about 1000 lbs or so when empty. But.... It'll definitely hold all our stuff.
I need to call a local guy about rhino lining the exterior of the box.
Explorer I
23711
My dad and I talked about that today, and figured out a way we're we can lift the box off the frame. Once it warms up in the spring, it's getting a diy bedliner coating.Rhino Liner rolls on really easily. I would DIY it.
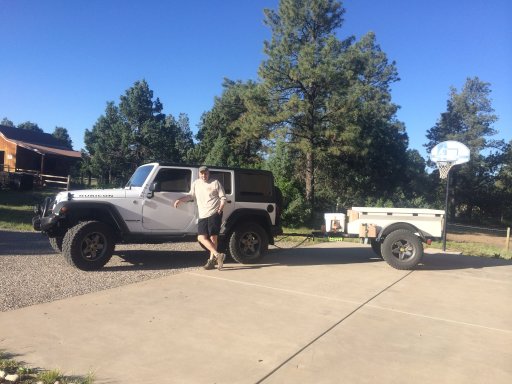
Duely noted. I'm debating roll on, or spray on raptor liner. Raptor will be more expensive, and I'd need to buy a spray gun, but it may be worth the extra cost. I'm not sure yet.a note about the Rhino lining. In my first picture of the white trailer box behind the JKUR, that box was made of plywood. Even after a primer, the Rhino liner soaked right in. So I recommend priming it twice before Rhino lining to ensure a good base.
Advocate II
27527
My dad and I talked about that today, and figured out a way we're we can lift the box off the frame. Once it warms up in the spring, it's getting a diy bedliner coating.
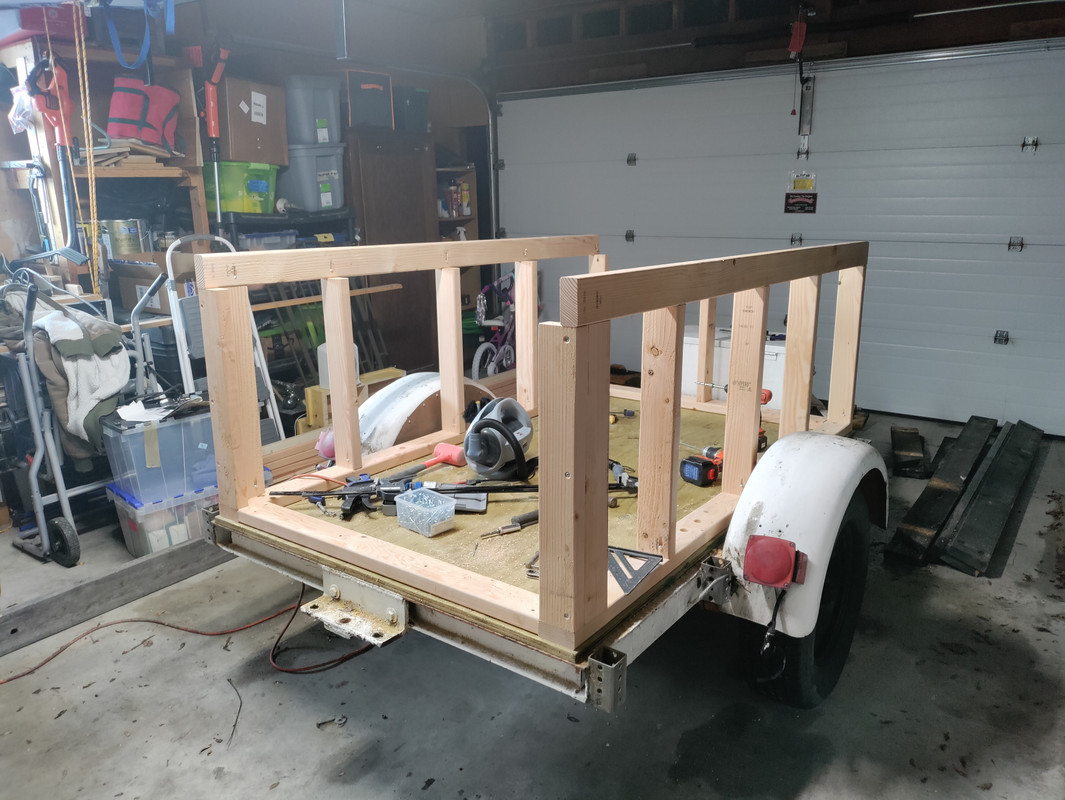
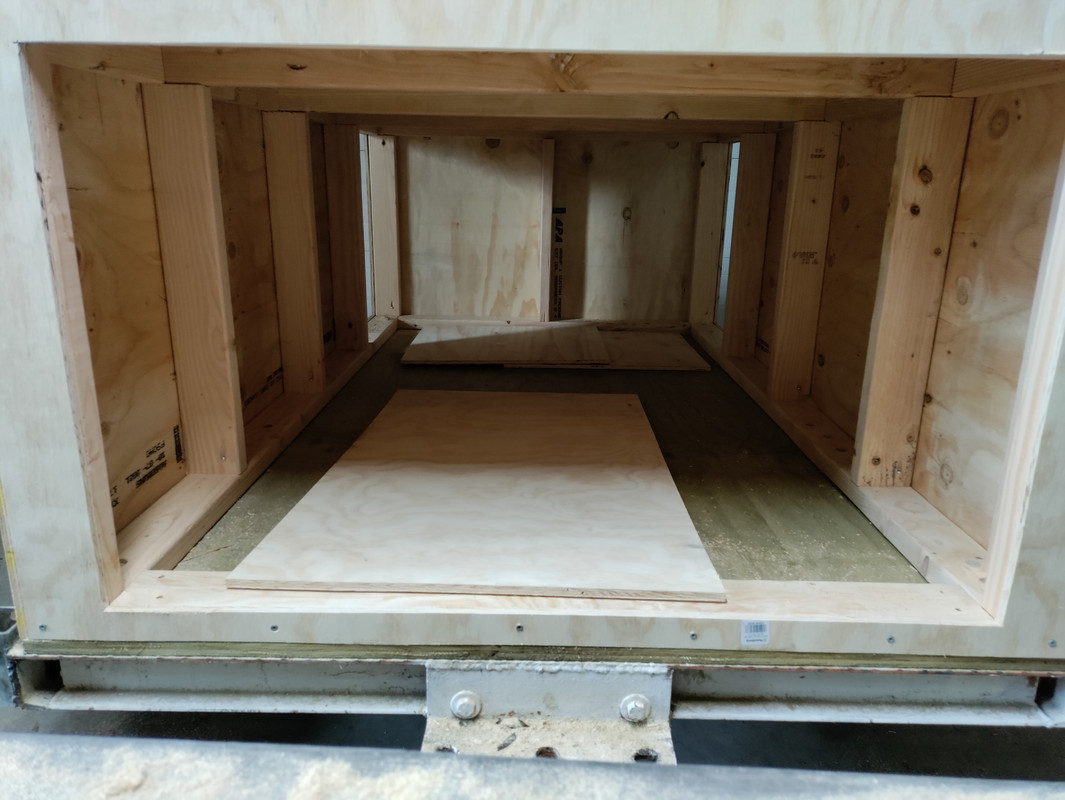
As for the build, we got all the walls glued and screwed today, along with the doors cut out.
Looking inside the trailer....
SO MUCH ROOM!
Hinges came today, so tomorrow we can figure out the doors, get them mounted, and install the latches.
Duely noted. I'm debating roll on, or spray on raptor liner. Raptor will be more expensive, and I'd need to buy a spray gun, but it may be worth the extra cost. I'm not sure yet.
Explorer I
23711
Advocate II
27527
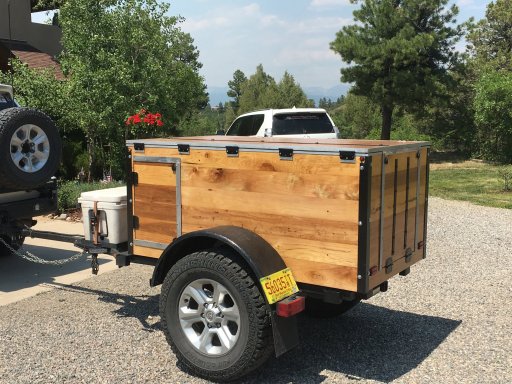
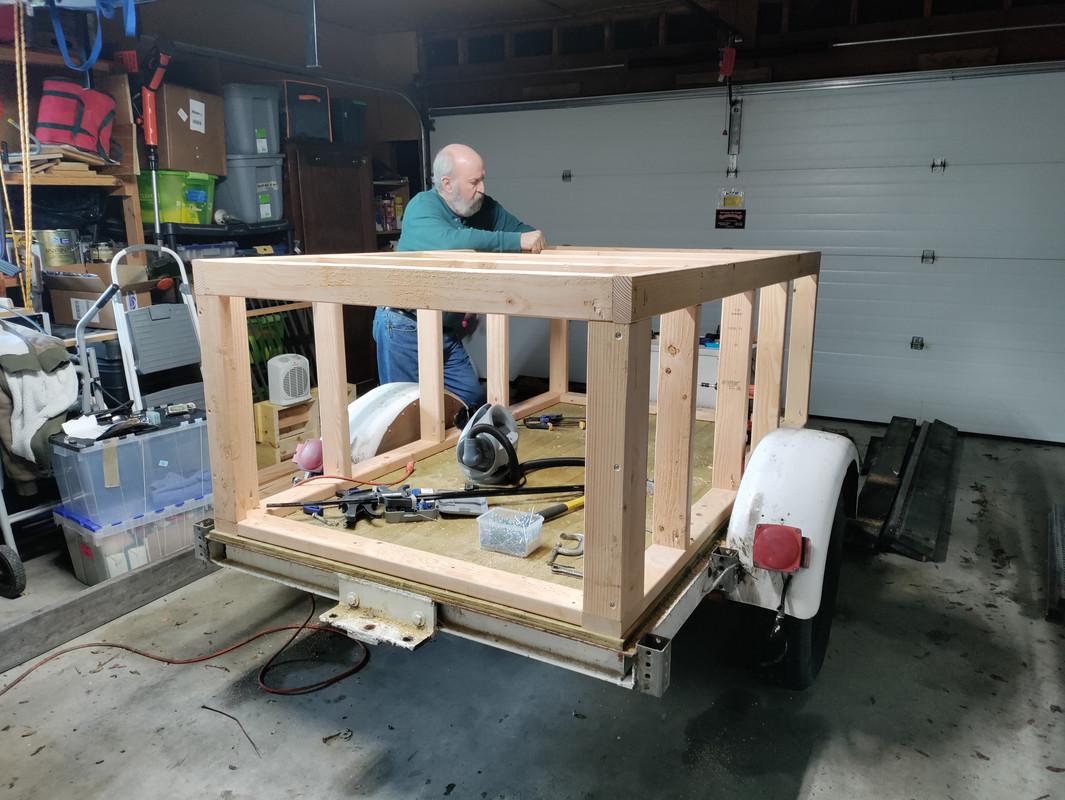
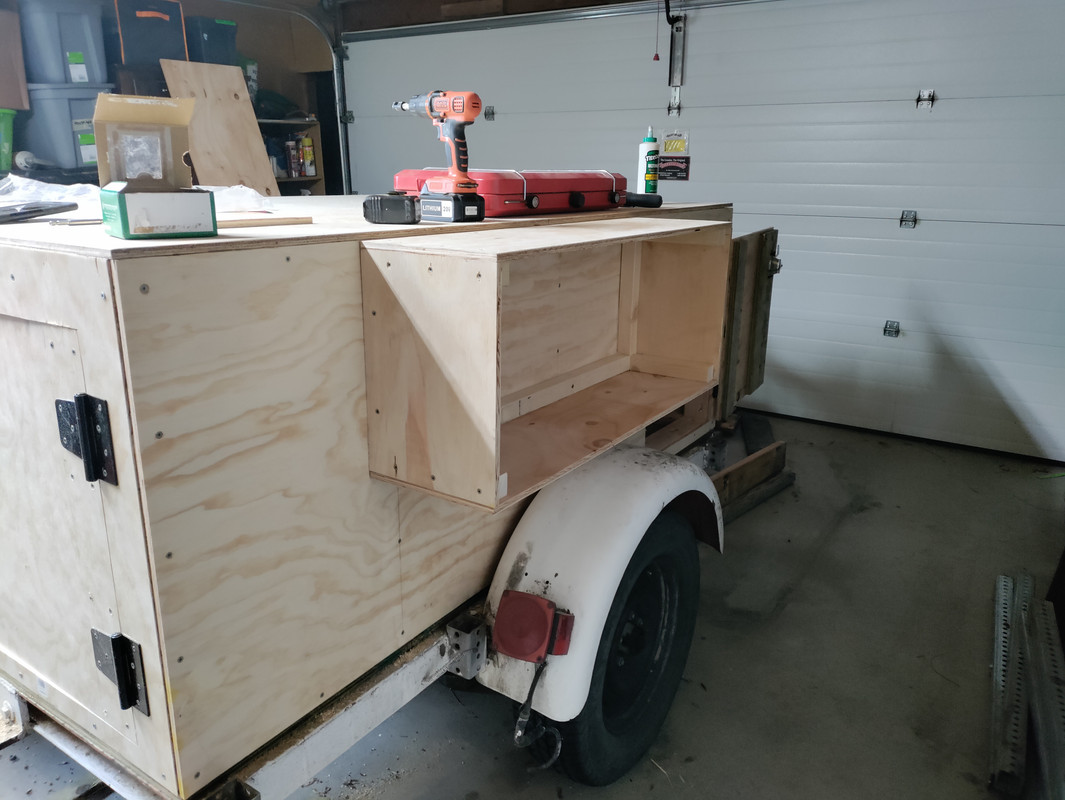
So, the base box is done.
We had plenty of plywood left over, so we built a box to hold my kitchen stuff on one side:
Still lots of work left to do. I need to rebuild the doors, add re-enforcement to the middle of the kitchen box, paint it (obviously). At that point, it'll at least be usable. My goal is to have that all done prior to my annual memorial day trip.
Explorer I
23711
The kitchen box door? My plan is to have the stove mounted to the door, so when you open the box (hinge at the bottom) the stove is right there. Along with pots and pans, any pretty much anything else we need.That door could make a really nice table