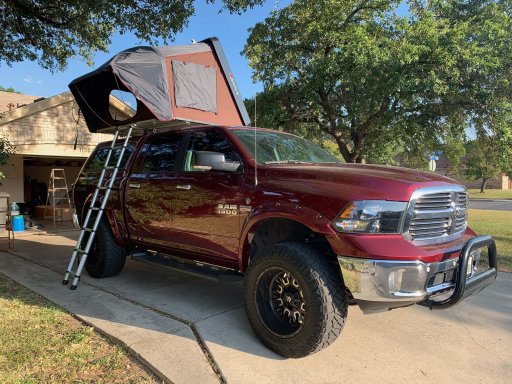
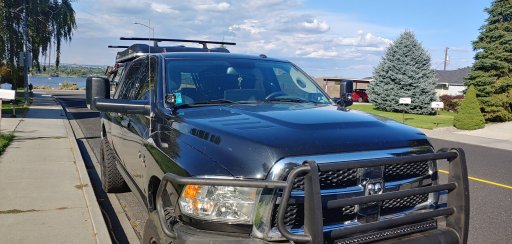
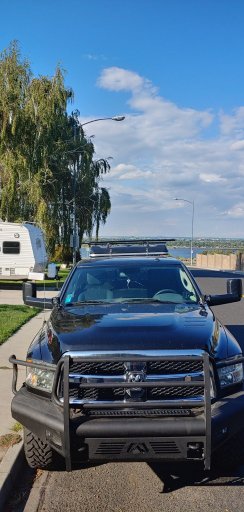
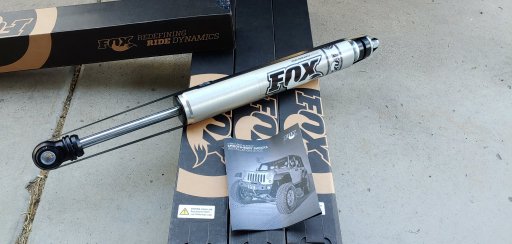
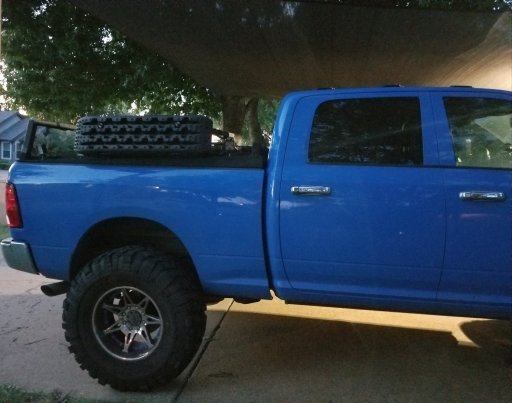
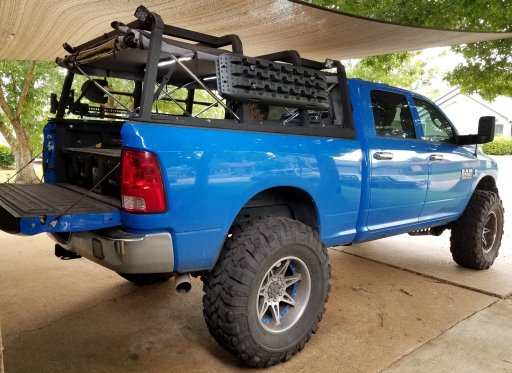
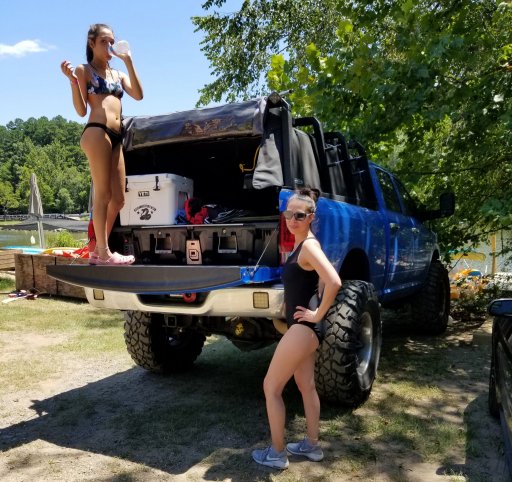
I am more of a designer than a builder. Thankful we have folks like [B]PNW EXPLR[/B] that would be able to help.
-
Guest, UPDATE We went through the site migration runbook and completed all steps. We will need to complete the migration next week, but will leave the forums up for the weekend. A few days after maintenance, a major upgrade revision to the forum site will occur.

Explorer I
- 4,285
- First Name
- Michael
- Last Name
- Denniston
- Member #
-
3030
- Ham/GMRS Callsign
- KJ7LYZ
Meanwhile back in the driveway,
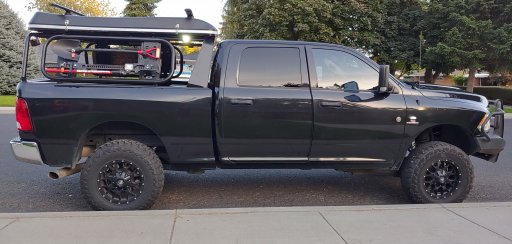
I have been hesitant to paint and install the panels that protect the back window from contact. But, I decided that I wanted to see some color on them. My original thought was to powder coat them an orange. Want to break the black up, but I went with some metallic gun metal.
What do you guys think?
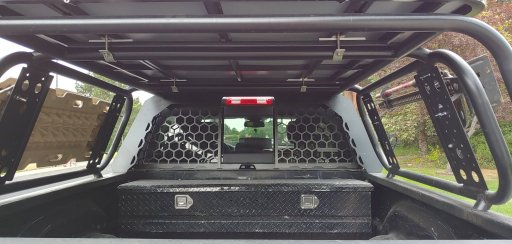
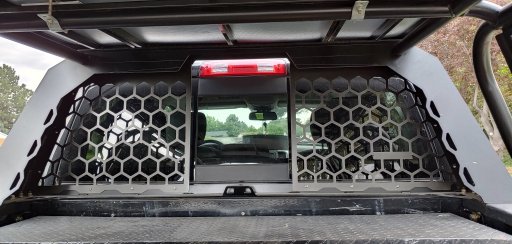
I have been hesitant to paint and install the panels that protect the back window from contact. But, I decided that I wanted to see some color on them. My original thought was to powder coat them an orange. Want to break the black up, but I went with some metallic gun metal.
What do you guys think?


Enthusiast II

Explorer I
- 4,285
- First Name
- Michael
- Last Name
- Denniston
- Member #
-
3030
- Ham/GMRS Callsign
- KJ7LYZ

Influencer I
Have to say the orange would probably look janky glad you went with the gun metal. Besides black on a vehicle. The gun metal is my next favorite color! The old ladys f150 is that color and looks sharp with black accents!Meanwhile back in the driveway,
I have been hesitant to paint and install the panels that protect the back window from contact. But, I decided that I wanted to see some color on them. My original thought was to powder coat them an orange. Want to break the black up, but I went with some metallic gun metal.
What do you guys think?
View attachment 111779
View attachment 111780

Influencer I
Thats the ikamper hard top. I like the one you @pne explr went with (pop up)RAM 1500 build coming along.View attachment 111784

Explorer I
- 4,285
- First Name
- Michael
- Last Name
- Denniston
- Member #
-
3030
- Ham/GMRS Callsign
- KJ7LYZ
The ikamper was a strong contender. It really came down to being able to carry my canoe and mtb bike.Thats the ikamper hard top. I like the one you @pne explr went with (pop up)
I just ordered bars for the top of my CVT from rhino rack today.

Explorer I
- 4,285
- First Name
- Michael
- Last Name
- Denniston
- Member #
-
3030
- Ham/GMRS Callsign
- KJ7LYZ

Influencer I

Enthusiast III
Very nice! Glad it worked out.Finally figured out the load bars with the help of OB member @100RNR
View attachment 112172
View attachment 112173

Explorer I
- 4,285
- First Name
- Michael
- Last Name
- Denniston
- Member #
-
3030
- Ham/GMRS Callsign
- KJ7LYZ

Influencer I

Explorer I
- 4,285
- First Name
- Michael
- Last Name
- Denniston
- Member #
-
3030
- Ham/GMRS Callsign
- KJ7LYZ
PROJECT - "AMP HOURS"
Hey Everyone!
Hope you all have had a good weekend.
I have been working on the idea of an auxiliary battery setup and a power bank for the bed of my truck. I have been trying to figure out how to mount a large battery and not give up a bunch of prime space. This is what I came up with.....
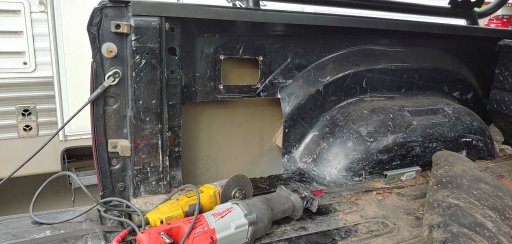
I realized I would need to chop a huge hole. There is so much unused space between the outer bed and the inner bed, like 4 1/2". So I started cutting.....
This is the hole for the power distribution panel,
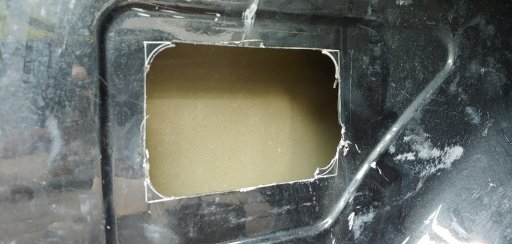
And here is the big hole for the group 29 deep cycle,
I spent Saturday fabricating the custom battery box. I started by making a base frame from 1" angle iron,
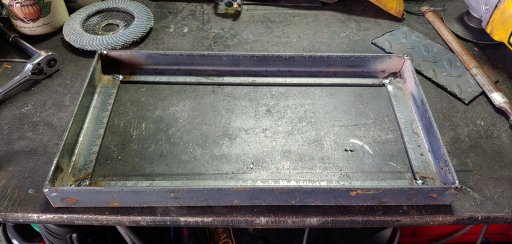
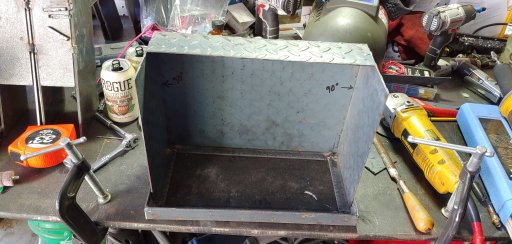
Then I took a small sheet of 12 gauge diamond plate and made the box,
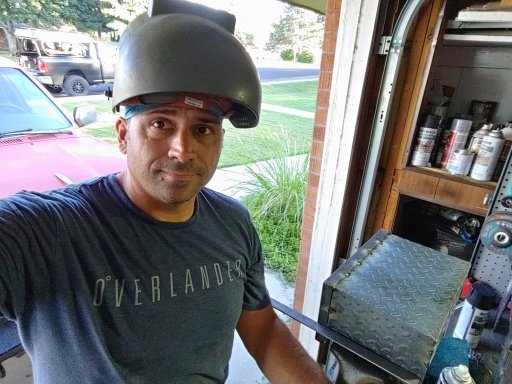
Here is a rare sighting of me in my natural habitat,
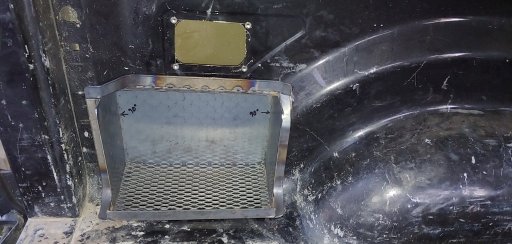
I used some flat bar to make the flange and some expanded metal for the floor. A lot of test fitting was required to match the contours of the bed wall.
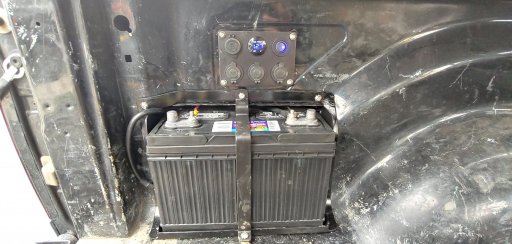
Fast forward to the final product,
Tomorrow I will start installing the isolator kit. This will allow me to charge the "house" battery when the truck is running, but prevent me from killing the truck starting batteries when using various accessories.
Have a great week guys!
Hey Everyone!
Hope you all have had a good weekend.
I have been working on the idea of an auxiliary battery setup and a power bank for the bed of my truck. I have been trying to figure out how to mount a large battery and not give up a bunch of prime space. This is what I came up with.....
I realized I would need to chop a huge hole. There is so much unused space between the outer bed and the inner bed, like 4 1/2". So I started cutting.....
This is the hole for the power distribution panel,

And here is the big hole for the group 29 deep cycle,

I spent Saturday fabricating the custom battery box. I started by making a base frame from 1" angle iron,

Then I took a small sheet of 12 gauge diamond plate and made the box,

Here is a rare sighting of me in my natural habitat,

I used some flat bar to make the flange and some expanded metal for the floor. A lot of test fitting was required to match the contours of the bed wall.

Fast forward to the final product,

Tomorrow I will start installing the isolator kit. This will allow me to charge the "house" battery when the truck is running, but prevent me from killing the truck starting batteries when using various accessories.
Have a great week guys!
Last edited:

Pathfinder I
That's rad! I'm always thinking of what I could store under the bed. There's all kinds of room under there.Hey Everyone!
Hope you all have had a good weekend.
I have been working on the idea of an auxiliary battery setup and a power bank for the bed of my truck. I have been trying to figure out how to mount a large battery and not give up a bunch of prime space. This is what I came up with.....
I realized I would need to chop a huge hole. There is so much unused space between the outer bed and the inner bed, like 4 1/2". So I started cutting.....
This is the hole for the power distribution panel,
View attachment 118740
And here is the big hole for the group 29 deep cycle,
View attachment 118741
I spent Saturday fabricating the custom battery box. I started by making a base frame from 1" angle iron,
View attachment 118742
Then I took a small sheet of 12 gauge diamond plate and made the box,
View attachment 118743
Here is a rare sighting of me in my natural habitat,
View attachment 118745
I used some flat bar to make the flange and some expanded metal for the floor. A lot of test fitting was required to match the contours of the bed wall.
View attachment 118746
Fast forward to the final product,
View attachment 118747
Tomorrow I will start installing the isolator kit. This will allow me to charge the "house" battery when the truck is running, but prevent me from killing the truck starting batteries when using various accessories.
Have a great week guys!
Are you going to build a cover for the battery?

Explorer I
- 4,285
- First Name
- Michael
- Last Name
- Denniston
- Member #
-
3030
- Ham/GMRS Callsign
- KJ7LYZ
Thanks @JCWages . Not sure about the cover. I have given some thought as to the + terminal being exposed. If I do a cover, I would want it easily removable. I have plans to use a solar panel with a built in controller that can just be clipped onto the battery.That's rad! I'm always thinking of what I could store under the bed. There's all kinds of room under there.
Are you going to build a cover for the battery?

Explorer I
- 4,285
- First Name
- Michael
- Last Name
- Denniston
- Member #
-
3030
- Ham/GMRS Callsign
- KJ7LYZ
So I a little behind on the updates.
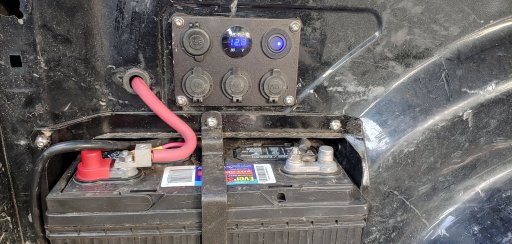
Last weekend I was finally able to complete the Aux Battery upgrade. The snag was due to the main battery cable that came with the isolator kit ended up about 3 feet short. So I had to order a longer one. Because of the added distance, I decided to step up the cable size to 1/0. This will more than handle the 140 potential amps.
Here are the final connections,


Explorer I
- 4,285
- First Name
- Michael
- Last Name
- Denniston
- Member #
-
3030
- Ham/GMRS Callsign
- KJ7LYZ
I only had today off this week. And with the Coyote Works Oregon trip just 5 days away I needed to get a few things done.
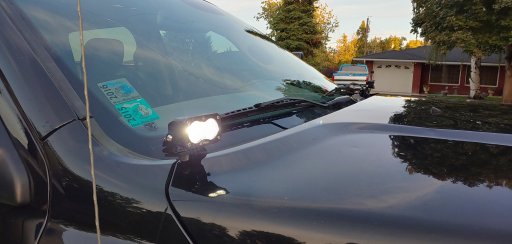
First I replaced the Rigid Radiance ditch lights with a set of Baja Designs S2 Pros. I was not satisfied with the light output of the Rigids. They are a great scene light, just not enough throw for the front.
Here are the S2's,
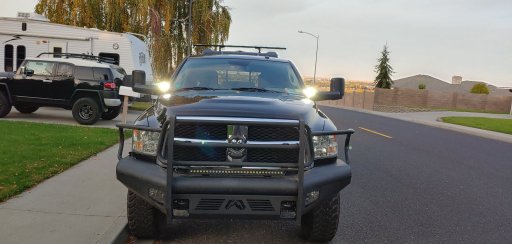
I moved the Rigids to the rear of the truck where I think they will do very well as reverse/area lights.
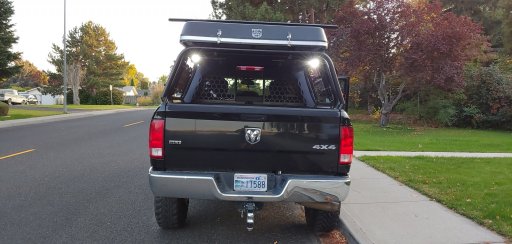
While I was at it, I decided to mount a set of cheap flood pods to the rack for side area lights. I wired the left and right sides on separate switches on the Switch Pros. I thought this was a good idea, making it possible to place light only where needed
First I replaced the Rigid Radiance ditch lights with a set of Baja Designs S2 Pros. I was not satisfied with the light output of the Rigids. They are a great scene light, just not enough throw for the front.
Here are the S2's,


I moved the Rigids to the rear of the truck where I think they will do very well as reverse/area lights.

While I was at it, I decided to mount a set of cheap flood pods to the rack for side area lights. I wired the left and right sides on separate switches on the Switch Pros. I thought this was a good idea, making it possible to place light only where needed


Influencer I

Explorer I
- 4,285
- First Name
- Michael
- Last Name
- Denniston
- Member #
-
3030
- Ham/GMRS Callsign
- KJ7LYZ

Enthusiast III
I REALLY like that! Ive mounted lights on all 4 bed corners as well. I have a half bed rack, and full bed rack. I have a marine outdoor switch panel that i cut into the "Decked" drawer system
Attachments
-
450.4 KB Views: 53
-
697.6 KB Views: 75
-
805 KB Views: 76


