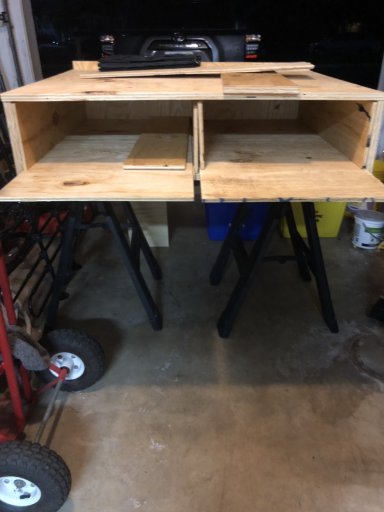
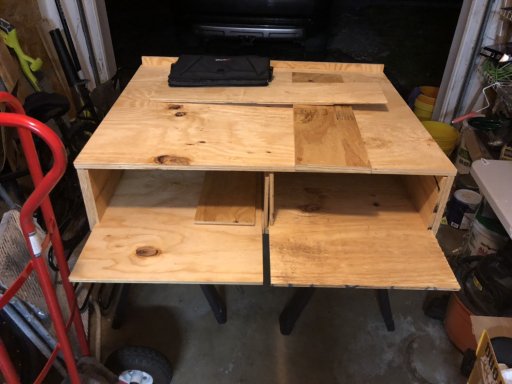
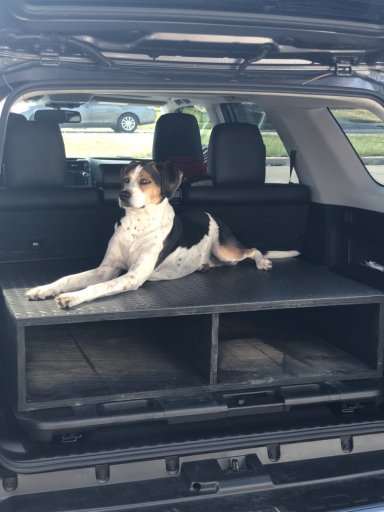
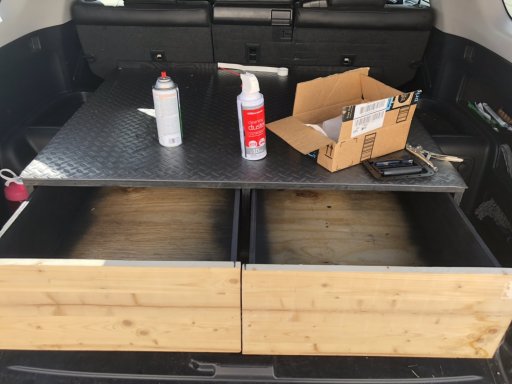
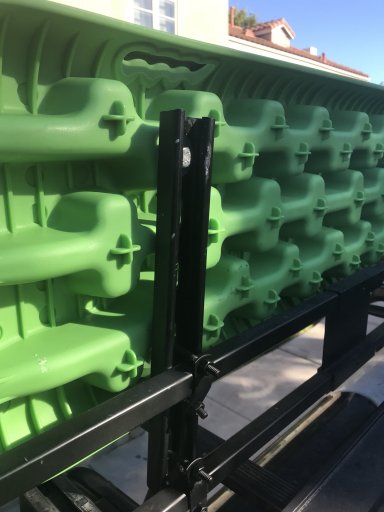
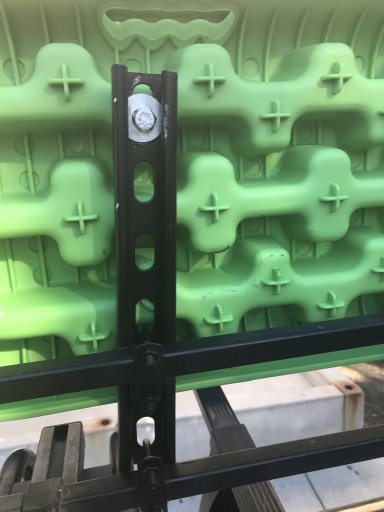
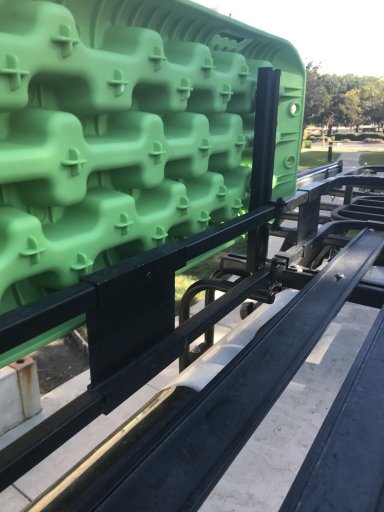
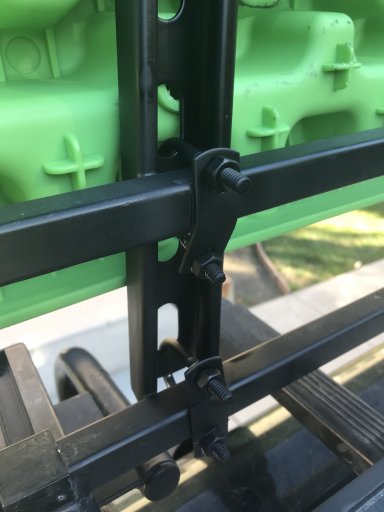
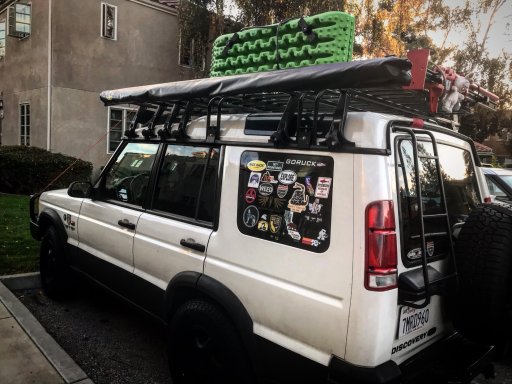
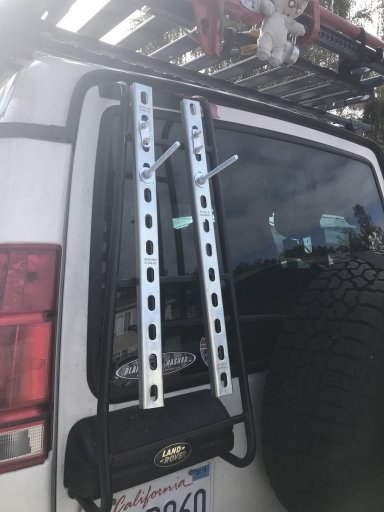
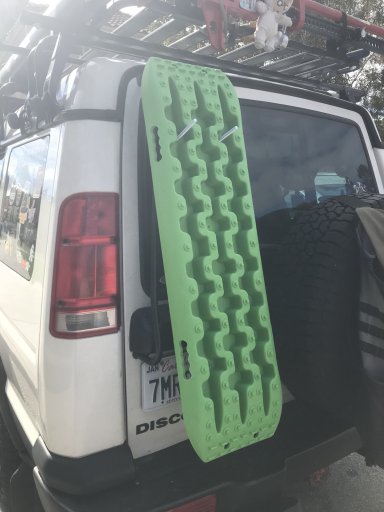
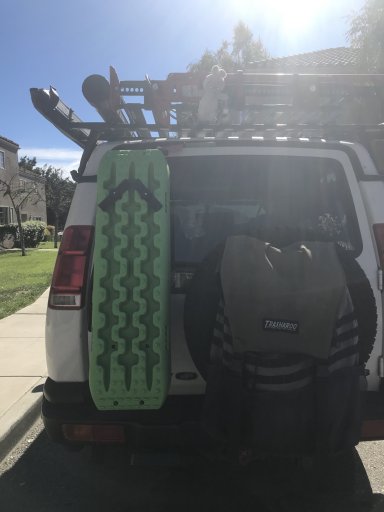
Let’s see some DIY projects that’s been done for your Rigs.

  • HTML tutorial

Ruben Ferran

Rank VI
Launch Member

Influencer I

3,220
Boca Raton, FL, USA
First Name
RUBEN
Last Name
FERRAN
Member #

14528

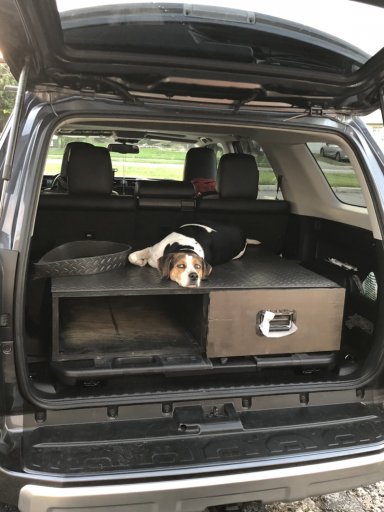
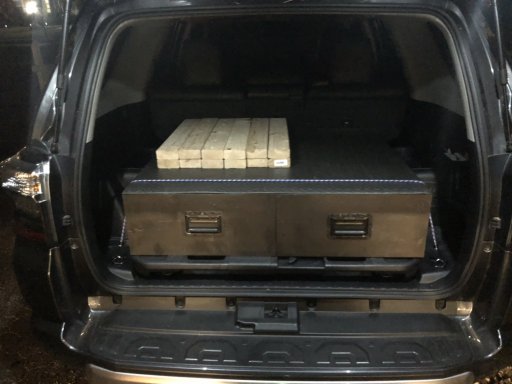
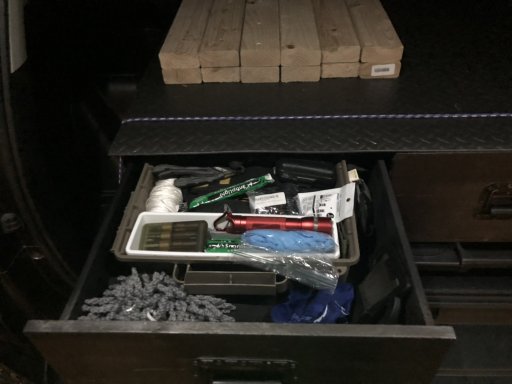
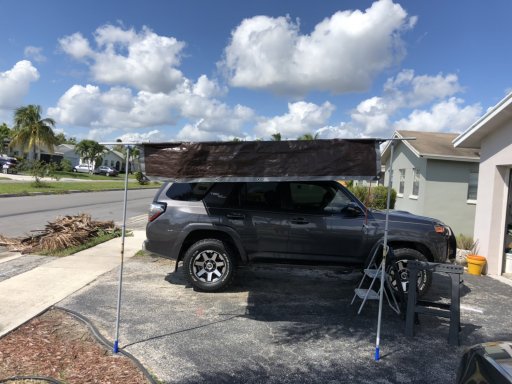
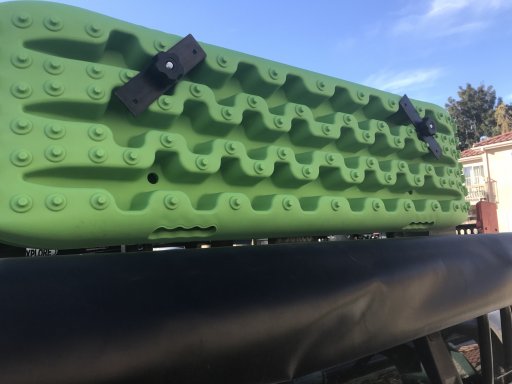
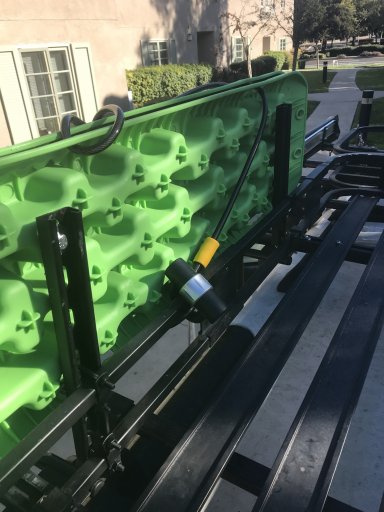
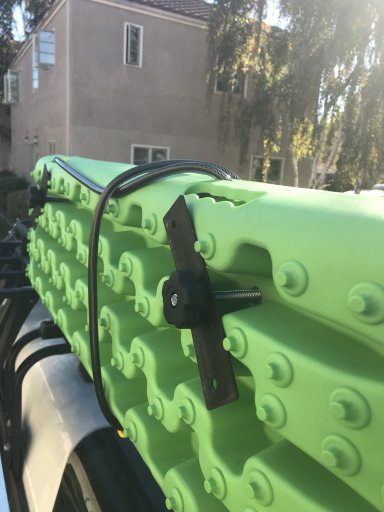
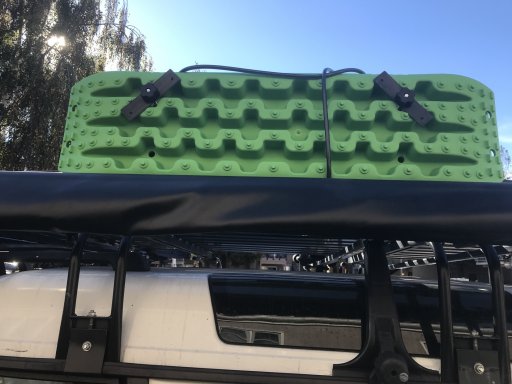
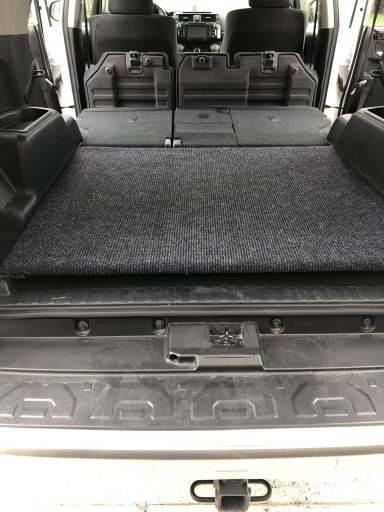
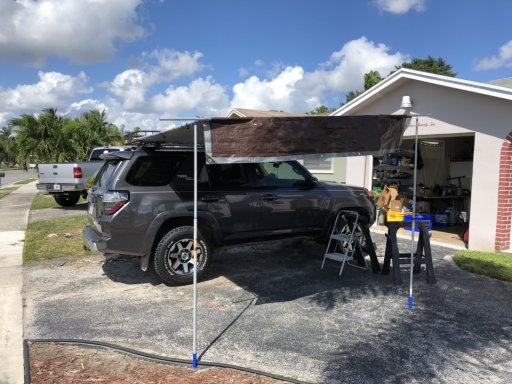
i love the outdoors and camping and I’m new to overlanding, that being said I’m on a budget, so I built an awning and a sliding draw for the back of my 2018 4Runner so far, and replaced the tires with BF Goodrich A/T tires, upgraded the headlights and fog (amber) lights to LED’s and all interior lights to LED’s as well.IMG_7700.JPGIMG_7702.JPGIMG_7712.JPGIMG_7718.JPGIMG_7730.JPGIMG_7733.JPGIMG_7735.JPGIMG_7526.JPGIMG_7529.JPG
 

Ruben Ferran

Rank VI
Launch Member

Influencer I

3,220
Boca Raton, FL, USA
First Name
RUBEN
Last Name
FERRAN
Member #

14528

  • Like
Reactions: ALG

brien

Sonoran Space Program
Staff member
Moderator
Member

Off-Road Ranger I

3,402
Tucson, AZ
First Name
Brien
Last Name
Wankel
Member #

3553

Ham/GMRS Callsign
K7XPO
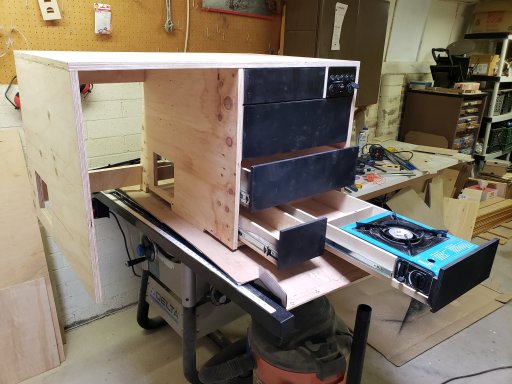
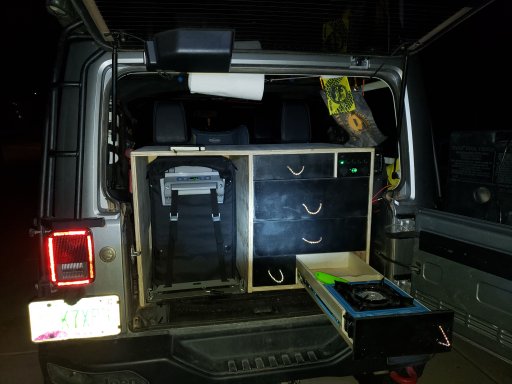
I slapped together a fridge surround and drawer system for the back of our JKU. I was kind of in a rush because I wanted to use it for a bit trip early this month but only had about a week. My drawer spacing is a bit sloppy but i'm 100% happy with the functionality. My desire for perfection doesn't match my current wood working abilities, so I am treating this as the prototype version, and I think i'm going to rebuild a whole new one using 80/20 instead.. but that's a project for next year.
20181002_121159.jpg 20181003_191038.jpg
In the upper right corner is a 5 switch electrical panel that i have direct wired to the battery with 8AWG wire and through a 30A auto reset breaker in the engine compartment. Currently I only have the fridge and the stern lights wired into the panel. The remaining three are for future expansion, one of them will likely be a water pump after i stash a small water tank somewhere in the vehicle, and another will likely be some more exterior lights.

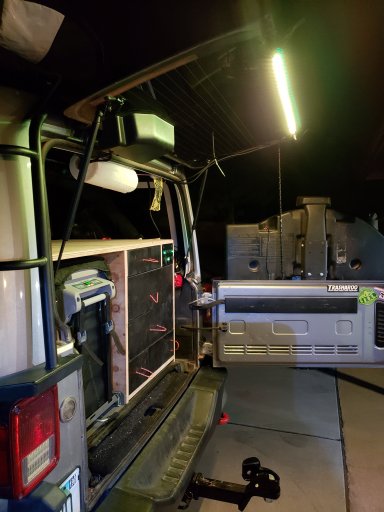
The stern lighting is just an RGB LED light strip with a sticky back that i stuck to the bottom of the tailgate window. I wired an extension wire to run it from there to a LED controller that is mounted on the side of the storage surround.
20181003_221855.jpg
 

Ruben Ferran

Rank VI
Launch Member

Influencer I

3,220
Boca Raton, FL, USA
First Name
RUBEN
Last Name
FERRAN
Member #

14528

I slapped together a fridge surround and drawer system for the back of our JKU. I was kind of in a rush because I wanted to use it for a bit trip early this month but only had about a week. My drawer spacing is a bit sloppy but i'm 100% happy with the functionality. My desire for perfection doesn't match my current wood working abilities, so I am treating this as the prototype version, and I think i'm going to rebuild a whole new one using 80/20 instead.. but that's a project for next year.
View attachment 74245 View attachment 74243
In the upper right corner is a 5 switch electrical panel that i have direct wired to the battery with 8AWG wire and through a 30A auto reset breaker in the engine compartment. Currently I only have the fridge and the stern lights wired into the panel. The remaining three are for future expansion, one of them will likely be a water pump after i stash a small water tank somewhere in the vehicle, and another will likely be some more exterior lights.

The stern lighting is just an RGB LED light strip with a sticky back that i stuck to the bottom of the tailgate window. I wired an extension wire to run it from there to a LED controller that is mounted on the side of the storage surround.
View attachment 74244
Really good work, Its the same for my draw system. I’m definitely going to redo my system and add tracks and an electrical panel to run a fridge and lighting. I’m currently using poly-something tape. Lol. Does Really good with friction. How does the air flow with the fridge condenser in the box?
 
  • Like
Reactions: Reaper_st84

brien

Sonoran Space Program
Staff member
Moderator
Member

Off-Road Ranger I

3,402
Tucson, AZ
First Name
Brien
Last Name
Wankel
Member #

3553

Ham/GMRS Callsign
K7XPO
Fridge seems to run just fine in the box. The manual recommends leaving at least 10cm around the input and output vents on either side, so I cut out vent holes in the sides of the fridge surround, and then the bottom drawer to the immediate right of the fridge only goes back 12" so the vent hole is never covered. Air seems to flow just fine, doesn't get warm in the drawers or anything when the fridge has been running.
 
  • Like
Reactions: Ruben Ferran

GabrielSyler

Rank V
Launch Member

Enthusiast III

1,721
Chatswood NSW, Australia
Member #

13933

Following on from the drawer fit out theme...

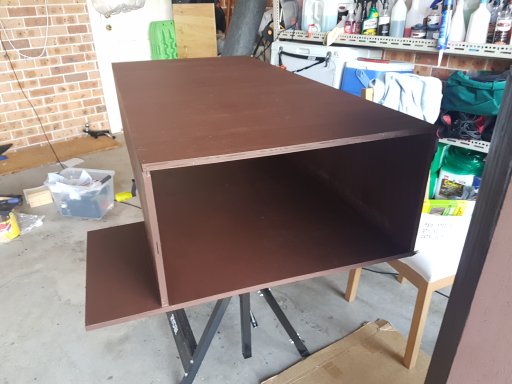
I decided to make my own setup for the back of the ranger since I had particular sizes I wanted to make use of and the off-the-shelf items didn't cater for this. I weighed up the wood vs metal weight and decided that a wooden frame was more suited to my current skillset (and timeframe). The idea was a long heavy duty drawer, a cubby hole for recovery straps, a space for electrics and air compressor and finally a slide for the fridge. The height from top of drawer to tub cover is 250mm which fits all my camping chairs, tent, sleeping back, table etc. Its all very snug and very little wasted space.

13mm plywood frame painted with waterproofing sealer and then varnished. Hopefully this thing won't get damp or warp! The little platform on the side if for the air compressor to mount to
20180211_135059.jpg

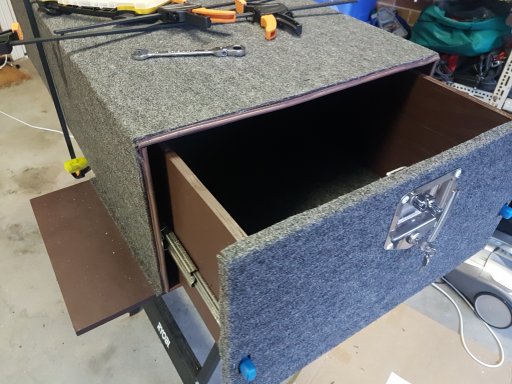
drawer installed on 100kg sliders and externals carpeted.

20180211_193511.jpg

drawer installed and side wing measured up

20180218_172554.jpg

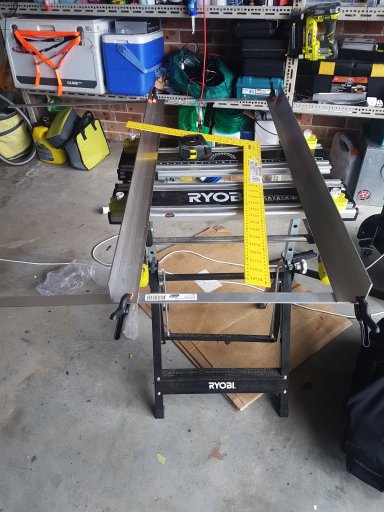
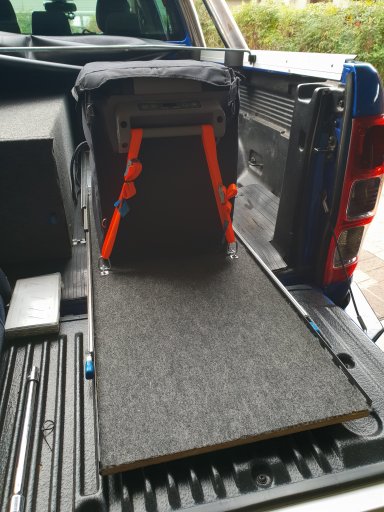
building the fridge slide. I wanted to have the fridge at the rear of the tub and have long sliders so it can fully pull out. This provides me with a shelf for the stove.

20180331_121256.jpg
This is only half slide out. The final position puts the fridge on the tailgate (cabling is wired so it doesn't get tangled)
20180610_143508.jpg

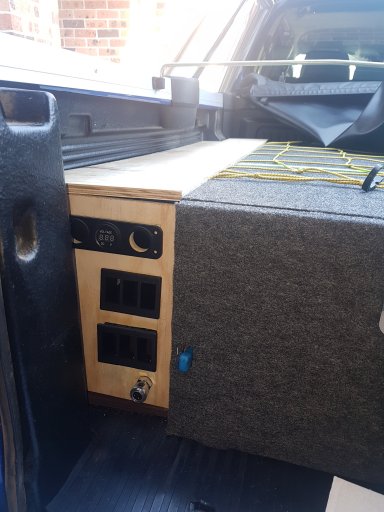
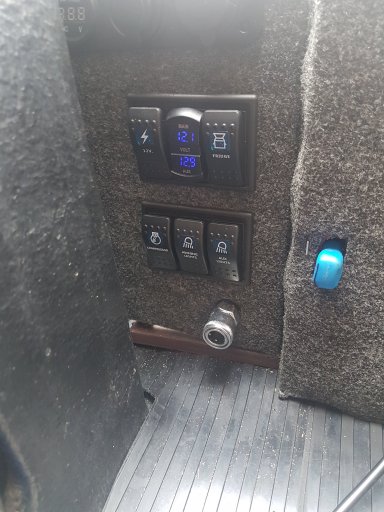
switch panel complete, most of the buttons are also wired up to a remote control. This is useful for the air compressor and also for the work lights when getting out of the tent at night!

20180513_130750.jpg

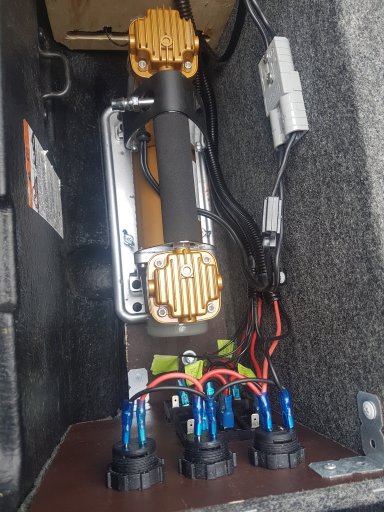
air compressor installed.


F20180513_130727.jpg
 

Ruben Ferran

Rank VI
Launch Member

Influencer I

3,220
Boca Raton, FL, USA
First Name
RUBEN
Last Name
FERRAN
Member #

14528

Following on from the drawer fit out theme...

I decided to make my own setup for the back of the ranger since I had particular sizes I wanted to make use of and the off-the-shelf items didn't cater for this. I weighed up the wood vs metal weight and decided that a wooden frame was more suited to my current skillset (and timeframe). The idea was a long heavy duty drawer, a cubby hole for recovery straps, a space for electrics and air compressor and finally a slide for the fridge. The height from top of drawer to tub cover is 250mm which fits all my camping chairs, tent, sleeping back, table etc. Its all very snug and very little wasted space.

13mm plywood frame painted with waterproofing sealer and then varnished. Hopefully this thing won't get damp or warp! The little platform on the side if for the air compressor to mount to
View attachment 74707

drawer installed on 100kg sliders and externals carpeted.

View attachment 74708

drawer installed and side wing measured up

View attachment 74709

building the fridge slide. I wanted to have the fridge at the rear of the tub and have long sliders so it can fully pull out. This provides me with a shelf for the stove.

View attachment 74710
This is only half slide out. The final position puts the fridge on the tailgate (cabling is wired so it doesn't get tangled)
View attachment 74711

switch panel complete, most of the buttons are also wired up to a remote control. This is useful for the air compressor and also for the work lights when getting out of the tent at night!

View attachment 74712

air compressor installed.


FView attachment 74713
Very impressive.
 
  • Like
Reactions: GabrielSyler

Graeman

Rank V
Launch Member

Off-Road Ranger I

2,876
Catalina Avenue, Tucson, AZ, USA
First Name
Todd
Last Name
Hoffmaster
Member #

4284

Ham/GMRS Callsign
KJ7CRJ
Service Branch
Air Force
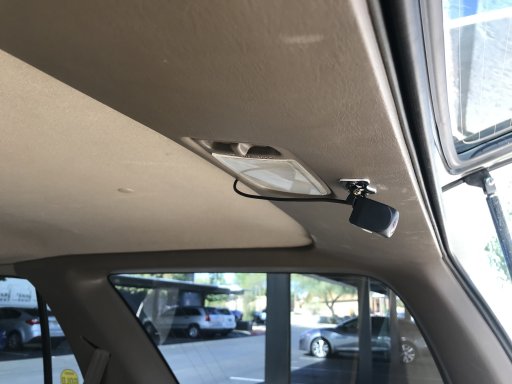
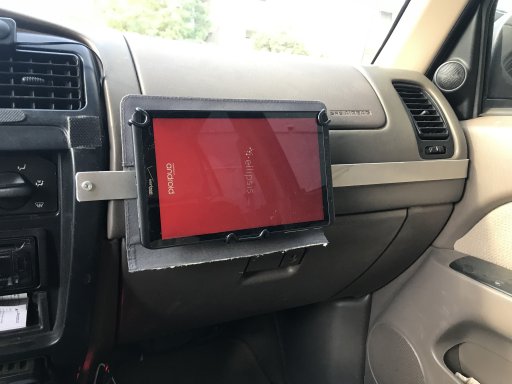
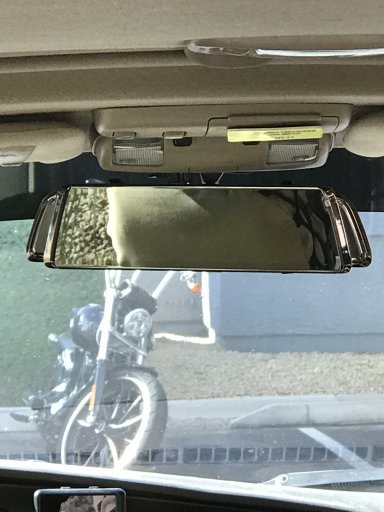
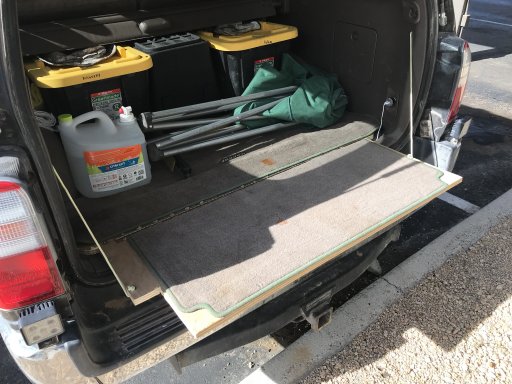
DIY's are where it's at.. I have made a couple of mods for my 4Runner. I made a tablet mount that takes up no extra room and my tablet just slides down into it - perfect for my Gaia App. The next was the dual mirror camera setup. Plus, I built a small table that flips out of the way to use when camping. Look at the left side of the picture - I reused a laundry soap bottle and turned it into my hand washing water bottle. It carries 1.8 gallons and has the nice little plunger type faucet.IMG_0304.JPG IMG_0309.JPG N2F1eDjyTKaEaI5L4oZv0Q.jpg xVSfNL1jRSKFDsaTmJFRbA.jpg IMG_0304.JPG
 
  • Like
Reactions: Ruben Ferran