Following on from the drawer fit out theme...
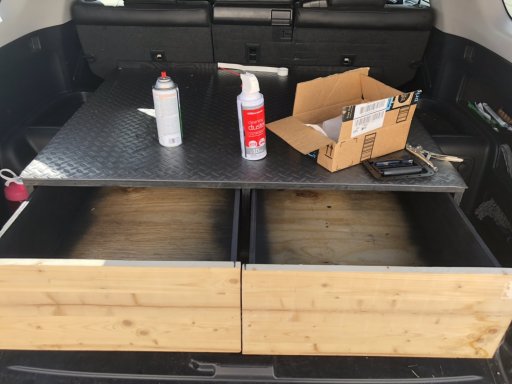
I decided to make my own setup for the back of the ranger since I had particular sizes I wanted to make use of and the off-the-shelf items didn't cater for this. I weighed up the wood vs metal weight and decided that a wooden frame was more suited to my current skillset (and timeframe). The idea was a long heavy duty drawer, a cubby hole for recovery straps, a space for electrics and air compressor and finally a slide for the fridge. The height from top of drawer to tub cover is 250mm which fits all my camping chairs, tent, sleeping back, table etc. Its all very snug and very little wasted space.
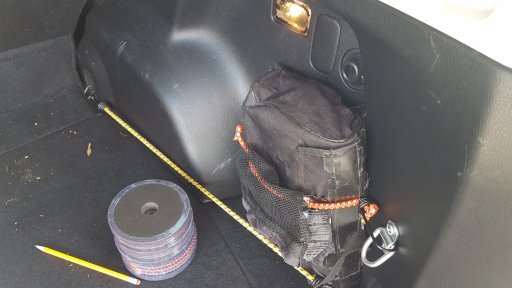
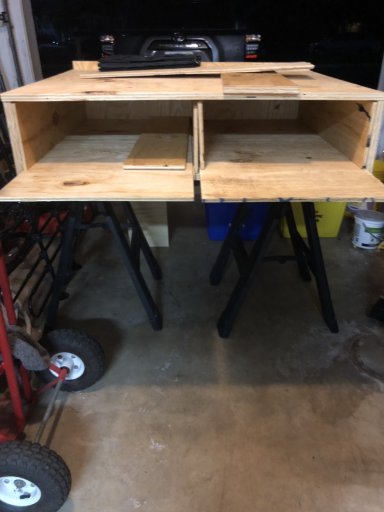
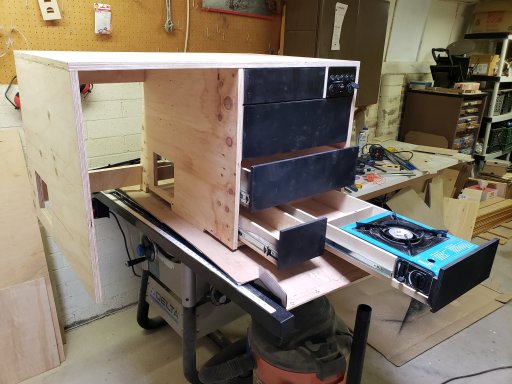
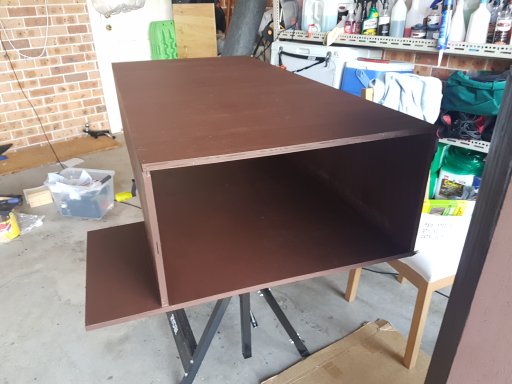
13mm plywood frame painted with waterproofing sealer and then varnished. Hopefully this thing won't get damp or warp! The little platform on the side if for the air compressor to mount to
View attachment 74707
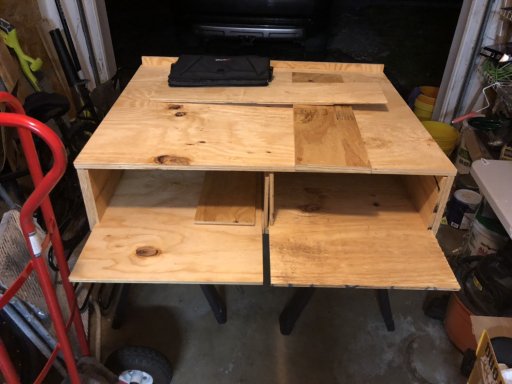
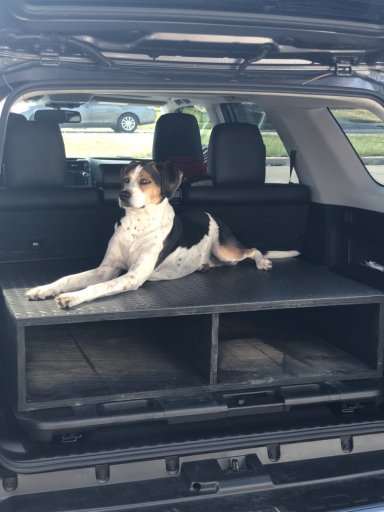
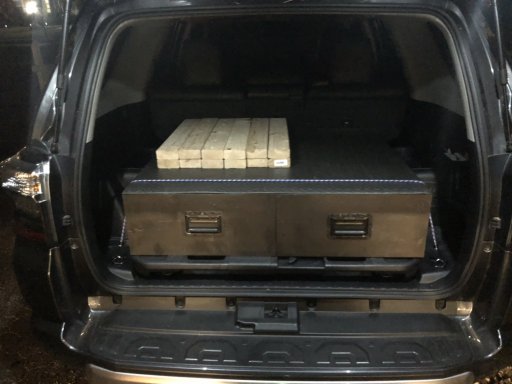
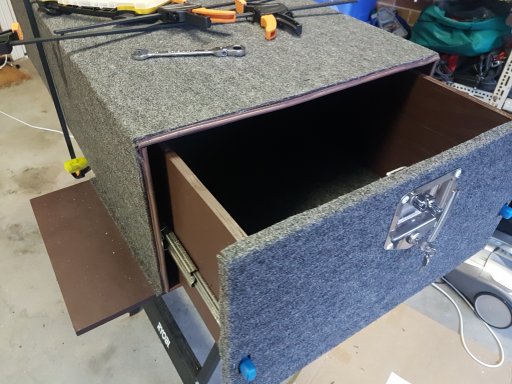
drawer installed on 100kg sliders and externals carpeted.
View attachment 74708
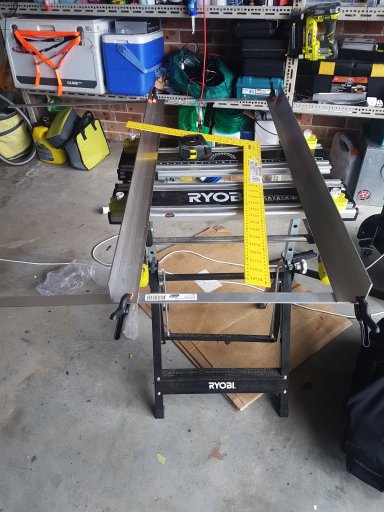
drawer installed and side wing measured up
View attachment 74709
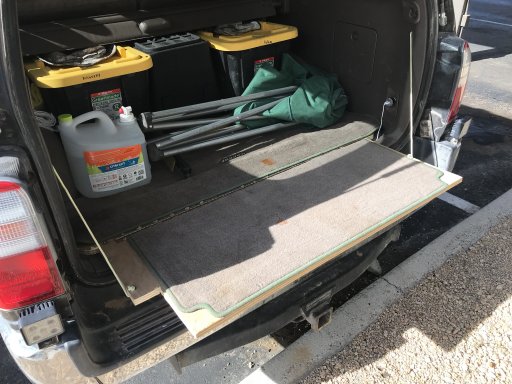
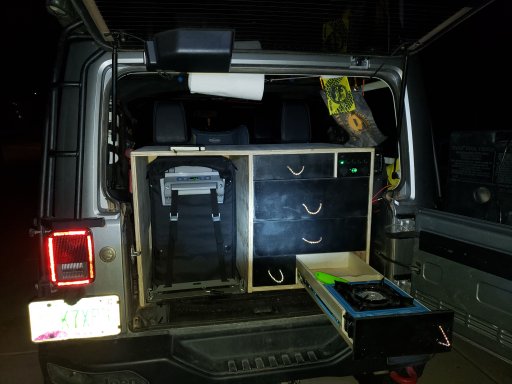
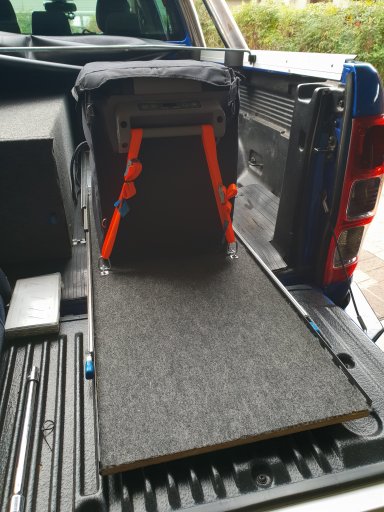
building the fridge slide. I wanted to have the fridge at the rear of the tub and have long sliders so it can fully pull out. This provides me with a shelf for the stove.
View attachment 74710
This is only half slide out. The final position puts the fridge on the tailgate (cabling is wired so it doesn't get tangled)
View attachment 74711
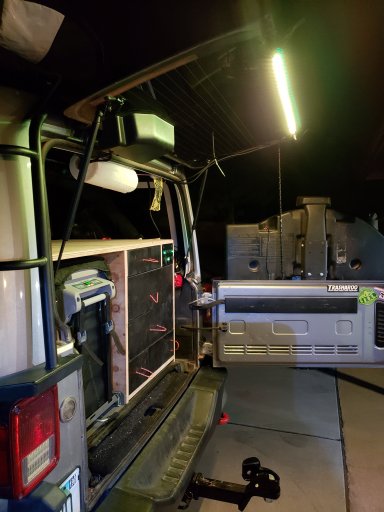
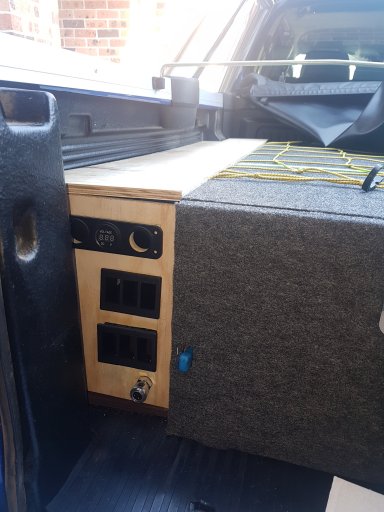
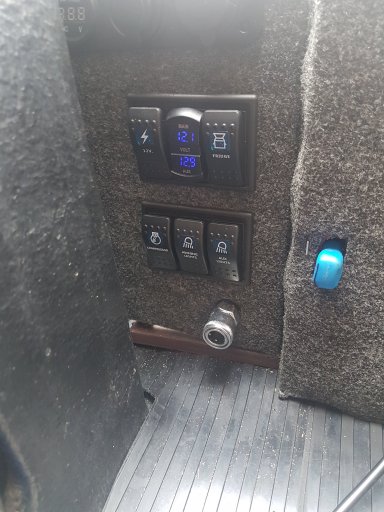
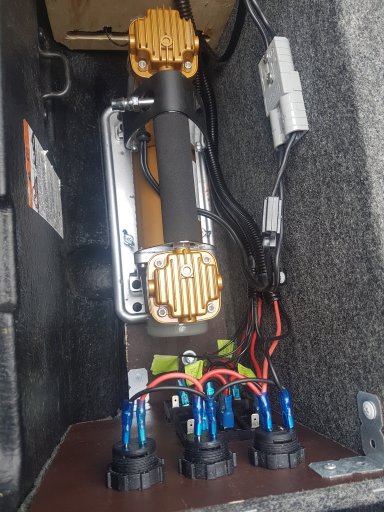
switch panel complete, most of the buttons are also wired up to a remote control. This is useful for the air compressor and also for the work lights when getting out of the tent at night!
View attachment 74712
air compressor installed.
F
View attachment 74713


![20181001_123233[1].jpg](/forums/data/attachments/77/77669-e916d56cec01930534422f266c727ce2.jpg)
![20181001_144919[1].jpg](/forums/data/attachments/77/77670-4bf49a385b50418dfdb3e49f1e0d5f69.jpg)
![20181013_184409[1].jpg](/forums/data/attachments/77/77671-5ab3b6f8ed9477a0300ab5f05994f9c2.jpg)
![20181013_184550[1].jpg](/forums/data/attachments/77/77672-daeb9793edaf93a0a0e44cdb9da8f188.jpg)
![20181015_095548[1].jpg](/forums/data/attachments/77/77673-bd19aedf751496f9bdacdb7c05763a04.jpg)