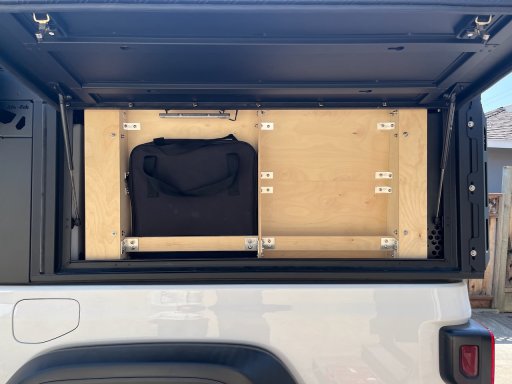
Goal: simple day to day life, small(ish), offroad capable – a Jeep Gladiator build

  • HTML tutorial

cug

Rank II

Enthusiast III

473
San Jose, CA, USA
First Name
Guido
Last Name
GNE
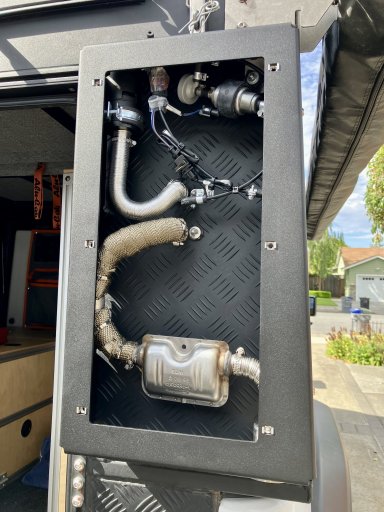
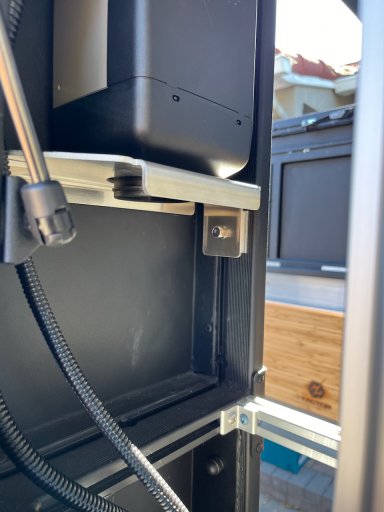
So far we have mounted the heater unit just to the Canopy Camper skin. Since this is fairly thin aluminium, we decided to support the heater with brackets mounted to the side extrusions:

IMG_6481.jpeg

This should be fine now even on corrugated roads.

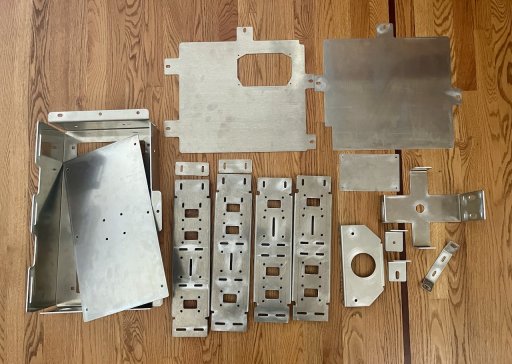
Tomorrow we'll bring a whole bunch of parts to a local shop for powdercoating.
 

cug

Rank II

Enthusiast III

473
San Jose, CA, USA
First Name
Guido
Last Name
GNE
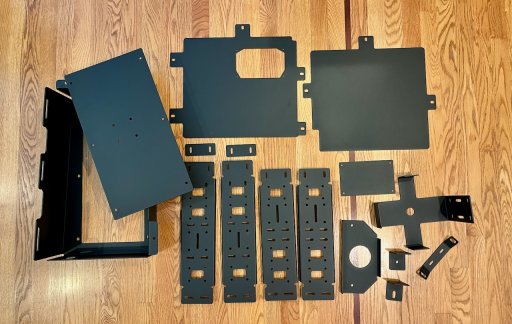
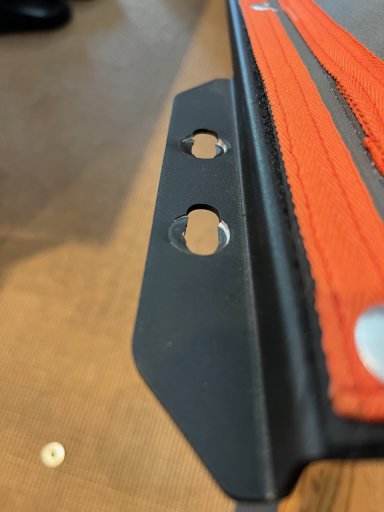
And powdercoated:


IMG_6485.jpeg

We'll install most of them over the weekend, then the door and the heater will be DONE. ;-)

And a massive shout-out to our local powdercoater JIP Finishing!

They turned this around in 24h with amazing quality at a very reasonable price. If you are in the SF Bay Area and need something powdercoated, give them a call:

JIP Finishing

I have no relation to them other than being a very happy customer!
 
  • Like
Reactions: Advtres

cug

Rank II

Enthusiast III

473
San Jose, CA, USA
First Name
Guido
Last Name
GNE
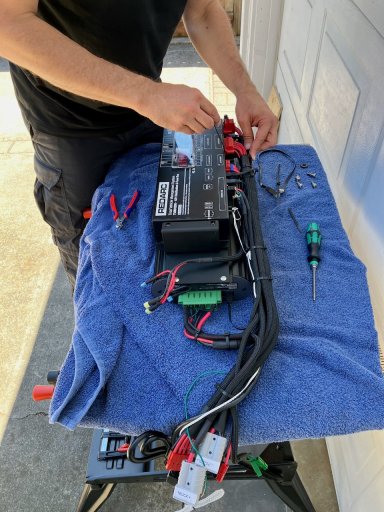
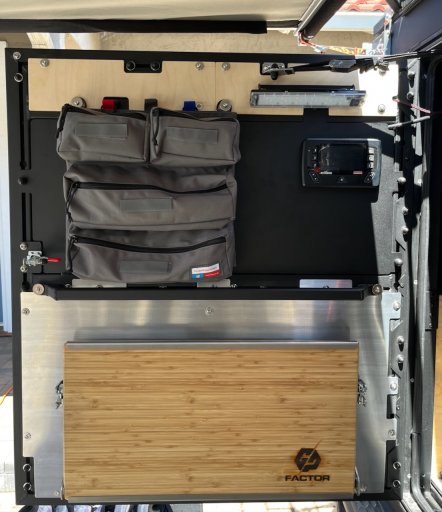
Today we started installing some of the new parts. We wanted to move the Redvision Display to the door panel since it's hard to reach inside the camper, so that's what we started with.

Unfortunately, we had to take out the GP Factor panel and even take it apart to get to the ethernet cable for the display. Used the opportunity to also get some additional wiring in the camper done to get power to the passenger side which we'll need for the water pump, the UV water filter system, the Webasto heater, and the travel oven. So far, so good, but that's why the progress looks really small ...

IMG_6434.jpeg

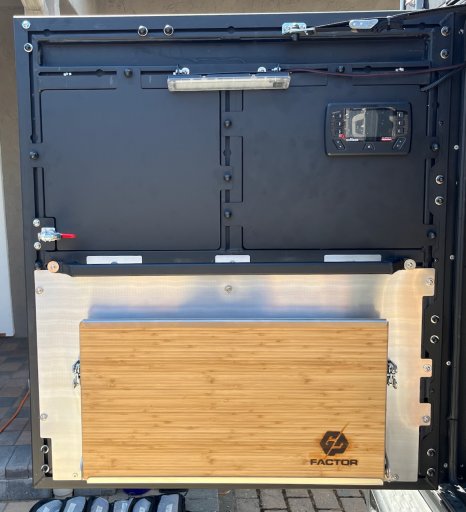
Redvision display moved:

IMG_6487.jpeg

And the mounting spot in the GP Factor unit properly covered:

IMG_6488.jpeg
 
  • Like
Reactions: Dimitri_Raptis

cug

Rank II

Enthusiast III

473
San Jose, CA, USA
First Name
Guido
Last Name
GNE
Very neat and professional job. Nice.
Thank you, we work very hard to get to professional (or better) looking and working results. We've seen so many "professional" jobs that are totally whacky, it's really not fun anymore. Even reputable companies cut a lot of corners to meet reasonable price expectations, or charge insane amounts and then still deliver work that isn't up to standard.

Although it is kind of ridiculous that for most things we bought, we could have build better items or done a better job installing. It's frustrating sometimes.
 

Dimitri_Raptis

Rank IX
Launch Member
Member

Trail Mechanic I

13,638
Riyadh, Riyadh, Saudi Arabia
First Name
Dimitri
Last Name
Raptis
Member #

22608

Ham/GMRS Callsign
4
Very neat and professional job. Nice.
Thank you, we work very hard to get to professional (or better) looking and working results. We've seen so many "professional" jobs that are totally whacky, it's really not fun anymore. Even reputable companies cut a lot of corners to meet reasonable price expectations, or charge insane amounts and then still deliver work that isn't up to standard.

Although it is kind of ridiculous that for most things we bought, we could have build better items or done a better job installing. It's frustrating sometimes.
Fully agree. Most upgrades and project I do my self. Especially electrical.
 
  • Like
Reactions: cug

cug

Rank II

Enthusiast III

473
San Jose, CA, USA
First Name
Guido
Last Name
GNE
Not all that much happening right now, I'm out of commission with RSI and some back issues (slowly getting better) and my wife is busy sewing more mosquito netting for the side window – it's quite a patchwork there due to our high furniture piece which has outside usage.

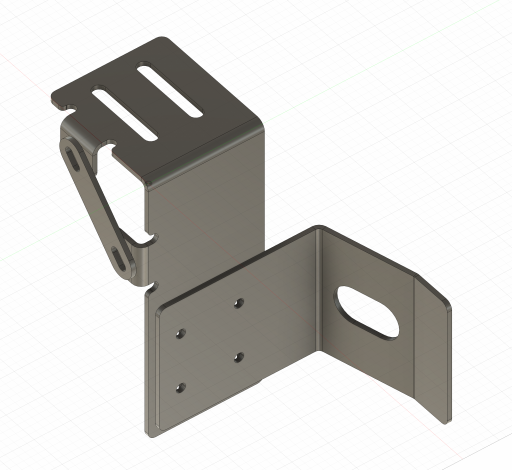
On a separate note, we've been going back and forth on how to install the vent hose for our composting toilet since we didn't want to deal with this hose whenever we pull out the toilet from its storage location (where it can't be used).

Thought about various way building it with plywood, but just couldn't figure out a simple way to also then attach it somewhere. So, ended up with more metal design work:
Screenshot 2024-07-01 at 10.29.09.png

This will create a "docking station" for the toilet, which we can then just pull out to use, push back into its storage space when done. Let's hope it works.
 
  • Like
Reactions: David_561cfd

cug

Rank II

Enthusiast III

473
San Jose, CA, USA
First Name
Guido
Last Name
GNE
So, the sprint to the finish line has begun - we've started taking out the furniture again to fix problems and mistakes, hook up the water system and then do final assembly in the next two weeks. That should give us about two more weeks for testing and last minute changes before an upcoming longer trip.

Wish me luck!
 

cug

Rank II

Enthusiast III

473
San Jose, CA, USA
First Name
Guido
Last Name
GNE
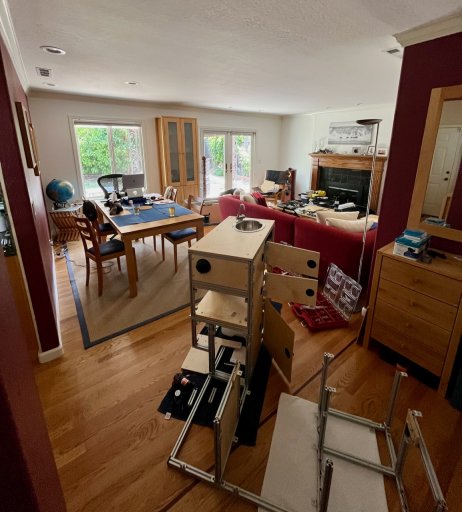
The truck is empty and the house feels like we are building out a fifth wheel ...

IMG_6556.jpeg

Currently, the tank is out as well ... and we are pretty unhappy with what we found our installer (TinyRig in Southern California) has done to the mount of the bags seen above:

IMG_6558.jpeg

This is just plain incompentence. Maybe even beyond that, incompetence combined with absolutely not giving a shit ... we are seriously pissed.

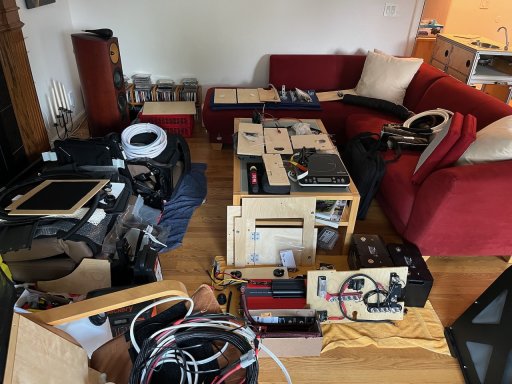
Our whole house is a frigging mess:

IMG_6561.jpeg

IMG_6562.jpeg
 

cug

Rank II

Enthusiast III

473
San Jose, CA, USA
First Name
Guido
Last Name
GNE
I'm guessing they didn't use washers under the heads in addition to over-tightening.
There were washers, but they were too small for the soft material. They were meant for the steal tank mounts underneath, certainly not the correct ones for thin and soft aluminum. Although I believe that is also partly an Alu-Cab problem since there don't seem to additional/different washers in the bag kit.
 

cug

Rank II

Enthusiast III

473
San Jose, CA, USA
First Name
Guido
Last Name
GNE
@BAJA - PRO - Thank you for the kind words! We do our best, had a resonably technical background, and plain took our time. It's been a long journey and it really needs to end soon or we are going crazy.

Current target deadline: this coming Sunday, 23:59:59 ... ;-)
 
  • Like
Reactions: BAJA-X

cug

Rank II

Enthusiast III

473
San Jose, CA, USA
First Name
Guido
Last Name
GNE
So, it's all back in.

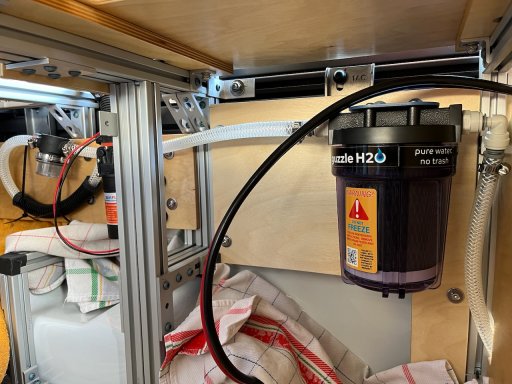
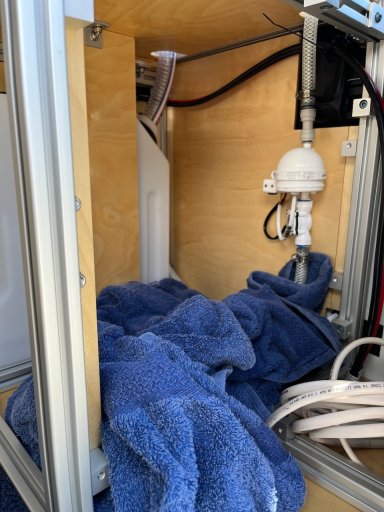
Water pump and filter (towel since we were testing for leaks):

IMG_6583.jpeg

UV water treatment:

IMG_6581.jpeg

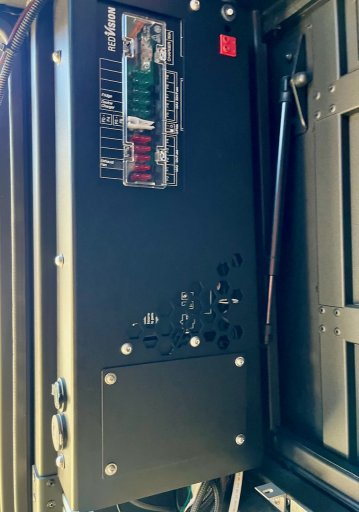
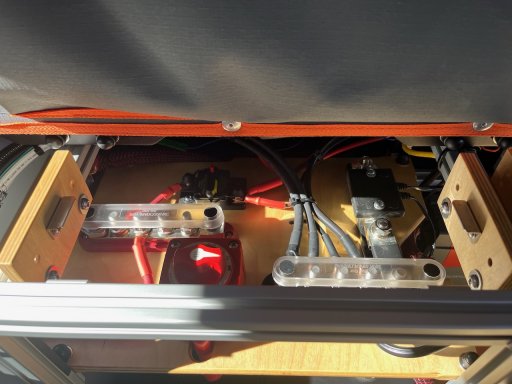
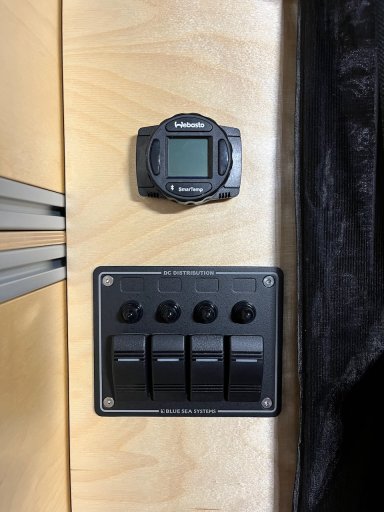
Electrical subpanel for pump, travel oven, heater:

IMG_6584.jpeg

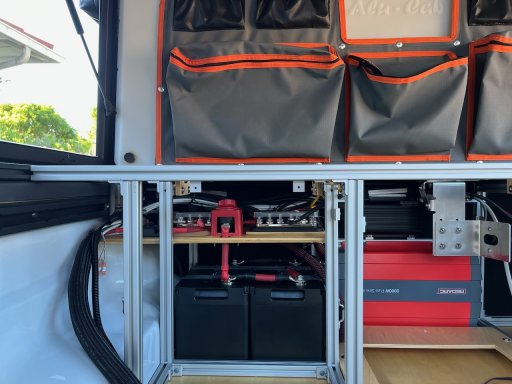
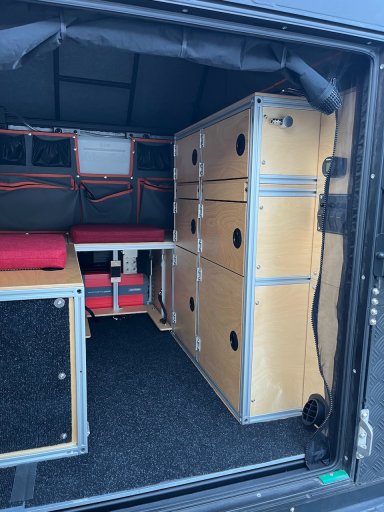
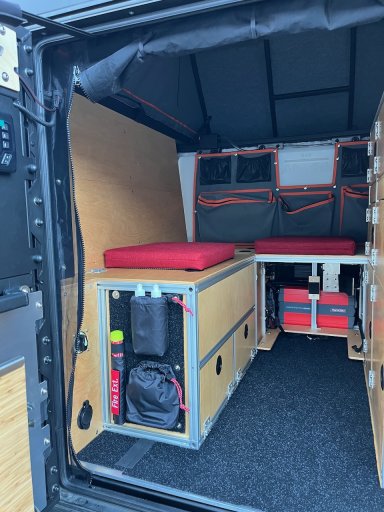
Overview:

IMG_6589.jpeg

IMG_6590.jpeg

The backrest has storage space for two Frontrunner chairs:

IMG_6542.jpeg

It's a bit of a "hardware overload" in there, mainly because we don't have the skills and workshop to build a nice wood only box there. But okay, it is what it is.
 
  • Like
Reactions: John Bishop

cug

Rank II

Enthusiast III

473
San Jose, CA, USA
First Name
Guido
Last Name
GNE
With all this in now:

The build is DONE!

We are optimizing some small things here and there while packing the truck for a trip, but other than that, it's done for now. We are going to use it for a while now and then optimize what needs to be optimized. But I'm done for the time being. Worn out as well by this build.