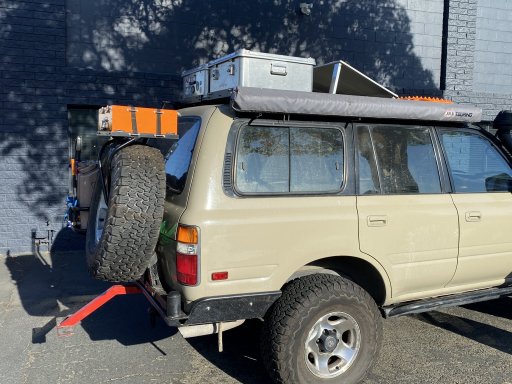
Building a home in a 80 series Landcruiser

  • HTML tutorial

tjZ06

Rank V
Launch Member

Advocate I

2,268
Las Vegas/Palo Alto
First Name
mynameisntallowed
Last Name
Adams
Member #

20043

WOW... that looks, ummm... fun? I am not looking forward to doing a heater core someday on my WJ. I have the under-hood of my rig apart, and also thinking "I hope I remember how this goes back together." In my case, I'm lucky that I have a second WJ to look at for reference. ;)

-TJ
 
  • Like
Reactions: Ob1

Ob1

Rank VI
Launch Member

Influencer I

3,057
Palo Alto, CA, USA
First Name
Ofer
Last Name
Bruhis
Member #

17919

Ham/GMRS Callsign
KD6UKE
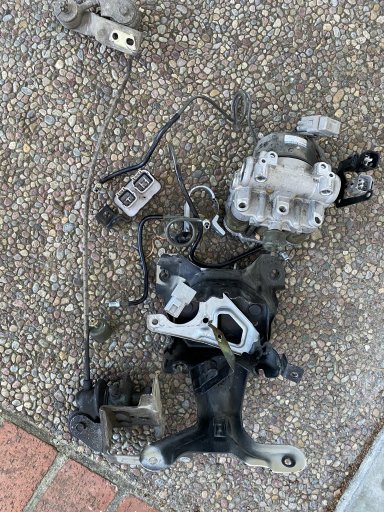
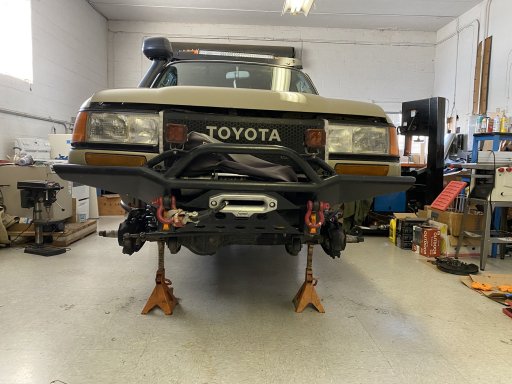
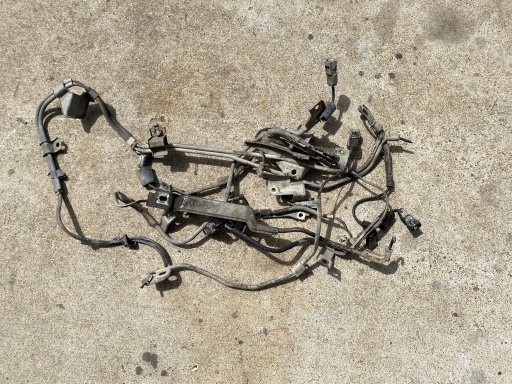
Just removed the ABS system and the LSPV (Load Sensing Pressure Valve) from the vehicle. ABS stopped working because the car was converted to Part Time, so the front sensors were not functioning. It took off 15 LB off and the vehicle actually stops now. Also it cleared up room in the engine bay to install a side by side fridge (almost).

On a funny (now) note, when doing the front heater, I had to reinstall the Sony CarPlay deck. After everything was done, I turned on the radio and randomly it would change stations, switch to rear view camera, or start the screen in Demo Mode. Like it had a mind of it's own. Apparently, there are two sockets on the back for Mike and Remote. I mistakenly plugged the Mike into the Remote jack so depending on the sound it would activate the remote and give it self commands. Now it seems funny, but for 24 hours I was scratching my head.

IMG_1339.JPGIMG_1338.JPG.
 

Ob1

Rank VI
Launch Member

Influencer I

3,057
Palo Alto, CA, USA
First Name
Ofer
Last Name
Bruhis
Member #

17919

Ham/GMRS Callsign
KD6UKE
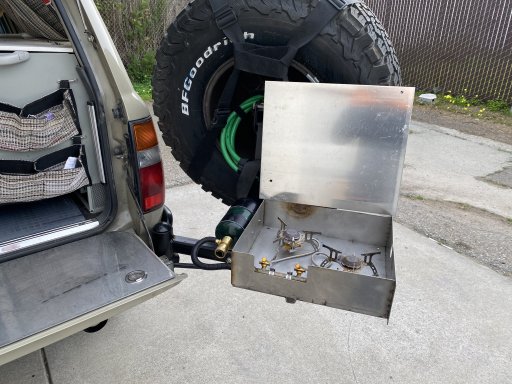
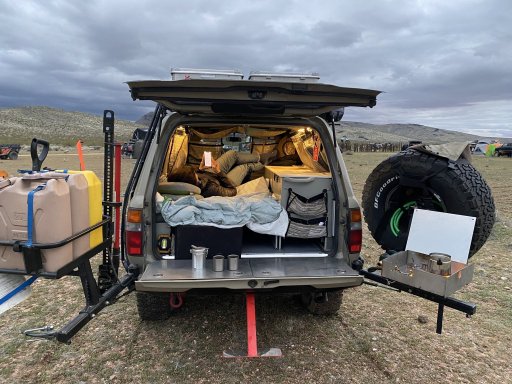
Just finished adding 30% counter (tail gate) space. Moved the stove to the swing arm on a metal frame (not to block the license plate). The stove latches to the frame with 4 pins. Still work in progress...

IMG_1401.JPGIMG_1400.JPGIMG_1399.JPG
 
  • Like
Reactions: RoarinRow and Road

Ob1

Rank VI
Launch Member

Influencer I

3,057
Palo Alto, CA, USA
First Name
Ofer
Last Name
Bruhis
Member #

17919

Ham/GMRS Callsign
KD6UKE
Love the stove idea. I have a 4x4labs bumper too and have been trying to come up with something
The stove is made of stainless plates and two camping stoves.

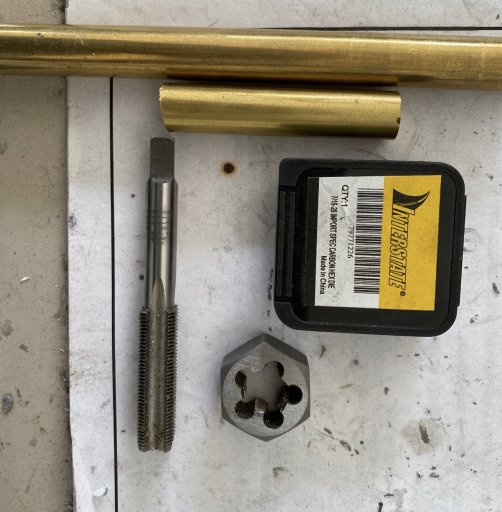
The fitting was machined from a brass rod with a 7/16-28 tap/die to match the small gas containers thread.

The valve is from a welding supply.

I had to build it to size, because it has to fit under the fridge. These camping stoves super boil a cup of water in less then 120 seconds.

Untitled.jpeg
 

Ob1

Rank VI
Launch Member

Influencer I

3,057
Palo Alto, CA, USA
First Name
Ofer
Last Name
Bruhis
Member #

17919

Ham/GMRS Callsign
KD6UKE
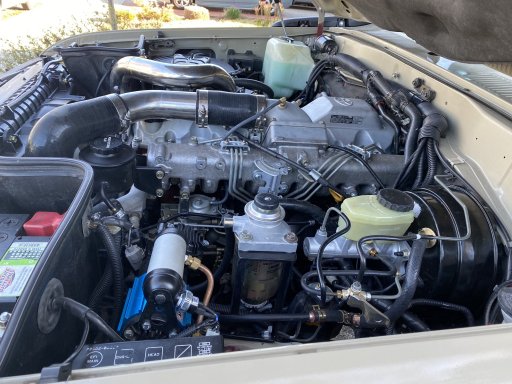
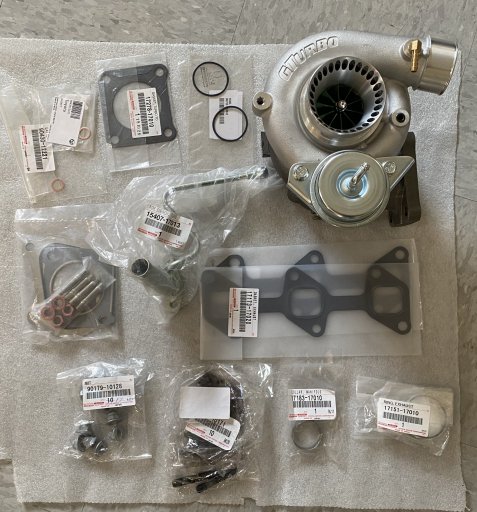
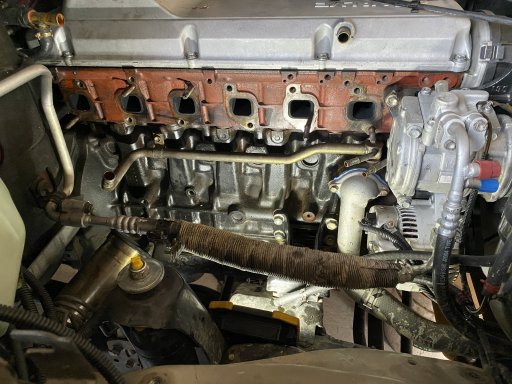
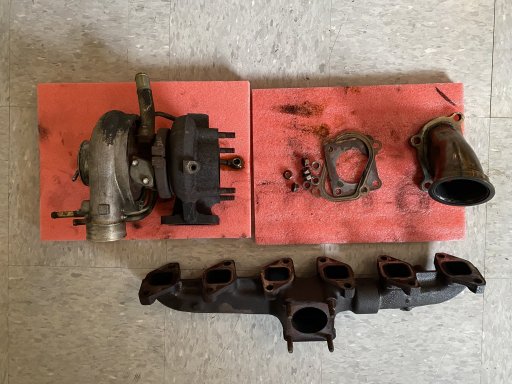
Got a box from Australia today, and seems like I have a project for the weekend. A turbo upgrade on the 1HDFT. This would have been so much easier when the engine was out...IMG_1456.jpg
 

Ob1

Rank VI
Launch Member

Influencer I

3,057
Palo Alto, CA, USA
First Name
Ofer
Last Name
Bruhis
Member #

17919

Ham/GMRS Callsign
KD6UKE
very nice upgrade. MOAR POWA!!!
I actually decided to replace the turbo because I found oil in the intake manifold. At the end, it was coming from the oil separator of the breather. So, my panic ended up costing time and $, but this turbo is more efficient then the stock.
 

Michael G.

Rank IV
Launch Member

Enthusiast III

1,338
New Orleans, Louisiana
First Name
Michael
Last Name
Gauthreaux
Member #

12591

Ham/GMRS Callsign
W5AZA
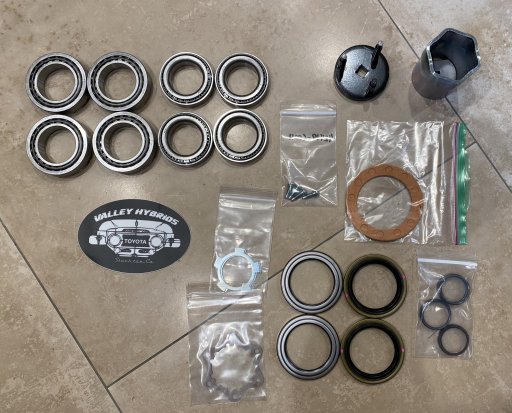
Ha, yes and here is the total build cost. Cost of the vehicle is not included. The engine was gone. We were trying to sell it on Craigslist for $3K and no one called. So we decided to spend $40K and re-build it. The diesel engine/injector pump/tranny work was done by Valley Hybrid, a diesel Landcruiser shop in Stockton, CA. The upholstery was done by a professional shop. The painting/powder coating was done by a friend with a commercial paint shop. The labor was free. That will add up some cost.
All the rest - engine assembly, installation, metal work, welding, wiring, plumbing was done by us. Took 12 months of long weekends for the total build.

1HDFT/H151 Engine/tranny
$9,000​
Drive train rebuild Parts
$5,300​
Labor
$6,890​
Radiator
$390​
Bumpers(kit)
$1,800​
Stainless Exhaust (AUZ)
$820​
Suspension
$1,060​
Tires
$1,100​
Sliders
$800​
Fridge
$820​
New leather
$420​
Unholstery
$2,400​
Awening
$250​
Lights
$250​
Water system (tanks/plumbing/shower)
$750​
Sink
$270​
faucet
$130​
Stove parts
$75​
drawers/guides
$200​
Latches/hinges
$200​
metal (tubes, sheet)
$750​
Solar system
$250​
Second electrical system
$390​
OEM Lockers F&R
$2,500​
Roof rack/boxes
$1,500​
PPG Paint
$1,100​
Hardware
$400​
Total
$39,815​

Beautiful Build.... Truely amazed. to the build in parts list form just goes to show how much went into your project.
 
  • Like
Reactions: Ob1

Ob1

Rank VI
Launch Member

Influencer I

3,057
Palo Alto, CA, USA
First Name
Ofer
Last Name
Bruhis
Member #

17919

Ham/GMRS Callsign
KD6UKE
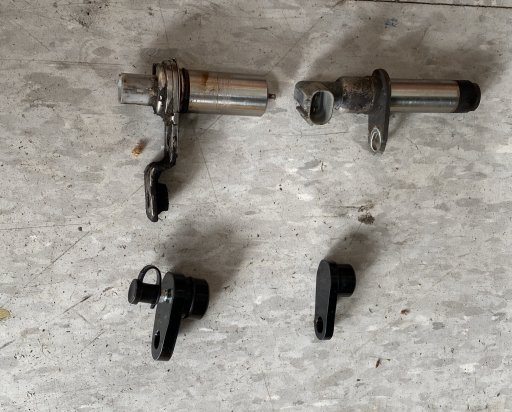
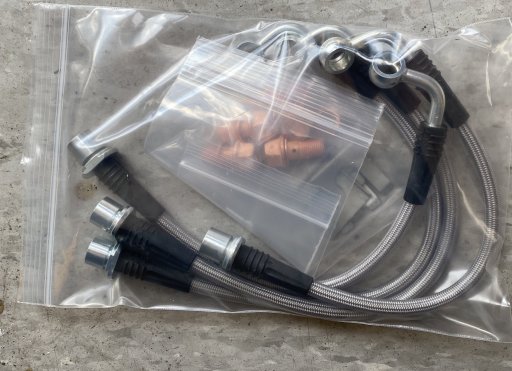
Some more cleanup on the ABS. Removed all he wiring from the axles including the sensors. Wits' End provide great custom machined caps. They also provide Stainless braided brake lines. In fact, they have some amazing products including a really sexy custom turbo kit for the FZJ80 1FZ-FE engine.

Axles look very 'clean' now.

IMG_1736.JPGIMG_1737.JPGIMG_1738.JPG
 

Ob1

Rank VI
Launch Member

Influencer I

3,057
Palo Alto, CA, USA
First Name
Ofer
Last Name
Bruhis
Member #

17919

Ham/GMRS Callsign
KD6UKE
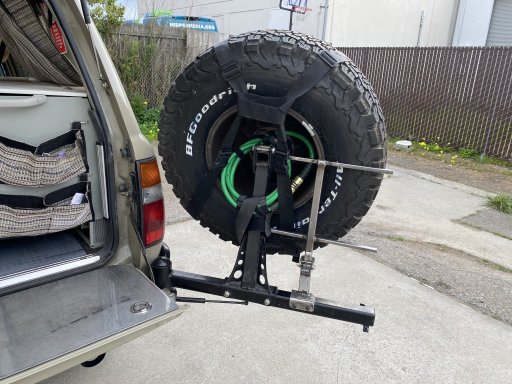
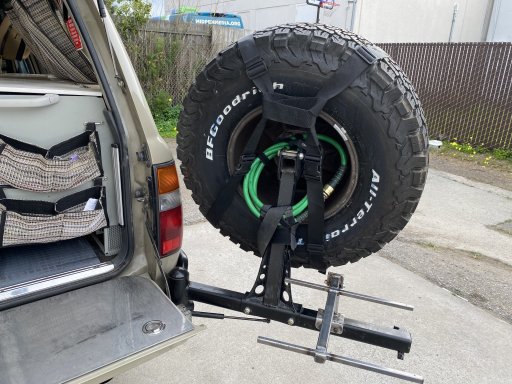
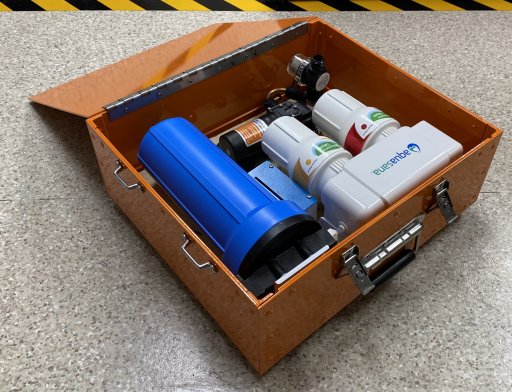
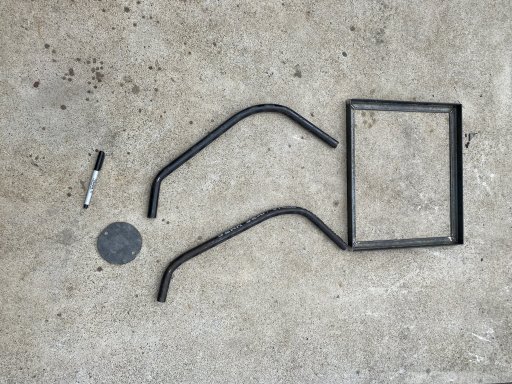
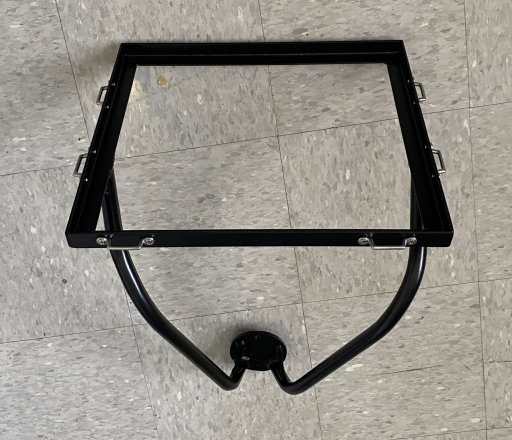
Just finished the rack for the water treatment system. Material was about $10. A bit of bending, welding and powder coating. It attaches to the plate that holds the spare with two 8mm bolts. The nuts are welded on the back side. The base is marine grade plywood glues with silicon. The rack can be used also to carry firewood, etc.IMG_0891.jpgIMG_1990.JPGIMG_1999.jpgIMG_9557.JPG
 

LndXrsr

Rank I
Launch Member

Contributor II

271
Cincinnati
First Name
Andrew
Last Name
A
Member #

25344

Incredible, I love everything about this. Diesel, manual, go anywhere. Life's three basic needs. Subscribed.
 
  • Like
Reactions: Road and Ob1

Ob1

Rank VI
Launch Member

Influencer I

3,057
Palo Alto, CA, USA
First Name
Ofer
Last Name
Bruhis
Member #

17919

Ham/GMRS Callsign
KD6UKE
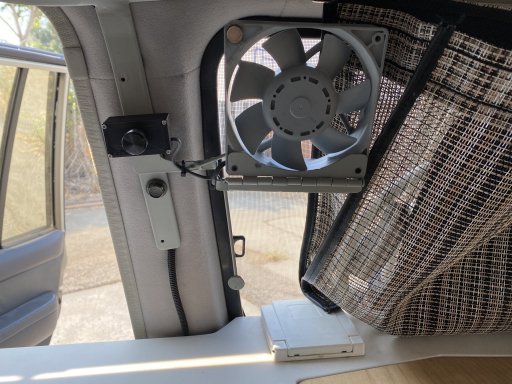
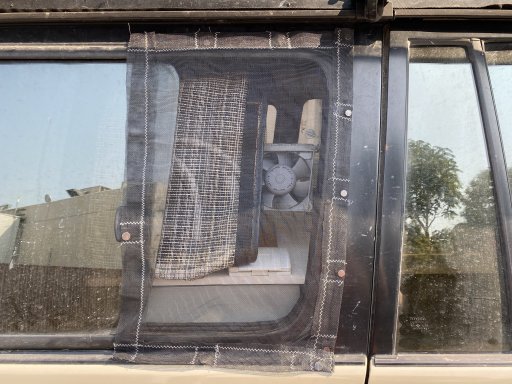
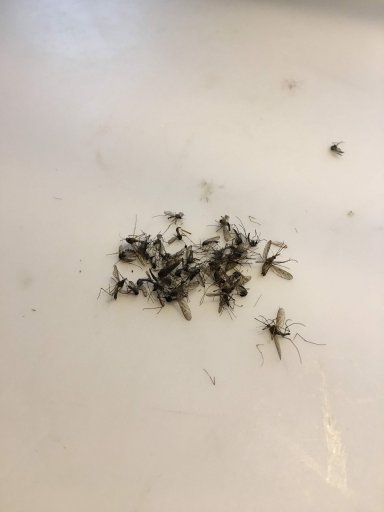
A small add on. Figured we replace the small fan with a fan from an old Mac computer. It is a high power so I added a speed control and replaced the trim pot with a 10K pot and a knob. 3D printed the box. The fan swings on a hinge with 2 magnets, so we can do inside-outside air circulation. Also added a net outside with magnets... this is after the Alaska single night nightmare. Some went through the fan a did not make it (found them on the countertop) but most made our night miserable.
IMG_7766.JPG
IMG_2882.JPG
IMG_9714.JPG
 

Graeman

Rank V
Launch Member

Off-Road Ranger I

2,876
Catalina Avenue, Tucson, AZ, USA
First Name
Todd
Last Name
Hoffmaster
Member #

4284

Ham/GMRS Callsign
KJ7CRJ
Service Branch
Air Force
Such an amazing write up on your TLC. To have the time, patience and money to start a project like this is unbelievable. Simply amazing...
 
  • Like
Reactions: Ob1