1999 Honda CR-V - "Ganbaru"

  • HTML tutorial

CR-Venturer

Rank VI
Launch Member

Traveler III

3,372
Ardrossan, AB, Canada
First Name
Jas
Last Name
Spr
Member #

16340

How do you find the awd system, do you know if they can fail. I am contemplating one but terrified the awd system will fail
I think that in later generations of CR-V, Honda made some changes and tarted the system up with electronics, but in the RD1, it's entirely mechanical/hydraulic. Apparently the system can potentially overheat and temporarily shut off as a failsafe, however it will return once it cools.

Having said that, I've driven it in 10 inches of snow on mountain roads (where it was probably engaged 90% of the time) and climbed some wicked ascents with gnarly ruts, loose shale, baseballs sized rocks, etc, and I've never had it crap out on me.
 

CR-Venturer

Rank VI
Launch Member

Traveler III

3,372
Ardrossan, AB, Canada
First Name
Jas
Last Name
Spr
Member #

16340

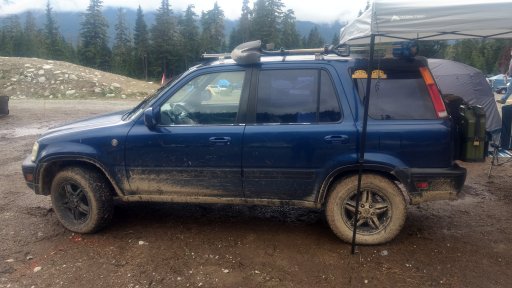
Better pic of its current state:
IMG_20190629_163742204_HDR.jpg
Taken at BC Overland Rally 2019. Next mod will probably be limb lifters. Hoping to do the suspension lift springs and Bilstein shocks perhaps early next year. It really needs that extra 1.75 in of lift.
 

CR-Venturer

Rank VI
Launch Member

Traveler III

3,372
Ardrossan, AB, Canada
First Name
Jas
Last Name
Spr
Member #

16340

Update:

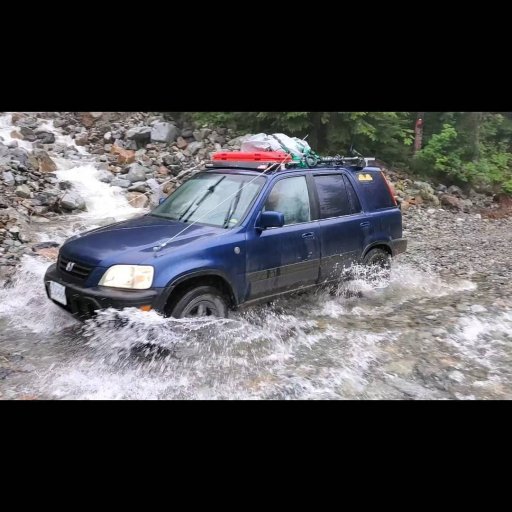
With limb lifters installed, doing a little water crossing on the way to Indian Arm:
watersplash.jpg
I think this is pre-lift. I will have to snap a pic of it with the lift and show the stance. It's not a huge difference, but I will say that I believe 1.75-2" is the absolute optimum for this vehicle. I would never go higher than the 2" I have on, and wow what a difference it makes to the off road performance! Just putting new struts and the HRG 2" lift kit transformed the ride off road to where I could go over obstacles with no worries that I really had to crawl slowly over before.
 
  • Like
Reactions: Joey83

EastVanGuy

Rank I

Enthusiast I

231
British Columbia, Canada
First Name
Guy
Last Name
Moody
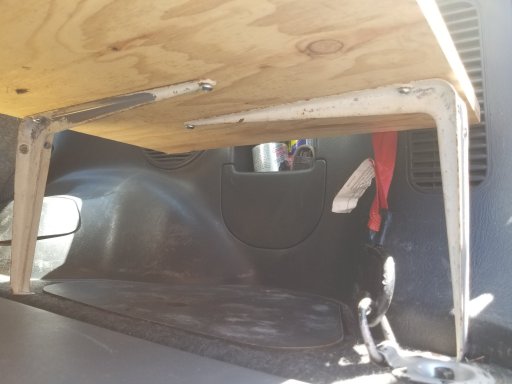
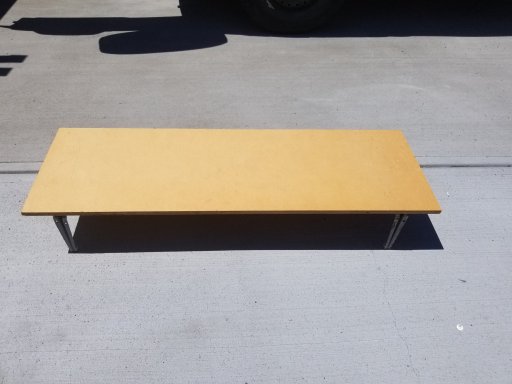
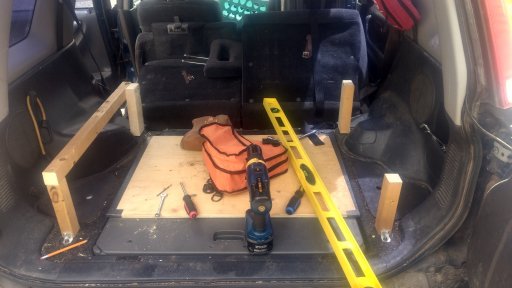
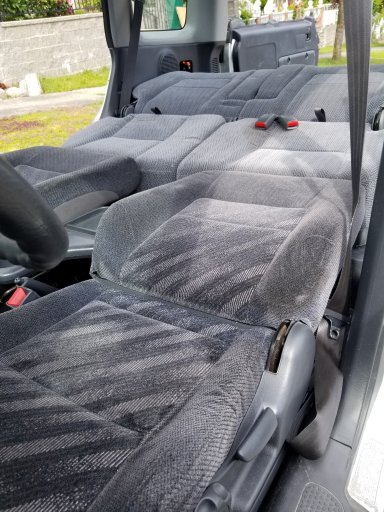
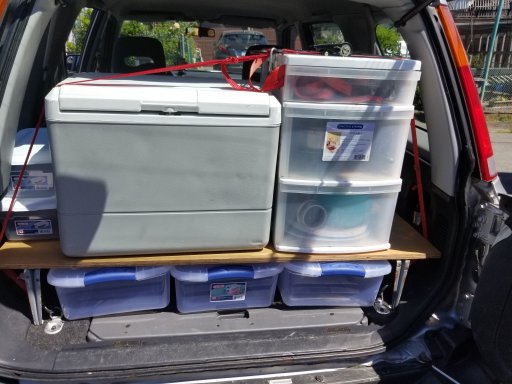
Well I have been swapping messages with CR-Venturer regarding tires and suspension so I thought I would add to this thread with the simple kitchen platform I made (while I wait for my lift kit....). In the end, it is just a 15" x 48" piece of plywood on some brackets for legs, but it does a lot for me.

I have the CR-V model with the seats that fold down completely to make a comfortable double bed so I wanted a platform to hold a kitchen and other gear, that would stay in place once the bed is set up, still allow access to the table, the other little storage compartments and the wheel well underneath the table (where I put recovery gear).
20210531_152527.jpg

My thinking is that the reasonable number of smaller boxes makes loading the car easier than large totes and means it is easier to stay organised on the trip.

This is early days with this (as in I have not even loaded gear in yet, or better yet, tested it all out while camping...).
20210602_110704.jpg

20210602_110849.jpg

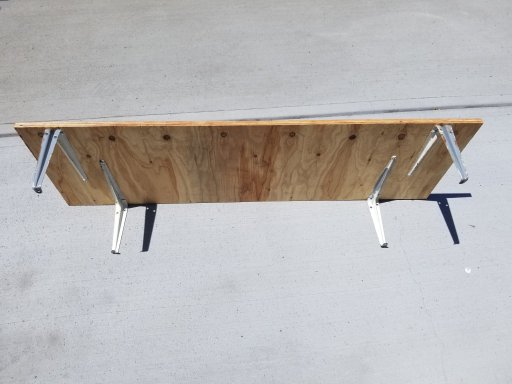
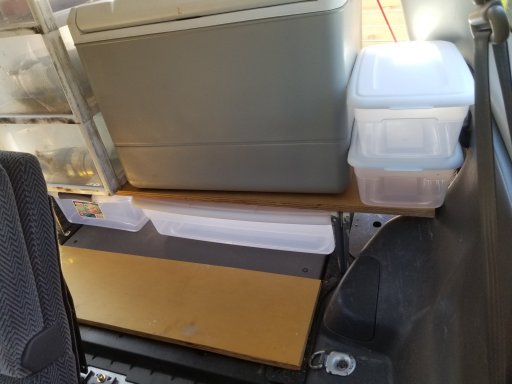
Platform is 15" x 48" 5/8" ply (I had laying around). The legs are angle brackets (also I had laying around). I bent the end of to make a foot.

The other piece of wood I cut is so the table can slide in without the things (behind the seats and on top of the table and behind the platform) falling into the tire well. It is 32" x 9" and also 5/8" ply.
20210602_110641.jpg
20210602_130121.jpg20210602_130131.jpg
The npolkacement of the legs took some messing about. I used clamps to hold them and tried different locations so as to make the largest space for access while hitting some solid part of the floor.

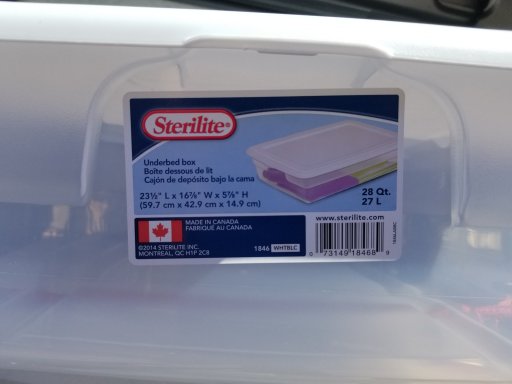
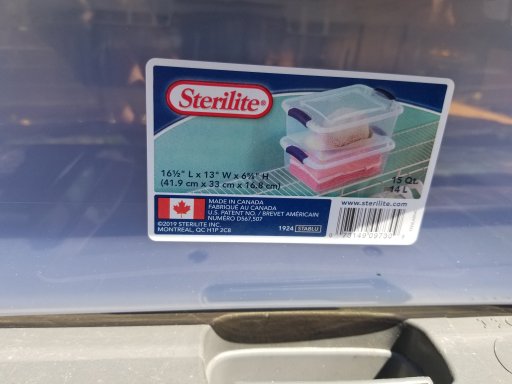
I am playing with the plastic boxes to work out what I want to put in each, and I can put 3 smaller ones under the platform or a bigger one and a smaller one. I am thinking clothes and dry goods go in them. I stacked a couple of shoe box sized ones to the left of the cooler. Still playing.
20210602_110709.jpg
20210602_110719.jpg

It does need a ratchet strap over the whole thing so I will make that a fast and permanent part of it all. Also, I took out the carpet in the rear area - not helping really and stopped access to things underneath it.
 

CR-Venturer

Rank VI
Launch Member

Traveler III

3,372
Ardrossan, AB, Canada
First Name
Jas
Last Name
Spr
Member #

16340

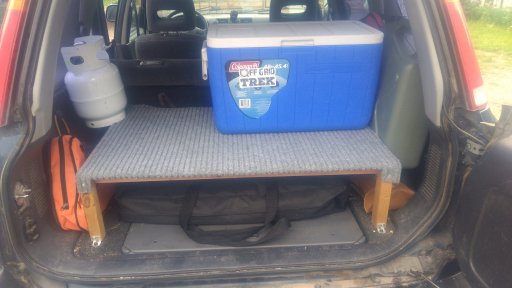
Well, Eastvanguy inspired me, and this is the result, fabbed up from scrap lumber I got for free from the dump, screws I had on hand, a 4" aluminum angle I had lying around for years and years, and a piece of outdoor carpet we had kicking around:
IMG_20210603_130543225_HDR.jpgIMG_20210603_144534373.jpg
 

CR-Venturer

Rank VI
Launch Member

Traveler III

3,372
Ardrossan, AB, Canada
First Name
Jas
Last Name
Spr
Member #

16340

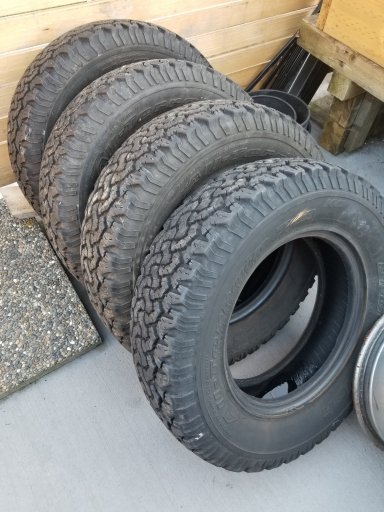
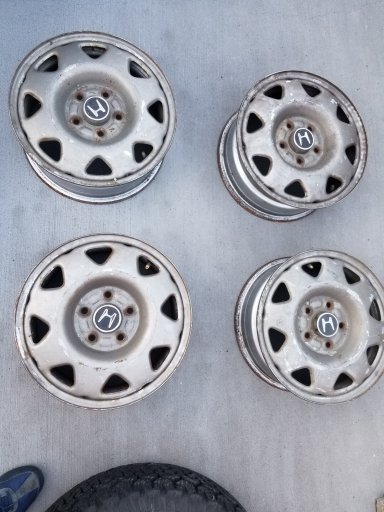
Right back at you with my $400 tires and $60 rims courtesy Craigslist andd FB marketplace. I'm pretty excited as you can tell. I even bought some paint to black the rims up.

BTW nice job on the platform.
Thanks! :D I see you scored some K02's! Very nice. What size are they? Also, highly recommend getting a matching 5th tire if you can. Ask me how I know. Lol
 
Last edited:

EastVanGuy

Rank I

Enthusiast I

231
British Columbia, Canada
First Name
Guy
Last Name
Moody
215/75r15 so pretty much what I wanted, to be on the safe side. My daughter sootted them. Had to drive to Squamish but it is a beautiful day so that would have been nice all on it's own. Tires were a big bonus.
 

CR-Venturer

Rank VI
Launch Member

Traveler III

3,372
Ardrossan, AB, Canada
First Name
Jas
Last Name
Spr
Member #

16340

215/75r15 so pretty much what I wanted, to be on the safe side. My daughter sootted them. Had to drive to Squamish but it is a beautiful day so that would have been nice all on it's own. Tires were a big bonus.
Awesome! :D Will be interesting to see how they work out with the 2" lift. I'm probably going to try and get to putting my engine drop spacers on sometime soon. The vehicle will be out of comission while I'm working on them, so I have to time it right somewhat.

A friend of mine gave me a nice inverter today, which was awesome :D Been wanting one for some time. Now I can properly work from the bush office hehe.
 

CR-Venturer

Rank VI
Launch Member

Traveler III

3,372
Ardrossan, AB, Canada
First Name
Jas
Last Name
Spr
Member #

16340

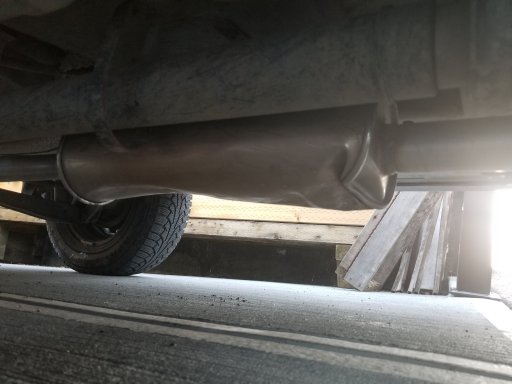
I think the tires are something like 1.4" larger diameter, so 0.7" higher off the ground, plus the 2" spacers, when they go in, I hope to get over 2.5" higher off the rocks that seem to like eating my resonator.
Mine looks way worse than that lol Some guys relocate the entire exhaust routing, because it really hangs lower than it needs to. They generally tuck it up much further against the floorboards, as there's a fair bit of room to do so if you change up the pipes.

I may end up re-doing my exhaust at some point, as mine is pretty beaten up and rusty.

Another thing I recommend, but unfortunately haven't gotten around to doing myself, is extending the breathers. The rear one is pretty well protected up inside the frame rail, but the front one could do to be a bit higher. I actually have some tubing kicking around the shop so I may throw it on while I'm working on the engine spacers.
 

CR-Venturer

Rank VI
Launch Member

Traveler III

3,372
Ardrossan, AB, Canada
First Name
Jas
Last Name
Spr
Member #

16340

Minor Update:

Extended my tranny breather and routed it into the side of my air box, as well as added engine drop spacers to the engine mounts, which almost completely resolved my axle wobble issue. It's barely noticeable at 100+kph now, which is much better than it was before. I'm happy with it.
 

EastVanGuy

Rank I

Enthusiast I

231
British Columbia, Canada
First Name
Guy
Last Name
Moody
Good to hear. Was the tranny breather tough to get at? Also, if you can point me in the direction of the motor mount mod I would appreciate it, incase I get the 100kph shake too.

Meanwhile I am gathering the tools and space and I am going to try putting in the HRG spacers myself...could be pretty interesting. I will try all the bolts for movement before removing anything.
 

CR-Venturer

Rank VI
Launch Member

Traveler III

3,372
Ardrossan, AB, Canada
First Name
Jas
Last Name
Spr
Member #

16340

Good to hear. Was the tranny breather tough to get at? Also, if you can point me in the direction of the motor mount mod I would appreciate it, incase I get the 100kph shake too.

Meanwhile I am gathering the tools and space and I am going to try putting in the HRG spacers myself...could be pretty interesting. I will try all the bolts for movement before removing anything.
I'll try and take some pics tomorrow. Hopefully the weather will be good. It's actually pretty easy to do the mod, you just have to take out the air box on the passenger side, and the driver side mount is easily accessible. The trick with the engine mount bolts is they are torqued insanely tight from the factory, so a breaker bar or a really good impact is a must.

Now my skid plate is touching the exhaust and it's very rumbly, so I might space the skid down 1/4" as well. We'll see.

When you go to install the spacers, check out Honda Rescue Garage or HRG on youtube. Ben Huffman has some excellent videos about how to install the lift kit. It's not especially difficult. The rear is easy peasy as long as you don't shear the bolt off like I did lol.