What Did You Do With Your Rig Today?

  • HTML tutorial

Advocate III

1,548
Owen Sound, Ontario, Canada
First Name
James
Last Name
Girard
Member #

0

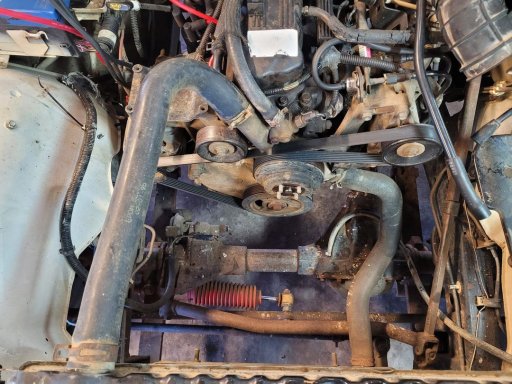
Got my TJ torn down to do some much needed maintenance. New brakes all around with a dual piston caliper in the front. Steering torn apart to make new tie rod and frag link with a heim kit to get rid of the tie rod ends that just don't last.... also have an air compressor to mount in the back, some wiring to clean up..... gotta pull the axle shafts and get measurements for spares, do an oil change, and diff service....... then I need to start building my trailer lmao.
 

Attachments

Downs

Rank V
Launch Member

Member III

2,827
Hunt County Texas
First Name
Joshua
Last Name
Downs
Member #

20468

Ham/GMRS Callsign
KK6RBI / WQYH678
Service Branch
USMC 03-16, FIRE/EMS
Finally, got back to work on the YJ. Replaced the rear shackles with stock units and lifted the tank back in. After messing with the connector a bit, got the pump to energize and the Jeep started with 29ish PSI at idle and almost 40 with the FPR unhooked. About perfect by the book. I pulled the fan, fan shroud, belt etc. to prep for the timing chain/sprocket replacement. I've got to work tomorrow and out of time today, but good progress made today after almost 2 weeks of none.

So much room for activities.

332884913_576714631143314_2577711238877399893_n.jpg
 

Staticline40

Rank V
Launch Member

Member II

2,268
Fort Mill, SC, USA
First Name
Mark
Last Name
Tebo
Member #

12262

Service Branch
US Army Retired
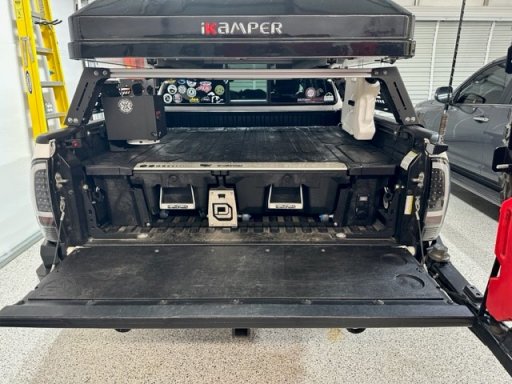
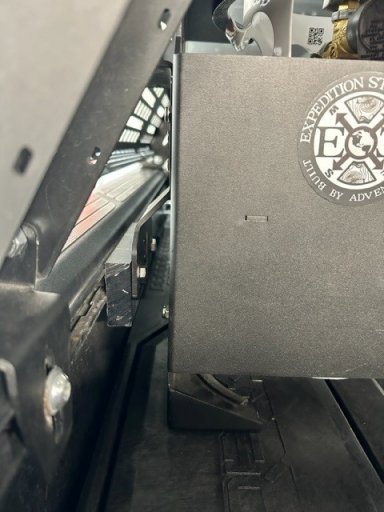
After a little back and forth in the old brain I installed a Decked system in the back of the truck. Not necessarily the best option, especially with a short bed truck, but it does provide security for your stuff. I also had to relocate my propane and water and ended up going from a 10 pound tank to a 5 pound tank because it wouldn't fit under the tent. I used Rago Fabrication mounts and some 3/4 thick UHMW as spacers.

decked01.jpg

Fancy hi-tech mounts and spacers

decked03.jpg
 

Uniquely Us Adventures

Rank VIII
Member

Pioneer II

9,324
Sacramento, California, United States
First Name
Daniel
Last Name
Montelbetti
Member #

41721

Ham/GMRS Callsign
HAM - KN6TKY & GMRS - WRQT727
Service Branch
FIRE/EMS
Did a little project work…. First added 120v plug in center consul then remove the seats and built a box for additional storage and the dogs to stand. The goal zero will be able to plug in to that outlet so that every time we’re driving he will have the option to be charging. :-)
 

Attachments

eagle_A40

Rank VI
Launch Member

Member II

3,341
Galvez, Louisiana. USA
First Name
Michael
Last Name
Somebody
Member #

19666

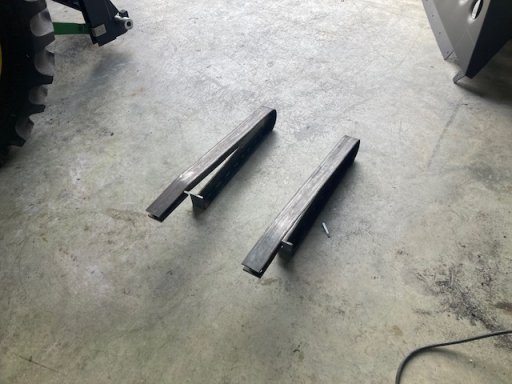
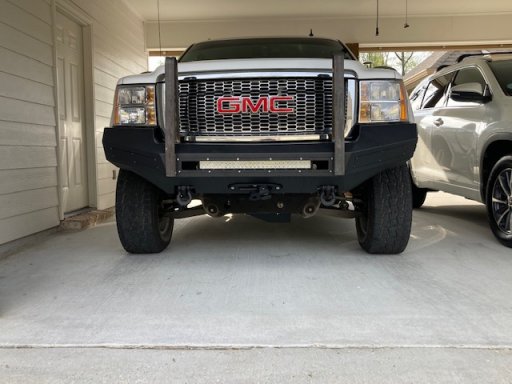
Started fabricating a brush guard to mount to the winch bumper.
IMG_4918.jpg

Test fitting one upright.
IMG_4914.jpg

Temporarily installed both uprights to take measurements for the crossbars.
IMG_4921.jpg
Had to remove the skid plate to access the mounting hardware. I'll re-install it after I'm done.


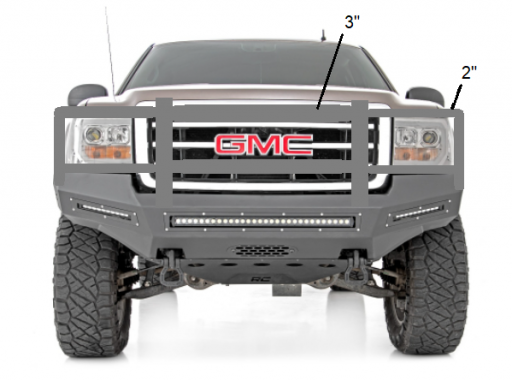
A rough draft of what it should look like.
BruchGuard.png
 

eagle_A40

Rank VI
Launch Member

Member II

3,341
Galvez, Louisiana. USA
First Name
Michael
Last Name
Somebody
Member #

19666

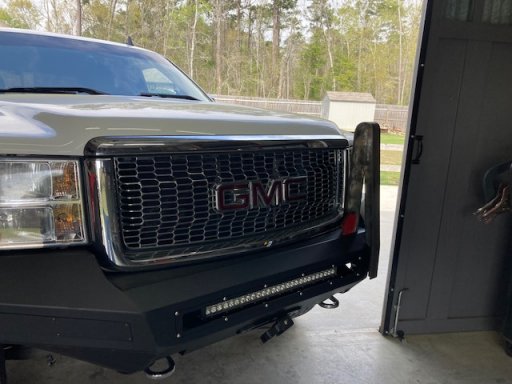
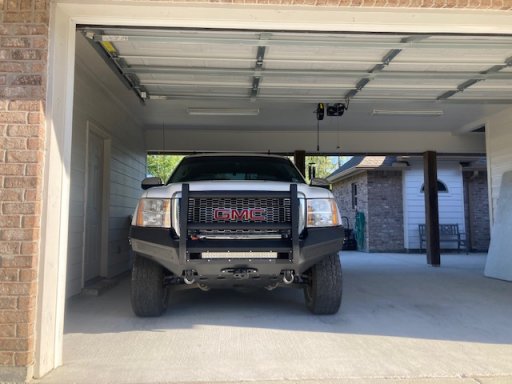
Managed to find time to continue work on the winch bumper brush guard today.
Welded cleaned, primed and painter with Restorium textured paint, to match the bumper.
I also re-installed the front skid plate.
IMG_4929.jpg

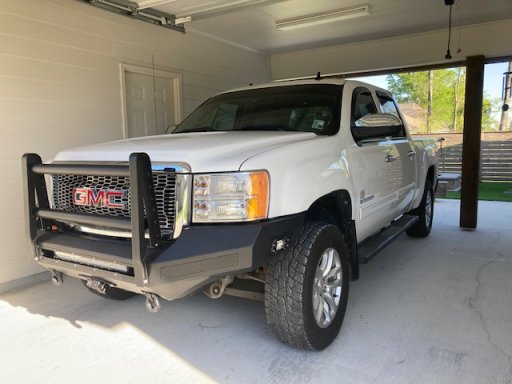
Angled view below.
If I get time, I'll try to begin fabricating the horizontal headlight protection bars next week.
IMG_4932.jpg

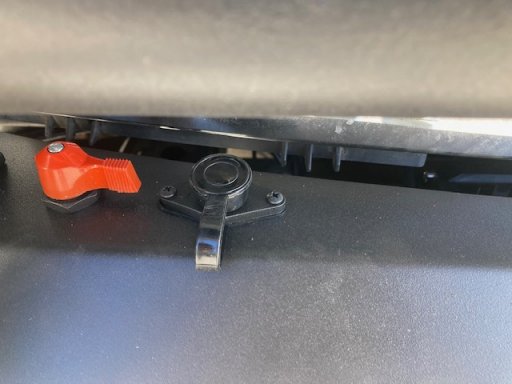
I added a disconnect switch (orange lever) in-between the battery supply and winch motor.
Also added a winch control extension harness. These are located at the base of the right side upright (left in photo above).
IMG_4928.jpg