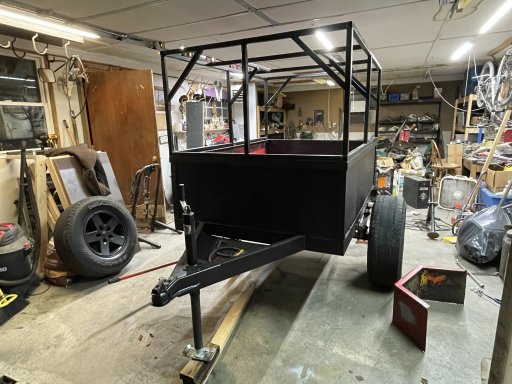
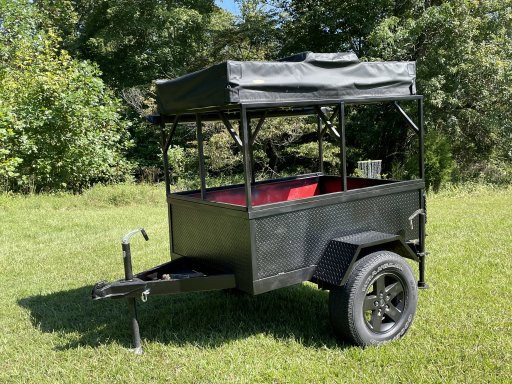
My Little Trailer Build!
- Thread starter jcmorgan31
- Start date
-
Guest, UPDATE We went through the site migration runbook and completed all steps. We will need to complete the migration next week, but will leave the forums up for the weekend. A few days after maintenance, a major upgrade revision to the forum site will occur.

Enthusiast III
Looks good!I did something similar, taller tires too big for the fenders.
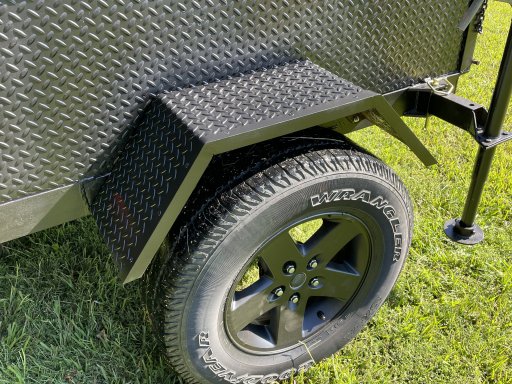
We cut the fenders and added 5"
View attachment 209012
and used 1.5" square tube to move them out.
View attachment 209013

Enthusiast III

Enthusiast III
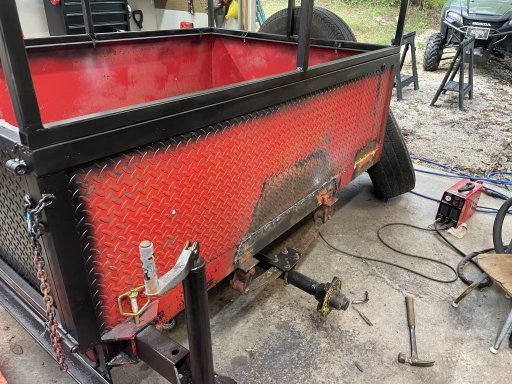
Yesterday I had planned to get the fenders installed and painted. An angle grinder accident that required 9 stitches in two fingers kind of derailed my plans. Did manage to get some work done though.
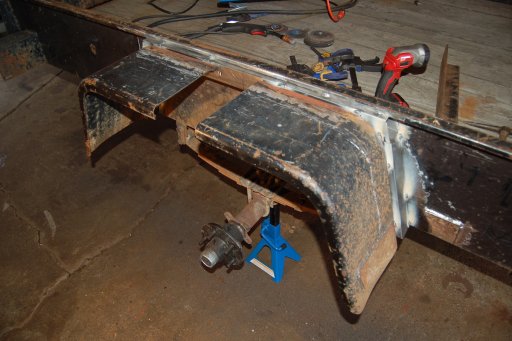
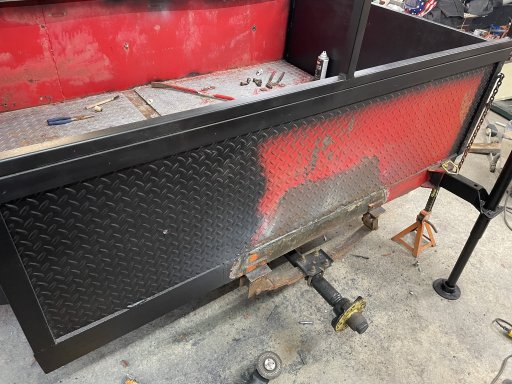
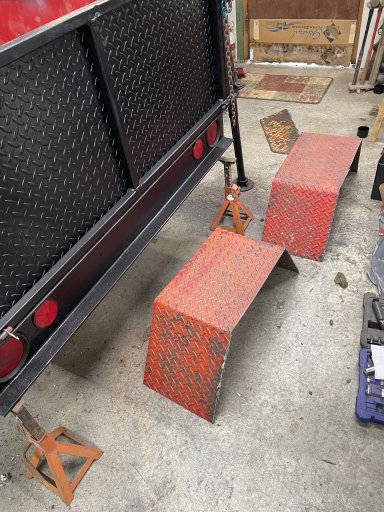
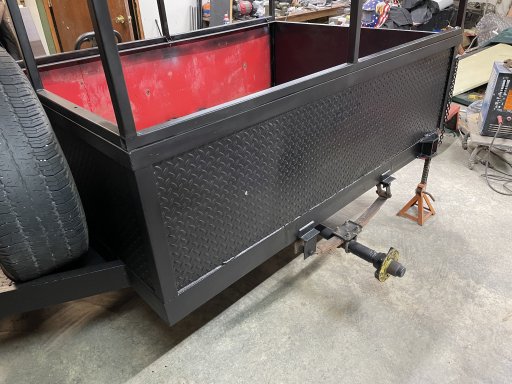
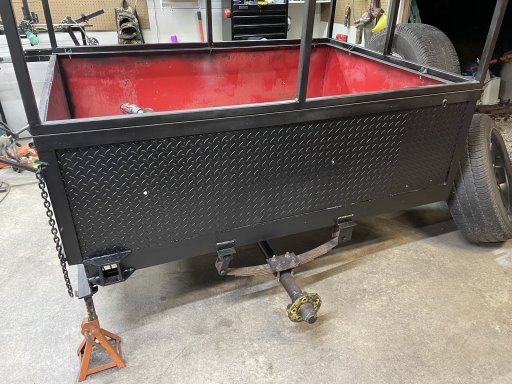
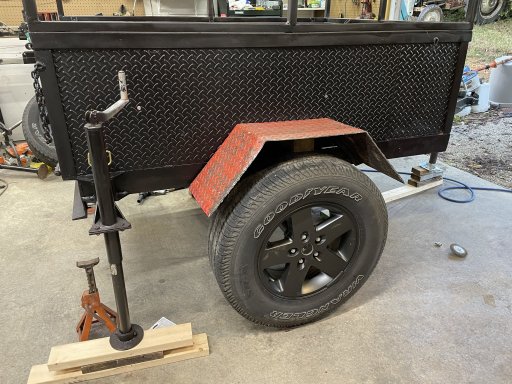
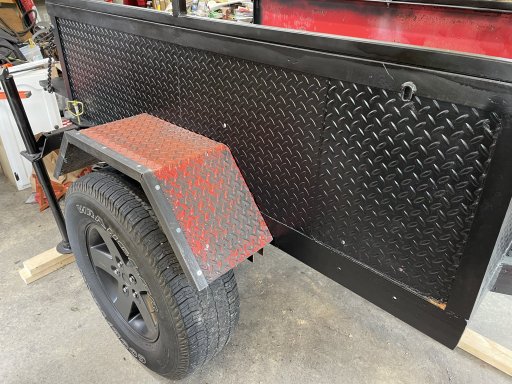
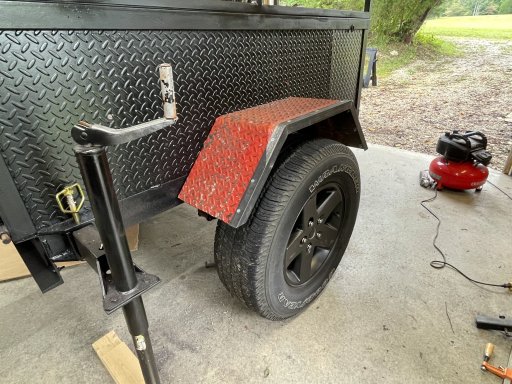
Once I got the fenders off, I cut the face metal at an angle in the corners so that I could bend the fenders out. We used a skid steer to drive up onto the fenders to bend them straighter which made them 4" wider at the bottom. Then I spun the fenders around and used the face angle as a bolting flange and bolted the fenders back on.
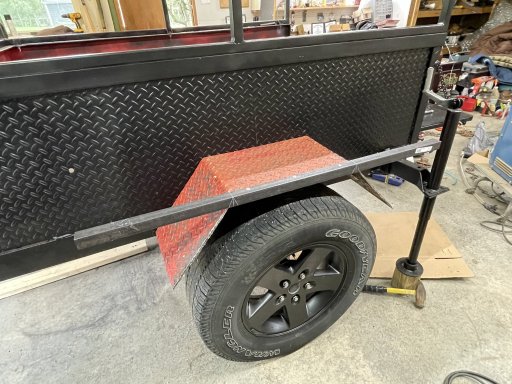
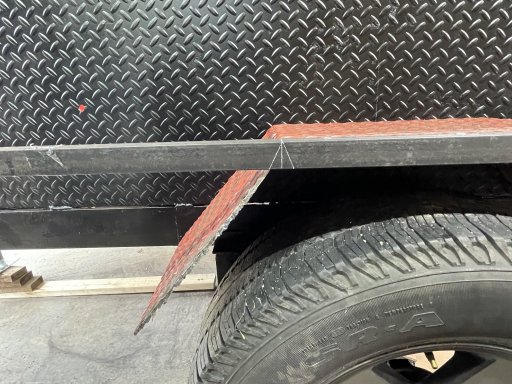
I purchased some 4' pieces of 1" angle and bolted them to the rough cut edge of the fenders to give them a more finished look.
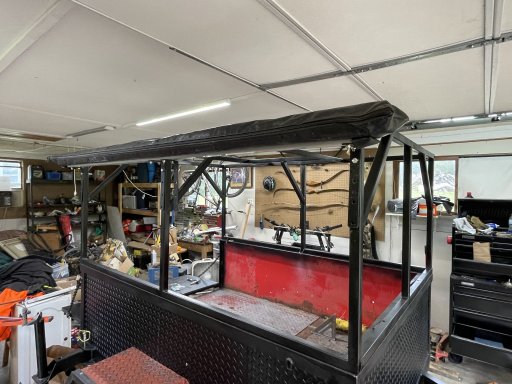
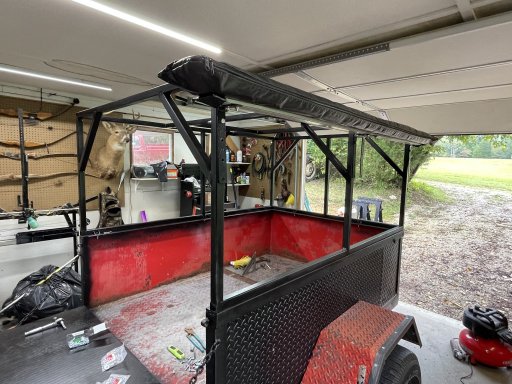
Mounted my Smittybilt awning as well.
Once I got the fenders off, I cut the face metal at an angle in the corners so that I could bend the fenders out. We used a skid steer to drive up onto the fenders to bend them straighter which made them 4" wider at the bottom. Then I spun the fenders around and used the face angle as a bolting flange and bolted the fenders back on.

I purchased some 4' pieces of 1" angle and bolted them to the rough cut edge of the fenders to give them a more finished look.


Mounted my Smittybilt awning as well.


Enthusiast III

Enthusiast III
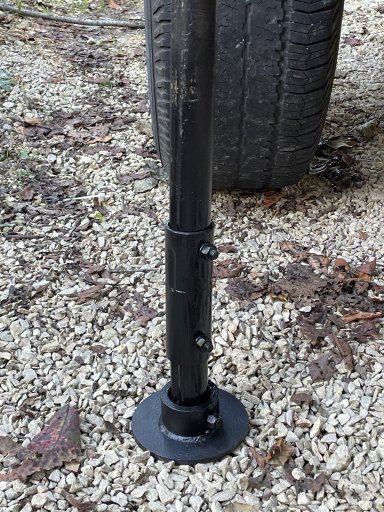
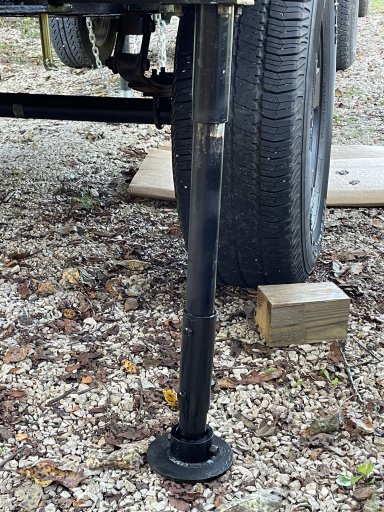
Yesterday I cannibalized the old front jack that I replaced in order to extend the existing rear jacks so that they'd be long enough to reach the ground with the higher stance of the trailer.
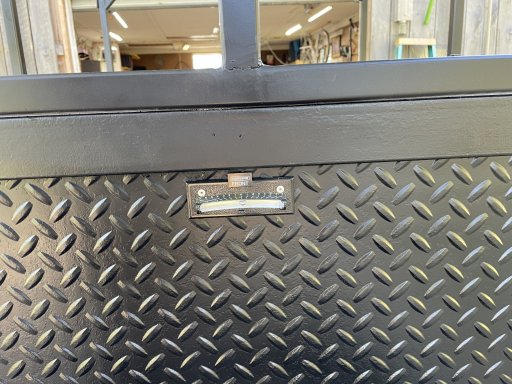
Next I installed a couple RV leveling bubbles... :)
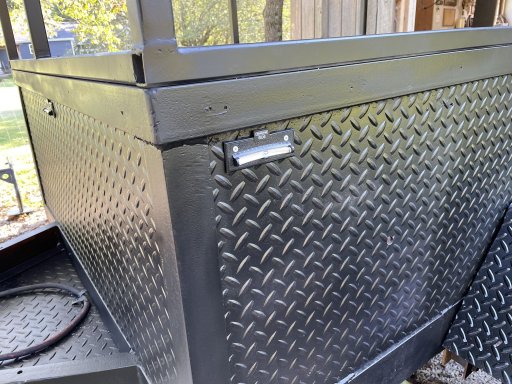
Installed the old jerry can holder.
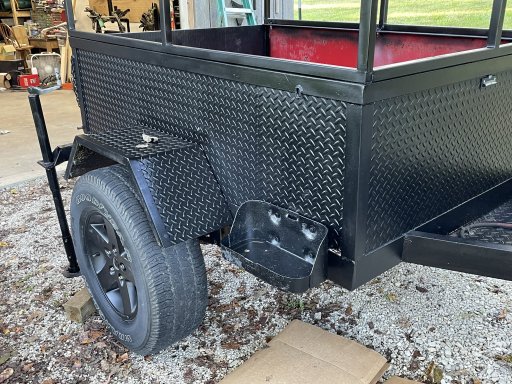
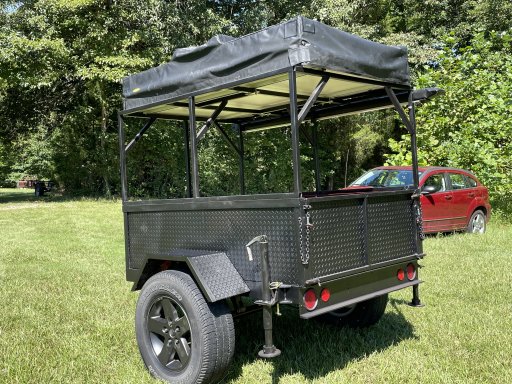
Cut the towing chains to length and installed them. Decided to take the trailer for a spin with the weight of the tent on it. I'm really happy with how it pulls
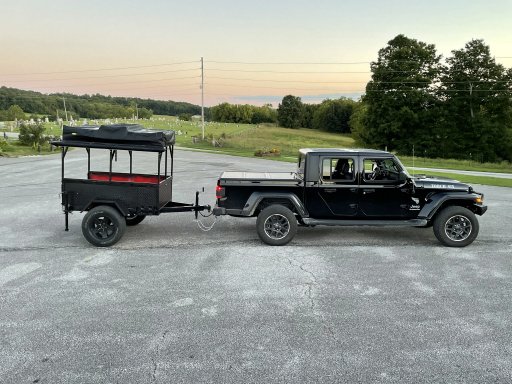
Spent about an hour removing old caulk, wire brushing, and wiping down the inside of the trailer. Re-caulked all of the seams. I'm going to roll in bed-liner Saturday if all goes as planned.


Next I installed a couple RV leveling bubbles... :)


Installed the old jerry can holder.

Cut the towing chains to length and installed them. Decided to take the trailer for a spin with the weight of the tent on it. I'm really happy with how it pulls

Spent about an hour removing old caulk, wire brushing, and wiping down the inside of the trailer. Re-caulked all of the seams. I'm going to roll in bed-liner Saturday if all goes as planned.

Enthusiast III
Rolled on 3 coats of bedliner this weekend.
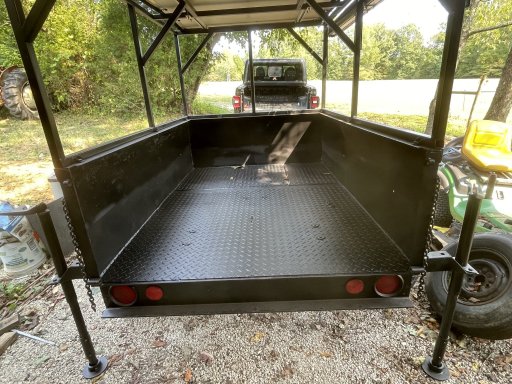
Had a chance to open up the tent, attach the annex to make sure I knew how while in a controlled environment. :)
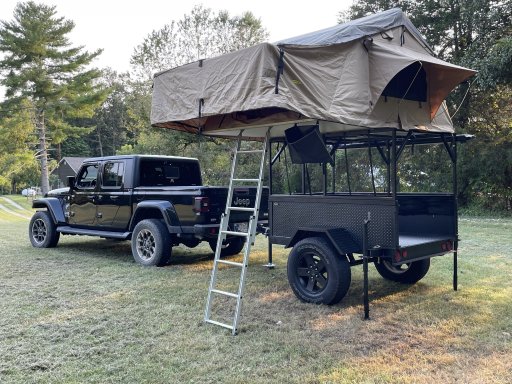
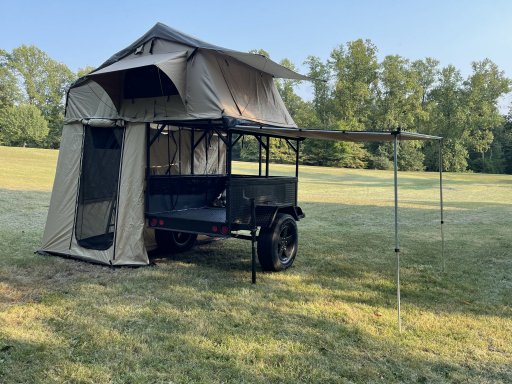
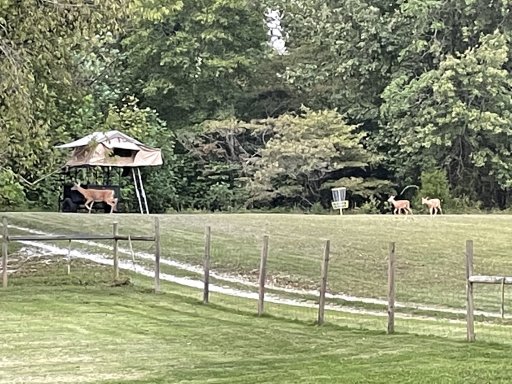
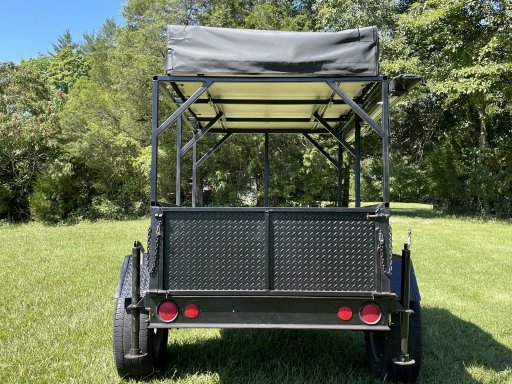
Tailgate is the last piece of the puzzle. Going to change it from a swing down to a swing out and mount the spare tire on it. I cut off the 40# piece of 1/4" steel diamond plate and am going to replace it with a 1/2" piece of black PVC. Going to hinge the PVC so that it folds down into a shelf (to prepare food on or whatever else we decide to use it for).

Had a chance to open up the tent, attach the annex to make sure I knew how while in a controlled environment. :)


Tailgate is the last piece of the puzzle. Going to change it from a swing down to a swing out and mount the spare tire on it. I cut off the 40# piece of 1/4" steel diamond plate and am going to replace it with a 1/2" piece of black PVC. Going to hinge the PVC so that it folds down into a shelf (to prepare food on or whatever else we decide to use it for).

Enthusiast III
Been a little while since I posted any updates. Been busy with life and not made a lot of progress. Part of it was waiting on electrical components to arrive. I decided to power my trailer with a portable "solar generator" which is a fancy name for a portable battery. We went with the Ecoflow River Pro which has 720wh and is expandable to 1440wh. It arrived last week and I've been wiring stuff as time permits. Started building a box in the front of the trailer to house the electrical and water (when I get around to water). Switched the tailgate to a side swing from the flip down.
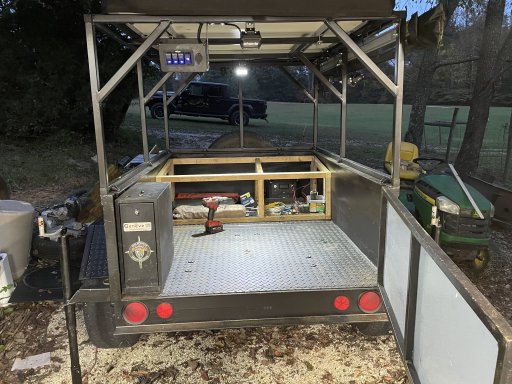
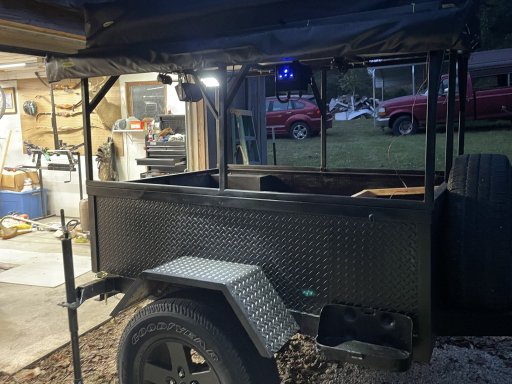
Got some flood lights mounted in strategic places (in back for cooking, under side awning, under floor of tent to light cargo area of trailer, on the front to shine on the hitch). Installed project boxes with on/off switches and cigarette lighter outlets on the awning side and in the back.
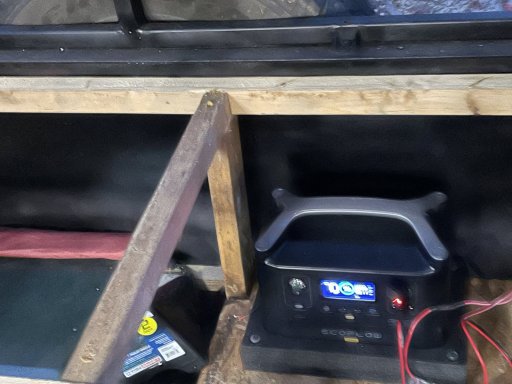
Crappy picture of the Ecoflow in its spot.
Hoping to get my box completed this weekend.
First outing is next weekend!

Got some flood lights mounted in strategic places (in back for cooking, under side awning, under floor of tent to light cargo area of trailer, on the front to shine on the hitch). Installed project boxes with on/off switches and cigarette lighter outlets on the awning side and in the back.

Crappy picture of the Ecoflow in its spot.

Hoping to get my box completed this weekend.
First outing is next weekend!

Traveler II
Nice work! Love the Classic recurves hanging in the garage. I noticed you haven't mounted the spare yet. I was thinking the removable tailgate would make a nice sturdy camp table.

Enthusiast III
I have one on the passenger side that will be under my awning that turns on the light under the awning and the cargo light. I have another one up high in the back that turns on the light that would shine on the tailgate where I'd be cooking (has an extra switch left over for expansion).I like the switch panel project box. Looks like a convenient spot for switch access too.
It was actually a tough decision as to where to mount them. Its hard to put them out of the way when you've never done this before and aren't for sure yet what they will be in the way of!
I opted to mount them high.

Enthusiast III
I didn't realize I got my bows in the background! Those and the bow press are the last remaining remnants of the bow shop I used to own. I haven't had them off the wall in a long long time. Keep saying I'll pick them back up one day when life slows down but it hasn't happened yet.Nice work! Love the Classic recurves hanging in the garage. I noticed you haven't mounted the spare yet. I was thinking the removable tailgate would make a nice sturdy camp table.
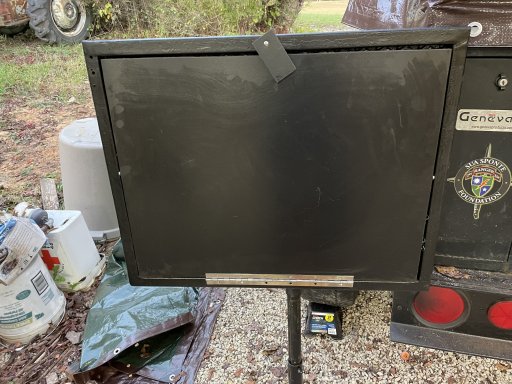
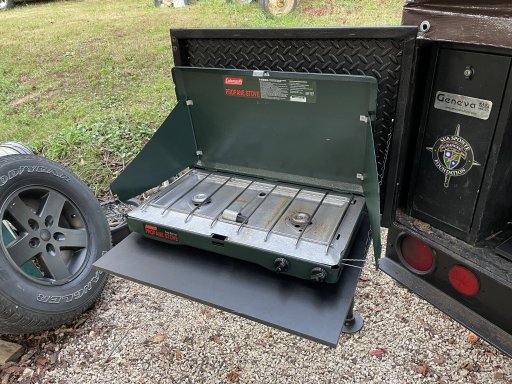
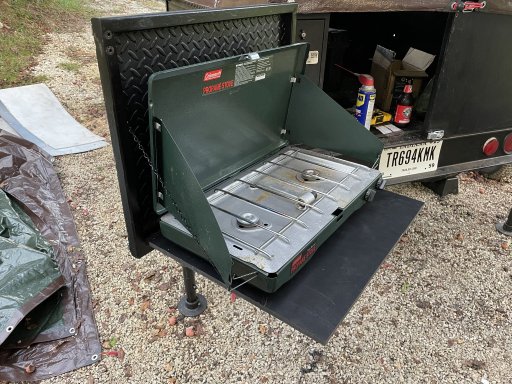
I'm probably going to leave the spare on the front where it is now and just strap it in. I switched the tailgate into a swing so that I could mount the tire back there to mimic a Wrangler, but I would need to beef up the hinges a little I think to do that. The tailgate doesn't come off as it is but I'm planning to put some fold down table on the inside of the tailgate to sit my coleman camp stove on when I cook.

Enthusiast III
We took the trailer on its maiden voyage this past weekend to a non-electric camp site at Raccoon Lake SRA west of Indianapolis. It was about a 2 hour drive and I discovered that something on my trailer starts whistling at 40 mph which was incredibly irritating! Guess I'm gonna have to take a ride in the trailer to track that down. Aside from that, it pulled great and we had no issues. I need to change the opening direction of the doors on my front box, but everything else worked pretty good. The Ecoflow Pro worked fantastic as my power source for the weekend. We didn't have our lights on much but it was still at 85% when we got home.
Added several items to the "to do" and the "to buy" lists but I'm really happy with the trailer as it sits now. It will be fun improving and tweaking it as we use it.
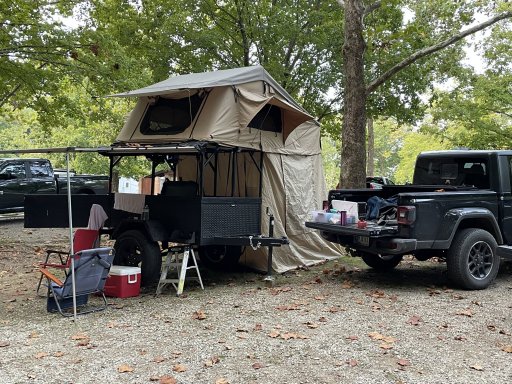
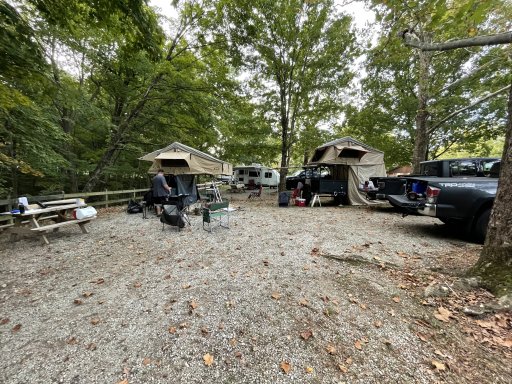
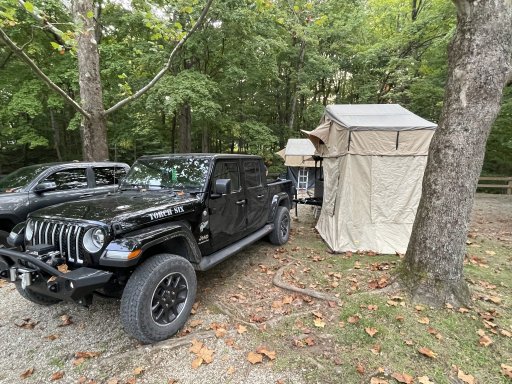
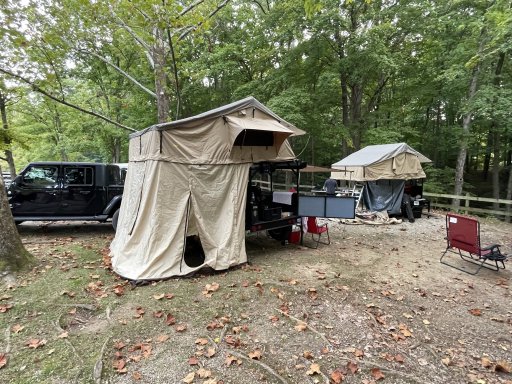
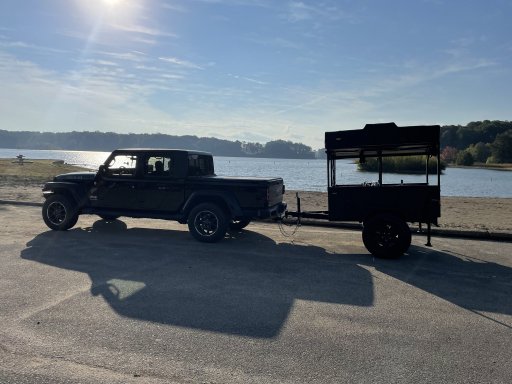
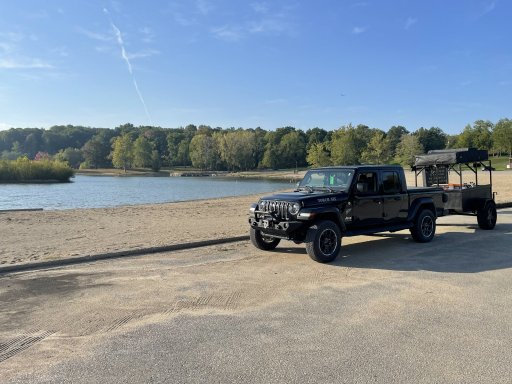
Added several items to the "to do" and the "to buy" lists but I'm really happy with the trailer as it sits now. It will be fun improving and tweaking it as we use it.


Last edited:

Traveler II
Congrats on a successful maiden voyage.
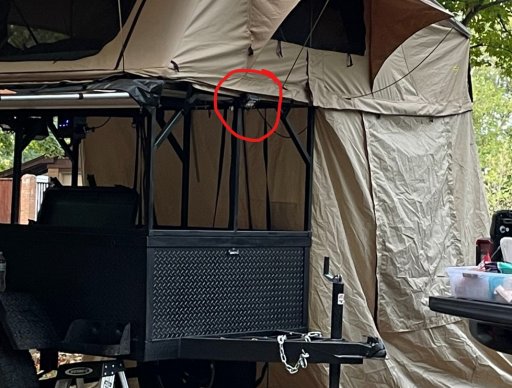
I would bet the whistle is coming from those triangles created by the rack gussets. Fill those triangles in with duct tape and see if the whistle persists.
I would bet the whistle is coming from those triangles created by the rack gussets. Fill those triangles in with duct tape and see if the whistle persists.

Enthusiast III

Enthusiast III
Spent a little time this weekend on the trailer "to do" list that I made on the first trip out last weekend.
Cut the tailgate into two pieces, which required some welding and grinding, to change the tailgate into a double side-swing instead of a single side-swing.
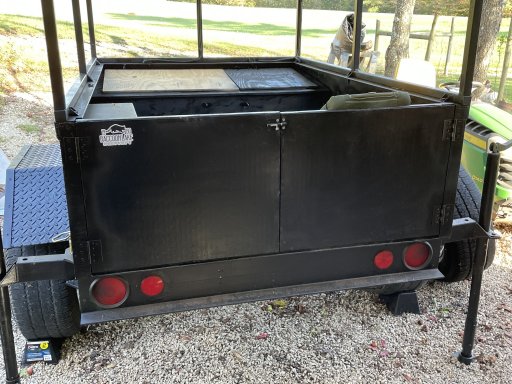
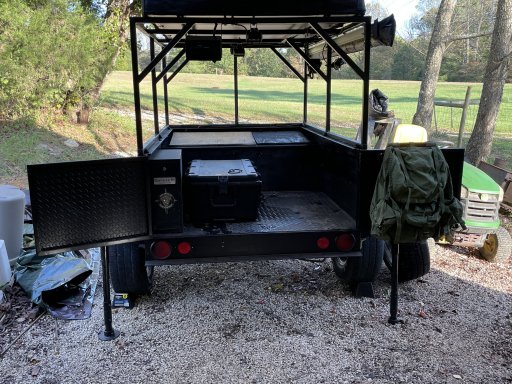
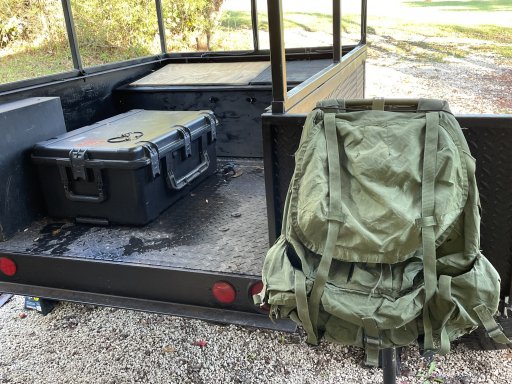
Converted an old Army ruck sack into a trash receptacle and mounted it to the tailgate. bought a couple 1" webbing buckles today to replace the cinch buckles to make opening and closing easier.
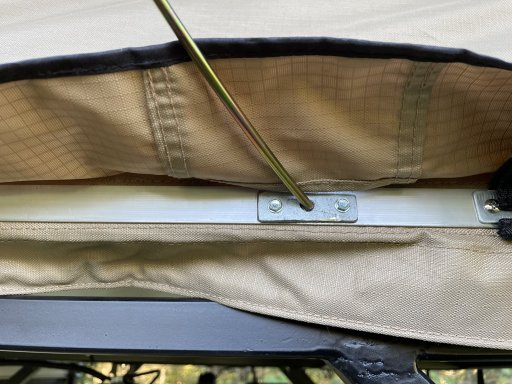
Fixed one of the window pole holes on my Smittybilt RTT. The pole had wallowed out the hole so bad that the pole barely stayed in the hole. I mounted a galvanized plate with a hole in it to the tent frame over the existing hole. worked like a charm. May go ahead and do this to all the pole holes just to keep the aluminum from being worn out.
Next project is adding a fold down cooking shelf to the driver's side tailgate.
Cut the tailgate into two pieces, which required some welding and grinding, to change the tailgate into a double side-swing instead of a single side-swing.


Converted an old Army ruck sack into a trash receptacle and mounted it to the tailgate. bought a couple 1" webbing buckles today to replace the cinch buckles to make opening and closing easier.

Fixed one of the window pole holes on my Smittybilt RTT. The pole had wallowed out the hole so bad that the pole barely stayed in the hole. I mounted a galvanized plate with a hole in it to the tent frame over the existing hole. worked like a charm. May go ahead and do this to all the pole holes just to keep the aluminum from being worn out.

Next project is adding a fold down cooking shelf to the driver's side tailgate.

Off-Road Ranger I
- 4,418
- First Name
- Shahn
- Last Name
- Brown
- Member #
-
29302
- Ham/GMRS Callsign
- GMRS - WRQD549
"After a short, but intense ride in the trailer" I would have loved to see that! LOL!Whistling problem solved! After a short, but intense ride in the trailer, the culprit turned out to be the LED light mounted on the front of the trailer. The wind flowing over the cooling fins on the top of the light were causing the whistle.
View attachment 213086

Enthusiast III
I don't know what to compare it to but that little trailer has a lot of "action" at 40 mph on an old southern Indiana back road..."After a short, but intense ride in the trailer" I would have loved to see that! LOL!

Enthusiast III

Pathfinder I


