

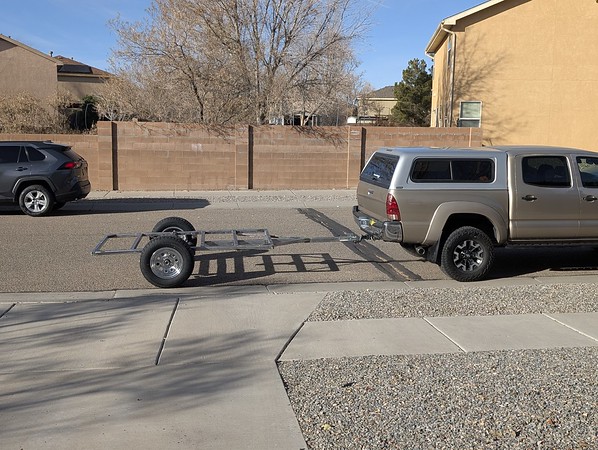
This is a trailer I've put together to haul my dualsport moto (KTM 500) and/or a fat tire ebike and also carry a tent. Not unlike some of the other utility trailers builds I see on here. There's a couple constraints I've had to deal with. It's size is limited as it must share 1 car space in the garage with 2 motos and an ebike. It also must fit under the garage door with a roof top tent yet be tall enough to park a relatively tall motorcycle under the tent. I'm not a fan of the materials typically used in Big Box store utility trailers plus a 5' wide trailer with larger tires would be too wide for my space. I wanted this trailer to match the track width and wheelbase of a tacoma DCSB that will be pulling it. I don't plan on any 4 wheeling with the trailer but I wanted it more then strong enough to get into remote Utah where I frequently go. I also knew I could probably accommodate all those requirements if I built it myself.
Enough background on to the build. I sold off my fabrication tools a few years ago. All I had was cordless hand tools, grinders and clamps. I borrowed a 120V mig, picked up a HF bandsaw and stand and a $50 220V stick welder.
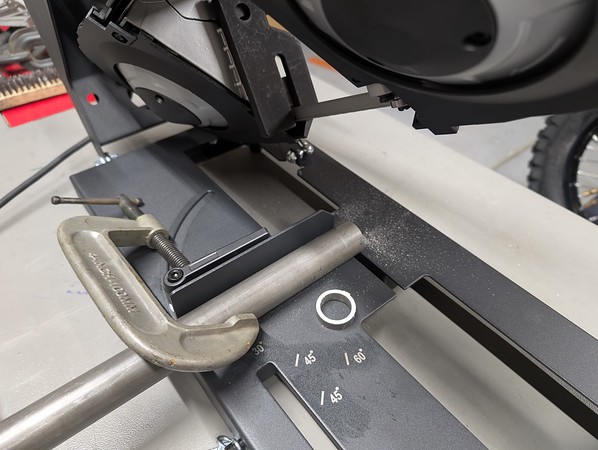
The band saw and stand was a life saver for what it cost. It made short work of 2x2 .180 and cut .120 stock with little effort.

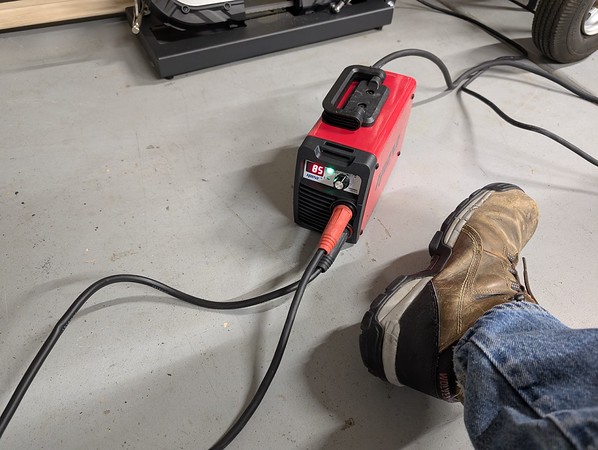
The $60 220V stick welder worked surprisingly well for the structural welds.
On to the build.
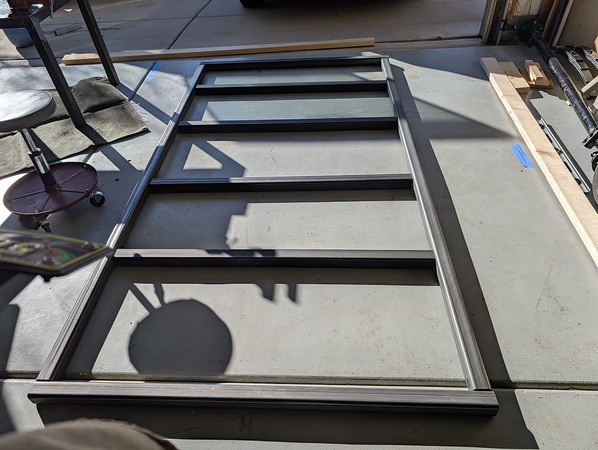
At this point I've cut up the tubing and laid out the 4x8 footprint of the bed.
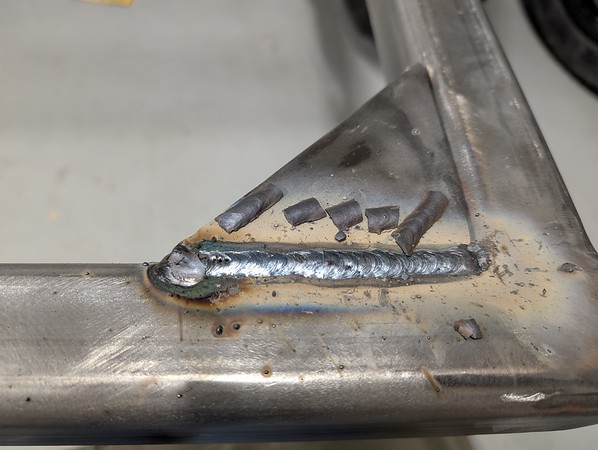
Here I've stripped off all the millscale, squared up the corner and I'm preparing to tack weld.
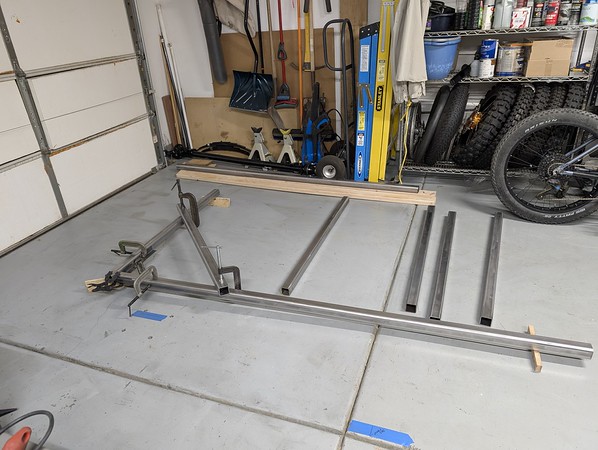
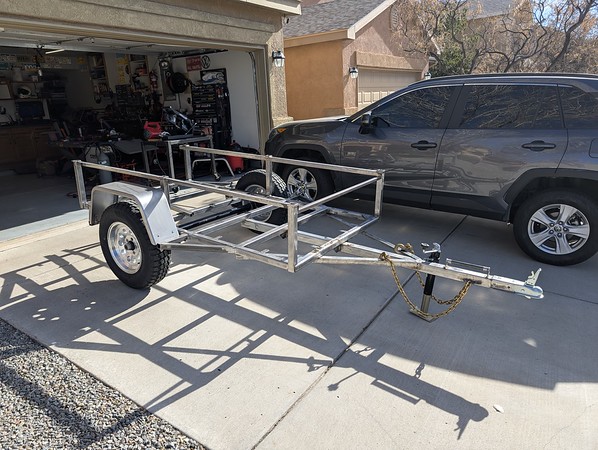
The frame went together quickly. The outside frame members are .180 wall and the cross braces are .120. The tongue is 2.5 x 2.5 x .180
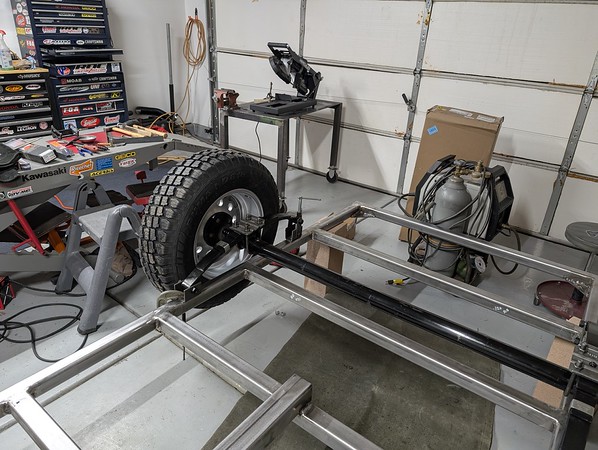
I went with a 3500# axle and 215/70 15" 8ply tires on 6" wide alum rims. The typical trailer sized wheels would be too small and a wheel off a jeep would be a little larger than I'd prefer.
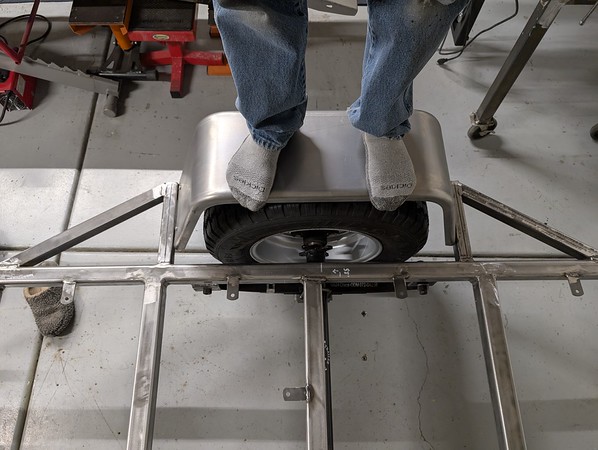
Flimsy fenders wouldn't do, I wanted fenders that I could stand on, mission accomplished.
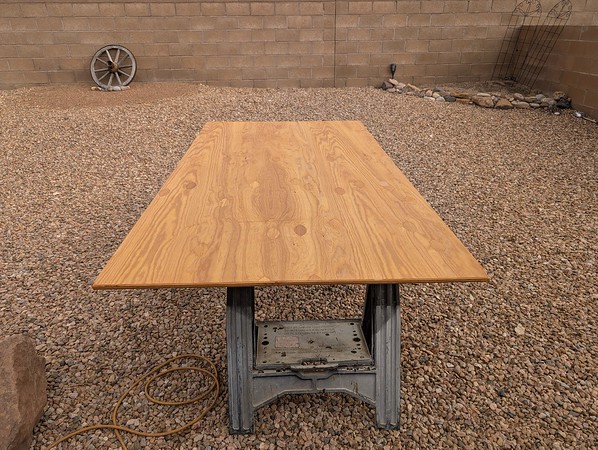
Tabs got welded in to hold the 4x8 sheet of 3/4" marine ply.
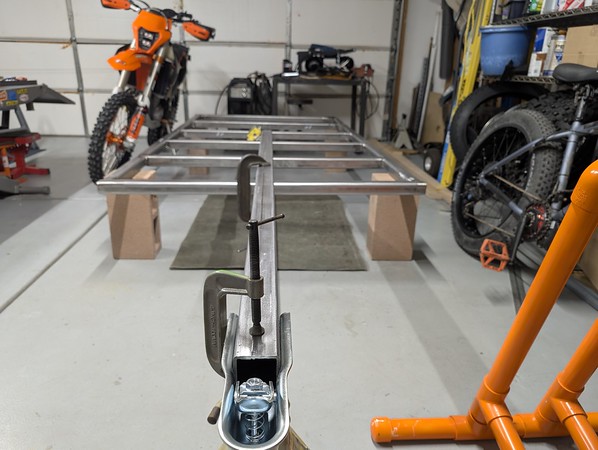
Here I've started on the side framework. The 4 verticle uprights towards the front of the trailer will be receiver tubes for the tent platform uprights.
Here's a picture with the uprights installed, I'm checking the various heights in order to plan the platform's range of movement.
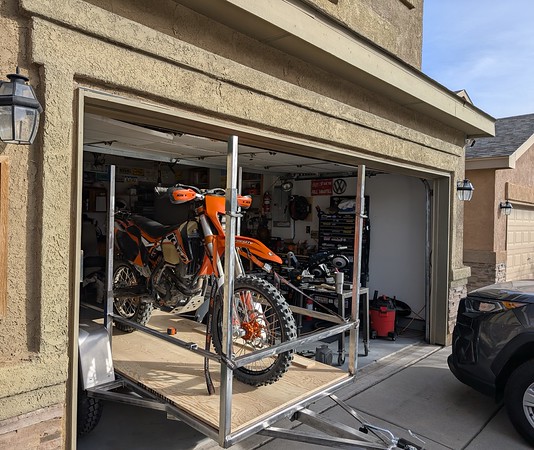
This one shows the finished side framework. The sleeves that are clamped part way up the poles are the moving part in the tent elevation system I'm planning.
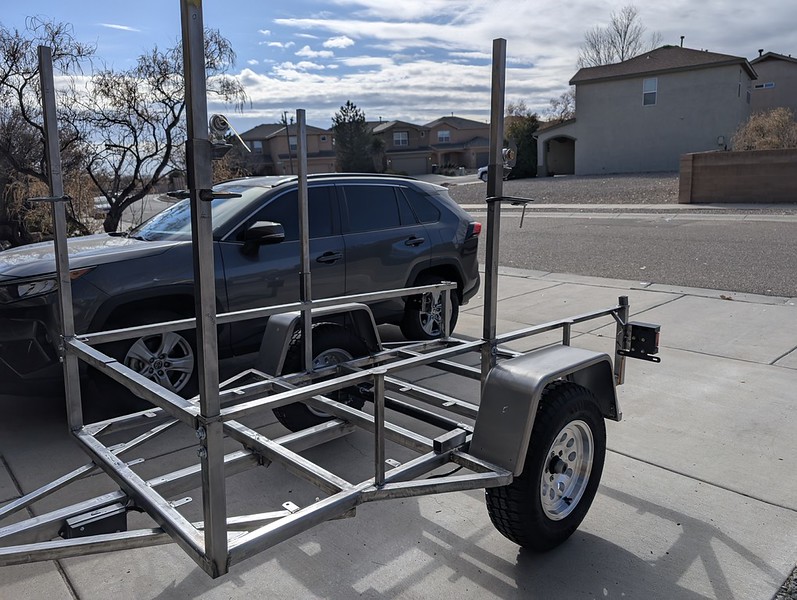
Next task: Pickup style tailgate.
Enough background on to the build. I sold off my fabrication tools a few years ago. All I had was cordless hand tools, grinders and clamps. I borrowed a 120V mig, picked up a HF bandsaw and stand and a $50 220V stick welder.
The band saw and stand was a life saver for what it cost. It made short work of 2x2 .180 and cut .120 stock with little effort.
The $60 220V stick welder worked surprisingly well for the structural welds.
On to the build.
At this point I've cut up the tubing and laid out the 4x8 footprint of the bed.
Here I've stripped off all the millscale, squared up the corner and I'm preparing to tack weld.
The frame went together quickly. The outside frame members are .180 wall and the cross braces are .120. The tongue is 2.5 x 2.5 x .180
I went with a 3500# axle and 215/70 15" 8ply tires on 6" wide alum rims. The typical trailer sized wheels would be too small and a wheel off a jeep would be a little larger than I'd prefer.
Flimsy fenders wouldn't do, I wanted fenders that I could stand on, mission accomplished.
Tabs got welded in to hold the 4x8 sheet of 3/4" marine ply.
Here I've started on the side framework. The 4 verticle uprights towards the front of the trailer will be receiver tubes for the tent platform uprights.
Here's a picture with the uprights installed, I'm checking the various heights in order to plan the platform's range of movement.
This one shows the finished side framework. The sleeves that are clamped part way up the poles are the moving part in the tent elevation system I'm planning.
Next task: Pickup style tailgate.


