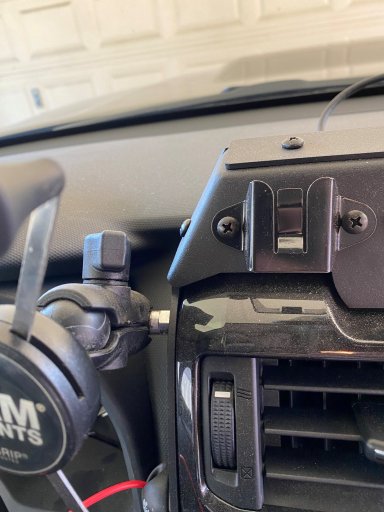
That’s a nice clean looking instal... do you have a picture that shows a little more of the dash and center console?
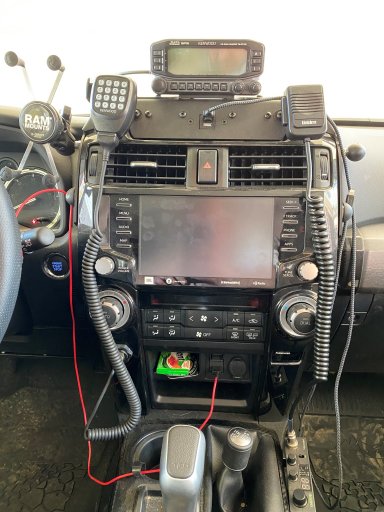
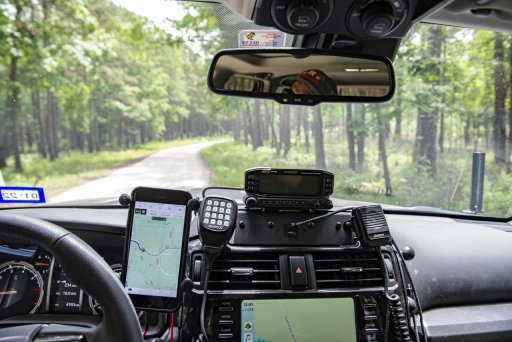
Ok, this may be more than you were looking for, but here goes (Please excuse the dust and dirt, detailing hasn't been a top priority for me lately):
The mic & radio on the right is a Uniden Pro510XL CB. The mic on the left is for the ham and is installed as follows:
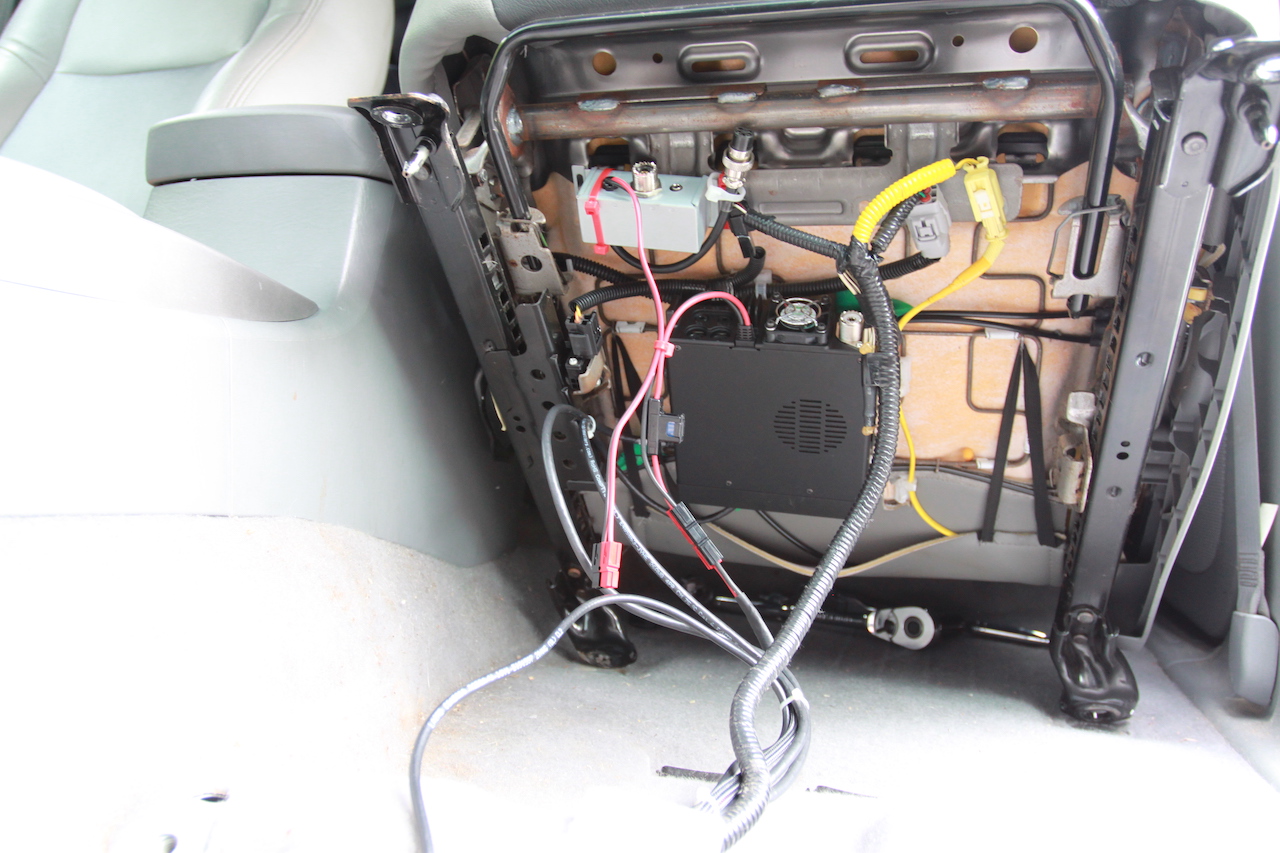
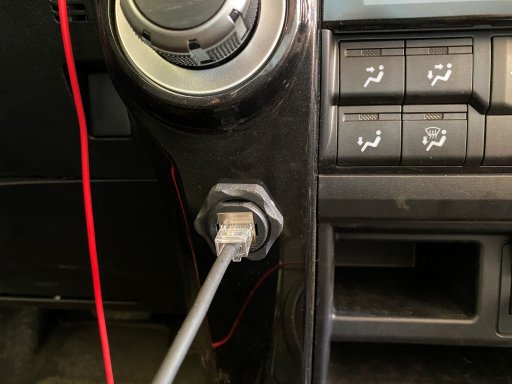
The main unit for the ham is mounted under the front passenger seat. My previous install with this radio (a Kenwood D710GA in a 2014 Jeep Wranlger JKU) had the main body under the driver's seat with the mic mounted on the side of the center console down by my knee. That worked for me, but having the mic mounted there kept my wife (who's 5' 1") from being able to pull the driver's seat forward enough to drive comfortably. She would have to take the mic out of the cradle and put it in one of the cup holders. When I planned out this installation, I wanted to be able to mount the mic higher up on the dash to avoid that problem, but the mic cable will only stretch so far. I read a couple different articles about making an extension for just the mic out of Cat 6 ethernet cable but most of the articles complained that the lack of shield in the standard cat 6 cable causes a clicking sound on the radio. Kenwood, however, sells a cable extension kit (
) that includes a shielded mic cable (which, unfortunately you can't buy just by itself). I wasn't entirely sure where I was going to mount the main body, so I went ahead and bought the extension kit (I was thinking about mounting the body in the back cargo area) but we wound up only using the mic extension. That cable runs from the body under the passenger seat, up along and then back behind the center console to a Cat 6 pass-through coupling (
) mounted in the side panel of the center sole.
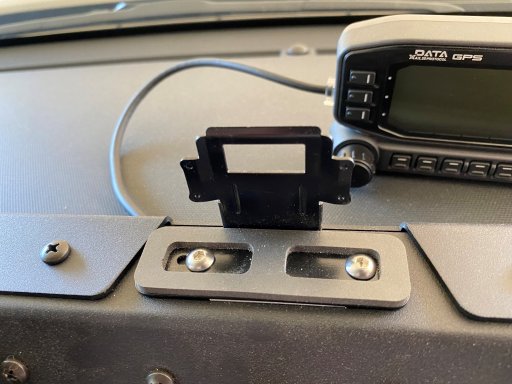
I originally tried using some Ram mount components to mount the head unit to the T4RPAM mount, but it wasn't very clean and I didn't like the way it looked / worked. The cradle that the head unit clips into already has a couple of holes on the bottom to mount it to a dash or desk or wherever, so I simply drilled those hole out enough to get the the bolts for the T4RPAM bolts through and then I just mounted the cradle straight to the mount. The head unit still clips into / out of the cradle, so if I need to tuck it out of sight I just need to disconnect the cable from the side and then unclip the head unit. I had to use socket cap screws to bolt the cradle down because the heads on the regular phillips-head bolts used elsewhere on the mount were just tall enough to stick up above the foam and keep the head unit from clipping in. The heads on the socket cap screws were about 1/16" shorter, which lets the head unit fully clip into the cradle and sit on the foam padding.
The mic cradles that came with both radios didn't match up with the mounting holes for the T4RPAM, but Expedition Essentials also sells mic cradles designed for the mount (
Expedition Essentials CB Mic and Handheld Radio Holder). Two of those on either side of the T4RPAM lets me mount the mics up there without having the cables block the main radio head unit's touch screen. The Ram ball mounts on either side of the console aren't standard for the T4RPAM - I got the idea from the Trail4Runner.com blog post (
5th Gen 4Runner iPhone/ Droid Phone Mount - 4Runner Phone Mount). All I really needed to do was just drill out a single hole on each side bracket and then replace the two screws that came with mount for those holes with ball mounts and 1/4" bolts.
Then it was just a matter of getting a couple cable clips with 3M backing to hold the connection cables (my wife was always stealing the cable I used in my Jeep to connect to the radio unit so now I have one that just stays plugged in for her). I thought about running at least my connection cable up inside the console, but I've had enough of those cables go bad on me that I didn't want to have to take apart my dash just to replace a lightning cable.