

Enthusiast I
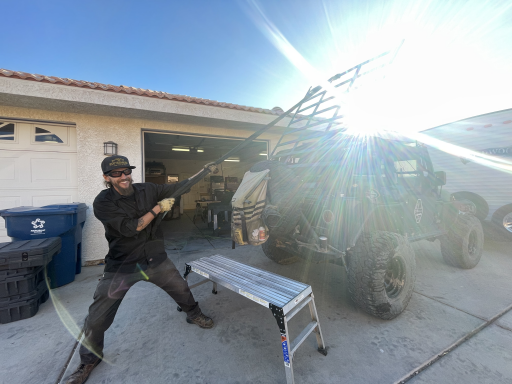
Welcome to the in depth thoughts with regard to the Fox’ Rack!
This is the 2nd iteration roof rack we’ve come up with. My first go around, I was after too much weight savings and jeopardized the structural integrity of the equipment. Later causing a “link” or mounting upright failure, ending an adventure before I could air down. In designing this roof rack we had a few “must haves” in the final product.
Final Thoughts/Nuance Details
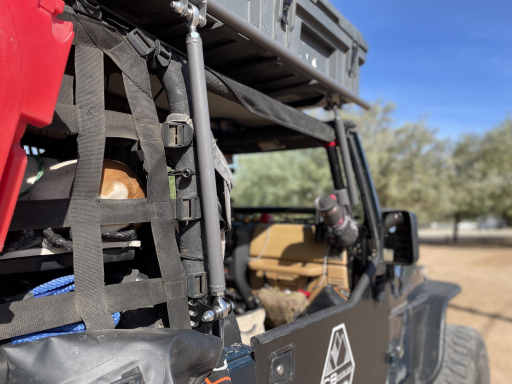
We achieved our goals with this Rack build and I was even more enthused with its performance. The heim joints, with opposite threaded bungs, created double adjustable arms/links to fine tune the fit of the rack and because of the rear mounting triangulation, I can keep positive retention on the rack, thus, no jiggly wiggly.
This is the 2nd iteration roof rack we’ve come up with. My first go around, I was after too much weight savings and jeopardized the structural integrity of the equipment. Later causing a “link” or mounting upright failure, ending an adventure before I could air down. In designing this roof rack we had a few “must haves” in the final product.
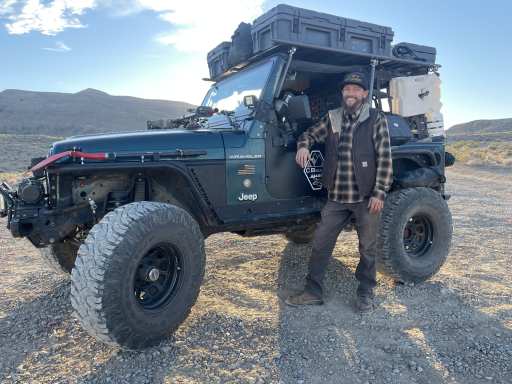
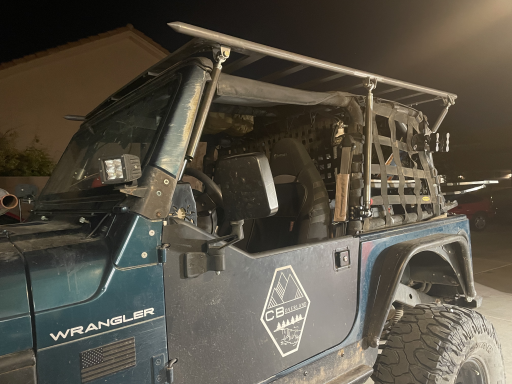
- Slimline look and functionality. I wanted the rack to fit as tight to the safari top as possible while still leaving just enough clearance for a tailgater table and our folding solar panels under the rear of the rack but above the cage/roofline. Also, I didn’t want an exo-cage style that seemed bulky and left opportunity for sway and jiggly wiggly on the washboard roads with such long upright mounts and weak joints. Mounting to the cage of the rig became an opportune solution to keep our mounting links short and tight to the vehicles profile. Insuring as little jiggle as possible.
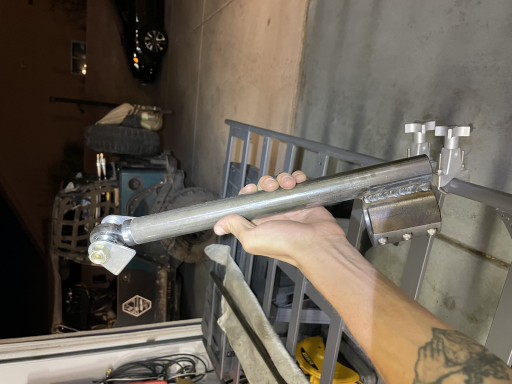
- Removable. In design of any product from leather goods and metal fabrication to digital content I always keep in mind the broad application others may use a product and its functionality. In this case, the ability to remove modifications to a vehicle is a bonus. One could weld up some mounts straight to the cage and call ‘er a day, but I desired more user functionality. I utilized 6 bolt half clamps from my local race shop, Butch’s Speed Shop in Las Vegas, welding the “link” mount to the clamp rather than directly to the cage. Heim Joints, sourced from the same shop, were a durable, adjustable and effective mounting solution. Removing 6, 1/2” bolts, the rack and its contents pop off with ease. (An overhead lift or modified engine hoist helps significantly with this portion.)
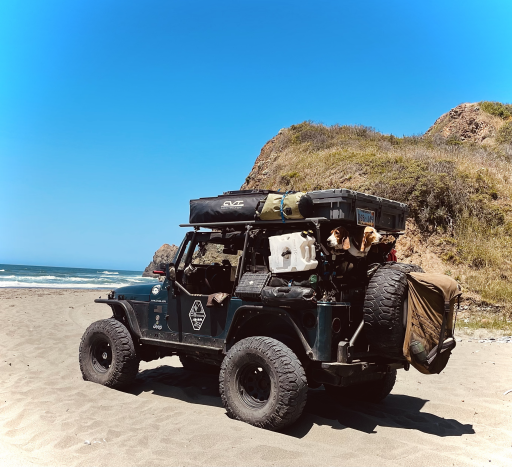
- Pushing the limits of Roof Rack Real Estate. Let’s face it, there’s just not much real estate atop a 2 door Jeep. We enjoy making the most of what is available to us to best suit our adventure needs. Much like a Murphy bed with hidden storage in a NYC apartment, we wanted to chuck a RTT and a box of belongings up there. To create the necessary real estate, I pushed the “front line” of rack about 6” forward of the windscreen and the rear about 10” past the cage C pillar. This gave us 6’ in lenghth and 56” in width, allowing for a CVT Shasta size roof top tent, mounted in east/west orientation along with a 93L dry case on the rear. Seemingly, all this would add up to some significant weight gain. However, removing our hard top and switching to half doors made this addition nearly a wash, purely in terms of static weight. There is some added resistance and sway from the elevated center of gravity, that said a stock Jeep is less aerodynamic than a cow to start with! And timing is everything, traveling during a drought made the top and doors irrelevant to us, we wanted to taste/smell the country anyway!
Final Thoughts/Nuance Details
We achieved our goals with this Rack build and I was even more enthused with its performance. The heim joints, with opposite threaded bungs, created double adjustable arms/links to fine tune the fit of the rack and because of the rear mounting triangulation, I can keep positive retention on the rack, thus, no jiggly wiggly.

