Just around a year ago, the world succumbed to a pandemic that brought unthinkable pressure and stress to all in the forms of lost loved ones, jobs, and uncertainty. Under the added weight, I, like many others, have turned towards off-road adventures as an escape and to safely enjoy time with friends and family. With more time out on the trails, the need for equipment made itself clear, and staying prepared has been a priority to keep the overlanding community safe.
I've actually been interested in Garmin's Overlander since its release, but under the circumstances, I prioritized getting a unit installed into my vehicle and I was really excited to do so. The Overlander is full of features, but this write-up will be the tip of the iceberg and I'll just list a few of the reasons I wanted one of these so badly.
I also want to mention that I wasn't sponsored by Garmin, Ram Mounts, or ProClip USA. In fact, I found the Garmin Overlander on Facebook Marketplace brand new for less than $200! I genuinely wanted an Overlander for the reasons above, but there are so many other benefits of the Overlander that I just can't cover in one thread/video.
Let's get into the installation!
The Overlander comes with a Ram mount that uses a not-so-standard windshield mount that I have absolutely no reservations about, but with the large 7" display, I just didn't want to sacrifice the real estate and visibility out of my windshield. Below you'll see a standard setup with the windshield mount and the charging cable. Note that the Overlander connects to the mount via a magnetic charger so it pulls on and places on with ease and simply begins charging once connected- no fussing around with USBs.

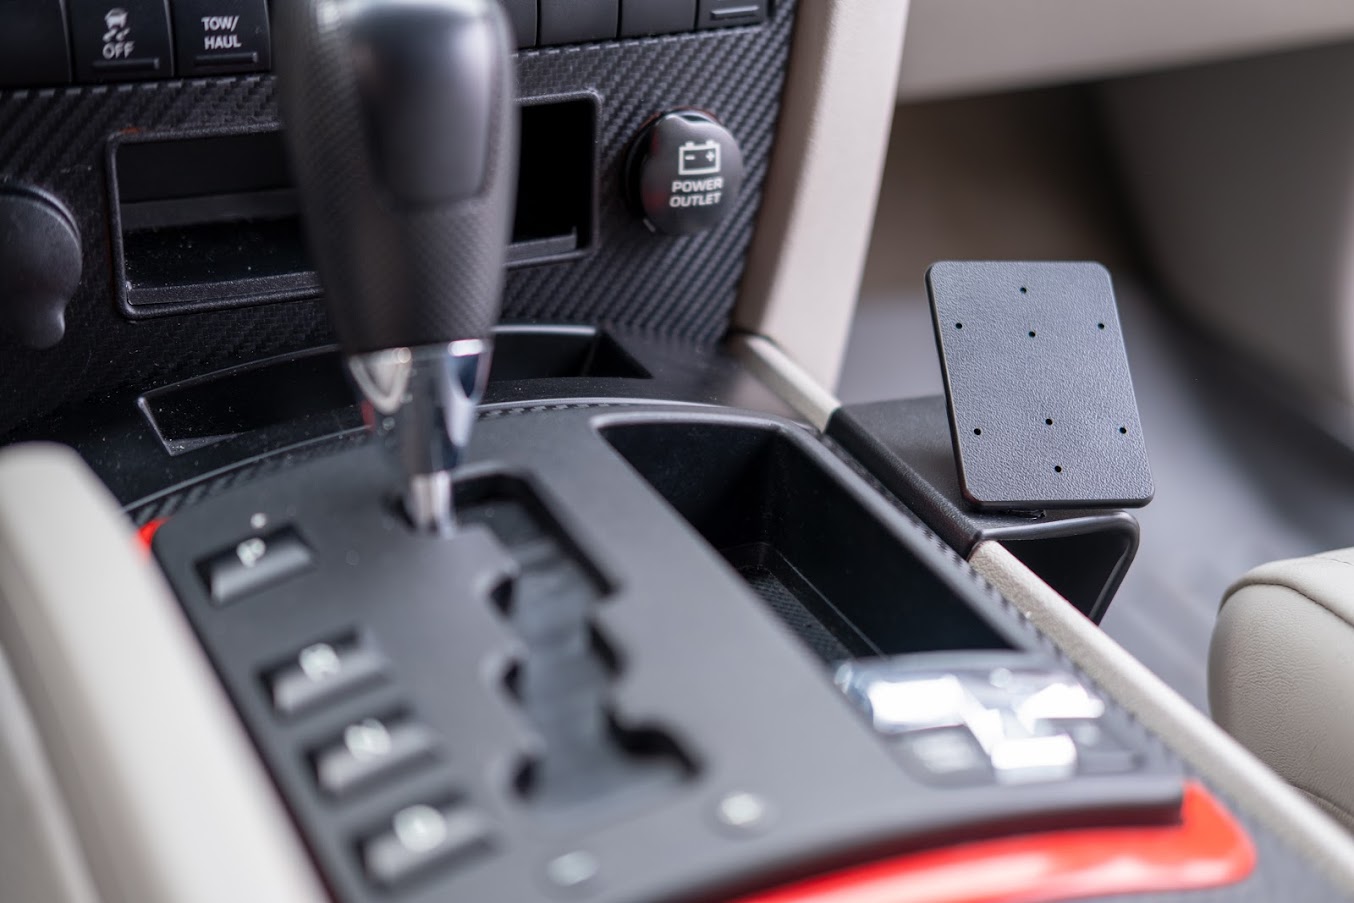
With the traditional setup, the navigation unit sits in the line of sight and the cable hangs below it. I was really interested in a more permanent solution that wouldn't occupy one of my two 12V sockets and that wouldn't block any more of my vision for days that I may not be using the unit. I found ProClip USA that makes mounting solutions traditionally for phones, but the Overlander is considerably lighter than I had expected and I had full faith in the ProClip mount. It mounts right up to the passenger side of my Jeep Grand Cherokee WK next to the shifter.

The mount gives a blank mating surface that I would use to drill holes in to bolt the Ram Mount into.

I opted for Ram's EZ-Roll'r cradle which utilizes the magnetic charging base included with the Overlander but also allows the unit to be locked into the cradle to deter theft. Without it locked, it still places into, and removes from, the cradle really easily and avoids any vibrations.

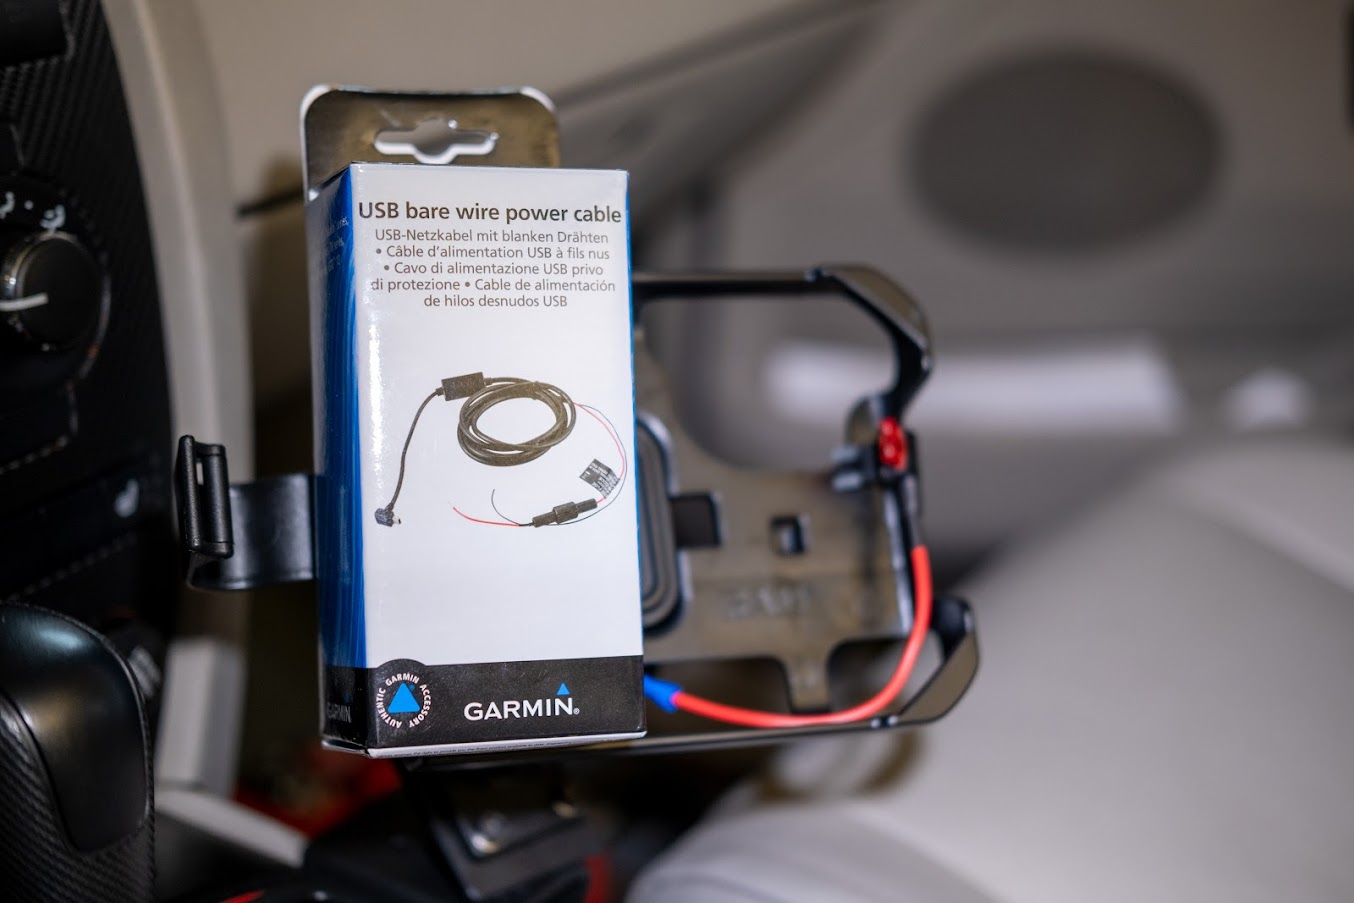
To get around the included 12V plug, I went for Garmin's USB bare wire power cable kit that comes with a fused harness that allows me to take 12V from anywhere the Jeep provides it.

I tapped into the gauge cluster lights at the fuse panel below the steering wheel so that the charger would only provide power to the Overlander when the vehicle is running to avoid draining my battery. I ran the wire just under the head unit and it made for a really clean installation and the ProClip mount perfectly hides the wire. I'm sure you could drill a hole and mount a grommet to hide more of the wire, but this was fine by me!

And that was it! The navigator was ready to go and the charger worked perfectly hardwired into the rig. It looks amazing and I'm excited to get on some trips with a passenger to get their take on the ability to turn the unit so it faces them allowing them to see the trail ahead.


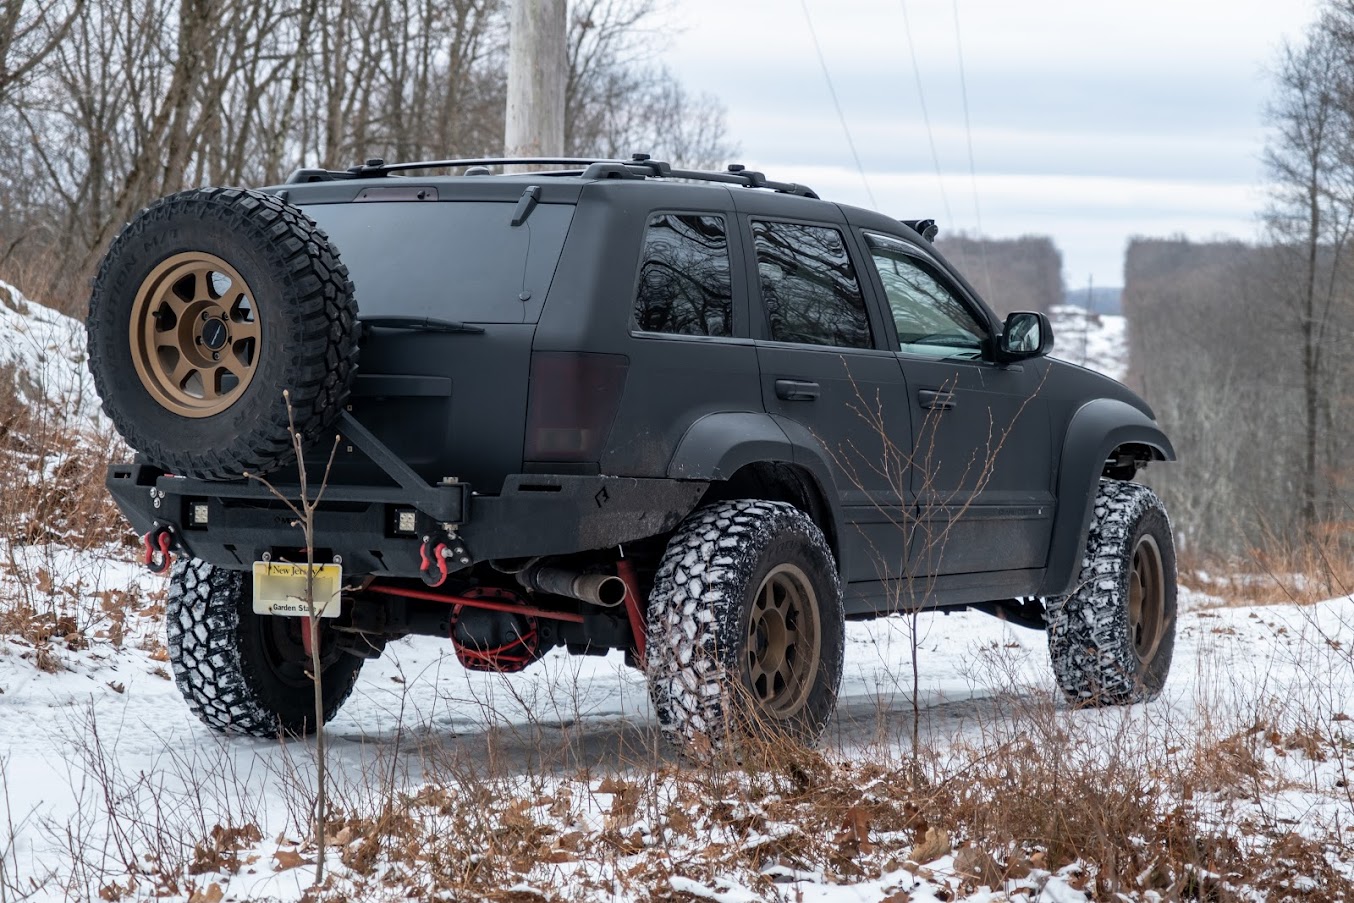
I took my Jeep on some local trails to see some of the features of the Overlander. I recorded an unmarked trail, uploaded it to Garmin Explore, and took a look at some of the off-road-specific features Garmin boasts about on their site.

I made a video on my YouTube channel covering everything from details on the install to in-cabin footage of the unit on and off roads. I'll link that below and I'd love to hear what you guys think about the install and what you may have done differently. I have many long trips planned for this spring and I'll have the BC 35 wireless cameras, an inReach, and the GPX files uploaded. That way, I can do a long-term review of EVERY feature the Overlander has packed in. From what I've seen, the price tag is more than justifiable, and when you consider the added safety that having a standalone GPS unit aside from your phone, it's priceless.
I've actually been interested in Garmin's Overlander since its release, but under the circumstances, I prioritized getting a unit installed into my vehicle and I was really excited to do so. The Overlander is full of features, but this write-up will be the tip of the iceberg and I'll just list a few of the reasons I wanted one of these so badly.
- Multi-GNSS support means that GLONASS and Galileo helps track in more challenging environments than GPS alone
- Four BC 35 wireless cameras can be hooked up to one Overlander allowing the 7" display to be used as a monitor when a spotter isn't available
- The Overlander is inReach compatible and can be used for satellite communications in the event it's needed
- You can record tracks if you find unmarked trails and get turn-by-turn navigation once recorded
- With its own battery, it can be used without a constant power supply and used to navigate and communicate (with inReach) in the case of a lost/dead phone and a broken down vehicle
I also want to mention that I wasn't sponsored by Garmin, Ram Mounts, or ProClip USA. In fact, I found the Garmin Overlander on Facebook Marketplace brand new for less than $200!
Let's get into the installation!
The Overlander comes with a Ram mount that uses a not-so-standard windshield mount that I have absolutely no reservations about, but with the large 7" display, I just didn't want to sacrifice the real estate and visibility out of my windshield. Below you'll see a standard setup with the windshield mount and the charging cable. Note that the Overlander connects to the mount via a magnetic charger so it pulls on and places on with ease and simply begins charging once connected- no fussing around with USBs.
With the traditional setup, the navigation unit sits in the line of sight and the cable hangs below it. I was really interested in a more permanent solution that wouldn't occupy one of my two 12V sockets and that wouldn't block any more of my vision for days that I may not be using the unit. I found ProClip USA that makes mounting solutions traditionally for phones, but the Overlander is considerably lighter than I had expected and I had full faith in the ProClip mount. It mounts right up to the passenger side of my Jeep Grand Cherokee WK next to the shifter.
The mount gives a blank mating surface that I would use to drill holes in to bolt the Ram Mount into.
I opted for Ram's EZ-Roll'r cradle which utilizes the magnetic charging base included with the Overlander but also allows the unit to be locked into the cradle to deter theft. Without it locked, it still places into, and removes from, the cradle really easily and avoids any vibrations.
To get around the included 12V plug, I went for Garmin's USB bare wire power cable kit that comes with a fused harness that allows me to take 12V from anywhere the Jeep provides it.
I tapped into the gauge cluster lights at the fuse panel below the steering wheel so that the charger would only provide power to the Overlander when the vehicle is running to avoid draining my battery. I ran the wire just under the head unit and it made for a really clean installation and the ProClip mount perfectly hides the wire. I'm sure you could drill a hole and mount a grommet to hide more of the wire, but this was fine by me!
And that was it! The navigator was ready to go and the charger worked perfectly hardwired into the rig. It looks amazing and I'm excited to get on some trips with a passenger to get their take on the ability to turn the unit so it faces them allowing them to see the trail ahead.
I took my Jeep on some local trails to see some of the features of the Overlander. I recorded an unmarked trail, uploaded it to Garmin Explore, and took a look at some of the off-road-specific features Garmin boasts about on their site.
I made a video on my YouTube channel covering everything from details on the install to in-cabin footage of the unit on and off roads. I'll link that below and I'd love to hear what you guys think about the install and what you may have done differently. I have many long trips planned for this spring and I'll have the BC 35 wireless cameras, an inReach, and the GPX files uploaded. That way, I can do a long-term review of EVERY feature the Overlander has packed in. From what I've seen, the price tag is more than justifiable, and when you consider the added safety that having a standalone GPS unit aside from your phone, it's priceless.


