Advocate II
Where do I start? I blog all my projects on a google page so doing this build thread on OB makes me pause and evaluate if I will keep up with it or not. I am new to your community and need to start somewhere.
Overlanding by definition is easy to find yet I find it is very personal. As the vehicles I see vary, one must use what they have. Given the predominance of Jeeps, Toyota's and the like, the trails they go on are awesome! Some of the rigs are exceptional. But using a F350 for this adventure seems to have been mocked by the hard core riders. I am seeing more acceptance now and decided to jump in with both feet.
They say that full size rides, F250-F350, Tundra, Ram's are too wide, your too tall, your too heavy.....Ok I agree, my F350 is 8800+ lbs and is too wide for some trails. (10" wider than a Toyota) or too tall for a RTT (roof top tent) or too heavy for soft terrain....I agree.... so I just have to pick and choose the trails I ride! I like wide open spaces of the mountain valleys so "Go West young Man" fits!!
Enter my 2014 F350 CCSB! I bought it used so all it had were airbags and 35" rubber. I added Power Stop brakes all around and replaced all 8 cab mounts. Then a serious misstep happened in 2019. The motor had a catastrophic detonation. High pressure oil pump detonated and robbed me of much money, Oil pan to turbo, including fuel system contamination kit...:-(not happy)-: So after more than a few (sic) thousand dollars to the Ford dealer, Here we are! I will never go to a dealer ever again.... I have always done my own maintenance and repairs yet I am not a mechanic and this job just seemed too big for me at the time.
Now that's a brief history, back to the build......
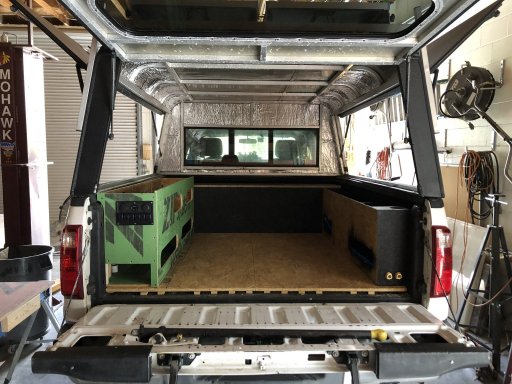
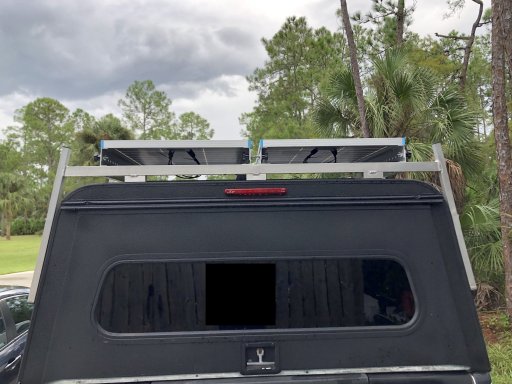
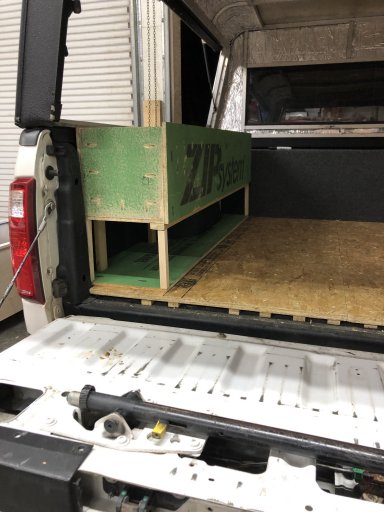
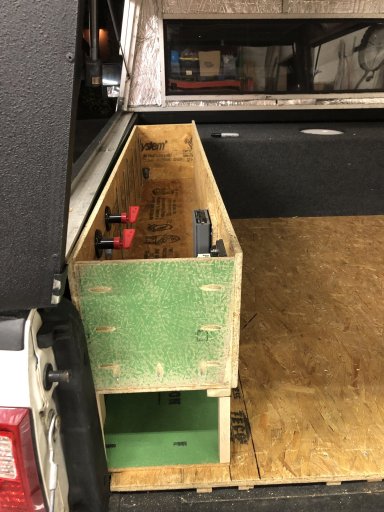
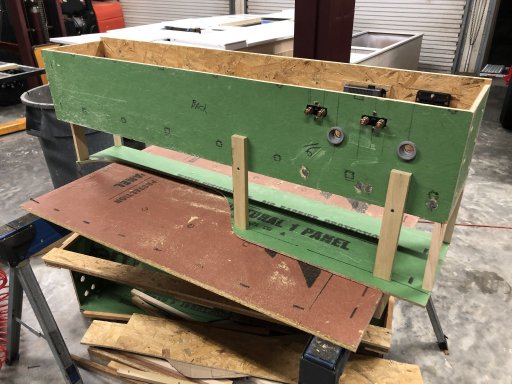
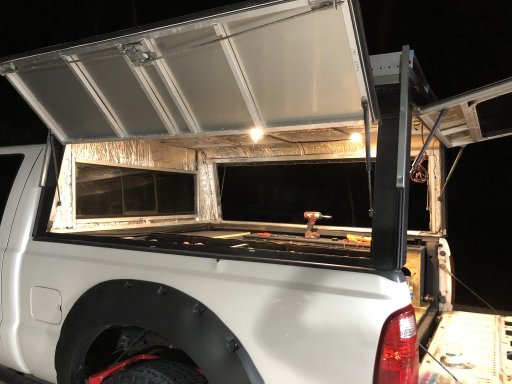
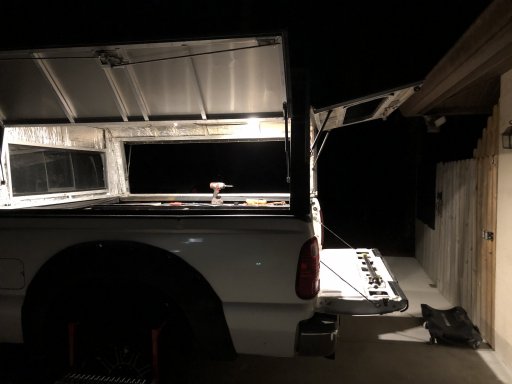
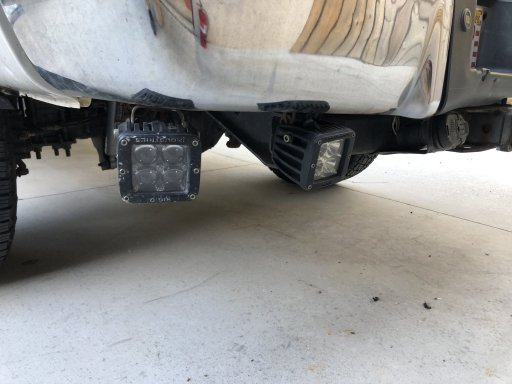
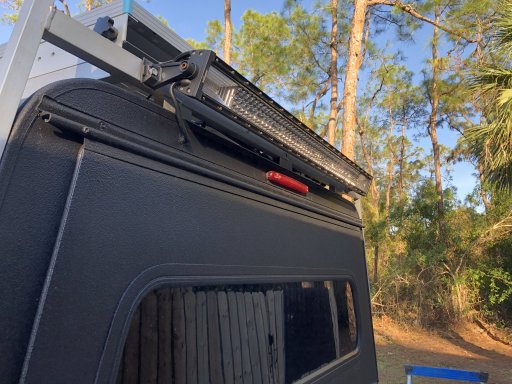
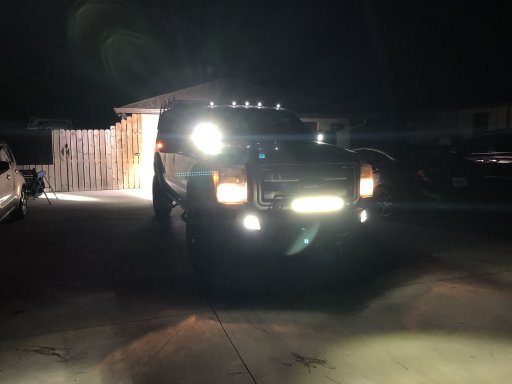
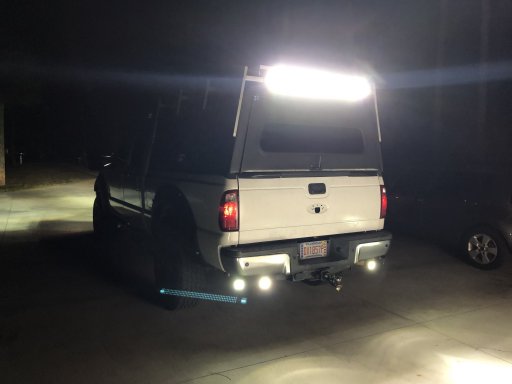
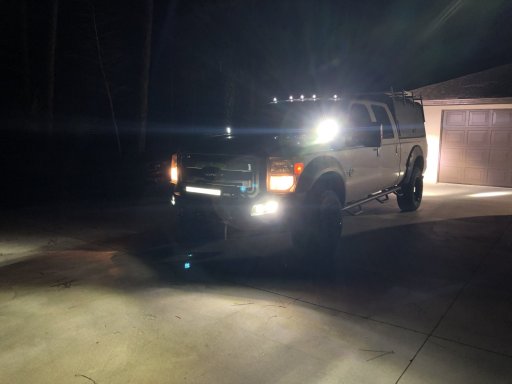
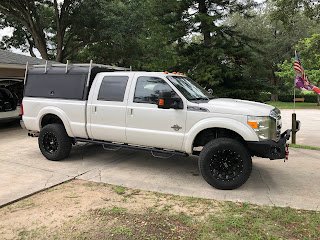
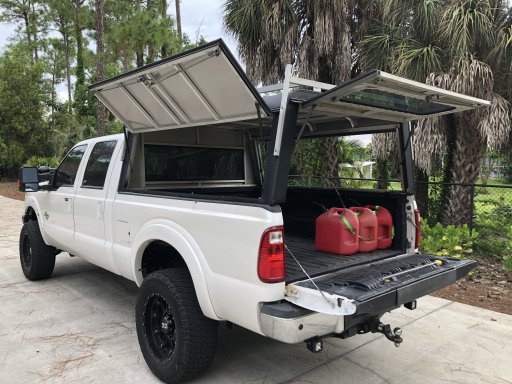
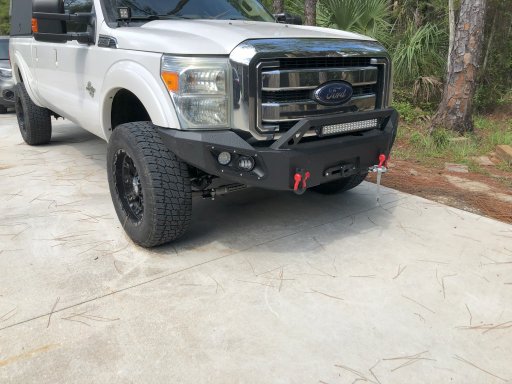
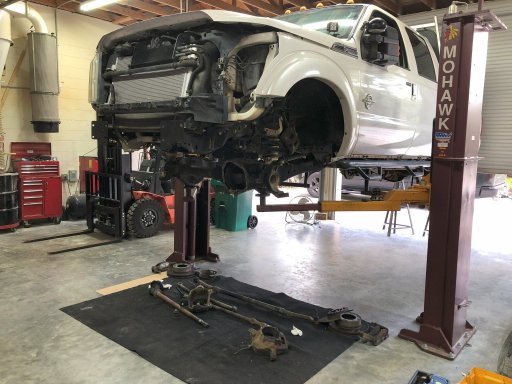
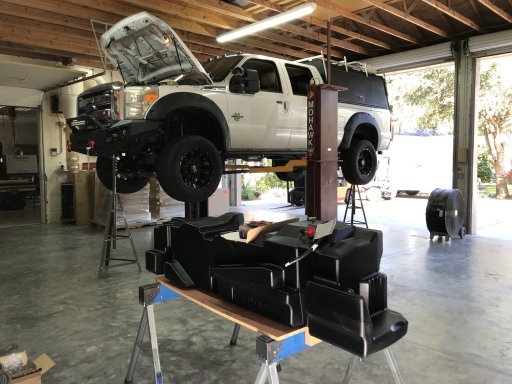
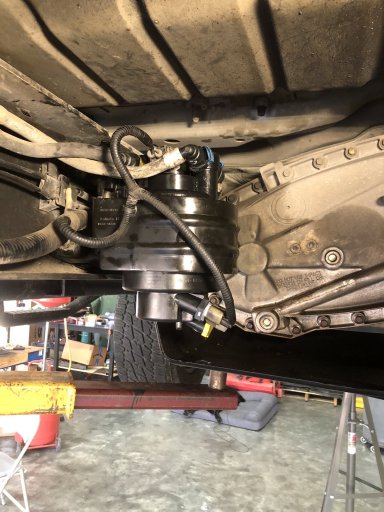
Since I will be most likely riding solo, I wanted to address all mechanical concerns first. Then ADD kicked in and I started building the truck camping bed cabinets. Squirrel!!! Back to the mechanicals of replacing the tired front suspension and addressing the CP4 fuel system. I ripped out the entire front end and rebuilt/replaced everything except the ring/pinion. Lockers will come next year. I replaced the internal ramps, bearings, seals, u joints, ball joints, tie rods, cross over links, stabilizers...and the list goes on! all 4 Shocks, dual steering and dampening shocks, etc......upgraded from 1" to 2" leveling plates, added a winch bumper with a 12k winch, and new to me Aluminum cap with rack and a 2016 tailgate with step! Boredom in retirement is costly......:-)
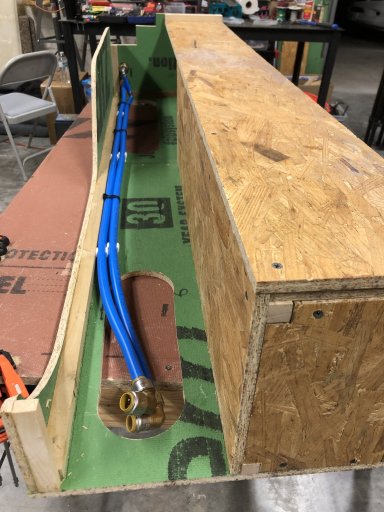
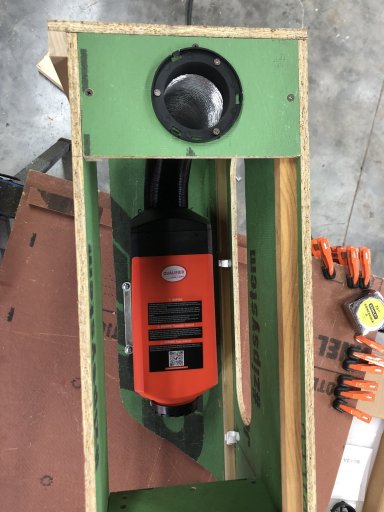
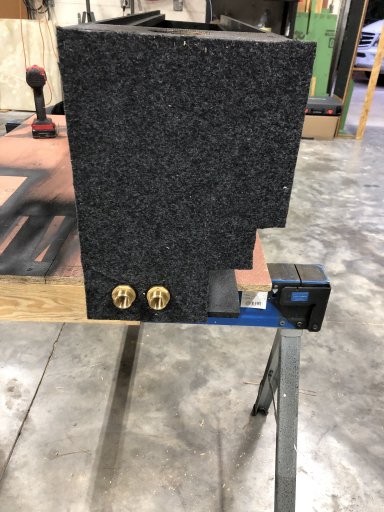
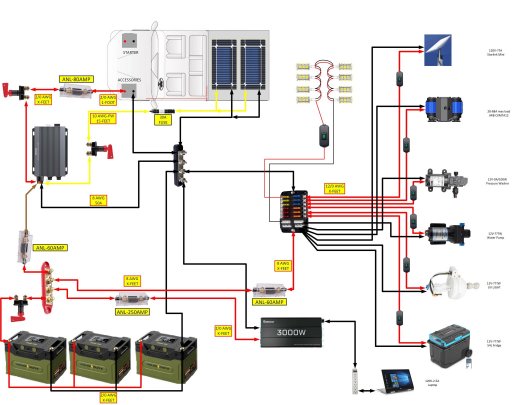
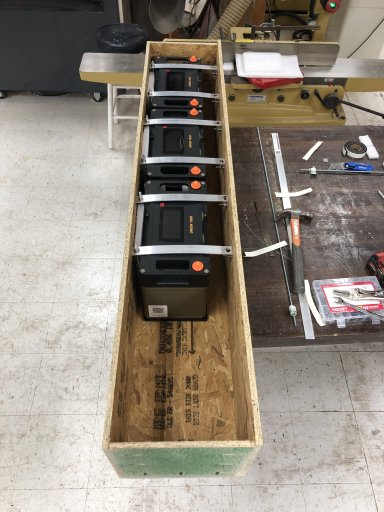
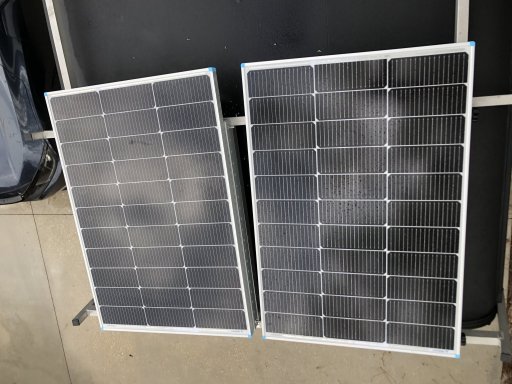
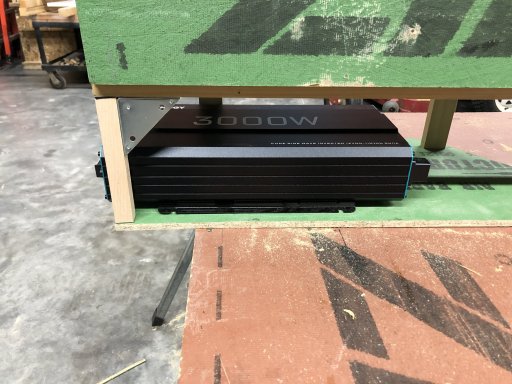
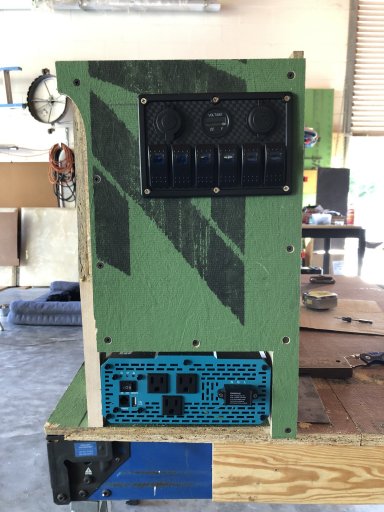
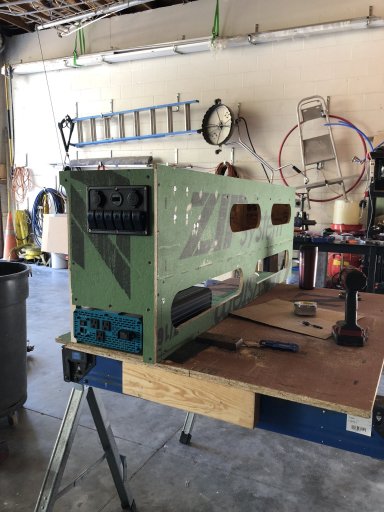
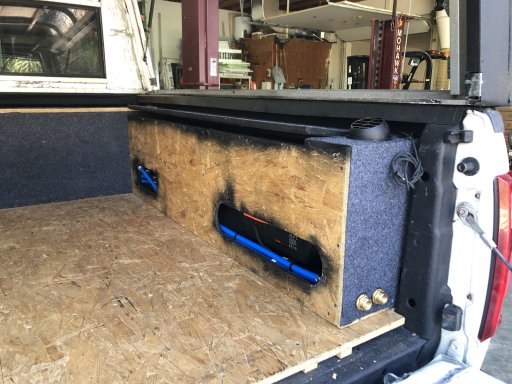
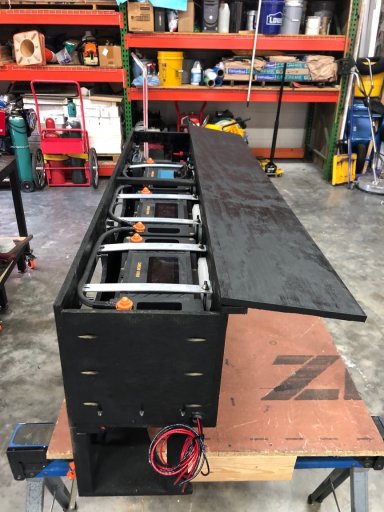
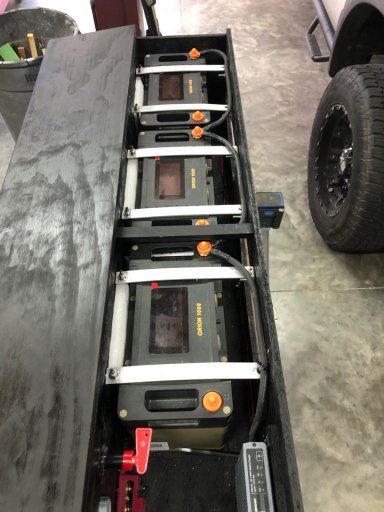
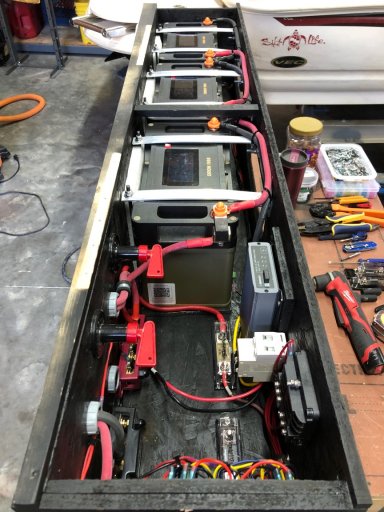
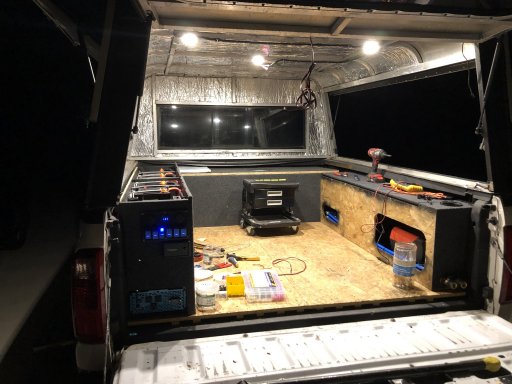
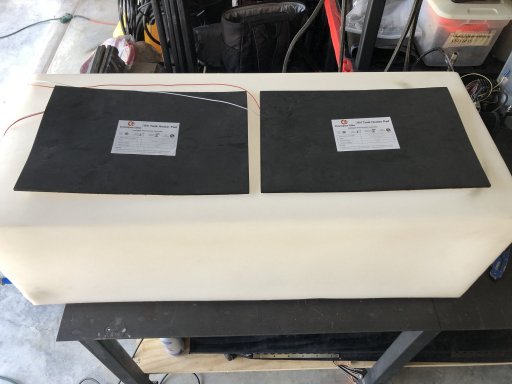
Hopefully the following posts will document the process of me "getting ready" for my Overlanding experience! My goal is a Feb-Mar test run and then hitting the Rockies in the summer. Lets see if I can capture where I am mechanically. Next post will be the build of the truck camper cabinets, solar, water tank and diesel heater!! Whew... that's enough for now!
if your interested in my other projects, head over to this link and scroll! best if viewed on a pc as mobile doesn't show the navigational tabs on the left.

 the-project-page.blogspot.com
Overlanding by definition is easy to find yet I find it is very personal. As the vehicles I see vary, one must use what they have. Given the predominance of Jeeps, Toyota's and the like, the trails they go on are awesome! Some of the rigs are exceptional. But using a F350 for this adventure seems to have been mocked by the hard core riders. I am seeing more acceptance now and decided to jump in with both feet.
They say that full size rides, F250-F350, Tundra, Ram's are too wide, your too tall, your too heavy.....Ok I agree, my F350 is 8800+ lbs and is too wide for some trails. (10" wider than a Toyota) or too tall for a RTT (roof top tent) or too heavy for soft terrain....I agree.... so I just have to pick and choose the trails I ride! I like wide open spaces of the mountain valleys so "Go West young Man" fits!!
Enter my 2014 F350 CCSB! I bought it used so all it had were airbags and 35" rubber. I added Power Stop brakes all around and replaced all 8 cab mounts. Then a serious misstep happened in 2019. The motor had a catastrophic detonation. High pressure oil pump detonated and robbed me of much money, Oil pan to turbo, including fuel system contamination kit...:-(not happy)-: So after more than a few (sic) thousand dollars to the Ford dealer, Here we are! I will never go to a dealer ever again.... I have always done my own maintenance and repairs yet I am not a mechanic and this job just seemed too big for me at the time.
Now that's a brief history, back to the build......
Since I will be most likely riding solo, I wanted to address all mechanical concerns first. Then ADD kicked in and I started building the truck camping bed cabinets. Squirrel!!! Back to the mechanicals of replacing the tired front suspension and addressing the CP4 fuel system. I ripped out the entire front end and rebuilt/replaced everything except the ring/pinion. Lockers will come next year. I replaced the internal ramps, bearings, seals, u joints, ball joints, tie rods, cross over links, stabilizers...and the list goes on! all 4 Shocks, dual steering and dampening shocks, etc......upgraded from 1" to 2" leveling plates, added a winch bumper with a 12k winch, and new to me Aluminum cap with rack and a 2016 tailgate with step! Boredom in retirement is costly......:-)
Hopefully the following posts will document the process of me "getting ready" for my Overlanding experience! My goal is a Feb-Mar test run and then hitting the Rockies in the summer. Lets see if I can capture where I am mechanically. Next post will be the build of the truck camper cabinets, solar, water tank and diesel heater!! Whew... that's enough for now!
if your interested in my other projects, head over to this link and scroll! best if viewed on a pc as mobile doesn't show the navigational tabs on the left.
Overlanding a Full size!!
Where do I start? Overlanding by definition is easy to find yet I find it is very personal. As the vehicles I see vary, one must use what t...
the-project-page.blogspot.com
Attachments
-
 topper.jpg37.4 KB · Views: 142
 -
 topper-1.jpg692.2 KB · Views: 143
 -
 bumper.jpeg579.5 KB · Views: 139
 -
 bumper2.jpeg599.2 KB · Views: 140
 -
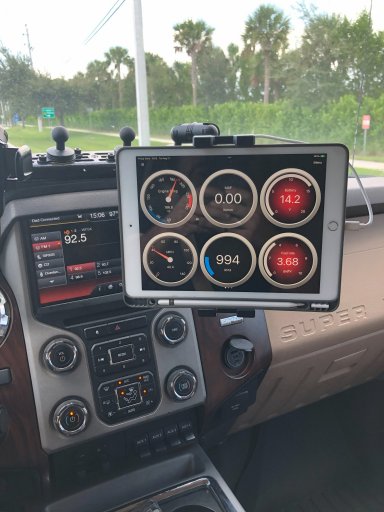 dash guages.jpg393.4 KB · Views: 141
 -
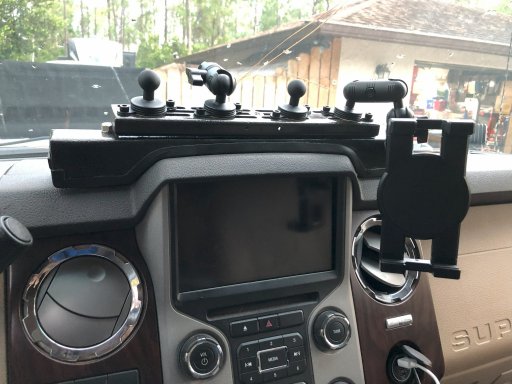 dash mount.jpg477.2 KB · Views: 142
 -
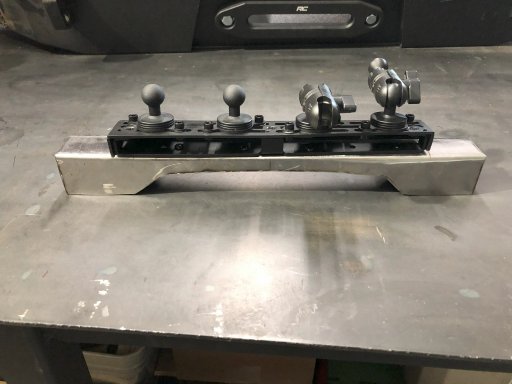 rough mount.jpg371.8 KB · Views: 137
 -
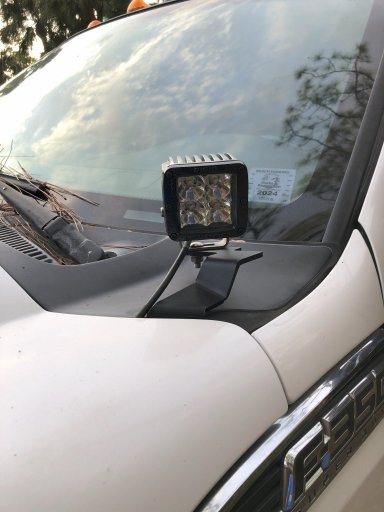 ditch lights.jpg331.1 KB · Views: 136
 -
 front axle.jpg555.5 KB · Views: 137
 -
 final (1).jpg517 KB · Views: 138
 -
 S&B 56 gallon tank.jpg512 KB · Views: 139
 -
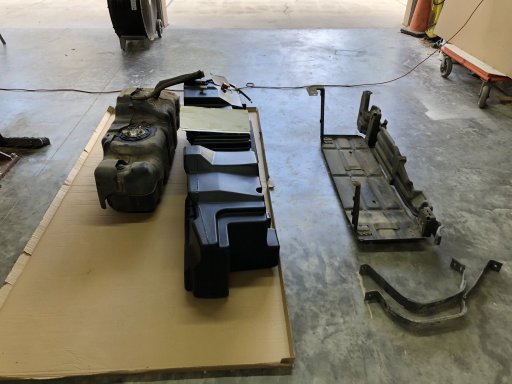 old-new tank.jpg368.2 KB · Views: 133
 -
 New low pressure pump.jpg531 KB · Views: 38
 -
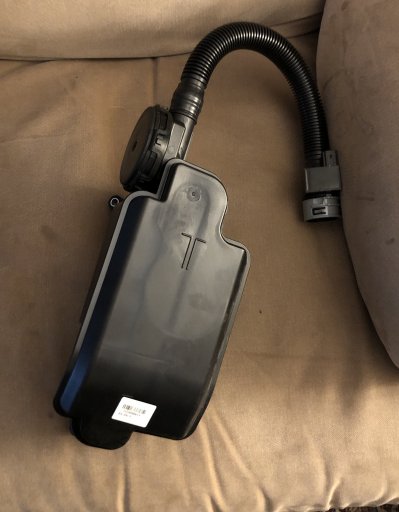 New Crank Case Ventilation filter.jpg472.9 KB · Views: 36
 -
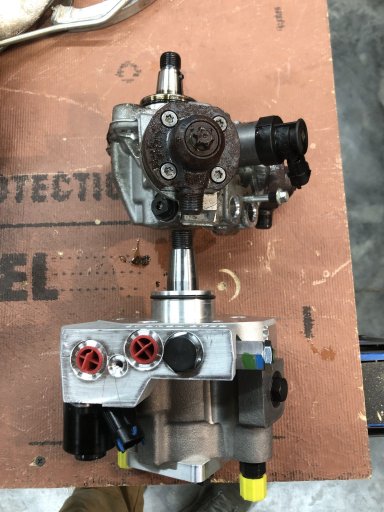 CP4 vs DCR pump.jpg511.5 KB · Views: 30
 -
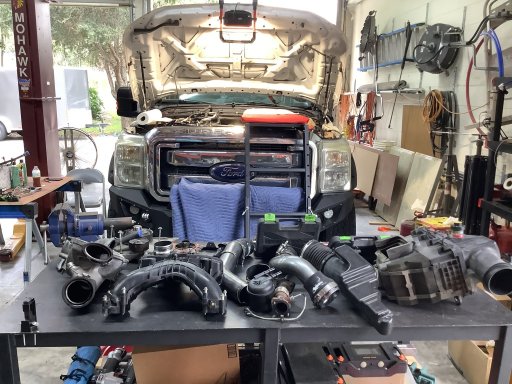 heart transplant.jpg706.9 KB · Views: 30
 -
 New AC Pump.jpg454 KB · Views: 27