Protector III
- 14,131
- First Name
- Bjoern
- Last Name
- Eldracher
- Member #
-
20111
- Ham/GMRS Callsign
- DO3BE
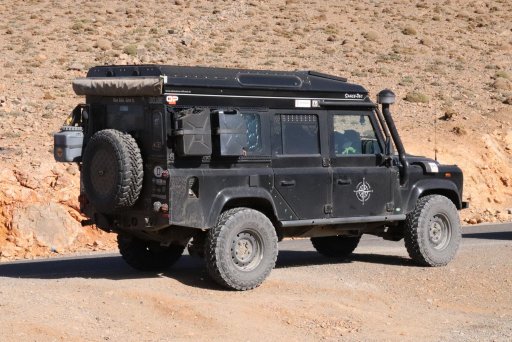
On my LR Defender, the main fuel tank is under the floor of the vehicle in the rear. There is no pump in the tank, but there is a sender unit for the supply and return.
I had a problem with this on my last trip to the Sahara Desert. I had filled up the tank and suddenly noticed that diesel was leaking. Fortunately, I was still at the workshop where I had previously made an oil change gmacht. To find and repair the problem, we first had to pump out both tanks and then remove the main tank to get to the unit. The fault was quickly found and repaired. Pumping out, removing, reinstalling and filling the tank naturally takes a long time and is almost impossible in the field.
So another solution had to be found, in case something happens there again.
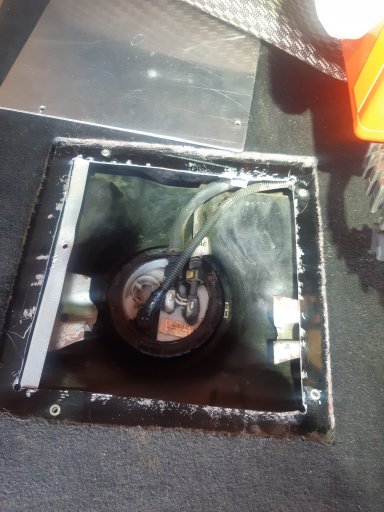
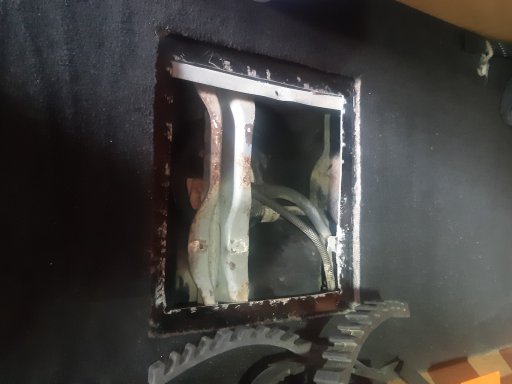
A maintenance flap must be installed in the bottom so that the hoses, connections and fuel sender unit can be accessed from above. No sooner said than done. Measured and marked. Sawing in this area is very tricky, because the tank is located just below the floor panel! I really had a lot of respect for that. So I first drilled a small hole and built a wooden stop limiter for the drill. Then I could see if I had hit exactly the center with my drawing. For sawing I decided to use an air saw. I could handle it nicely and it worked well. But I would still recommend removing the tank if necessary to be on the safe side. Because I kept sawing, checking, sawing, and so on. A cross brace also had to come out.
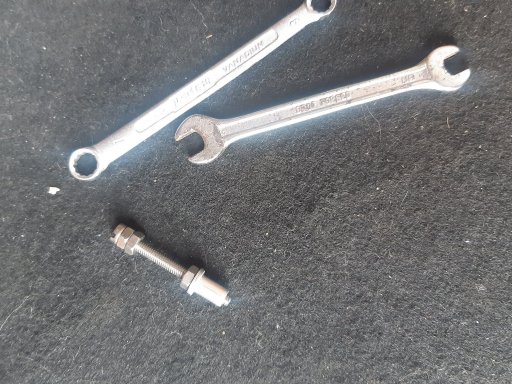
As kind of lid I used a 3mm aluminum sheet. This I have bolted in the bottom with four M4 bolts. For the fastening in the floor I put rivet nuts. Lacking suitable riveting pliers I did it with the bolt wrench trick. Also this went very well. As a seal serves a foam rubber plate, which I glued to the aluminum.
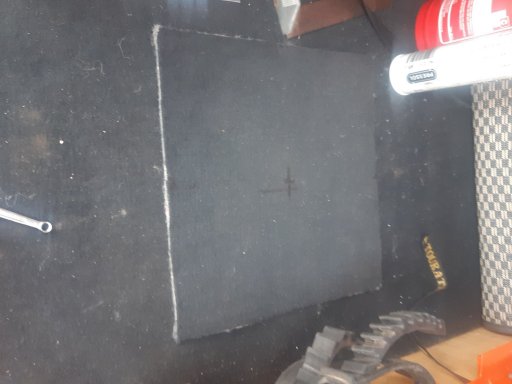
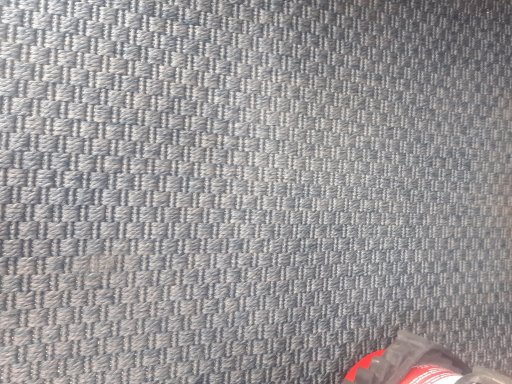
In the end, the cutted piece of carpet came back in place and the floor carpet was over it - nothing to see and yet quickly accessible if it should ever be necessary.
And now a few photos:
The start:
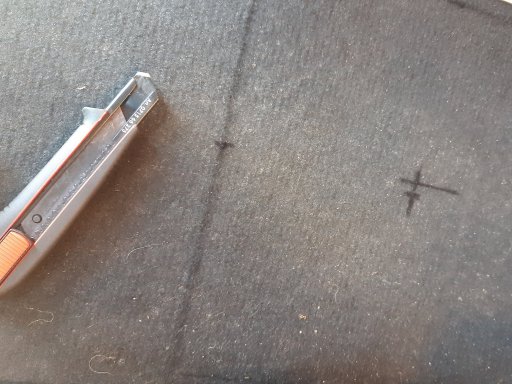
Measure twice, cut once:
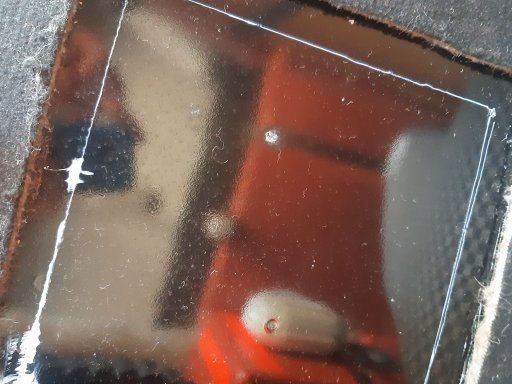
The big hole:
Installing the rivet nuts with two spanners:
Floor carpet back in place:
And done:
I had a problem with this on my last trip to the Sahara Desert. I had filled up the tank and suddenly noticed that diesel was leaking. Fortunately, I was still at the workshop where I had previously made an oil change gmacht. To find and repair the problem, we first had to pump out both tanks and then remove the main tank to get to the unit. The fault was quickly found and repaired. Pumping out, removing, reinstalling and filling the tank naturally takes a long time and is almost impossible in the field.
So another solution had to be found, in case something happens there again.
A maintenance flap must be installed in the bottom so that the hoses, connections and fuel sender unit can be accessed from above. No sooner said than done. Measured and marked. Sawing in this area is very tricky, because the tank is located just below the floor panel! I really had a lot of respect for that. So I first drilled a small hole and built a wooden stop limiter for the drill. Then I could see if I had hit exactly the center with my drawing. For sawing I decided to use an air saw. I could handle it nicely and it worked well. But I would still recommend removing the tank if necessary to be on the safe side. Because I kept sawing, checking, sawing, and so on. A cross brace also had to come out.
As kind of lid I used a 3mm aluminum sheet. This I have bolted in the bottom with four M4 bolts. For the fastening in the floor I put rivet nuts. Lacking suitable riveting pliers I did it with the bolt wrench trick. Also this went very well. As a seal serves a foam rubber plate, which I glued to the aluminum.
In the end, the cutted piece of carpet came back in place and the floor carpet was over it - nothing to see and yet quickly accessible if it should ever be necessary.
And now a few photos:
The start:

Measure twice, cut once:

The big hole:

Installing the rivet nuts with two spanners:

Floor carpet back in place:

And done:


