Chili's 2012 JKU Sport - Rock Crawler to Overland Rig

  • HTML tutorial

Craig M

Rank VI
Launch Member

Advocate III

3,921
Haslet, Texas, USA
First Name
Craig
Last Name
M
Member #

5444

I'm new here and since I've only had the Jeep for about 9 months, I figured I would start my build thread and will backfill wat I've already done as I get the chance.

I bought this Jeep last August from a local dealership. I shopped around for a couple of weeks to get an idea of pricing and what was out there, and actually stumbled on this in a dealer's back lot. They had not yet put it in their sales system and it was still waiting for a detail. We were able to get a good deal on it, right under my budget cap, and a number of the basic Jeep mods had already been taken care of.

It was built to look like many Jeeps out here, which tend to be geared more towards rock crawling than adventure travel.. I am going to change that up some.

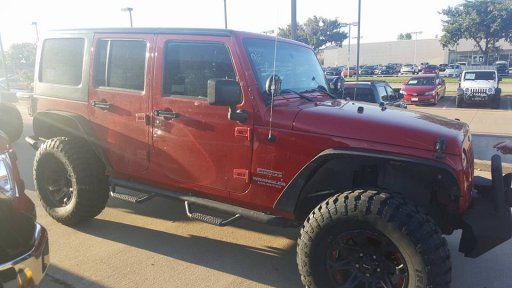
This is how she looked when I first saw her (photo from the dealership after our test drive):
Test Drive.jpg

It already had bumpers and side steps, a small lift (spacers), flat fenders, updgraded tailgate support, 5 aluminum wheels, and a couple of lights.

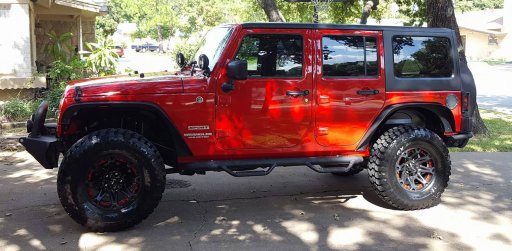
I signed the paperwork and picked her up after they had a chance to detail her. This is probably the last time she will look this nice:
Fresh.jpg

To be continued...
 
Last edited:
  • Like
Reactions: dj_mccomas and W4P

Craig M

Rank VI
Launch Member

Advocate III

3,921
Haslet, Texas, USA
First Name
Craig
Last Name
M
Member #

5444

Headliner

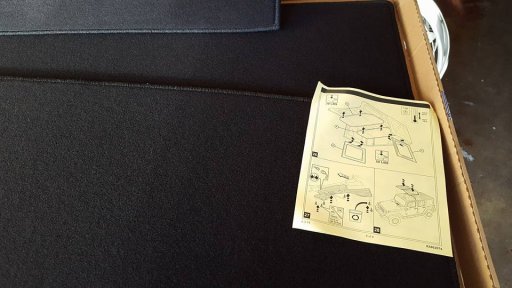
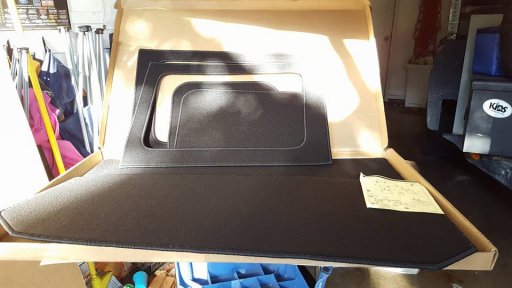
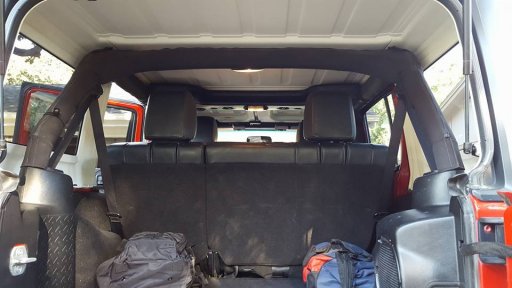
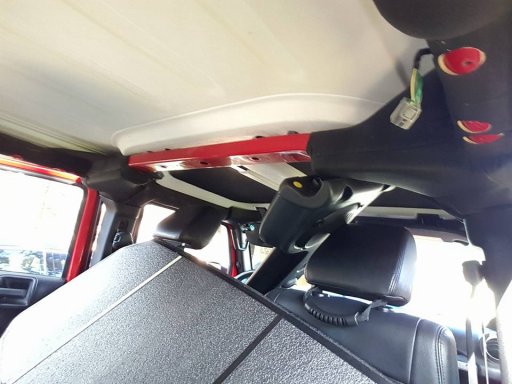
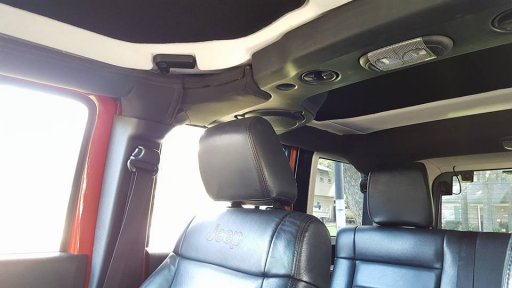
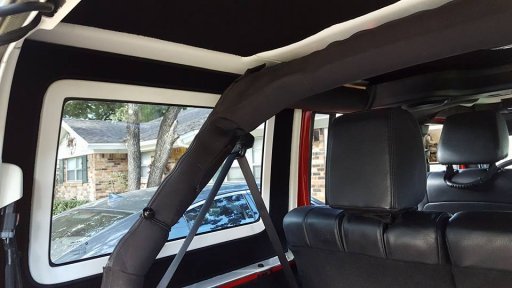
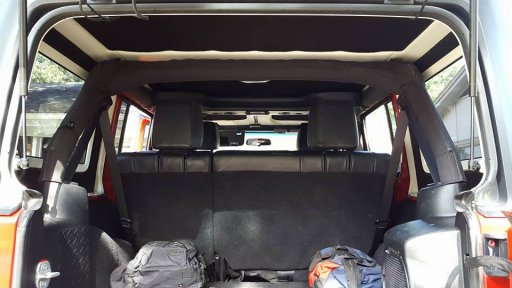
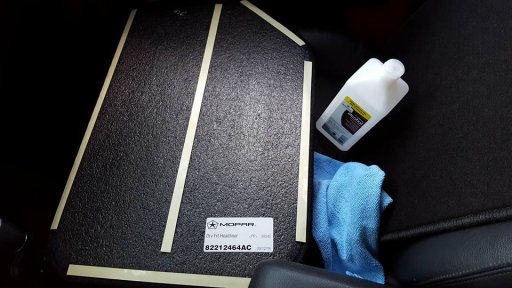
Because I bought this in the summer, I immediatly noticed the effect of the sun beating down on the hard top and the heat that radiated from it. There is also bit of cabin boom with all of the flat fiberglass surfaces, so I decided to add the Mopar headliner kit. Installation is pretty easy, just clean the surface and it sticks on with 3m tape.

The set comes with 6 pieces, two for the front 'Freedom' panels, one for the middle row, one for the rear roof, and both sides.

Unboxing and getting ready:
Headliner install 6.jpg
Headliner install 7.jpg

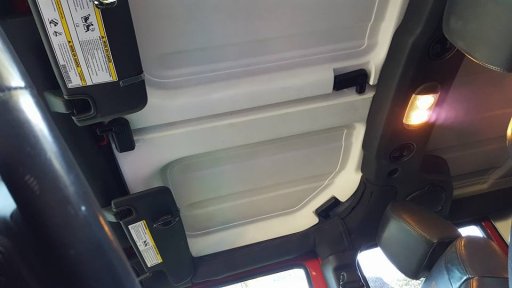
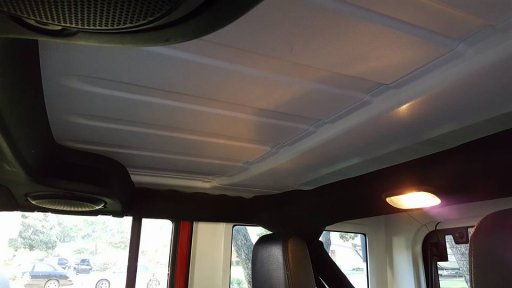
Couple of before shots:
Headliner install 5.jpg
Headliner install 4.jpg
Headliner install 3.jpg

Install is pretty easy, but you do have to remove the soundbar and get around the roll bars in the rear:

Headliner install 2.jpg
Headliner install.jpg

And finally, the results:
Headliner.jpg
 
Last edited:
Craig M

Rank VI
Launch Member

Advocate III

3,921
Haslet, Texas, USA
First Name
Craig
Last Name
M
Member #

5444

Last two 'after' pics:
Headliner 2.jpg
Headliner 3.jpg

Overall I am happy with the change. It has reduced cabin noise, helps with the direct sunlight radiating through the top, and even looks pretty good.

More to come!
 
  • Like
Reactions: dj_mccomas and W4P

Craig M

Rank VI
Launch Member

Advocate III

3,921
Haslet, Texas, USA
First Name
Craig
Last Name
M
Member #

5444

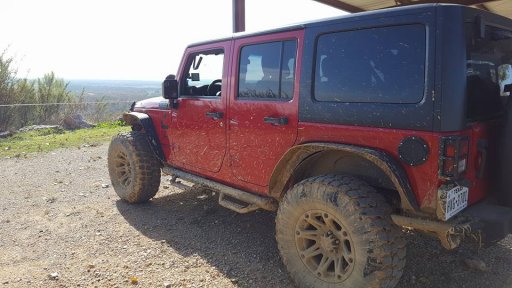
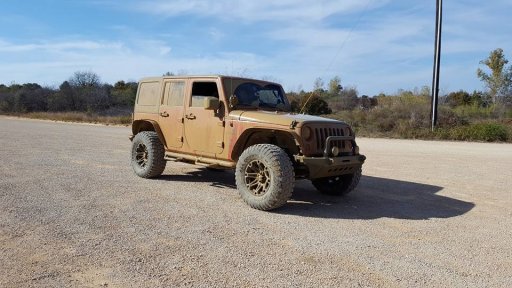
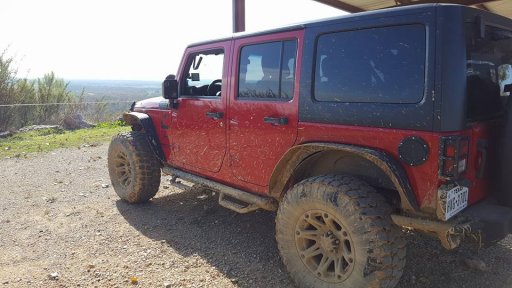
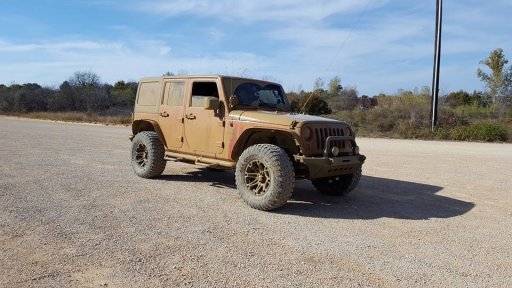
Within a couple weeks of buying her I took her out to a local offroad park to get her a little dirty and get comfortable handling her offroad.

Lookout.jpg

Mud.jpg
Ok, mayby a couple of bombs though the mud puddles too.. :D

Keep in mind, this was an offroad park. I do follow tread lightly principles on public trails!
 
  • Like
Reactions: dj_mccomas

Craig M

Rank VI
Launch Member

Advocate III

3,921
Haslet, Texas, USA
First Name
Craig
Last Name
M
Member #

5444

Rear Cargo

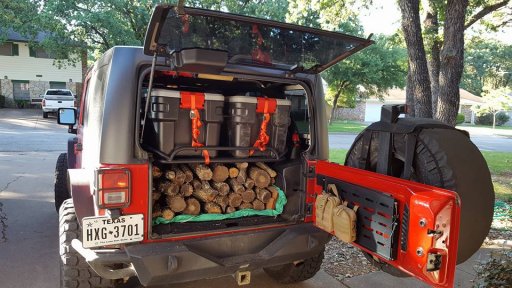
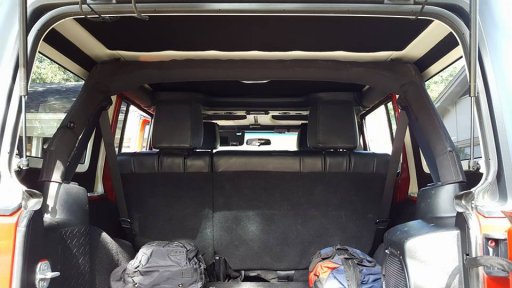
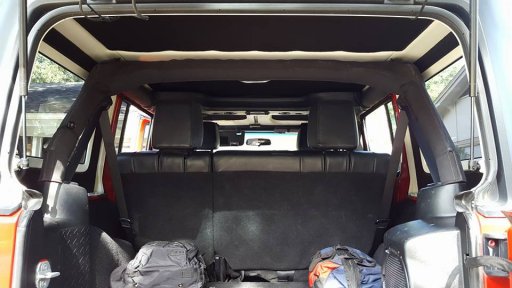
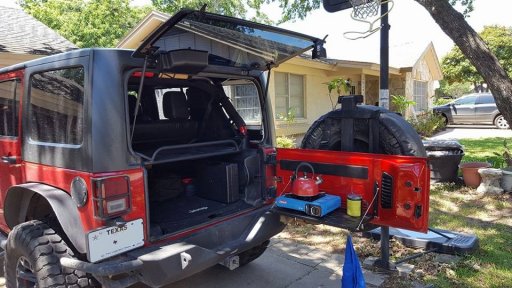
Much of what I have been doing has just been adding accessories for loading and organization. Below you can see I added a rear shelf. This holds two Action Packers perfectly and allows you to access the items below the shelf without disturbing the top. It also folds up so you can carry larger items without removing it.

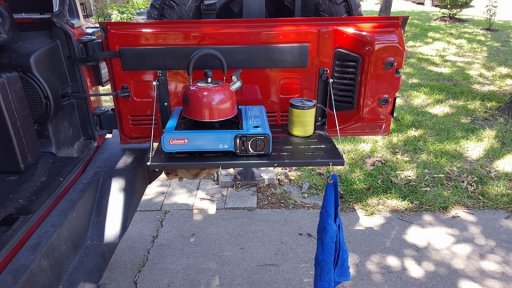
I love the fold down table on the tailgate; which also holds a first aid kit (left) and the pouch on the right holds a work light that clips on to the liftgate, some hooks for hanging utensiles from the shelf, and a hanging dishtowell.

This is packed for a recent 2 night trip to a local state park:
Rear Loaded with Wood.jpg

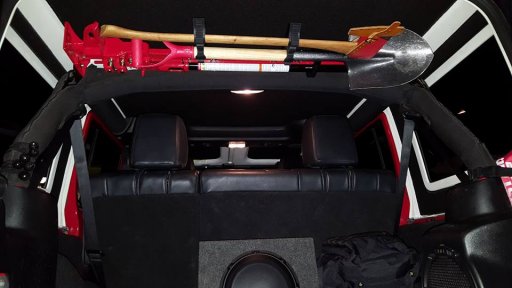
Above the action packers I installed a highlift carrier with accessory mount to hold an axe and shovel. I like that it keeps them inside, protected from the weather, and keeps the look a little more descreet.

Here's a pic of the rack before I added the shelf below:

Pioneer Tools.jpg

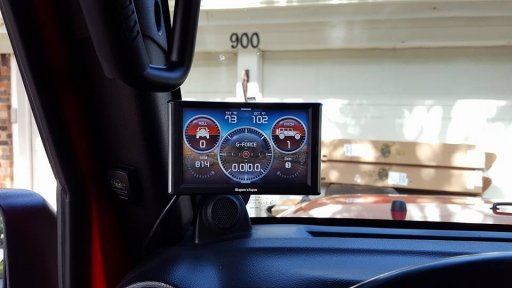
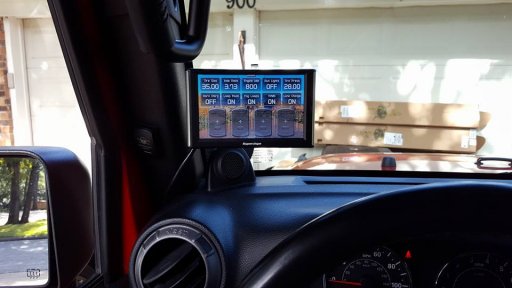
I also added a Traildash 2 tuner, which has a lot of awesome features other than just pepping up the engine tune:

Traildash.jpg

Traildash 2.jpg

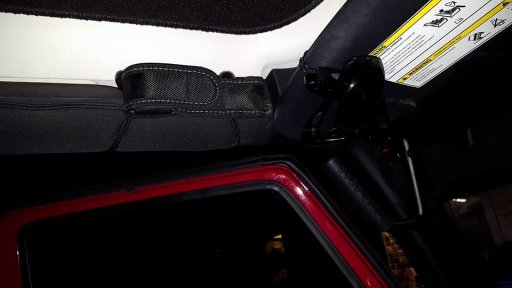
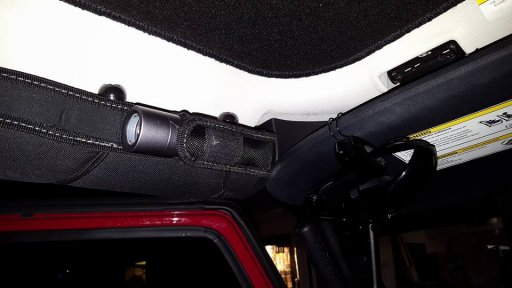
Above that I installed some grab handles to make it easier to get in (will become even more important when I add more lift). And I strapped a flashlight to the rollbar above my seat.

Flashlight 2.jpg

Flashlight.jpg
 

Attachments

Last edited:
Craig M

Rank VI
Launch Member

Advocate III

3,921
Haslet, Texas, USA
First Name
Craig
Last Name
M
Member #

5444

There have been some other changes and modifications that I just don't have pics of right now, or cannot think of. I will add these as I can. Things like fire extinguisher, audio stuff, tire deflator / gauge, and other little things.

In addition, I am about to start my next round of mods this weekend preparing for a 9 day trip back to the Alpine Loop vacinity in July. I have a ton of stuff enroute, most of which should be delivered today. The bigger ones are:
  • 9500lb winch
  • Snatchblock, tree straps, general recovery gear, etc
  • Roof Rack
  • Storage bags that attach to rear roll bars
  • Tire Repair kit
  • Trail guides / maps

I'm sure I will have a lot of pictures to add in the next few days!
 
Last edited:
  • Like
Reactions: dj_mccomas

Craig M

Rank VI
Launch Member

Advocate III

3,921
Haslet, Texas, USA
First Name
Craig
Last Name
M
Member #

5444

Winch

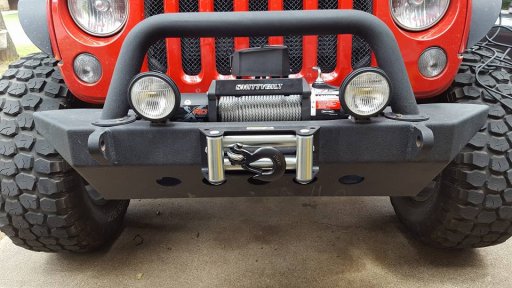
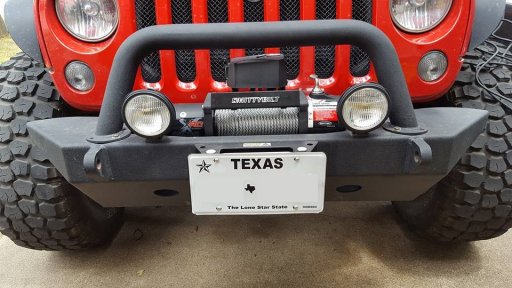
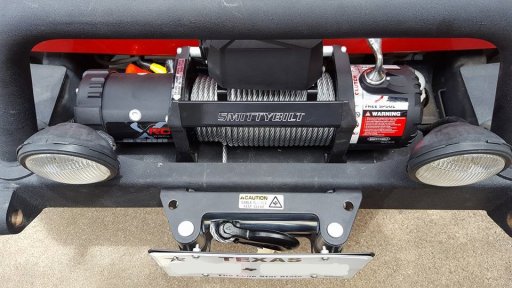
As posted in the 'What have you done with your rig' thread, the winch went on yesterday! It's a Smittybilt XRC 9500 lb. Not the top of the line but gets good reviews and was kind to my budget. :D

winch.jpg

Clip on plate mount to keep it legal in Texas:

plate front.jpg

fairlead top.jpg
 
Last edited:
  • Like
Reactions: dj_mccomas

Craig M

Rank VI
Launch Member

Advocate III

3,921
Haslet, Texas, USA
First Name
Craig
Last Name
M
Member #

5444

Air Compressor/ Tire kit

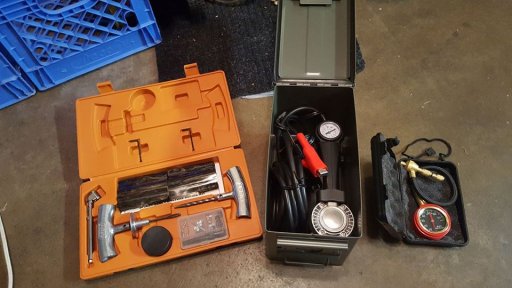
Today I did some reorganization of the gear that ride in the Jeep, now that I picked up some more and have some additional storage options. I decided to separate the off-road / trail specific gear so that I can take it out when not out camping / playing. Now that I have aquired more stuff, there's really no reason to carry all of the weight and needlessly expose several hundred dollars to potential theft. Our neighborhood is generally pretty safe but once in a while someone on the street gets hit. Generally it's been opportunistic stuff.

Anyhow, some of the stuff I took out is gear I bought a few months back. I did just add to this, the tire repair kit just arrived Friday for example..

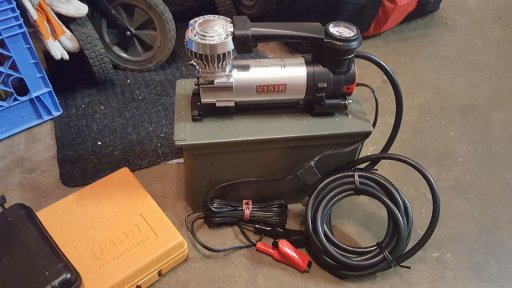
tires and air.jpg compressor.jpg

The tire repair kit is ARB but the gauge / deflator is off brand. The compressor, VIAIR, is their 88P model which is rated for 33" tires and gets good reviews on Amazon. I have 35" tires but generally don't air down too low (usually around 20psi) and from what I read this should be more than adequate, although not the fastest thing out there. Eventually I intend to get an ARB onboard air system (along with lockers) but that may be another year off. This will get me by until then.

It's about $15 cheaper than when I bought it, going for $47 right now on Amazon:
 
Last edited:
  • Like
Reactions: dj_mccomas

Craig M

Rank VI
Launch Member

Advocate III

3,921
Haslet, Texas, USA
First Name
Craig
Last Name
M
Member #

5444

awesome...I am in the process too of going from rock crawler rig with stubby bumpers and such to Overland Rig myself. I look forward to seeing what changes you make and get ideas.
Cool! I initially intended to replace bumpers (wider like ARB) and fenders (flat full width bushwackers) right away but decided I will wait on those until I do an actual lift. It's only on spacers with upgraded shocks right now, how I bought it, but I would like to do an Old Man Emu 3.5" lift and would probably do bumpers and maybe jump to 37's then. That would also be the time to do gears and the onboard air and lockers. All on the list but that's all going to take some time as were also in the process of completely redoing our backyard and dropping a lont of our expendable income into that. :o I keep my wife with that and she overlooks my Jeep and camping spending habits!
 

Craig M

Rank VI
Launch Member

Advocate III

3,921
Haslet, Texas, USA
First Name
Craig
Last Name
M
Member #

5444

Roof Rack

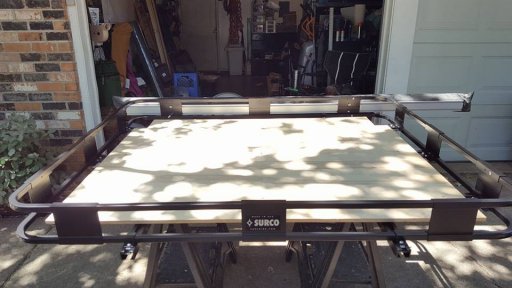
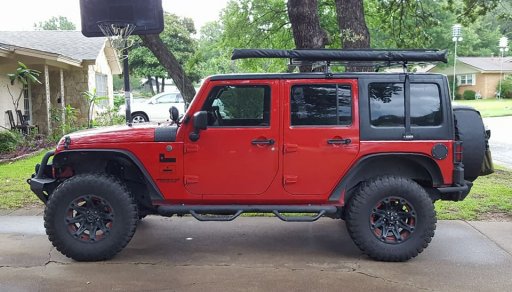
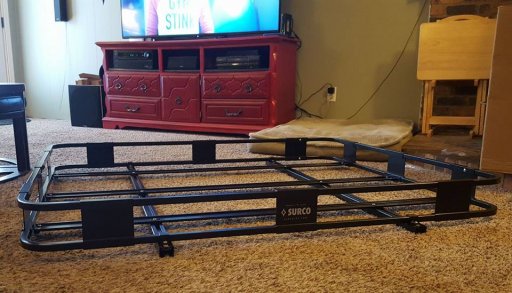
I bought a Surco Safari Roof rack from Quadratec, which I received Friday. They neglected to send the mounts for my hard top, so I'll have to wait for those. In the mean time I needed to make some adjustments for my use..

Here is the basket and cross bars assembled. This will cover the rear cargo area and second row of the Jeep (not full length). I did not get the optional 'flooring kit', which were more slats (for $200), but my wife come up with an idea for that.
Roof Rack.jpg

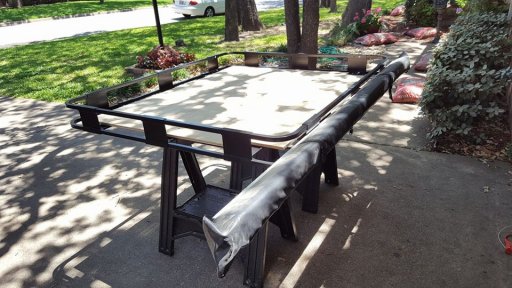
I've had a nice piece of birch plywood in the garage for a few years and my wife suggested I use that to make a 'floor' for the basket. Good idea!

So I measured it out to leave a gap around the edges (more tie down options) and cut it to size. I then measured out and drilled some mounting holes to attach it to the basket, transcribed that hole pattern to the basket slats, and drilled the slats out to match.

Roof Rack 2.jpg

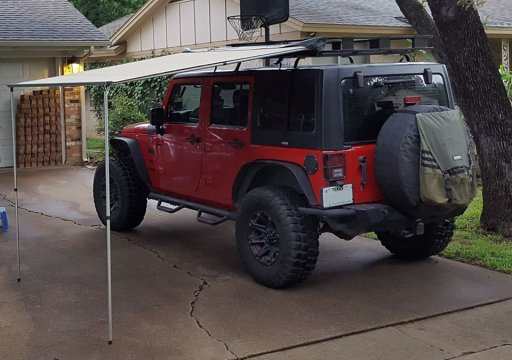
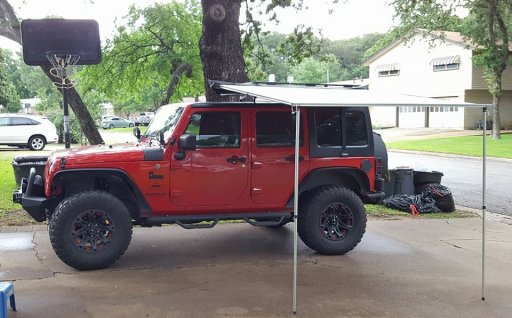
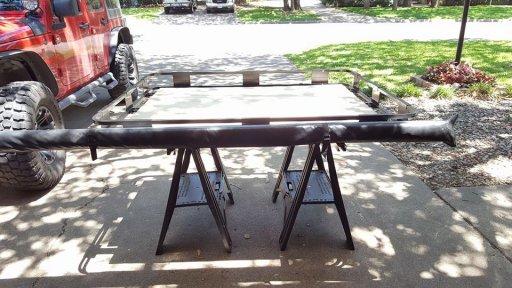
I also drilled out mounting holes for my CVT awning, which will go on the rack for trips but not around town.

roof rack 3.jpg Roof rack 4.jpg

The holes all line up perfectly, I just need to buy a few more nut and bolt sets, and some roll on bedliner paint to protect the plywood!
 
Last edited:
  • Like
Reactions: dj_mccomas

Craig M

Rank VI
Launch Member

Advocate III

3,921
Haslet, Texas, USA
First Name
Craig
Last Name
M
Member #

5444

Tent Options

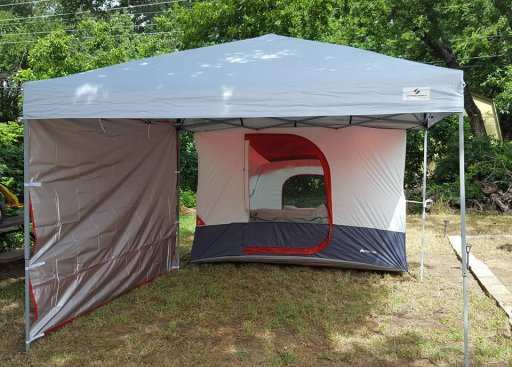
My wife and are now primarily hammock campers, but that is not always possible due to the availability of trees. We're going to SW Colorado in a few weeks and will need a backup tent. We have a RTT but I don't want to install it on the Jeep (it's on my trailer now). And we will not be bringing the trailer on this trip.

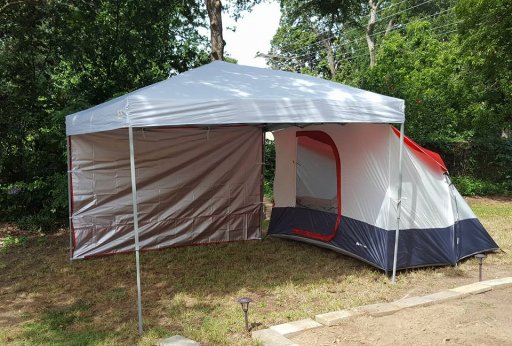
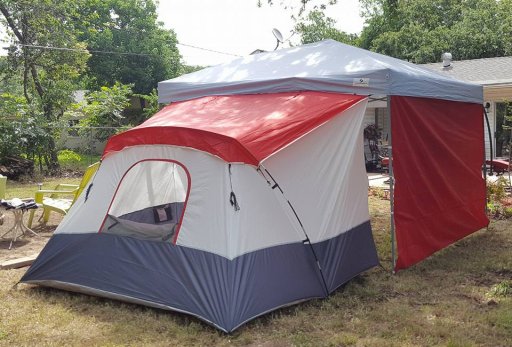
Walmart had these canopy add-on tents for $40 and they started my gears turning. We will already be bringing our canopy, regardless of if we hammock camp, because it often rains up there and that gives us the ability to still sit outside and enjoy the views. I picked one up yesterday, and tried it out in the back yard today.

Excuse the little messes in the yard, we're in the process of redoing the whole thing, and are not quite done.

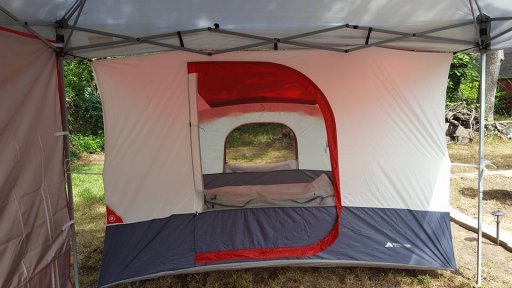
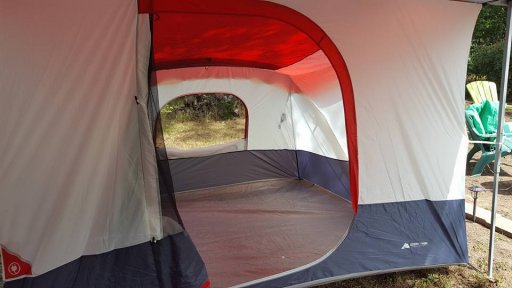
The tent sets up easy. It has one pole, two stakes and otherwise is supported by the canopy. It's worth noting, I will need to stake down the canopy but didn't for this test. Staking it down will take care of the slight tweaking from the pressure of the tent.

Tent 1.jpg

tent 2.jpg

tent 3.jpg

The footprint of the tent is 9'x7', plenty of room for my wife and I.

tent 4.jpg

tent 5.jpg

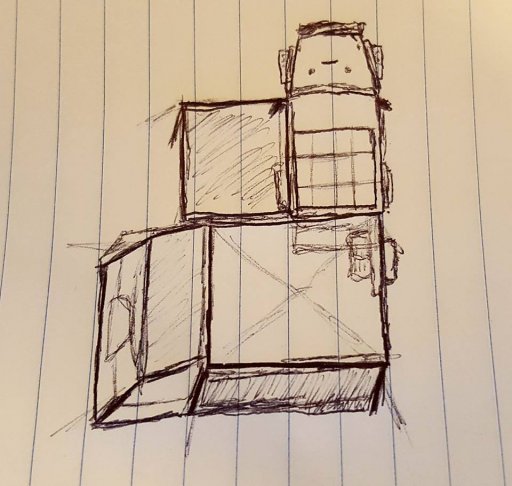
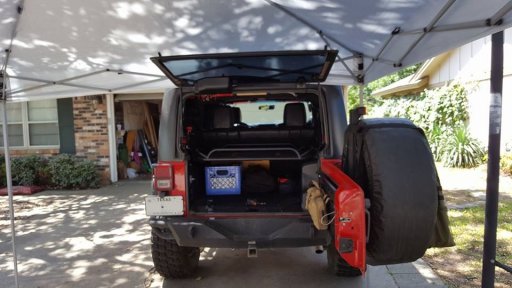
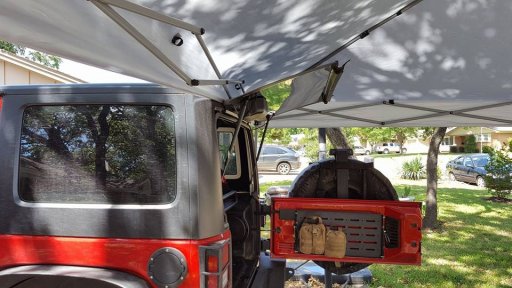
Then I started thinking about the height of the canopy and the Jeep, and wondered if I could back the Jeep up to the canopy in such a way that I could combine all of the covered space, and get the rear of the Jeep under the canopy so I can use the tailgate table and rear as the 'kitchen'. I sketched out a couple of ideas and came up with this.. Excuse the crudity, it's not to scale. :p

cp sketch.jpg

The top right is the Jeep, of course, and to it's left is my CVT awning. Below the Jeep is the 10x10 with the wall at the bottom, and the tent on the right. This makes a pretty cool little basecamp and by my calculations, give me a total of ~200 sq ft covered! This is meant as a basecamp set, so when we're ready to go explore for the day, we can just roll up the Jeep awning and drive away.

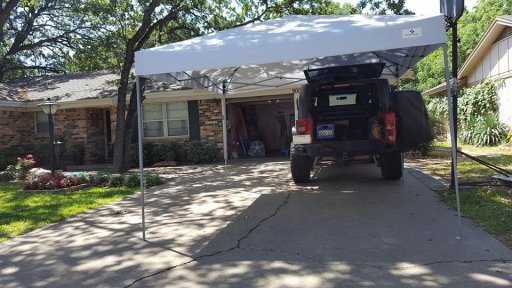
But I wasn't sure if it would fit with the Jeep, so I dragged the canopy out front to test it out.
 

Craig M

Rank VI
Launch Member

Advocate III

3,921
Haslet, Texas, USA
First Name
Craig
Last Name
M
Member #

5444

Looks awesome! Is that dog in the profile picture going to make a special guest appearance when camping with the JKU?
Haha.. Likely at some point but not the longer trips as she's a little older and not really as active as she used to be; and she is very big (85 lbs, tall not fat) so if we need all of the space for gear, she may not fit. :o

She has been on many camping adventures prior to the JK though! That pic is on the Alpine Loop camping just below Engineer's Pass.

We did take her on an overnight the state park a few weeks ago too, duh. I forgot! I'll dog up some pics soon!
 
Last edited:
clmautz

Rank II
Launch Member

Off-Road Ranger I

301
Auburn, AL, USA
First Name
Chip
Last Name
Mautz
Member #

3764

Ham/GMRS Callsign
KN4BLI
I used to take my 14 yr old chocolate lab with me in the Jeep(s), she was about 65 lbs but wouldn't (couldn't?) jump in, so she'd go to the back and look at me - "Daddy, lift me up...". Lost her to cancer this year, my back still hurts. I'll teach the next puppy to jump in! :-)

Nice jeep and dog!
 
  • Like
Reactions: Craig M
Jeff Graham

Rank VI
Launch Member

Benefactor

4,551
Splendora, TX, USA
First Name
Jeff
Last Name
Graham
Member #

5888

Service Branch
Army Vet
I'm reading through your build, great job. What rear shelf did you go with? I love the way it holds the Action Packers perfectly.
 
  • Like
Reactions: Craig M