Adventure '4x6 Lowes' Trailer Build

  • HTML tutorial

AggieOE

Rank IV

Advocate II

1,003
Pearland, Texas, USA
First Name
Nathan
Last Name
NWK
Member #

30025

To add to the list of Lowes DIY trailer builds, here's mine, a 2008 Carry-On 4x6 utility trailer originally purchased from Lowes.
Goal: Roof Top Tent Trailer with Shower & Storage to use as a base camp.

I've been planning on doing this for while although my plans for it are very fluid.
I knew I wanted either a 3x5 or 4x6 trailer to start on. Instead of buying new for $1k at Lowes, I opted for this used one on Facebook Marketplace for $600.
I have a spreadsheet that I'm using to track purchases and additions so that anyone can see what I've done and what they can do.

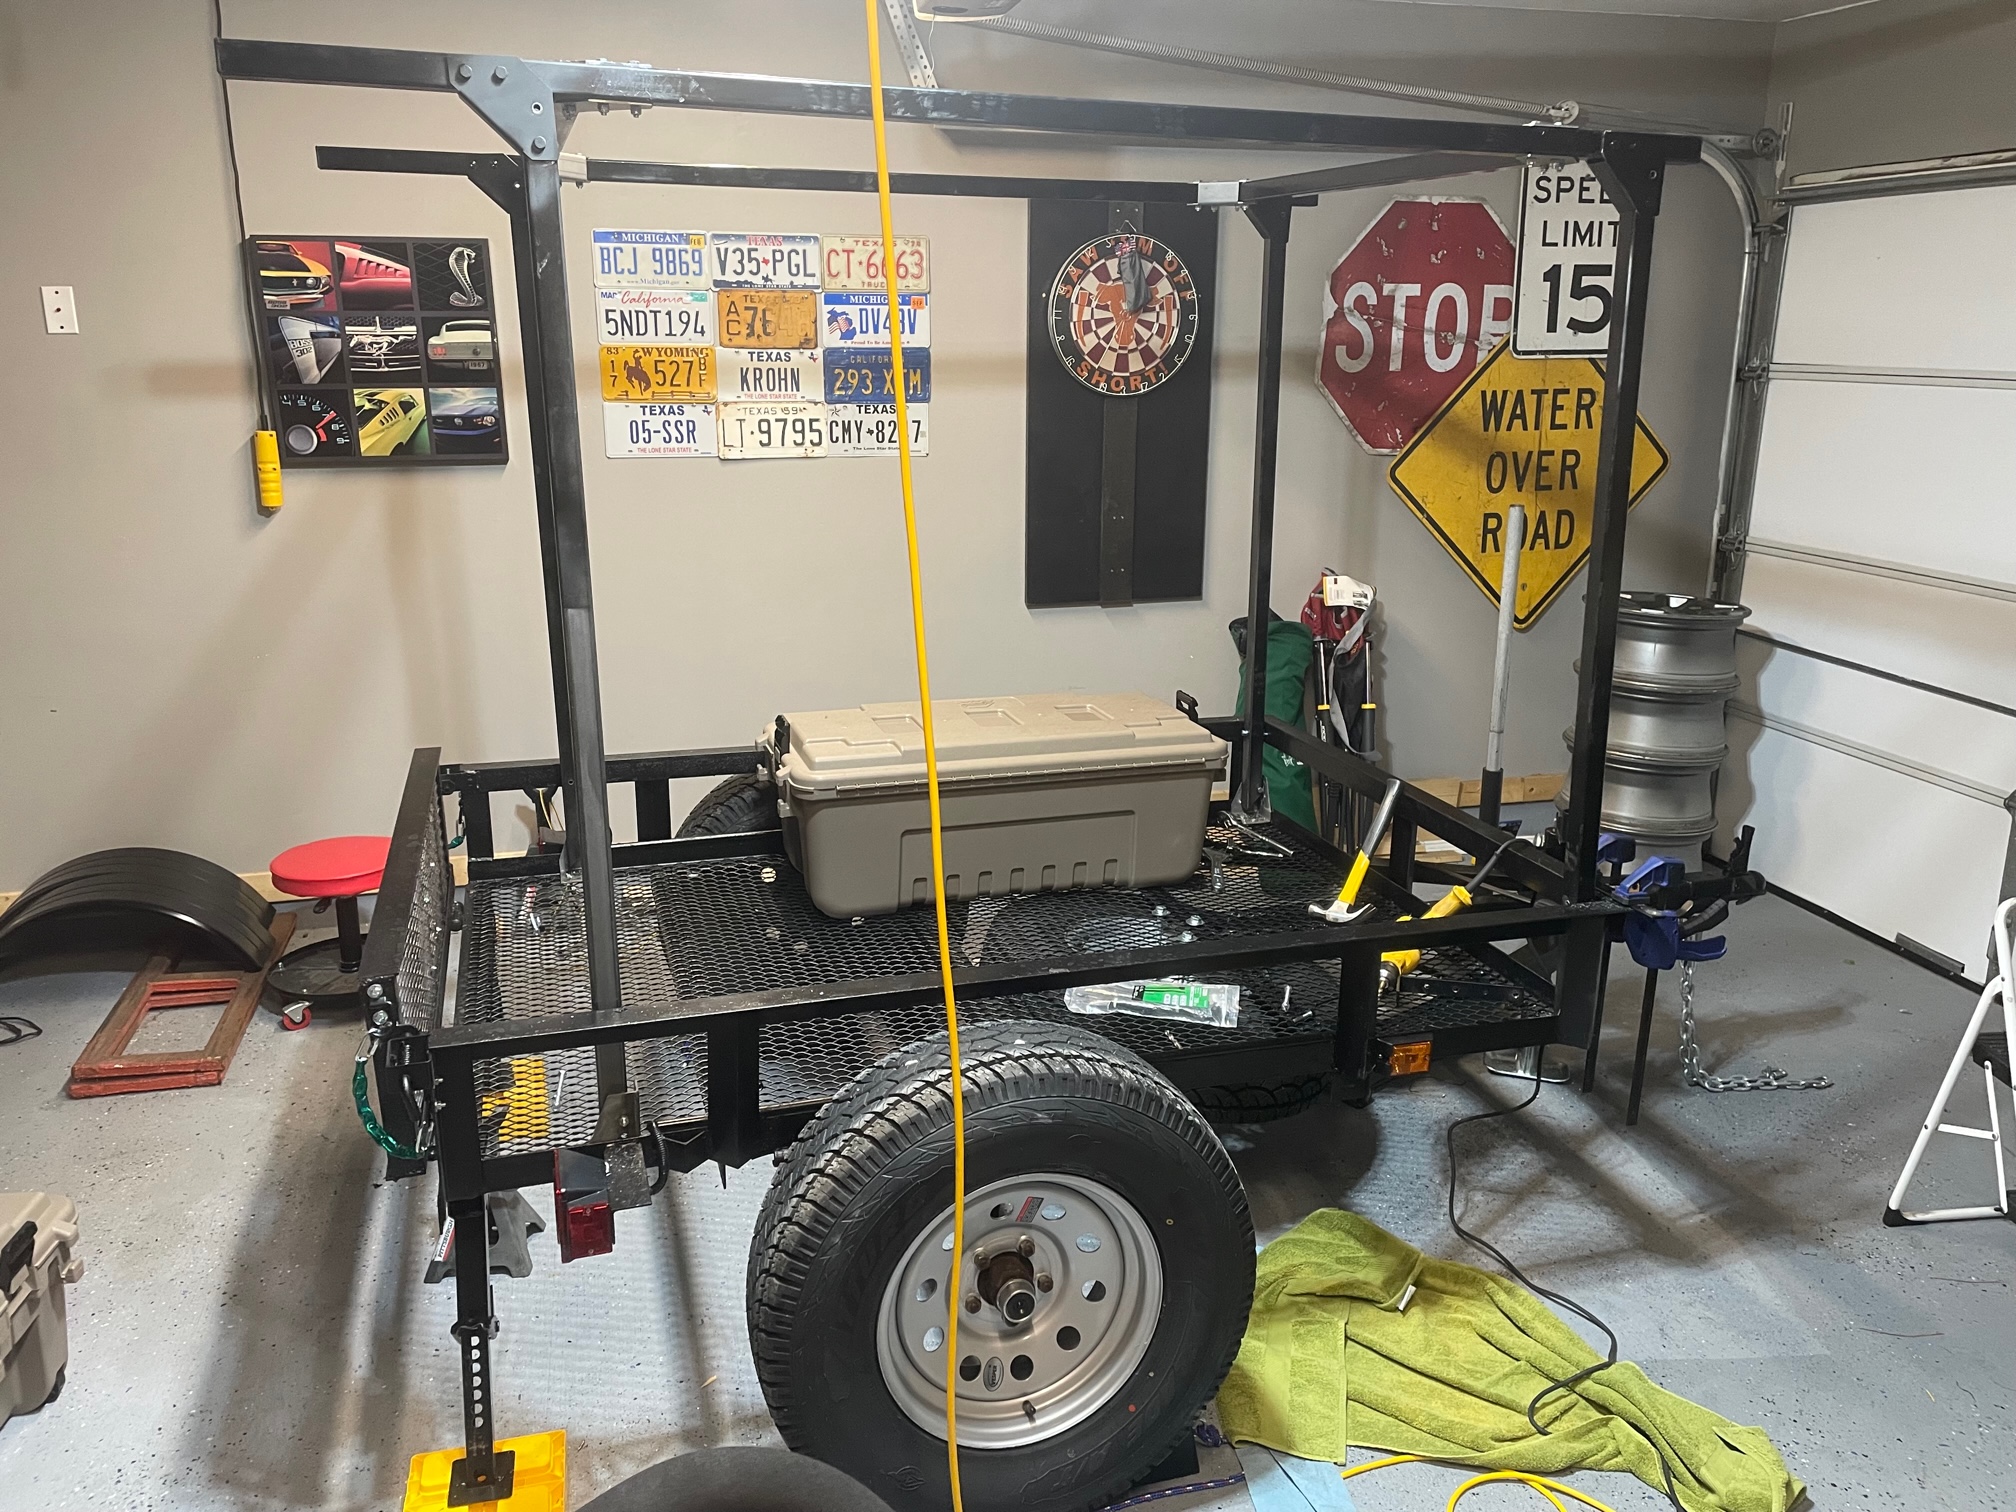
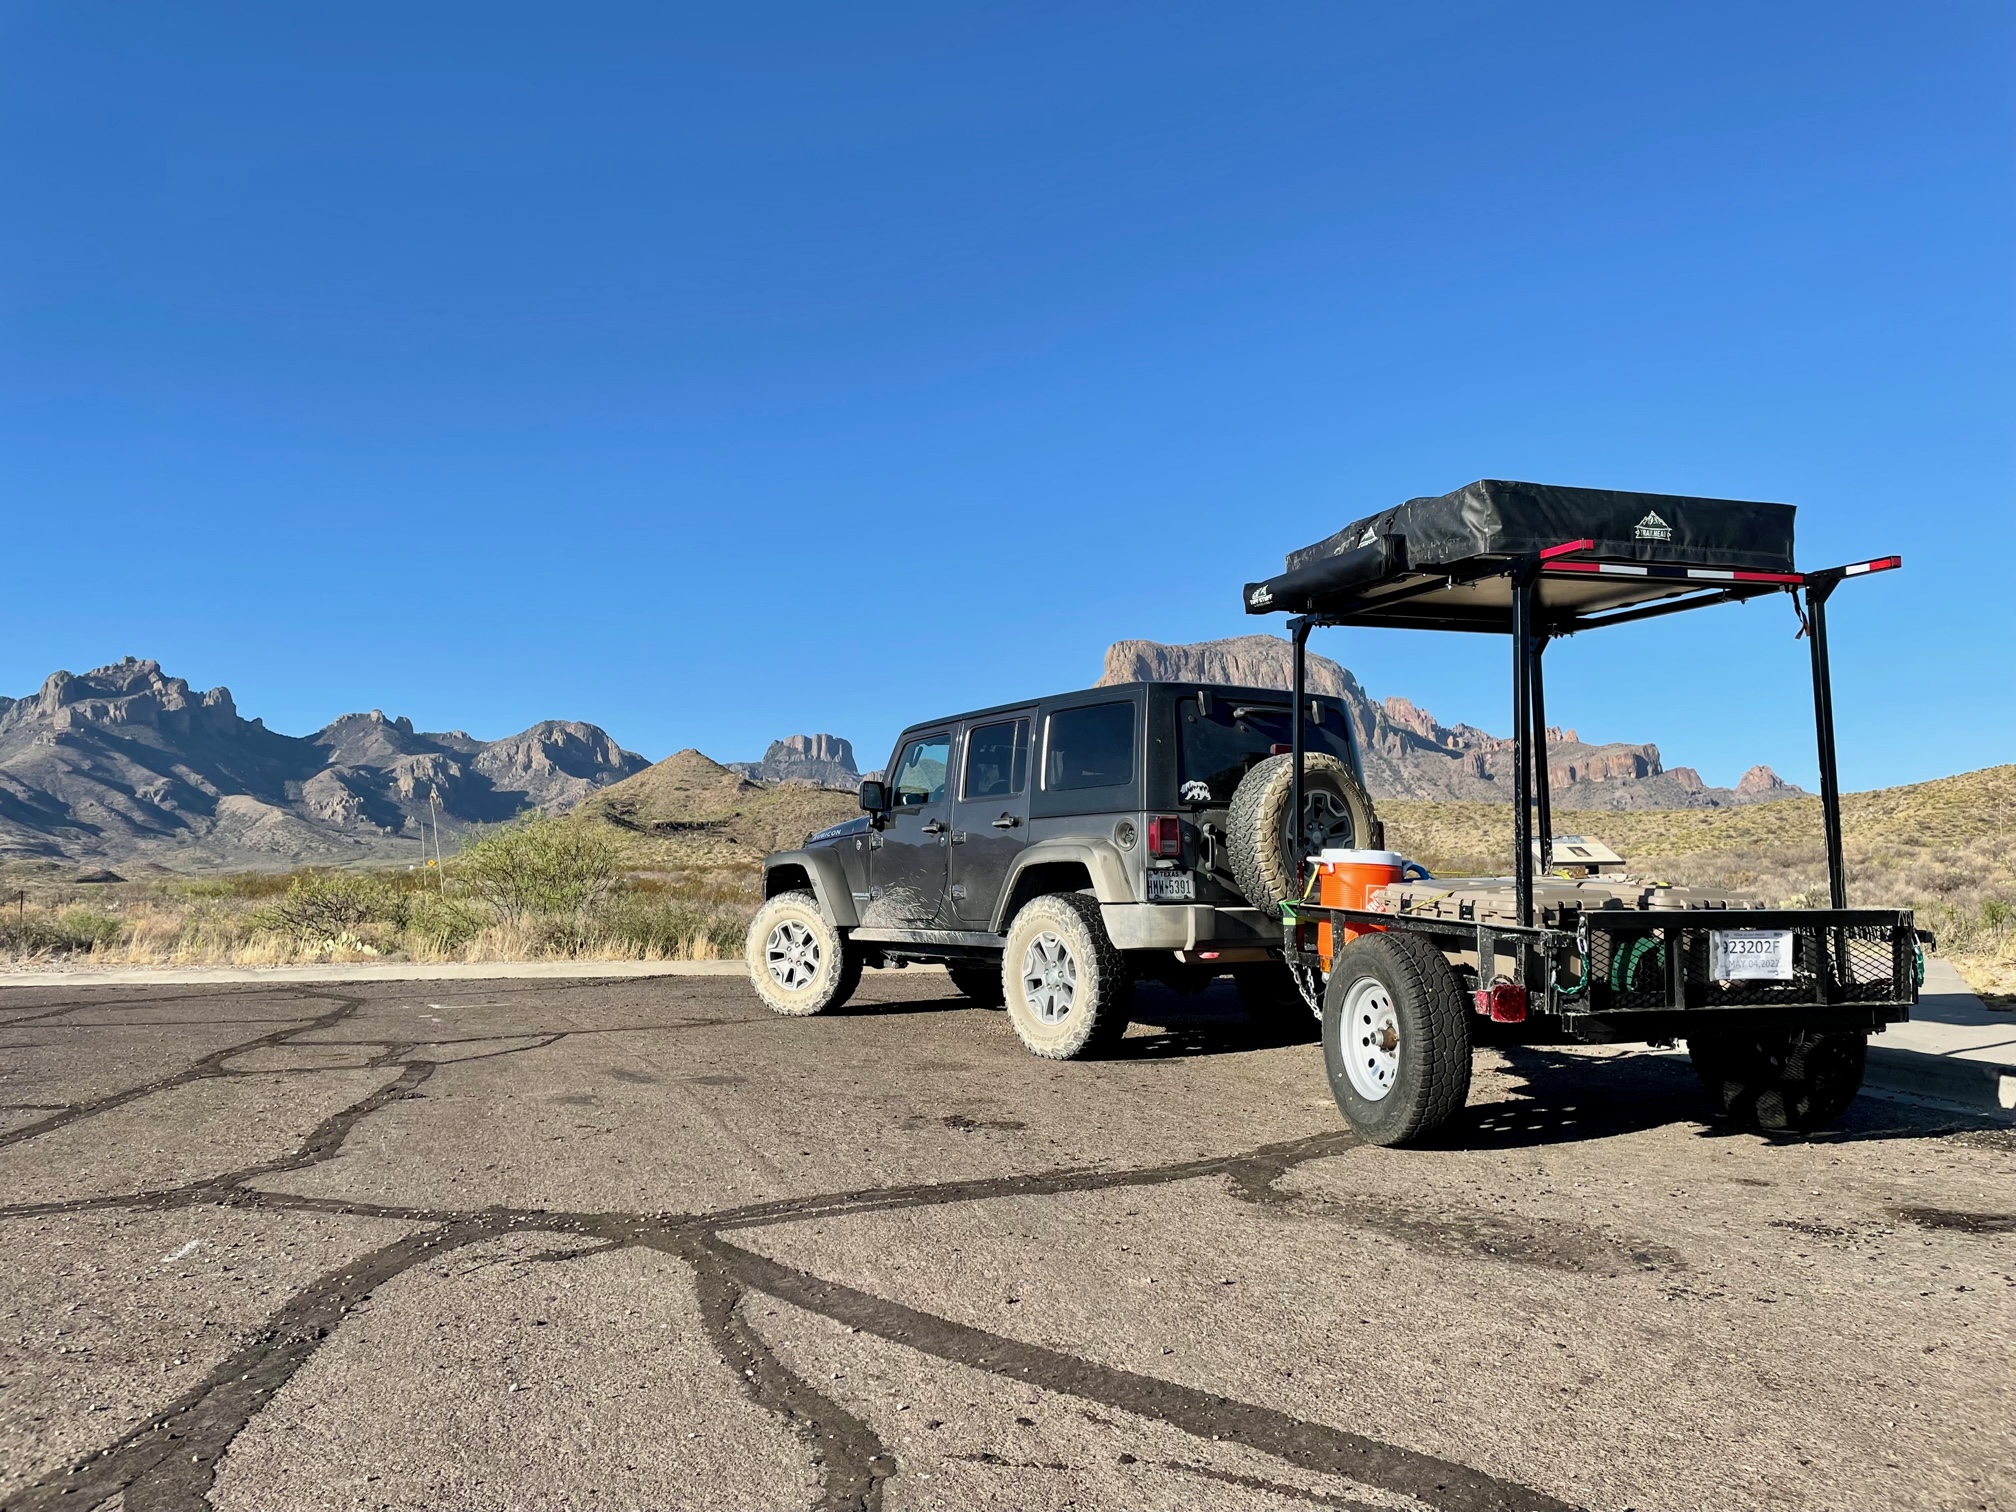
Current Picture - August 2022:
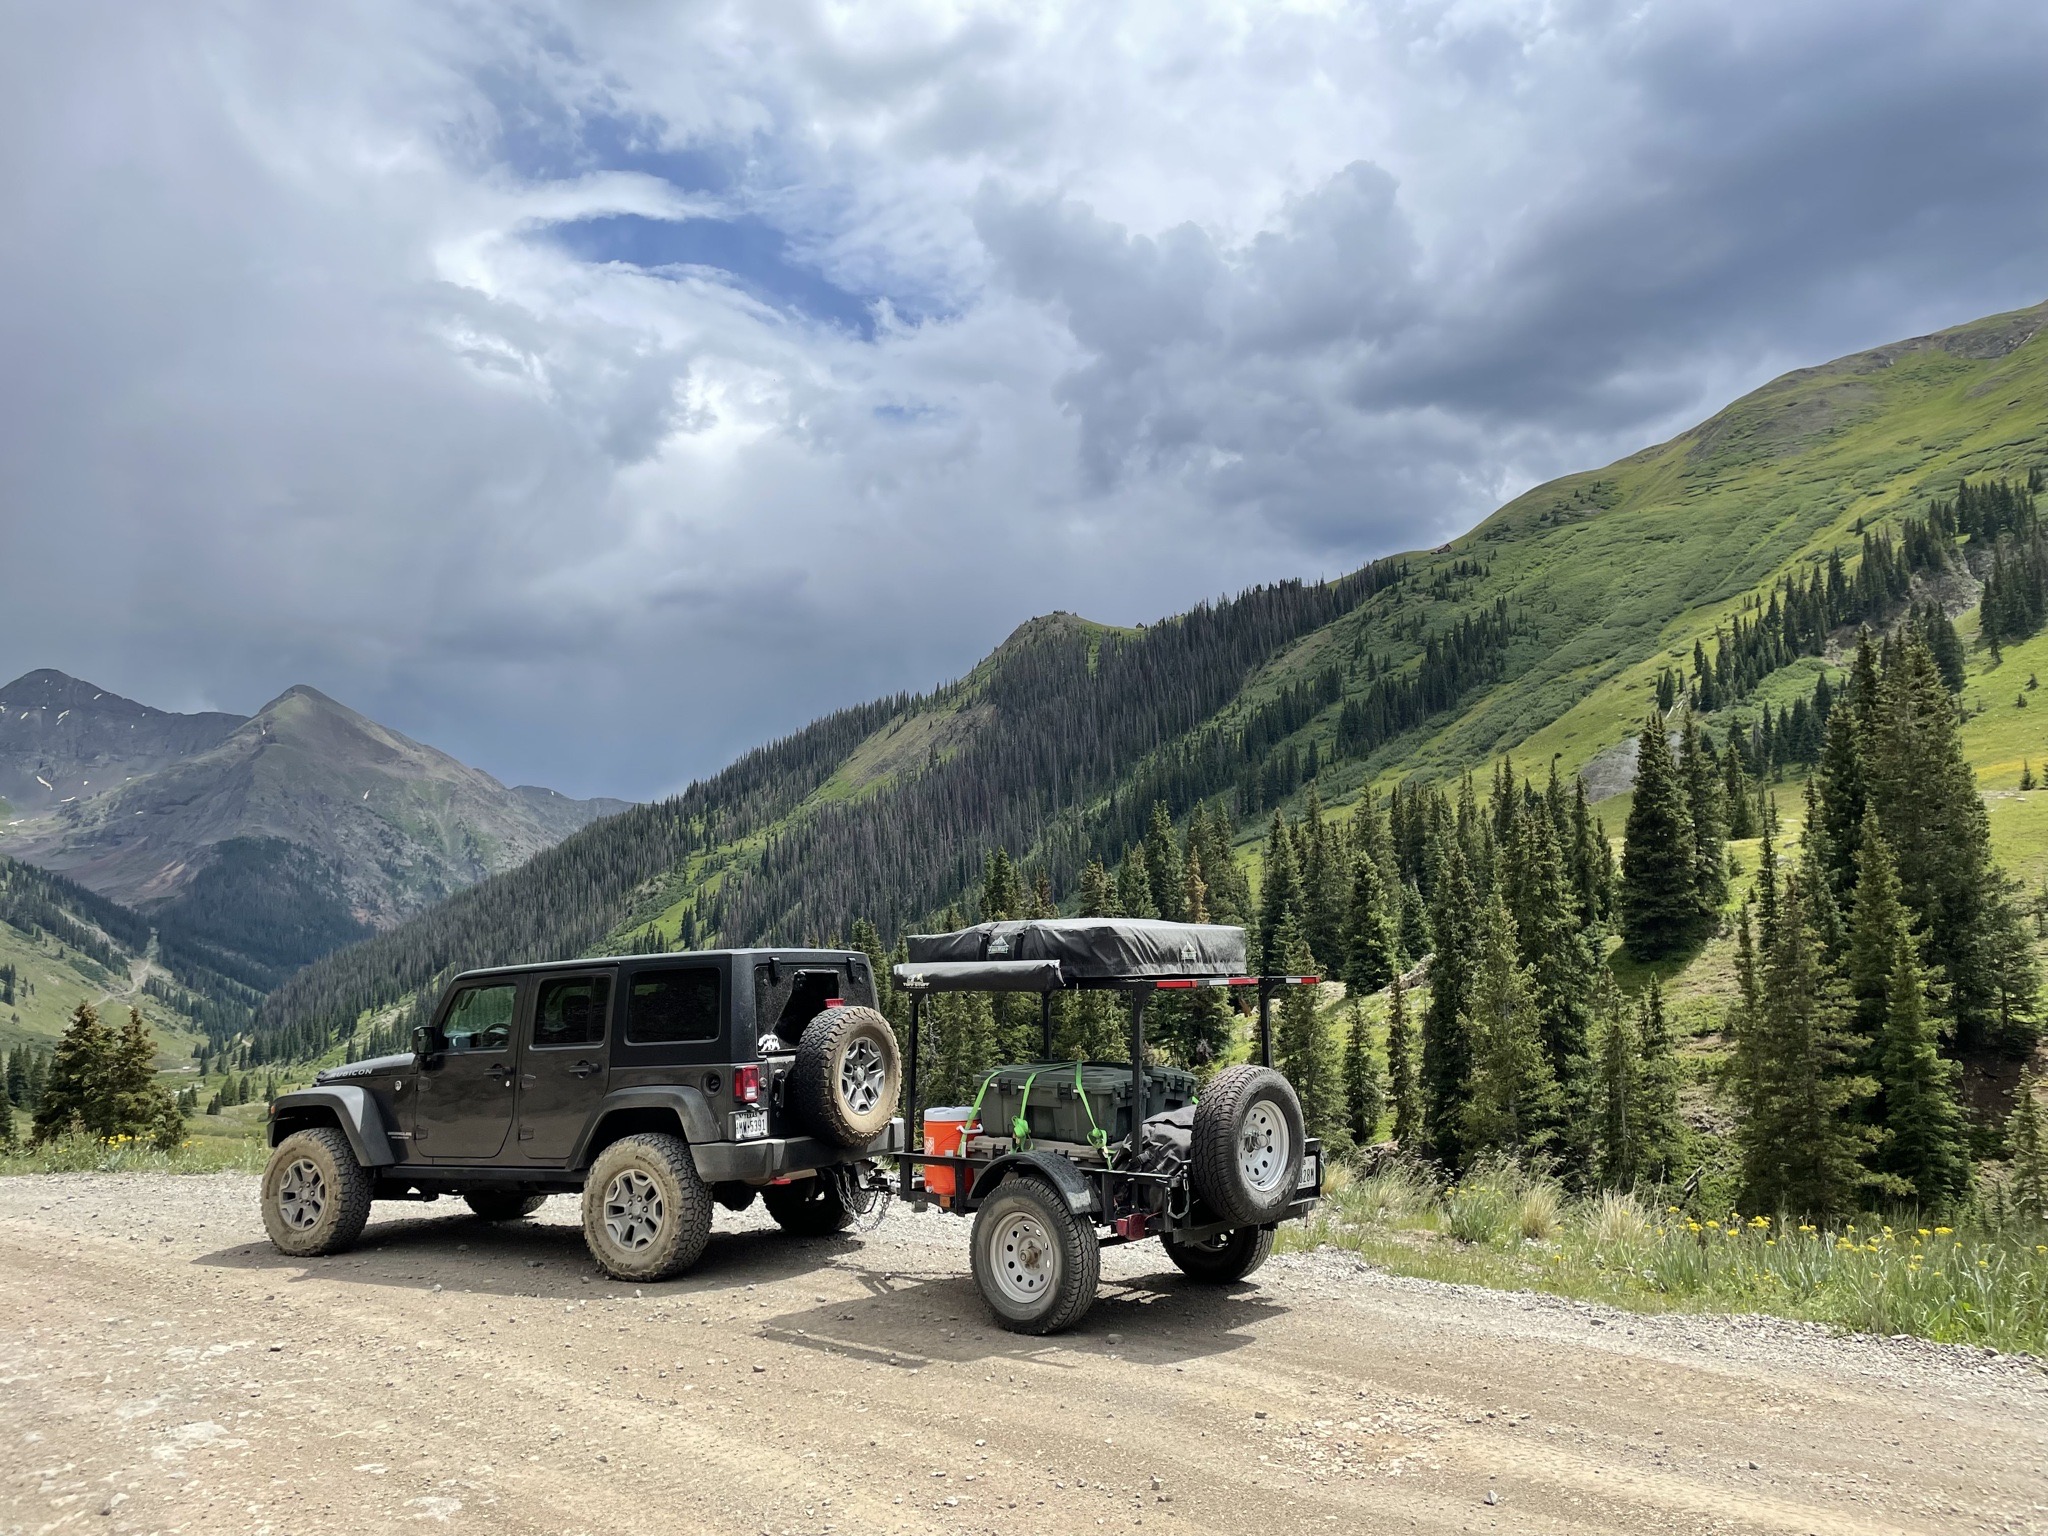


Here's the start:
March 2022:
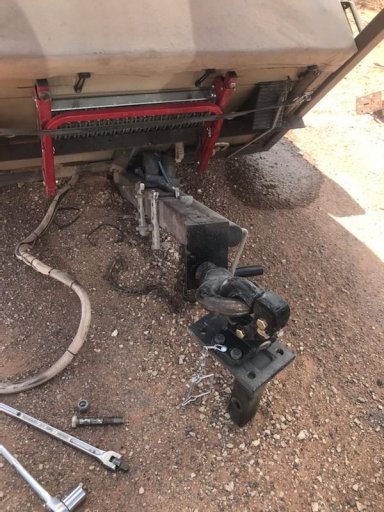
Brought her home and began taking it all apart. She's been well used on some land down in south Texas but towed fine down the highway for the few hours back to Houston.
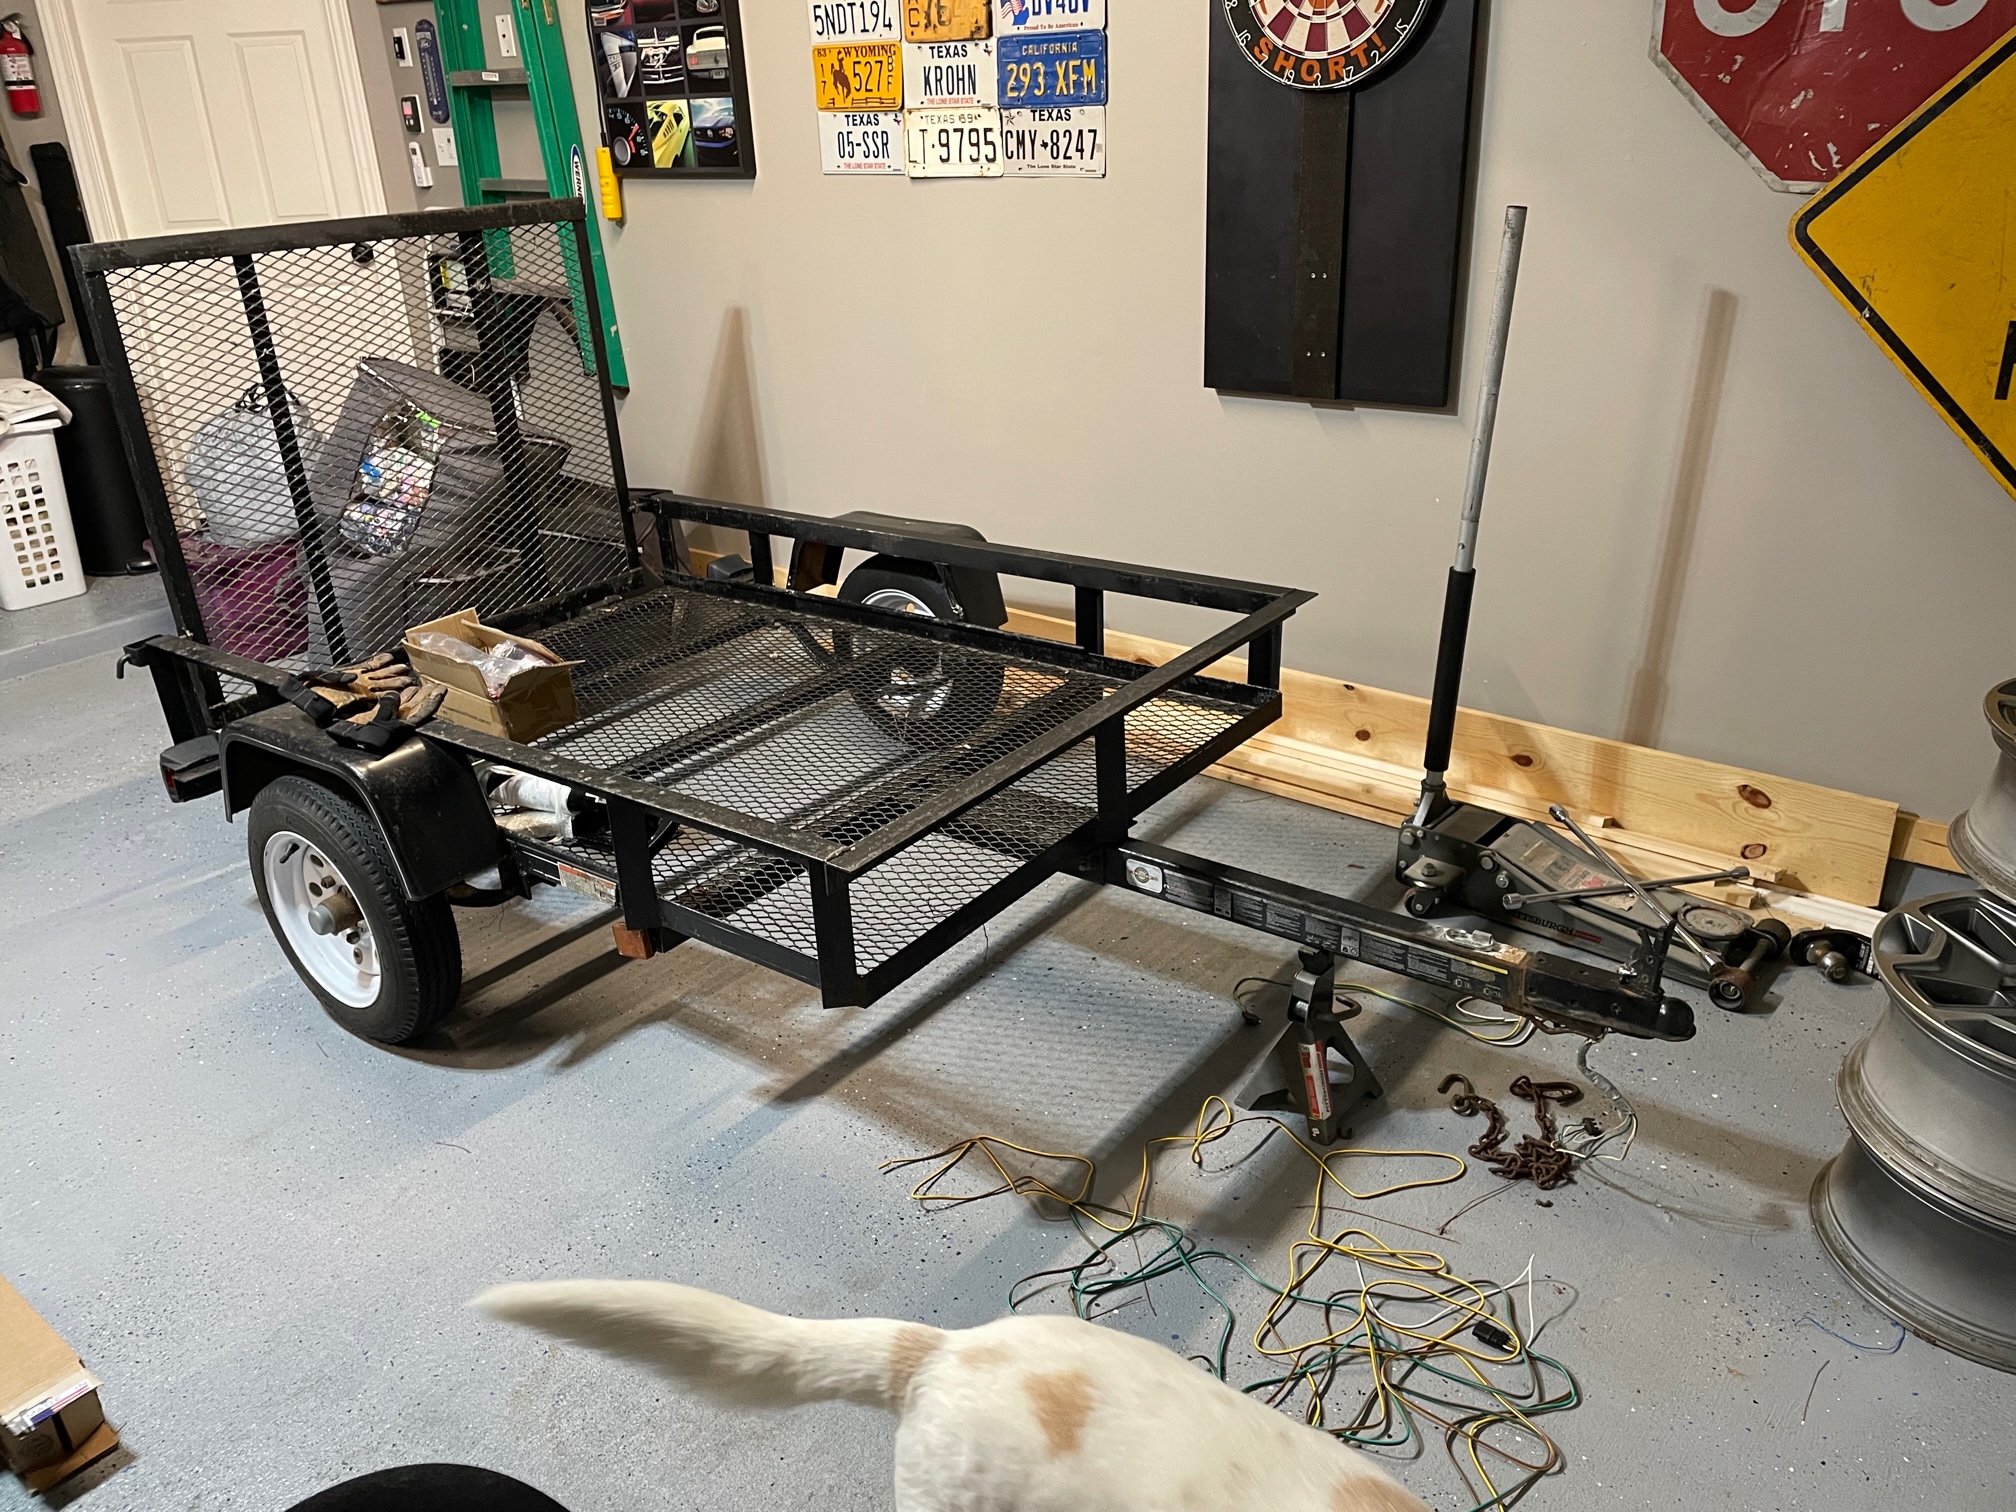

Plans for it include:
1) Flip Axle to Gain +4" of height (Done)
2) Chop Tailgate (Done)
3) Strengthen frame/tongue (Done)
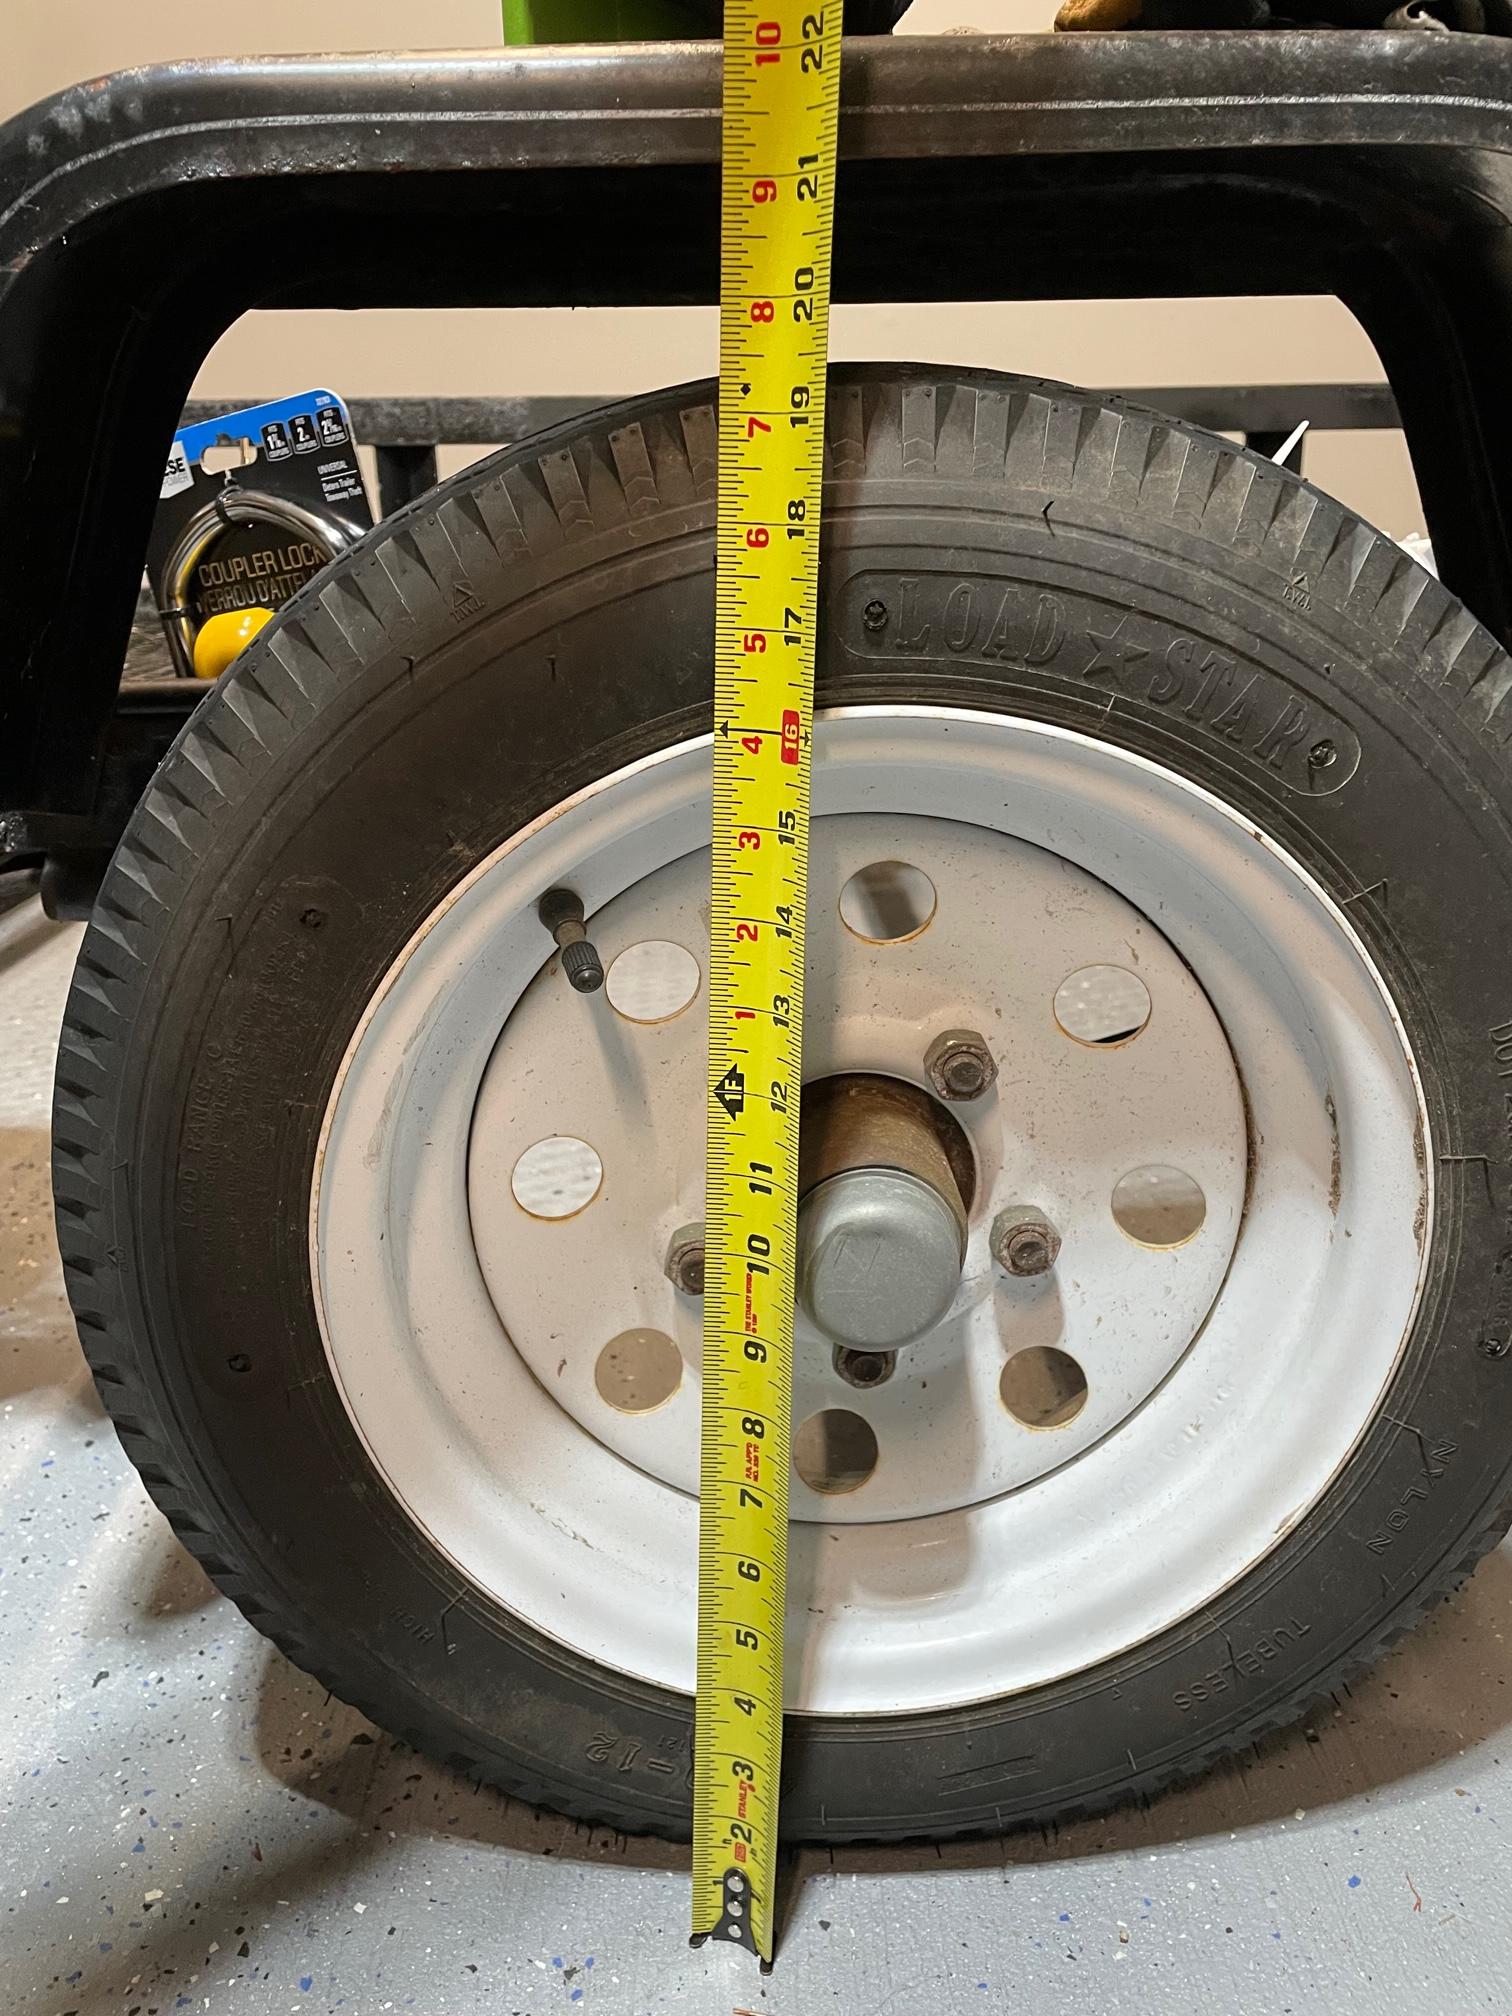
4) Replace 12" wheels and 12x4.8 Tires with something bigger, 235/75-15 (Done)
5) Replace Fenders to clear new wheels and tires (Done)
6) Replace Lights (Done)
7) Add rack for roof top tent (Done)
8) Add large water tank for showering/dishes

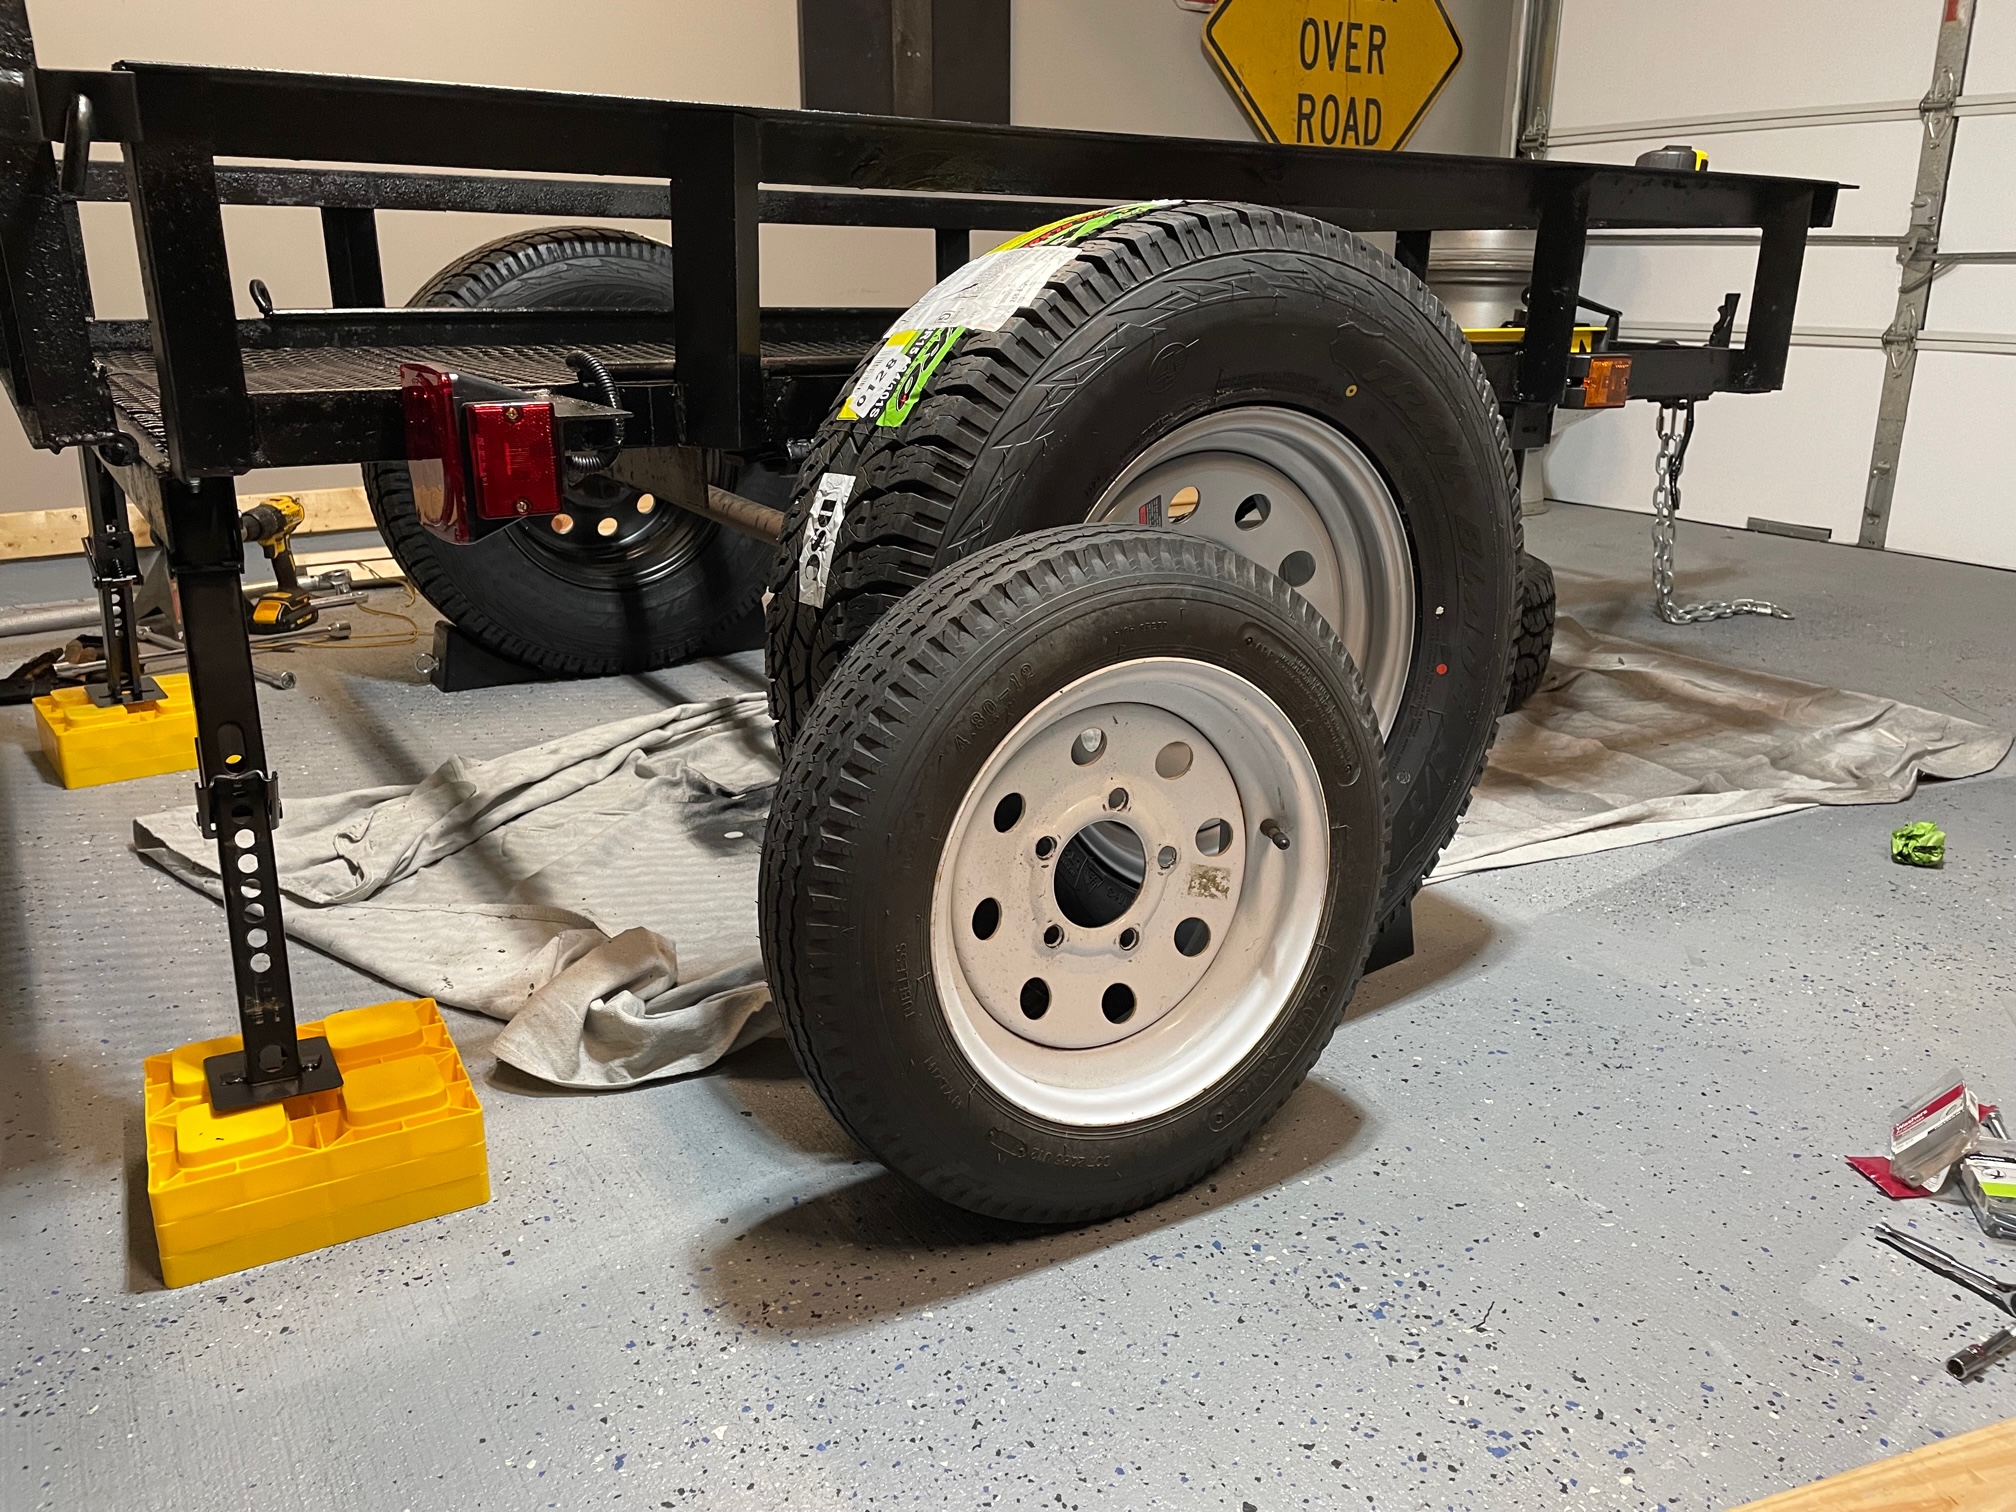
Here you can see the small ~20" OD Tires

April 2022:
Instead of breaking out the welder and rekindling my terrible welding ability from 10-years ago, I took it to a local trailer repair place and had them (2) chop the tailgate, (3) strengthen the tongue, and (5) removed the fenders. All done $400.
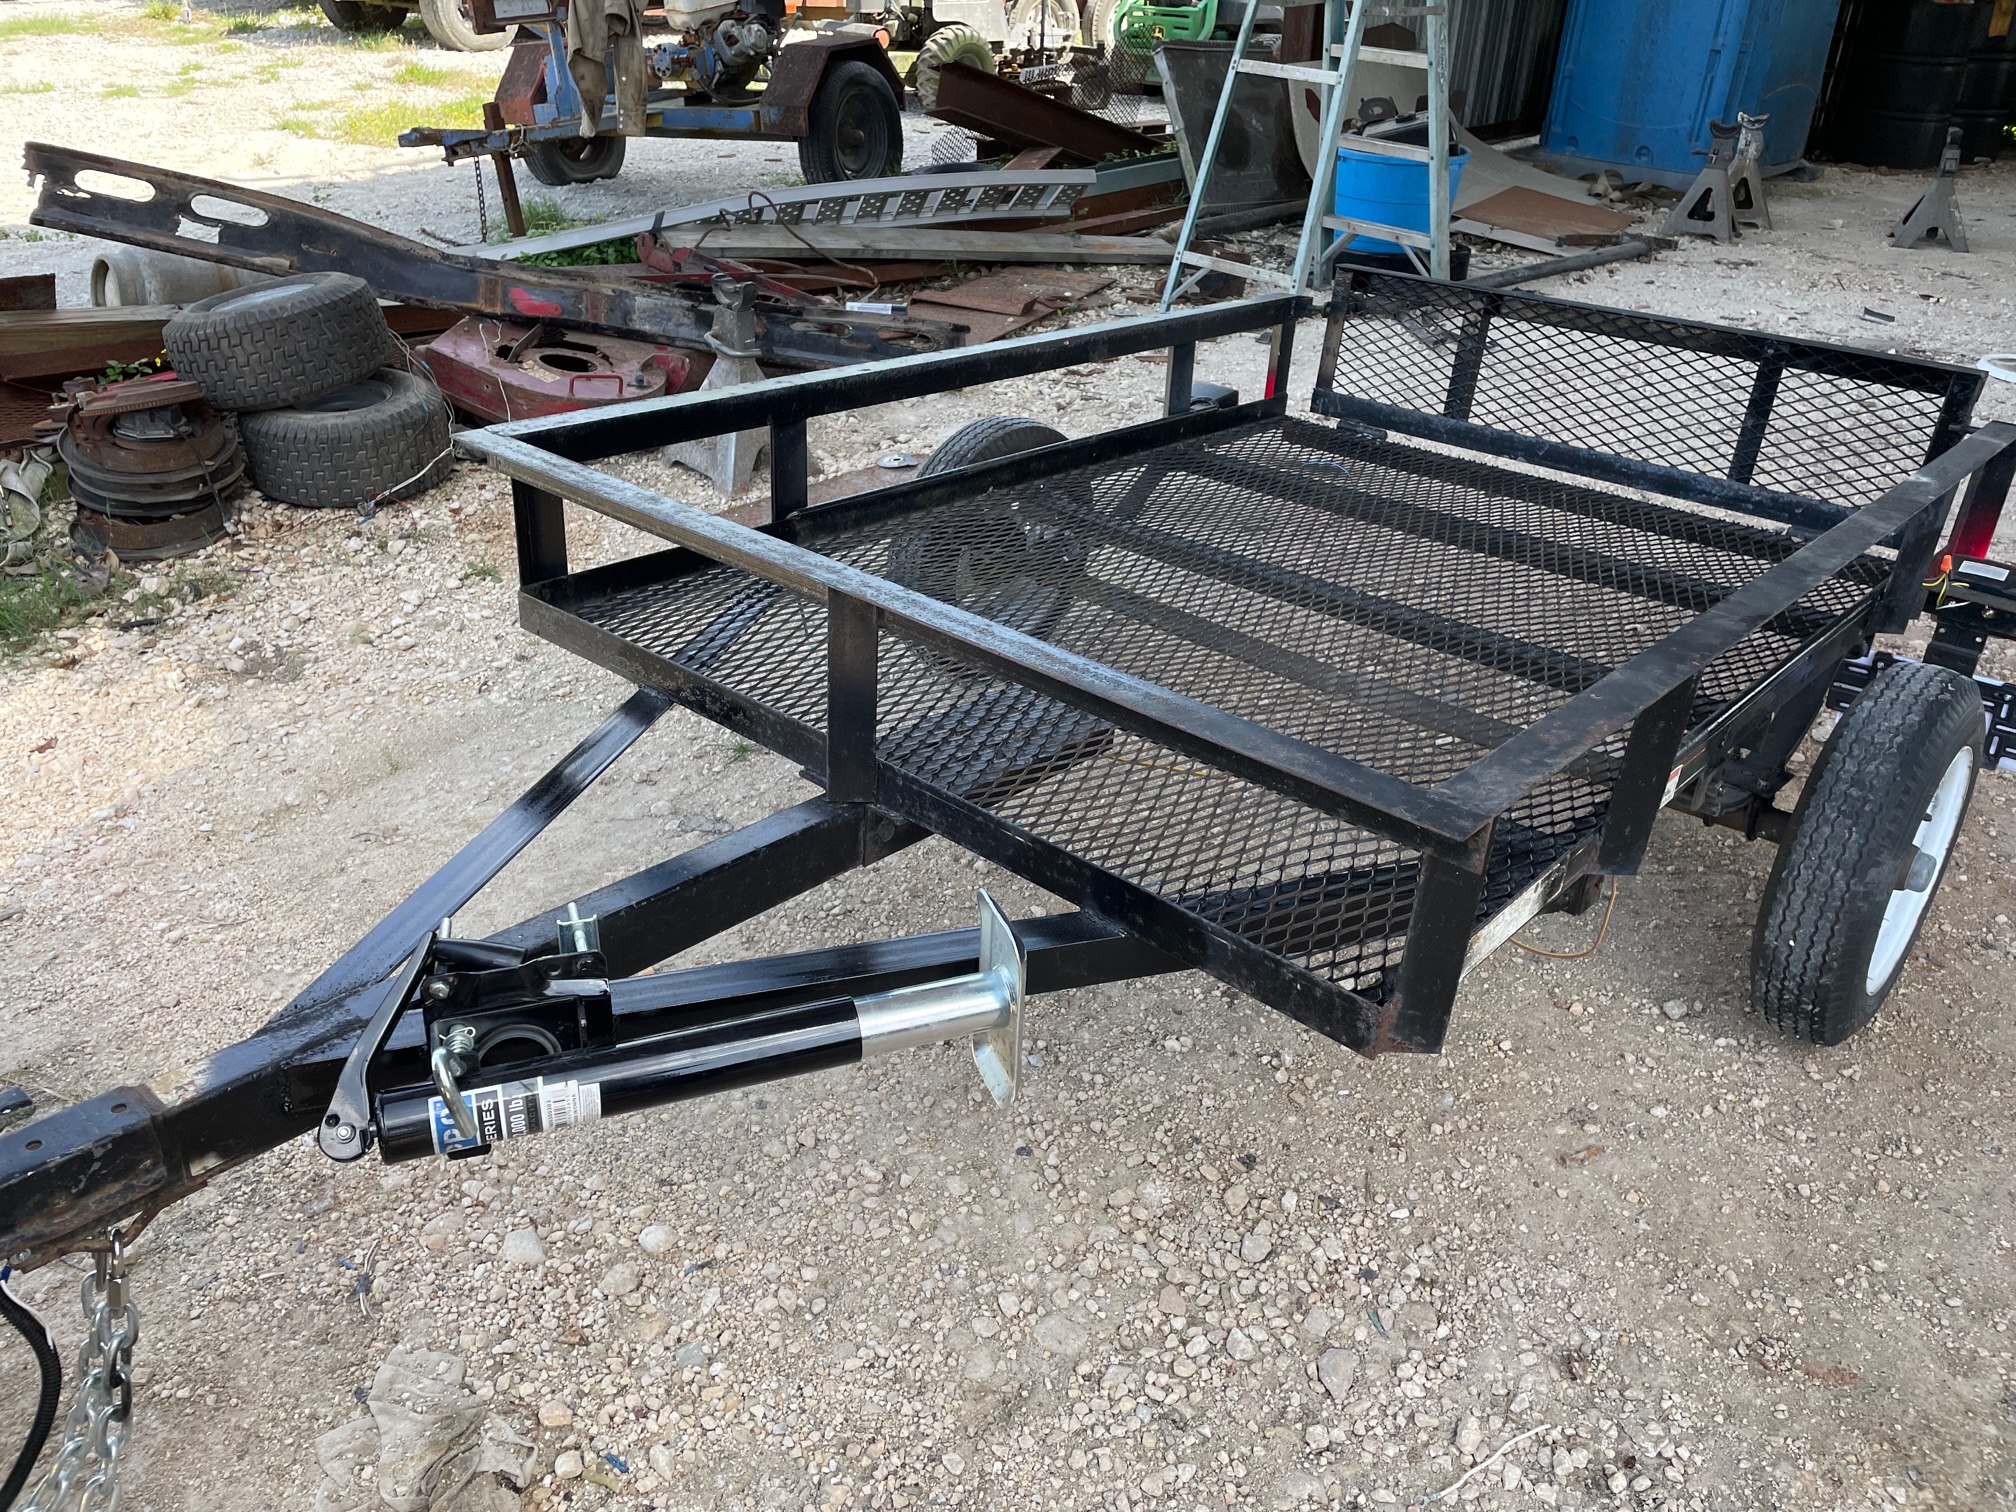

In just a couple of days, the new wheels and tires should arrive at Discount Tire, 235/75-15s, which will bump the trailer up another +4". I ordered three so I'll have a spare. Still determining where to mount that.

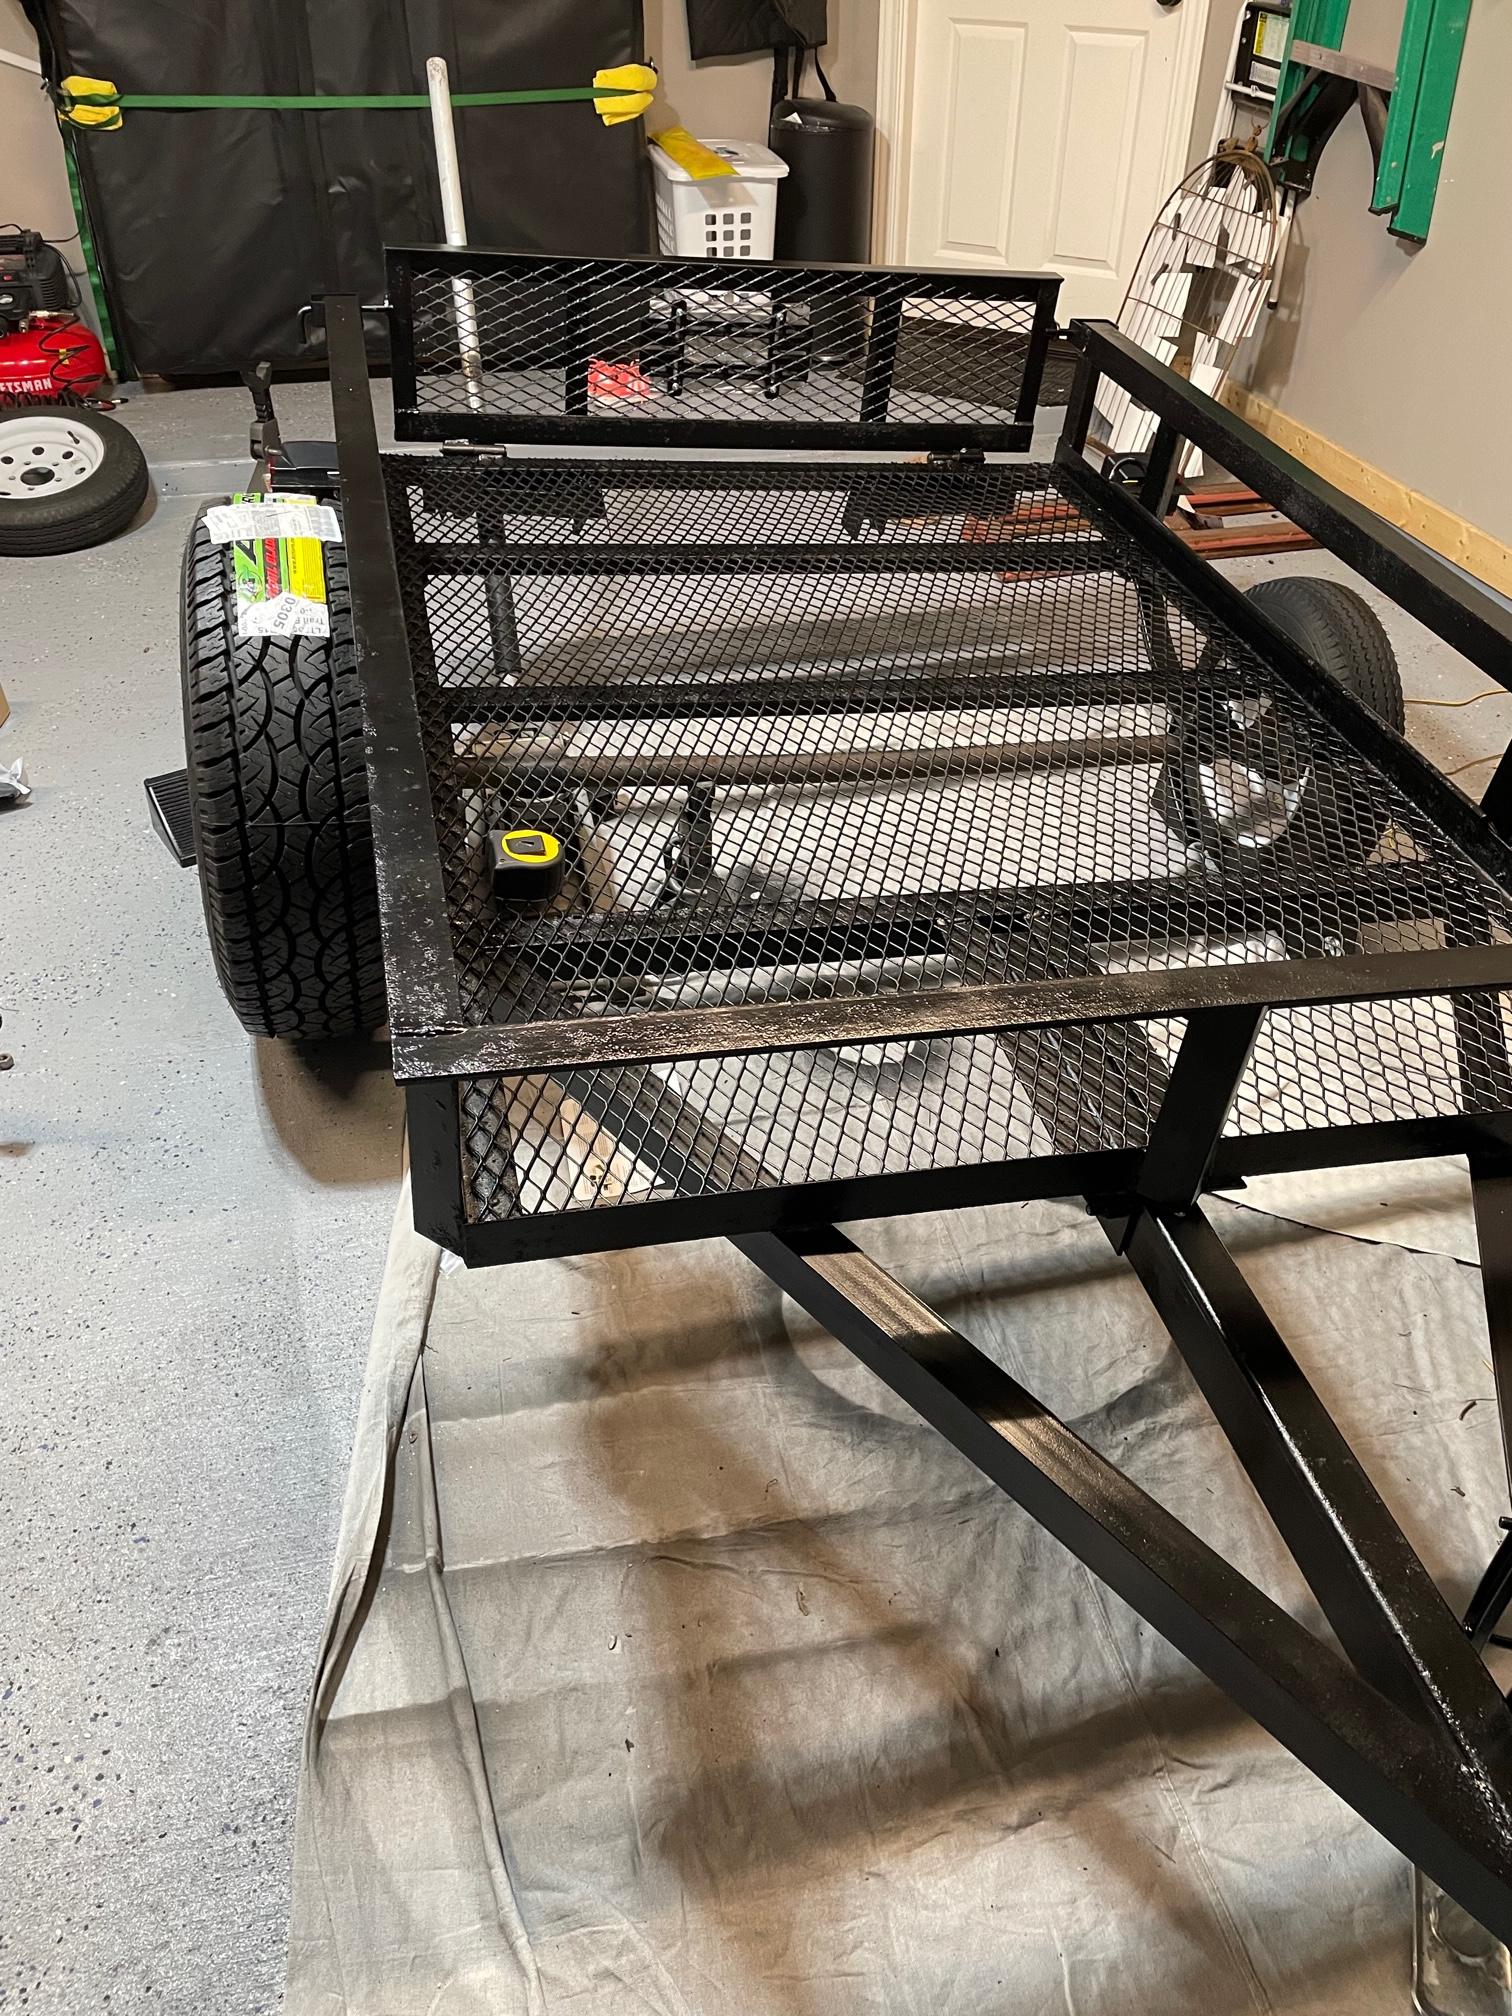
Next up is to grind off rust, clean, and spray down with new coat of black paint. Then, time to add the roof rack.
 
Last edited:
  • Like
Reactions: MrSerio and JakJak

AggieOE

Rank IV

Advocate II

1,003
Pearland, Texas, USA
First Name
Nathan
Last Name
NWK
Member #

30025

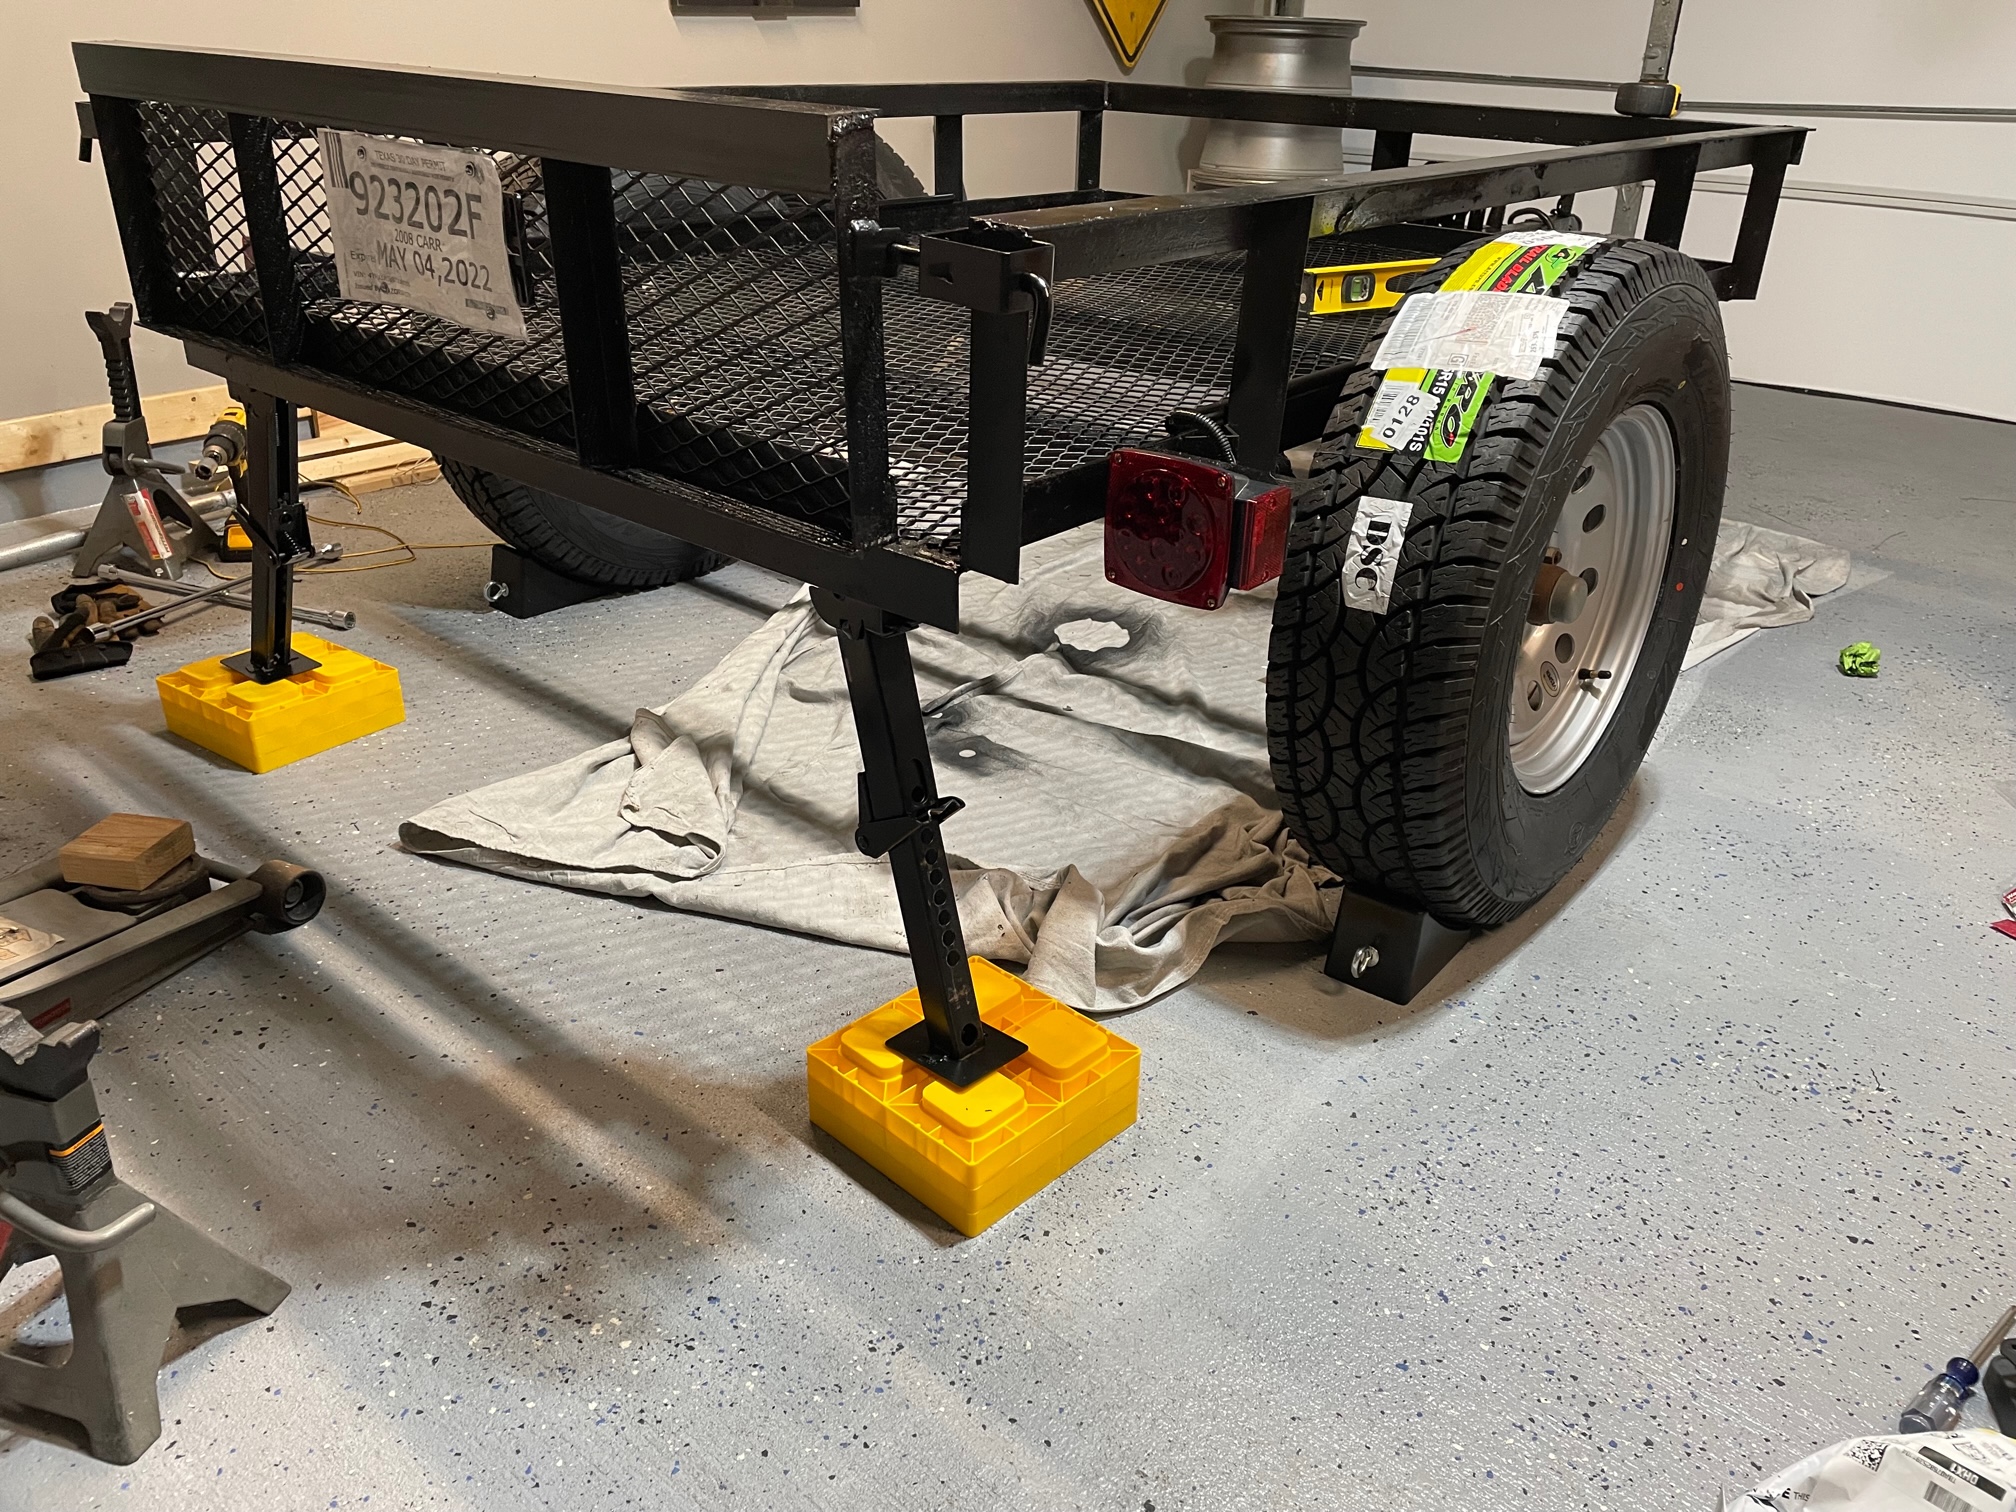
Over the last week I've grinded off most of the rust, cleaned up and repainted the trailer, rewired and finished the electricals, and finally added the new wheels and tires. We're really getting somewhere now.


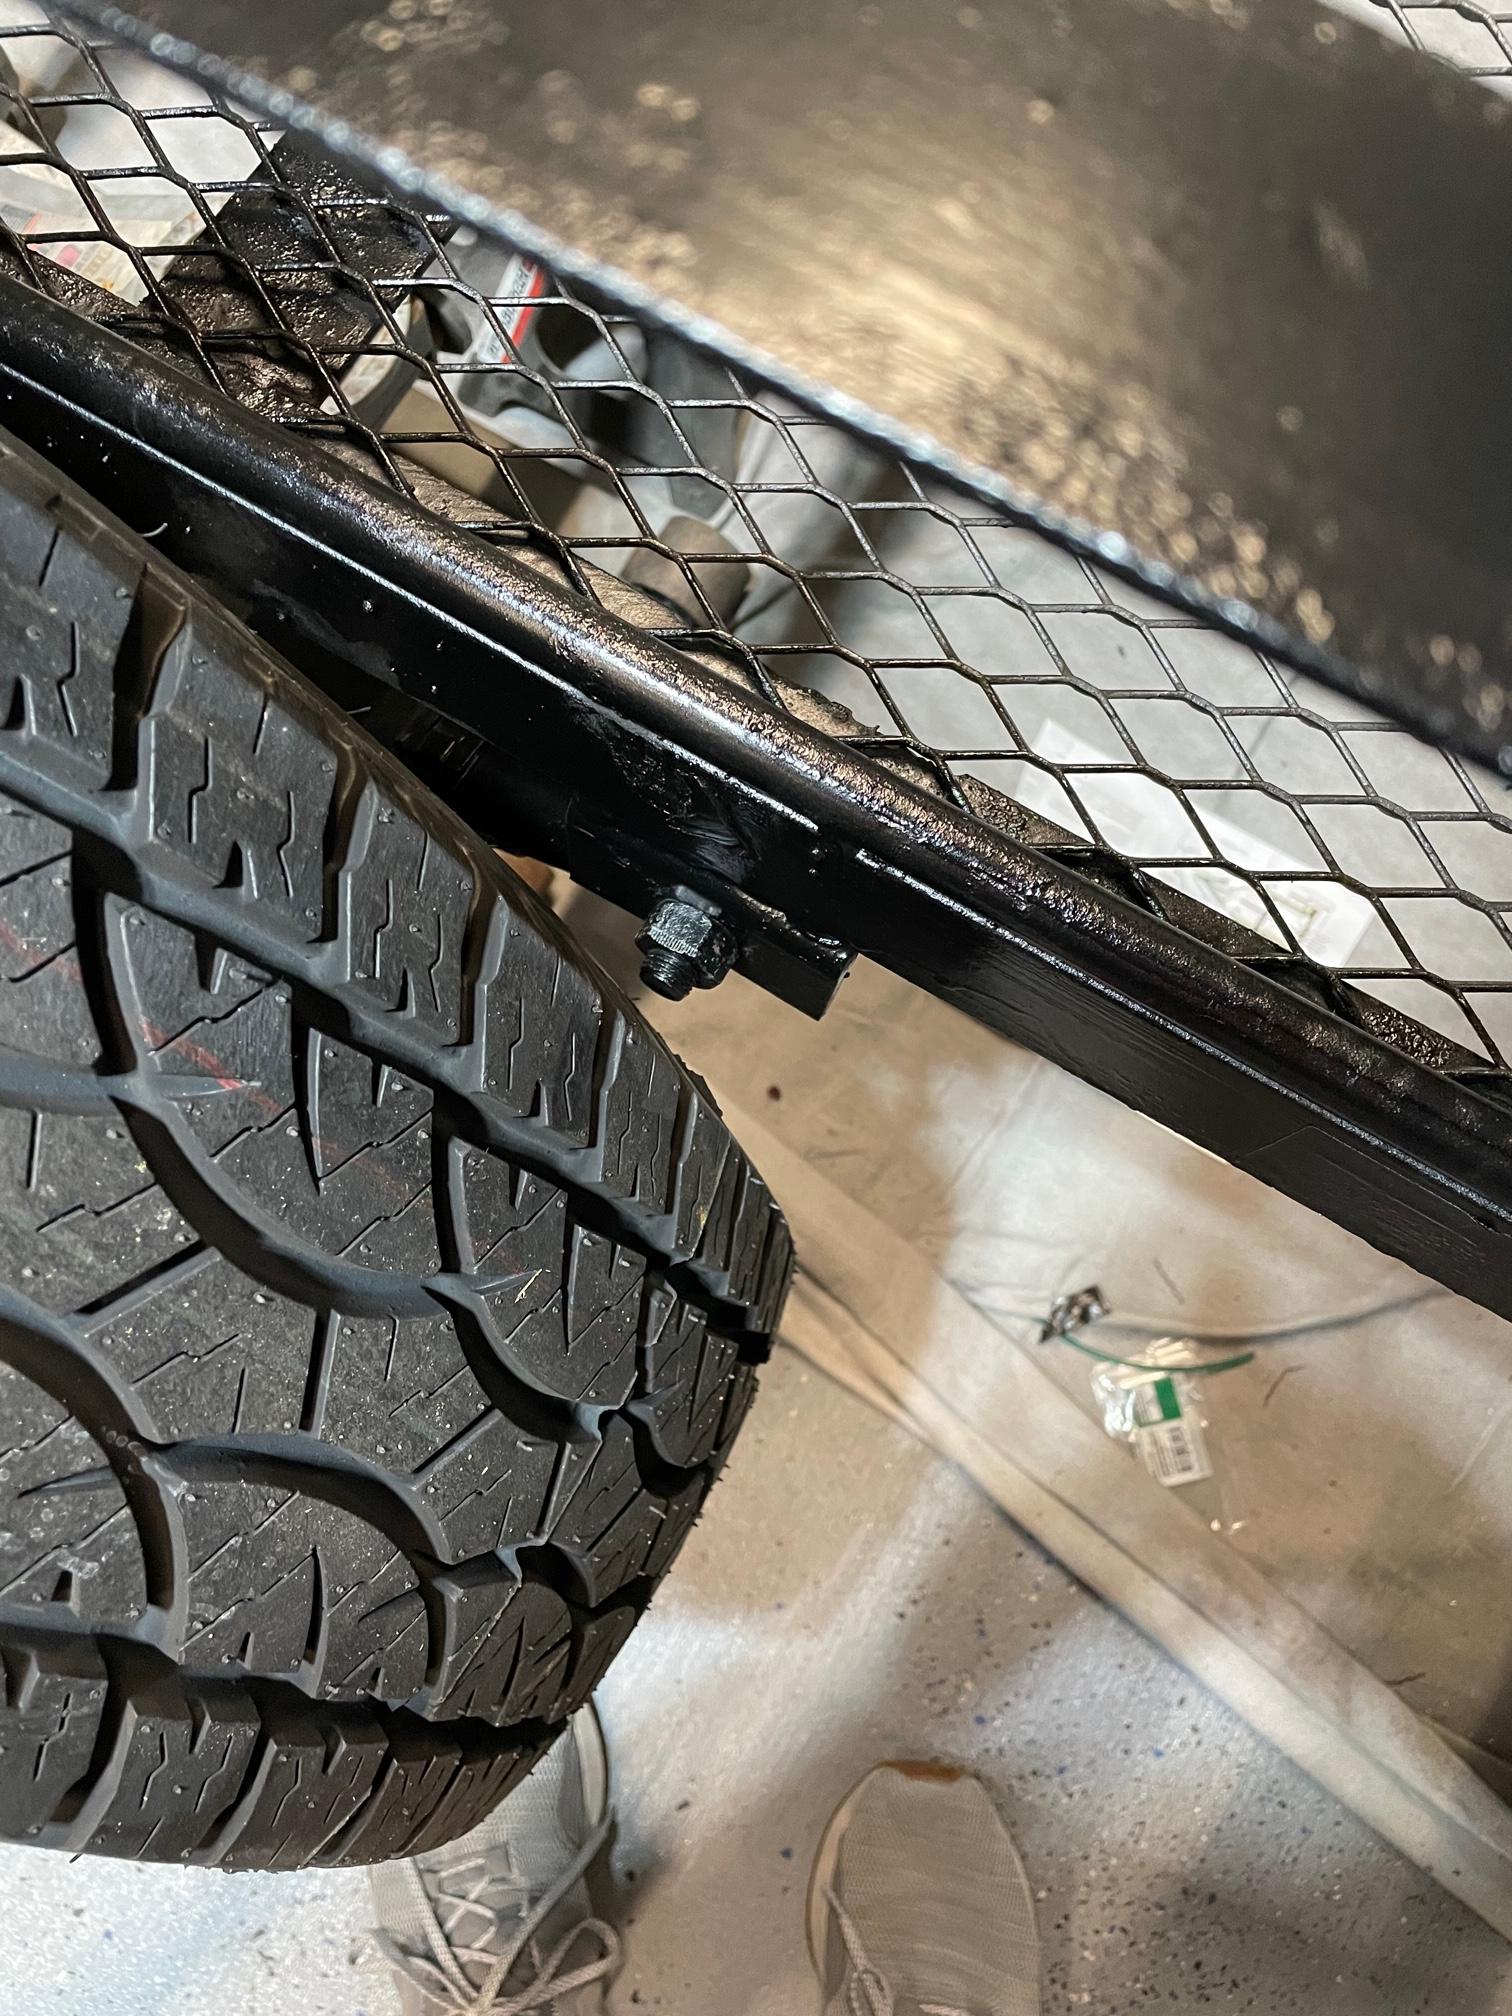
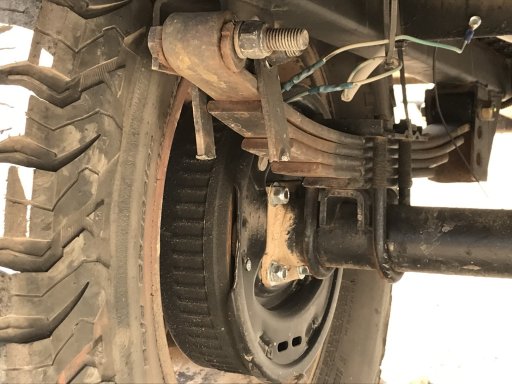
The tires are a tight fit. Although I bought 1" spacers, I'm hoping I don't need them. I swapped around this leaf spring bolt to gain another 0.5" of clearance since the head is much shorter than the nut+threads. So far, so good.


Last edited:

OcoeeG

Rank II

Enthusiast III

443
SE TN
First Name
Chris
Last Name
Gee
Just built a RTT trailer on a 4x6 carry on platform. Kinda wish I went with bigger tires, I only out 13's on there. But so far so good. Here is my build thread.
 

AggieOE

Rank IV

Advocate II

1,003
Pearland, Texas, USA
First Name
Nathan
Last Name
NWK
Member #

30025

Just built a RTT trailer on a 4x6 carry on platform. Kinda wish I went with bigger tires, I only out 13's on there. But so far so good. Here is my build thread.
You have a great build! As far as wheels and tires go, I was back and forth on sizes. For the extra height to get the trailer more level with my Jeep, I figured I had to go with the largest reasonable size. Plus the 235/75-15 range of tires seemed to be some of the cheapest around.
 

OcoeeG

Rank II

Enthusiast III

443
SE TN
First Name
Chris
Last Name
Gee
You have a great build! As far as wheels and tires go, I was back and forth on sizes. For the extra height to get the trailer more level with my Jeep, I figured I had to go with the largest reasonable size. Plus the 235/75-15 range of tires seemed to be some of the cheapest around.
Thanks! We are enjoying it! Got the 13 gal. water tank in and will be installing that and a pump. Working to get the kitchen box dialed in.

I doubt the 13s will hold us back. Not planning on wheelin' with our trailer, just forest service roads.
 

MOAK

Rank V
Launch Member

Off-Road Ranger I

2,865
Wherever we park it will be home !!
First Name
Donald
Last Name
Diehl
Member #

0745

Ham/GMRS Callsign
WRPN 506
I started with exactly the same trailer over 13 years ago: big learning curve: axle blew out twice, then stepped up to 3,500lb axle; slipper failed for the spring, welded new box; slipper spring kept coming out on washboard and any other technical terrain, replaced springs with 3500lb eyes on each end springs; cracked frame, fabricated heavy gauge 1x1 tube subframe; tonge snapped in half, welded new heavy gauge tonge the length of the trailer and an A frame for more support; snapped 3500lb springs, replaced with 7,500 lb spring set; snapped shackles clean in half, replace with dexter upgrade 7,000 lb shackles with bushings and wet bolts. Just a little food for thought to help you avoid trail and highway breakage .., I don’t know what else can be done to mine to beef it up any more. Total weight of our trailer is 1500 lbs fully loaded. One thing for sure I have learned, it’s not the technical off road stuff that rips them up, it is the miles upon miles of rough washboard forest roads that get ya. Here’s the tonge and shackle breakageC35999A8-E861-4CC1-8CEE-BAF813AE3C9B.jpeg1672B5B2-C1D1-4AEA-ACC1-86CE3E2F7BCB.jpeg15D60198-F866-4017-9511-EE2ED593C2C4.jpeg Good luck with your build !!
 
  • Like
Reactions: JakJak

OcoeeG

Rank II

Enthusiast III

443
SE TN
First Name
Chris
Last Name
Gee
I started with exactly the same trailer over 13 years ago: big learning curve: axle blew out twice, then stepped up to 3,500lb axle; slipper failed for the spring, welded new box; slipper spring kept coming out on washboard and any other technical terrain, replaced springs with 3500lb eyes on each end springs; cracked frame, fabricated heavy gauge 1x1 tube subframe; tonge snapped in half, welded new heavy gauge tonge the length of the trailer and an A frame for more support; snapped 3500lb springs, replaced with 7,500 lb spring set; snapped shackles clean in half, replace with dexter upgrade 7,000 lb shackles with bushings and wet bolts. Just a little food for thought to help you avoid trail and highway breakage .., I don’t know what else can be done to mine to beef it up any more. Total weight of our trailer is 1500 lbs fully loaded. One thing for sure I have learned, it’s not the technical off road stuff that rips them up, it is the miles upon miles of rough washboard forest roads that get ya. Here’s the tonge and shackle breakage Good luck with your build !!
Damn! You got some bad luck or shitty fabrication skills or your hardcore AF and shit can't hang,

One of those things is true, or maybe some combination .
 

MOAK

Rank V
Launch Member

Off-Road Ranger I

2,865
Wherever we park it will be home !!
First Name
Donald
Last Name
Diehl
Member #

0745

Ham/GMRS Callsign
WRPN 506
Damn! You got some bad luck or shitty fabrication skills or your hardcore AF and shit can't hang,

One of those things is true, or maybe some combination .
Hard core stuff, way off grid, hundreds of miles of serious washboard every trip. Fab skills are top notch , I just never upgraded anything until it broke.. now it’s built to take it..
 
Last edited:
  • Like
Reactions: OcoeeG and AggieOE

AggieOE

Rank IV

Advocate II

1,003
Pearland, Texas, USA
First Name
Nathan
Last Name
NWK
Member #

30025

Thanks for the insight! I actually read about some of your issues on another thread which is exactly why I had the tongue reinforced. But I think, no matter what, washboard roads are going to be brutal on it.

Im thinking of swapping springs for lower capacity softer ones to ease the fatigue.
 

MOAK

Rank V
Launch Member

Off-Road Ranger I

2,865
Wherever we park it will be home !!
First Name
Donald
Last Name
Diehl
Member #

0745

Ham/GMRS Callsign
WRPN 506
Thanks for the insight! I actually read about some of your issues on another thread which is exactly why I had the tongue reinforced. But I think, no matter what, washboard roads are going to be brutal on it.

Im thinking of swapping springs for lower capacity softer ones to ease the fatigue.
I swapped in softer/longer springs than the stock slipper springs. Those were the ones that snapped in half. Be warned, that stock tonge, much to my surprise was nothing more than stamped thin walled steel.
 

OcoeeG

Rank II

Enthusiast III

443
SE TN
First Name
Chris
Last Name
Gee
Hard core stuff, way off grid, hundreds of miles of serious washboard every trip. Fab skills are top notch , I just never upgraded anything until it broke.. now it’s built to take it..
HAHAHA! UH, Yeah I never plan on bringing my trailer on anything nearly that gnarly. No wonder you were breaking stuff. :tearsofjoy:
 
  • Like
Reactions: MOAK

old_man

Rank V
Launch Member

Member III

2,827
Loveland, Colorado
First Name
Tom
Last Name
Houston
Member #

8300

Ham/GMRS Callsign
WØNUT Extra
I’ll be getting to this point in my build here soon! I’ve seen a few people have issues with trailer bounce, let us know if you end up with any issues. Looks great so far, appreciate you sharing!
Check out my trailer build. I added shocks to my airbag setup and it is silky smooth.
 

AggieOE

Rank IV

Advocate II

1,003
Pearland, Texas, USA
First Name
Nathan
Last Name
NWK
Member #

30025

Well Phase 1 is finished.
I procrastinated and barely got it finished enough to go on a trip with a friend to Big Bend this last weekend.

I realized two weeks ago on May 5th that my bearings were sloppy. So, with a build deadline of May 11th, I had to hurry.
After back & forths with the steel supplier, I finally got my rack metal cut how I wanted, angled so that it could swing back.

Monday: Received Metal and built up rack 80%.
Tuesday: Dropped off trailer in the morning for bearing replacements before work. After work, picked up the trailer (bearings were really bad) and finished rack and painted the metal.
Wednseday: Re-fit rack on trailer, installed RTT, bolted spare to bottom, and installed shower tent.
Thursday: Drove to Big Bend (10.5-hours). Yes, I picked the WORST shakedown test. I stopped almost every mile for the first 2-hours. Half of that the rack was in the raked positioned covered in ratchet straps for peace of mind. Then i moved it to the up position where it was 1000% more stable and less bouncy.


So, the design was based on the constraint that the tent had to be high enough to be able to fit the annex underneath it (78" off ground). However, at that height, I can't get the trailer into the garage with the tent on. So, I needed to come down 10" temporarily.
Hence the sweeping motion.
31" of horizontal travel is required to come down 10". Pythagorean theorem is used often in our house.


Note there is only one bolt through the trailer frame. I tried to drill two other holes through the frame but I simply could not get my brand new drill bit to go through. For the record, I do not trust the diamond mesh but it was all I had here.


Lesson's Learned:
1) I will be lowering it. 78" is way too high to feel comfortable atop such a smaller trailer (footprint). Although everything was fine, it was really tall.
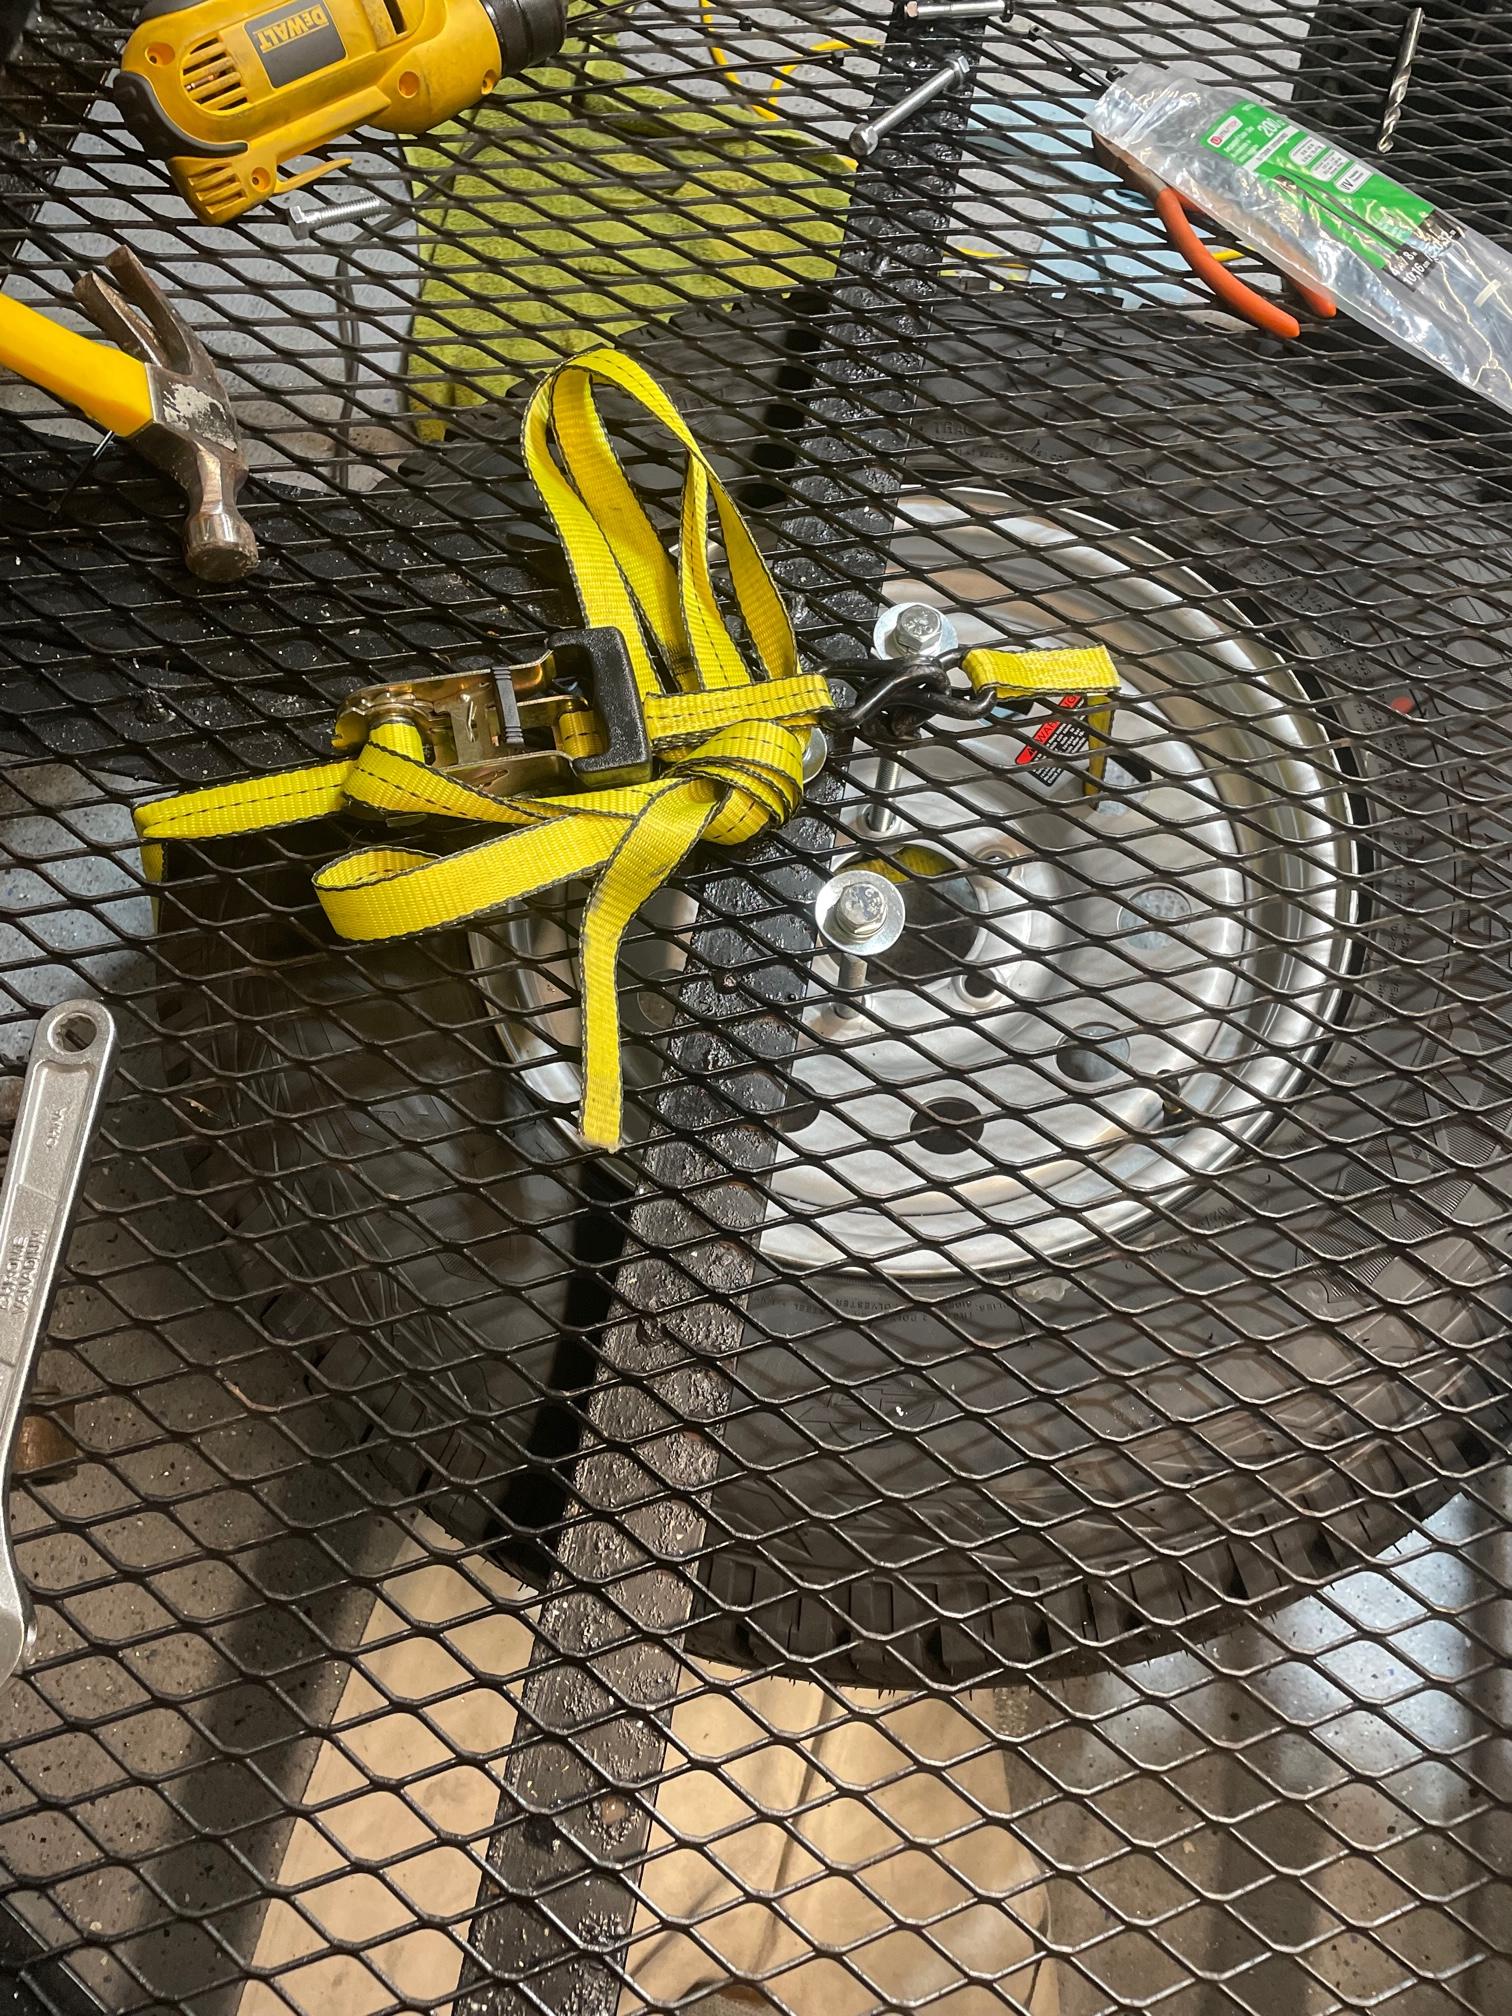
2) Moving spare to tailgate. I ratchet strapped the spare along with the 3x 1/2 bolts to the trailer. Although this worked.... it has me anxious and kills clearance.
3) Fenders! I already have them painted, ready to mount. I just need to figure out how and where I want to mount them. I simply just ran out of time.
4) Add extra, bigger bolts to secure frame to trailer. Two 5/16" bolts per leg had me anxious with all the movement from the trailer at 75mph on uneven lanes.

Overall, the trailer did do well but it can be much better. The shower tent though was the best! It's huge and holds its shape so well.
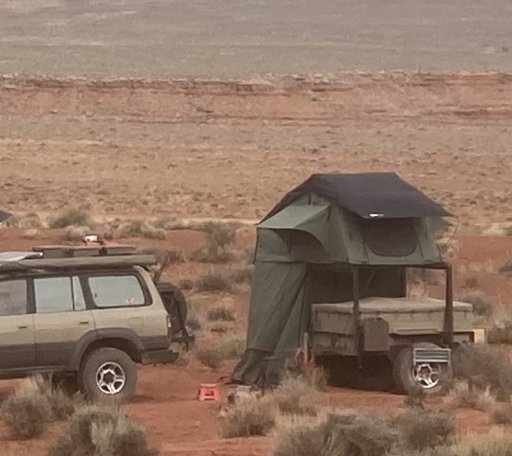
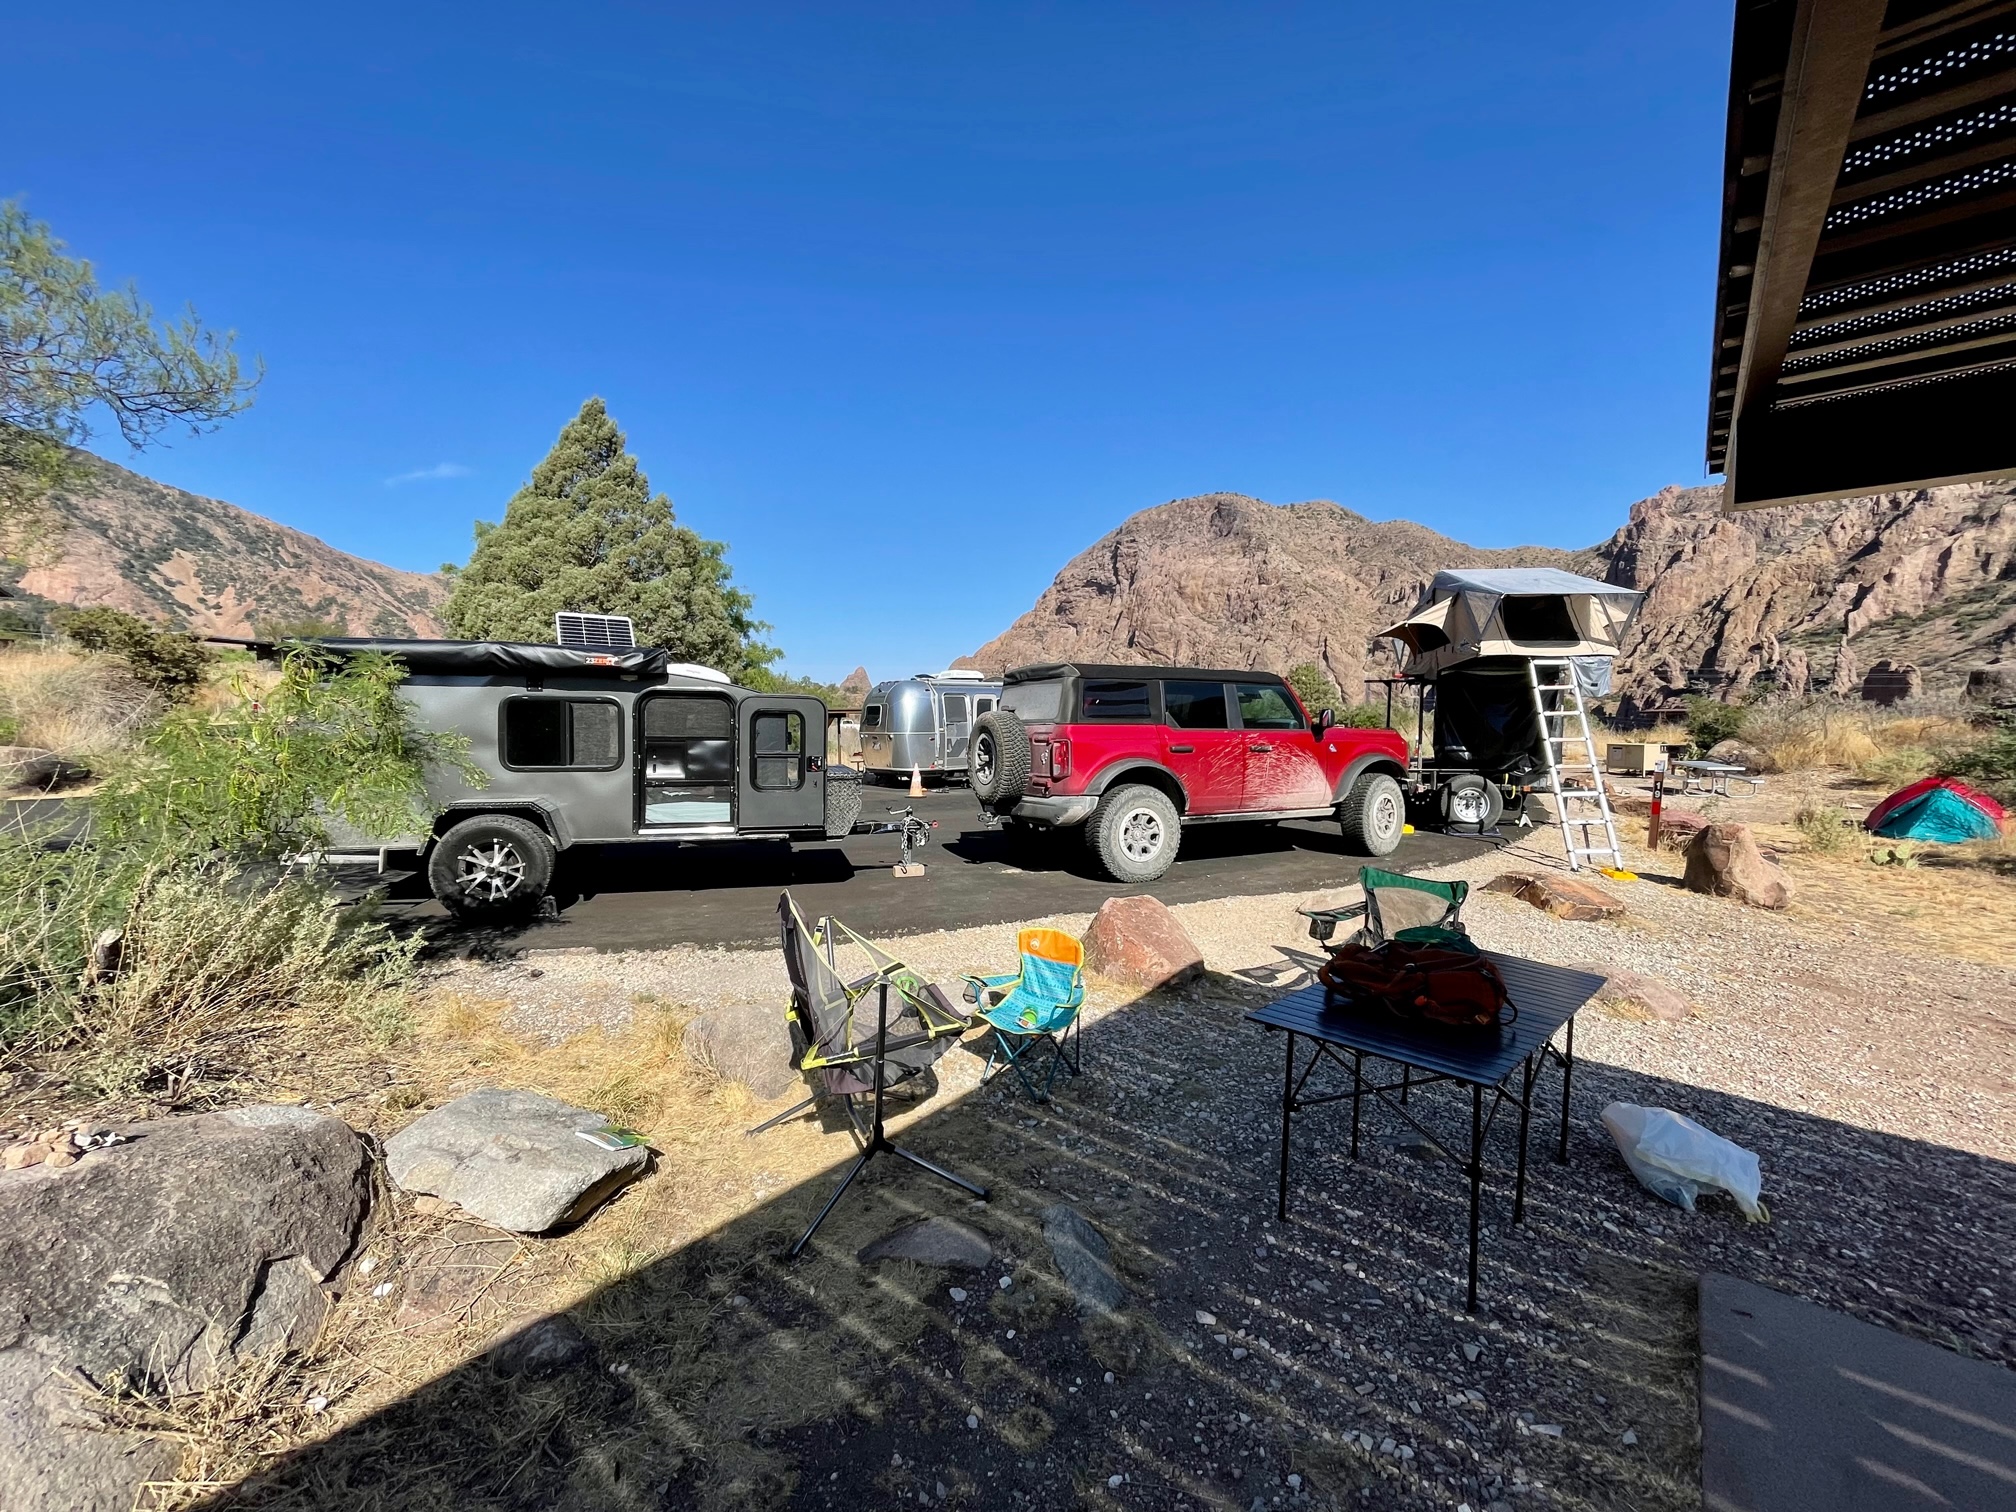
As shown in the pictures, it was so nice to be able to have a base camp that carried all my gear. All that was in the Jeep was a cooler and clothes. I've never come back from camping with such a clean interior.
 
Last edited:

OcoeeG

Rank II

Enthusiast III

443
SE TN
First Name
Chris
Last Name
Gee
REALLY good start!
So the picture of the tent rack pitched back is the rack in the "down" position? Seems like it wold put A LOT of the weight on the back of the trailer.
Yes, 78" is SUPER high. Ours is about 73" in the up position, and that feels high, but not excessively so. 5 more inches would feel excessive.
Trailer jacks? I bet that thing was rocking and rolling without them.
Work in progress, keep chipping away. You will get there!
 
  • Like
Reactions: AggieOE

AggieOE

Rank IV

Advocate II

1,003
Pearland, Texas, USA
First Name
Nathan
Last Name
NWK
Member #

30025

REALLY good start!
So the picture of the tent rack pitched back is the rack in the "down" position? Seems like it wold put A LOT of the weight on the back of the trailer.
Yes, 78" is SUPER high. Ours is about 73" in the up position, and that feels high, but not excessively so. 5 more inches would feel excessive.
Trailer jacks? I bet that thing was rocking and rolling without them.
Work in progress, keep chipping away. You will get there!
Thanks!!
Yeah, 78" was definitely pushing it.
In the down position, I made sure it was still front-heavy by placing the spare, water, and heavy tools in front of the axle. COG of the tent was probably only a couple of inches behind the axle when it was down. Worked well as far as that goes.

Jack wise though, you can see in the first picture of post #15 and in post #3 that it has rear stabilizers with leveling blocks to seat the rear. I use chocks on both tires and the tongue jack up front to finish the set-up for now. However, I'm thinking about adding another support in the front as a redundancy for the jack.

Really, the only movement while up in the tent was in the length of the risers which wasn't much since they're 11-gauge.
 

OcoeeG

Rank II

Enthusiast III

443
SE TN
First Name
Chris
Last Name
Gee
Thanks!!
Yeah, 78" was definitely pushing it.
In the down position, I made sure it was still front-heavy by placing the spare, water, and heavy tools in front of the axle. COG of the tent was probably only a couple of inches behind the axle when it was down. Worked well as far as that goes.

Jack wise though, you can see in the first picture of post #15 and in post #3 that it has rear stabilizers with leveling blocks to seat the rear. I use chocks on both tires and the tongue jack up front to finish the set-up for now. However, I'm thinking about adding another support in the front as a redundancy for the jack.

Really, the only movement while up in the tent was in the length of the risers which wasn't much since they're 11-gauge.
You mentioned the trailer was 1000% more stable in the up position. I gotta wonder if there are some forces with the dynamic load of the RTT pushing down and pulling back. I hear what you are saying about the center of gravity being slightly behind the axles, but there could be something in play with the legs acting as levers and distributing forces weird.
 

AggieOE

Rank IV

Advocate II

1,003
Pearland, Texas, USA
First Name
Nathan
Last Name
NWK
Member #

30025

You mentioned the trailer was 1000% more stable in the up position. I gotta wonder if there are some forces with the dynamic load of the RTT pushing down and pulling back. I hear what you are saying about the center of gravity being slightly behind the axles, but there could be something in play with the legs acting as levers and distributing forces weird.
1000% may be a bit of an exaggeration on my part. lol
I only meant to have it down while in the garage but I wanted to see how it'd do with aerodynamics being lower than the Jeep roofline. So, unfortunately, I didn't have two bolts in each leg in that form. It merely had the pivoting bolt on the bottom of each leg and some ratchet straps adding additional binding. So, within reason, it was more free to move about. Once up though, with the second bolts in each leg about 8" or so above the pivot bolt, it was much more rigid to the trailer's motions. Thinking of it in free body diagram terms, although the force on the tent was larger at the end of each leg in the up position (with the wind), the moment arm was shorter.

I think if I add another bolt in each leg to secure them to the sides of the trailer in the low position, it should be just as good if not better.