Enthusiast III
Welcome to my F350 build thread, I bought the truck in 07 with 87,00 on it and have slowly building it up to more of a cross country travel vehicle.
Current Mods
Here are a couple pics from when I just got it.


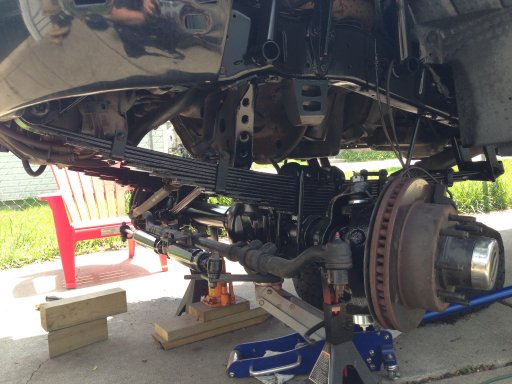
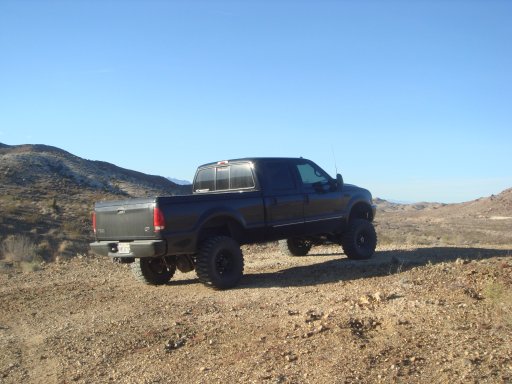
After a few months I put the lift and tires on ( Tires were originally for a jeep I had at the time but I decided to put them on the F350)


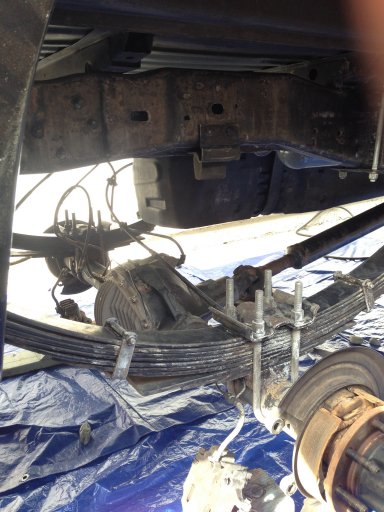
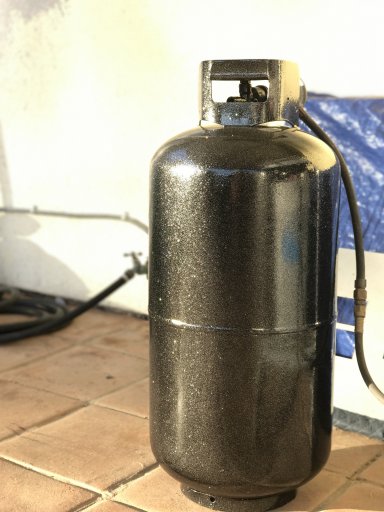
I mounted the compressor and the tank under the passenger side of the truck, for being such a huge vehicle there still wasn't many places I could make it fit without hitting other stuff. I need to run the air intake for the pump somewhere else but for now its ok. I had to move the air compress from its original spot which was on the outside of the frame to the inside once I got the AMP Powersteps. I also need to ditch the rubber lines for the plastic 1/4 lines later on, but I had all this stuff laying around.


Current Mods
- 6" Deaver Springs Front and Rear No Blocks
- 35-37 Inch Tires, I Cant Decide Which I Like More
- Bilstein 5150 x 6
- 17 Position PHP Chip
- 4" Turbo Back Straight Pipe
- Amsoil Washable Air Filter With Pre-Filter
- Stock Gearing No Lockers Yet
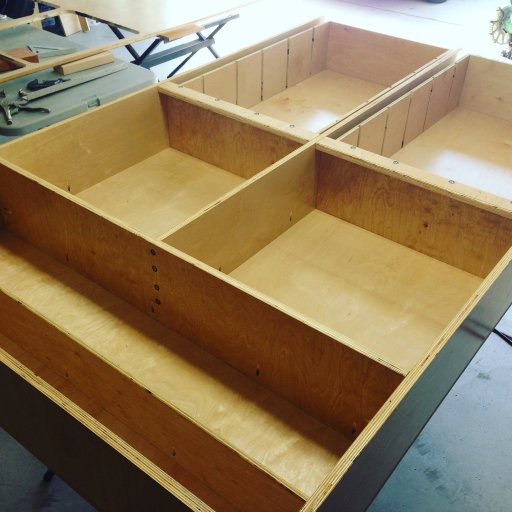
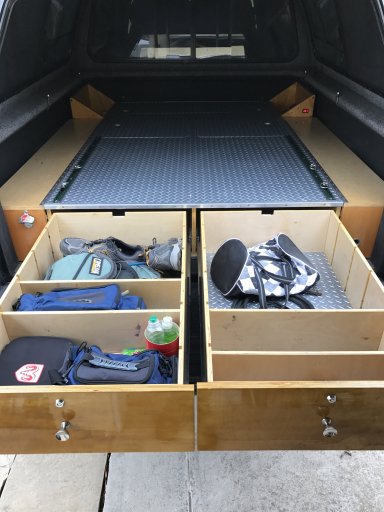
- Platform Setup In Bed
- Snug Top Camper Shell
- Viar 2.5 Gallon On Board Air
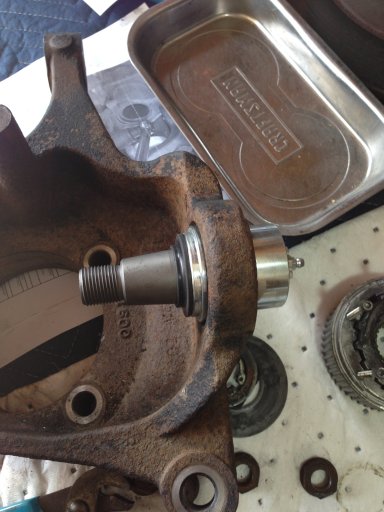
- Warn Manual Hubs
- AMP Powersteps
- And I'm Sure There Is More
Here are a couple pics from when I just got it.
After a few months I put the lift and tires on ( Tires were originally for a jeep I had at the time but I decided to put them on the F350)
I mounted the compressor and the tank under the passenger side of the truck, for being such a huge vehicle there still wasn't many places I could make it fit without hitting other stuff. I need to run the air intake for the pump somewhere else but for now its ok. I had to move the air compress from its original spot which was on the outside of the frame to the inside once I got the AMP Powersteps. I also need to ditch the rubber lines for the plastic 1/4 lines later on, but I had all this stuff laying around.