7point3 F350 Overland Build

  • HTML tutorial

Teh_Viking

Rank V
Launch Member

Enthusiast III

2,616
Ventura Ca
First Name
Chris
Last Name
Roosendahl
Member #

2805

Welcome to my F350 build thread, I bought the truck in 07 with 87,00 on it and have slowly building it up to more of a cross country travel vehicle.

Current Mods
  • 6" Deaver Springs Front and Rear No Blocks
  • 35-37 Inch Tires, I Cant Decide Which I Like More
  • Bilstein 5150 x 6
  • 17 Position PHP Chip
  • 4" Turbo Back Straight Pipe
  • Amsoil Washable Air Filter With Pre-Filter
  • Stock Gearing No Lockers Yet
  • Platform Setup In Bed
  • Snug Top Camper Shell
  • Viar 2.5 Gallon On Board Air
  • Warn Manual Hubs
  • AMP Powersteps
  • And I'm Sure There Is More

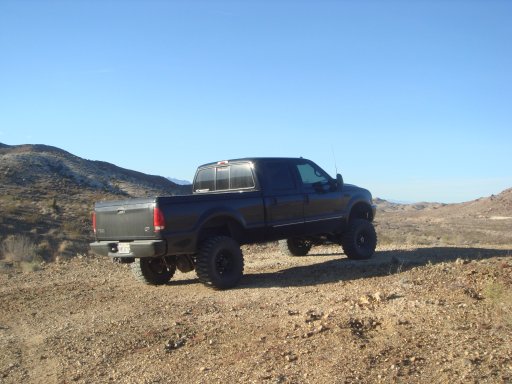
Here are a couple pics from when I just got it.
DSC02598.JPG DSC02612.JPG

After a few months I put the lift and tires on ( Tires were originally for a jeep I had at the time but I decided to put them on the F350)

DSC03828.JPG
DSC03829.JPG
026.JPG
020.JPG

I mounted the compressor and the tank under the passenger side of the truck, for being such a huge vehicle there still wasn't many places I could make it fit without hitting other stuff. I need to run the air intake for the pump somewhere else but for now its ok. I had to move the air compress from its original spot which was on the outside of the frame to the inside once I got the AMP Powersteps. I also need to ditch the rubber lines for the plastic 1/4 lines later on, but I had all this stuff laying around.

IMG_0201.jpg IMG_0203.jpg IMG_0205.jpg
 
  • Like
Reactions: Daryl 32

Teh_Viking

Rank V
Launch Member

Enthusiast III

2,616
Ventura Ca
First Name
Chris
Last Name
Roosendahl
Member #

2805

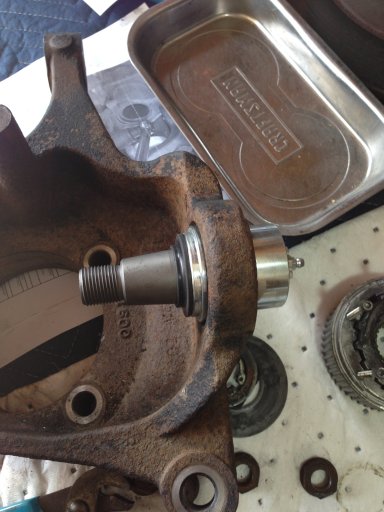
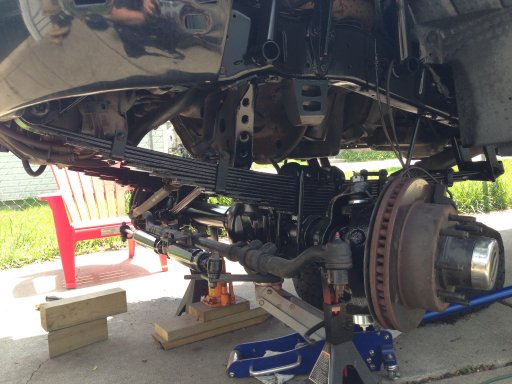
We Moved to Michigan for a couple years and my ball joints were getting real tired so right before we moved back to California I decided to tear apart the whole front end.

New Dynatrac Ball Joints Which Are Ridiculous Compared to Others
New U Joints and All New Seals
New Outer Stub Shaft on One Side And Whatever Else Was Needed
Enjoy

I couldn't bring all my tools to Michigan so my jack stand / floor jack / bottle jack Contraption is ghetto.

IMG_1605.JPG IMG_1606.JPG IMG_1613.JPG IMG_1614.JPG IMG_1615.JPG IMG_1616.JPG IMG_1618.JPG

The Pup was enjoying the shade on this wonderful humid day.
IMG_1619.JPG

Primed and painted, looking much better.

IMG_1620.JPG IMG_1621.JPG IMG_1622.JPG IMG_1628.JPG

I also put in a new BTS valve body in and this is when I also put the gauges and PHP chip in.

IMG_1630.JPG
 

Attachments

Last edited:

Teh_Viking

Rank V
Launch Member

Enthusiast III

2,616
Ventura Ca
First Name
Chris
Last Name
Roosendahl
Member #

2805

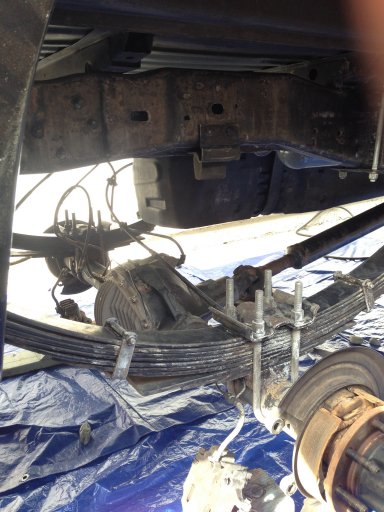
The rear axle and frame were starting to rust and just look bad so I cleaned it up and used some Krud Kutter Rust Removal to eat most of the rust, Here is the before.

I was also able to fit a 33" tire in the spare tire location since I cant put my 5th tire in the back anymore because of the sleeping platform.

IMG_0761.jpg IMG_0762.jpg IMG_0763.jpg

After Some coats of primer, paint, and clear.
IMG_0764.jpg IMG_0765.jpg IMG_0766.jpg IMG_0767.jpg


It was also time to get some new rotors, calipers and pads in the rear.

IMG_0756.jpg IMG_0757.jpg
 
Last edited:
  • Like
Reactions: Arailt

Teh_Viking

Rank V
Launch Member

Enthusiast III

2,616
Ventura Ca
First Name
Chris
Last Name
Roosendahl
Member #

2805

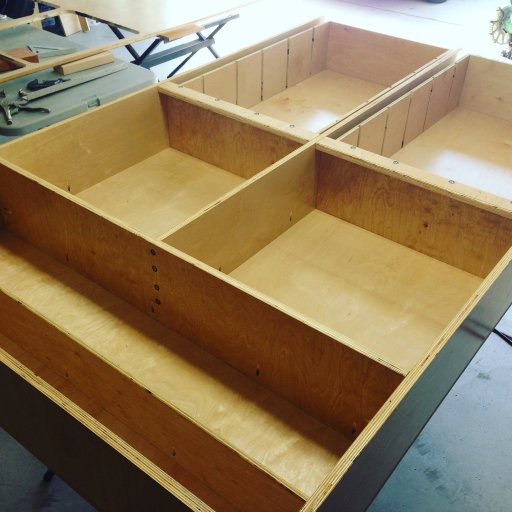
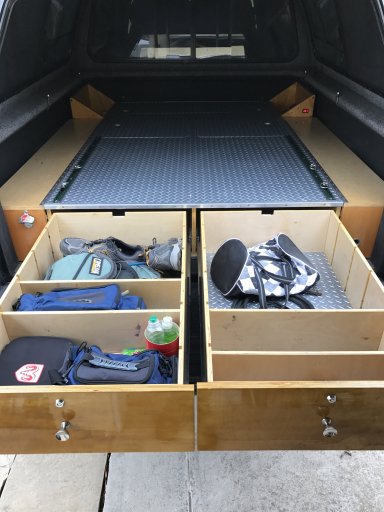
Here are some build pics of the sleeping platform, I used 3/4 and 1/2 pre-cleared plywood. All stainless steel hardware throughout. All cut edges of the plywood were treated with 2 coats of water based poly. Stainless steel 1 1/2 piano hinges. the 36" drawers slides are from TCH Hardware which are super affordable. Enjoy.

IMG_0930.jpg IMG_0936.jpg IMG_0938.jpg IMG_0939.jpg IMG_0940.jpg IMG_0941.jpg IMG_0942.jpg IMG_0943.jpg IMG_0944.jpg IMG_0945.jpg IMG_0946.jpg
 
Last edited:

Teh_Viking

Rank V
Launch Member

Enthusiast III

2,616
Ventura Ca
First Name
Chris
Last Name
Roosendahl
Member #

2805

I made these nightstands as I like to call them up near the front of the cab, I needed something to fill the dead spot on the front side of the wheel well.

IMG_0477.jpg

Volt Meter was put in so you can see the voltage when standing at the tailgate.
IMG_0505.jpg
After 3 coats of oil based poly on the nightstands and the drawer fronts.

IMG_0503.jpg
One side servers as a charging station for phones and other 12v stuff

IMG_0504.jpg
 
Last edited:

Teh_Viking

Rank V
Launch Member

Enthusiast III

2,616
Ventura Ca
First Name
Chris
Last Name
Roosendahl
Member #

2805

Here are a couple more pics of the tie down that was used to hold the tailgate side of the platform in place.IMG_0506.jpg

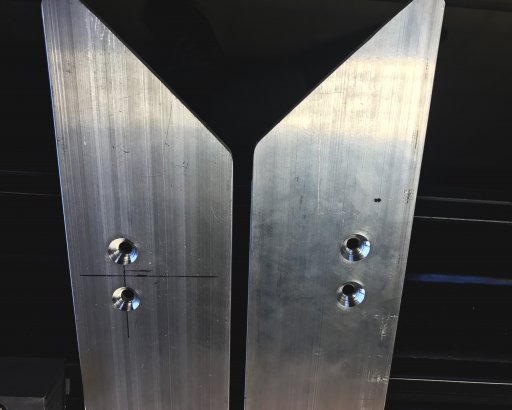
I put a long piece of wood to with a piano hinge over the wheel well to make the platform even or flat all the way across the truck bed and still be able to access it and store items on the sides. I also put some angled aluminum on the top and bottom lip of the platform so when load cargo in the back it doesn't chip the wood. I polished it and used a router to give it a nice roundover.

IMG_0507.jpg IMG_0508.jpg
 

Teh_Viking

Rank V
Launch Member

Enthusiast III

2,616
Ventura Ca
First Name
Chris
Last Name
Roosendahl
Member #

2805

I had some wood leftover and I have been wanting to make my own DIY boombox so I put this together out of some spare parts I had laying around.

It is danm loud and I put a quick disconnect so I could hook it up to the house battery in the back, It had a magnetic side door that pops off on the side with a 10 ft 12v antenna so I could use it at the local drive in.

IMG_0950.jpg IMG_0497.jpg IMG_0498.jpg IMG_0962.jpg
 

Teh_Viking

Rank V
Launch Member

Enthusiast III

2,616
Ventura Ca
First Name
Chris
Last Name
Roosendahl
Member #

2805

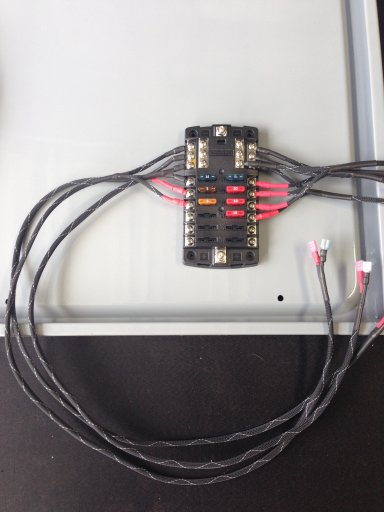
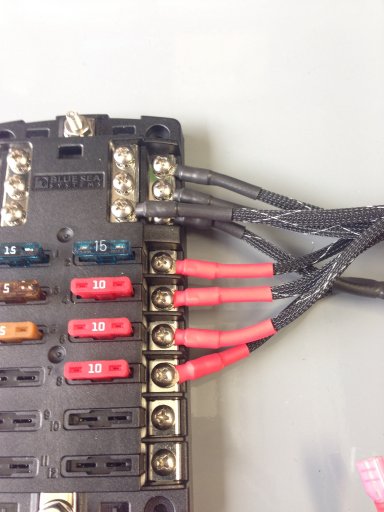
Here is some of the wiring I put in the back, I used my 2 old starting batteries as house batteries for a little while. We went on a 2 week trip to Colorado and they held a charge pretty well but I will be replacing them before my next trip with just a single 100AH battery.

IMG_0520.jpg IMG_0521.jpg IMG_2722.jpg IMG_2723.jpg
 
Last edited:

Teh_Viking

Rank V
Launch Member

Enthusiast III

2,616
Ventura Ca
First Name
Chris
Last Name
Roosendahl
Member #

2805

I just put in this L-Track a month or so ago to hold down the cooler on the platform instead of being in the back seat. I used to store the cooler and dry goods in the back but we have a daughter that will be traveling with us now, so we had to re-arrange things.

I got the tracks from US cargo control. I was able to put 3ft of track before it got close to my other compartments.

IMG_2721.jpg
 

Teh_Viking

Rank V
Launch Member

Enthusiast III

2,616
Ventura Ca
First Name
Chris
Last Name
Roosendahl
Member #

2805

The front seal on the transfer case was leaking so I took the driveshafts off and dropped the transfer case to fix that issue.

IMG_2634.jpg

One of the plugs was stuck probably because someone over tightened it at one time so I had a buddy weld a bolt to it, and also went the the grocery store :grinning: .

IMG_2658.jpg IMG_2657.jpg
 

Teh_Viking

Rank V
Launch Member

Enthusiast III

2,616
Ventura Ca
First Name
Chris
Last Name
Roosendahl
Member #

2805

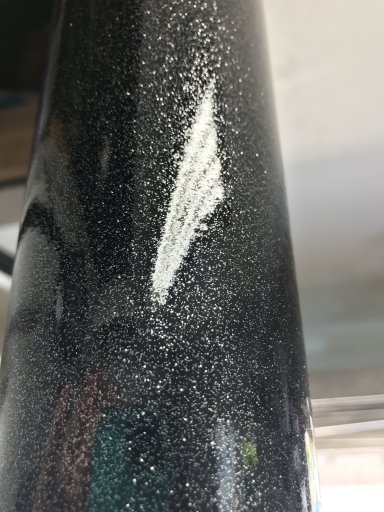
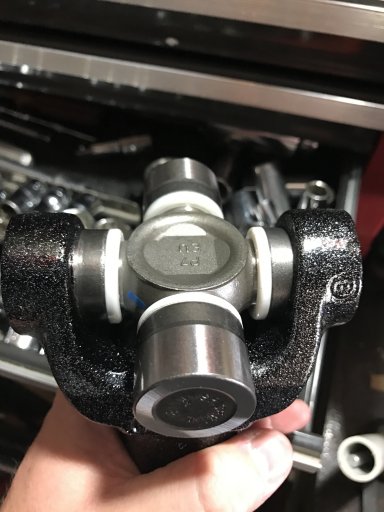
The driveshafts were terrible looking so we opted for that SEMA paint job. My uncle gave me a ton of House Of Kolor so I might as well use it.

3 coats of primer, 3 coats of base, 1 coat clear with metal flake then 2 more coats of clear.

IMG_2642.jpg IMG_2679.JPG IMG_2678.JPG

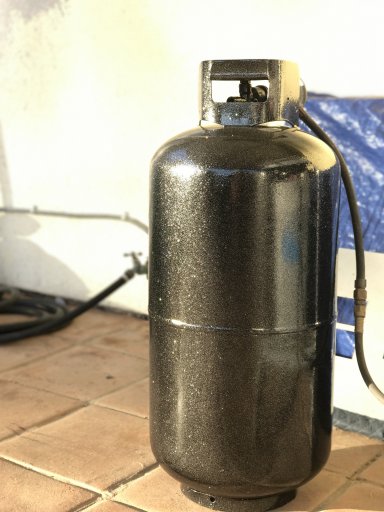
Hooked up the propane tank as well with extra paint.

IMG_2666.jpg
 
  • Like
Reactions: jey

stoney126

Rank VI
Founder 500
Launch Member

Influencer II

3,278
Napa Ca
First Name
Robert
Last Name
Stoner
Member #

0408

Dude ! awesome build so far. Im going to get a programmer soon. My truck is almost at 130k and the trans has a second to thrird gear shift problem so I may hold up till I have the scratch for a new trans.
 

Mad Garden Gnome

Rank V
Launch Member

Off-Road Ranger I

2,771
Templeton, Ca
First Name
Ryan
Last Name
Marlett
Member #

661

Ham/GMRS Callsign
W6ORV
87,000!? It wasn't even broke in!

I've got a '97 F250 4X SC/MT. Farm bed and skinnies. It's quicker than my '17 Cummins.
 
  • Like
Reactions: Teh_Viking

Teh_Viking

Rank V
Launch Member

Enthusiast III

2,616
Ventura Ca
First Name
Chris
Last Name
Roosendahl
Member #

2805

Here are some more recent updates.
I have been working on getting the roof rack made so I can mount the awning and put some boxes up there.

Still need to get a new battery in the back for an upcoming trip and a few other odds and ends.

IMG_3008.jpg IMG_3033.jpg IMG_3034.jpg IMG_3047.jpg IMG_3051.jpg IMG_3058.jpg IMG_3059.jpg IMG_3060.jpg
 

Daryl 32

Rank V
Launch Member

Member III

2,741
Corona, Ca
Member #

5546

REALLY GLAD I FOUND YOUR THREAD!!! :)

My Wife Kathy and I have been working on our E99 F250 CC SB (2WD) now for 9 years, but only towards off-road/overland camping for year or so now. I will be spending some time going over your mods and up grades closely as we are DIY'ers ourselves! :)

I did pay to have the rear end rebuilt 4 months ago though as I changed out the LSD for a Detroit locker and the shock gearing for new 4:10 gears. I really like the new gearing and locker!

Now to the reading and catching up on your build! Daryl