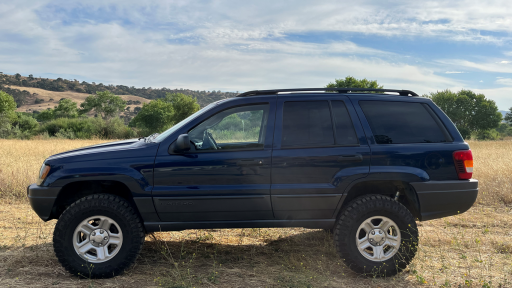
2003 Grand Cherokee Laredo

  • HTML tutorial

JimBill

Rank V
Member
Investor

Advocate I

2,268
San Benito County, CA, USA
First Name
James
Last Name
Madison
Member #

18747

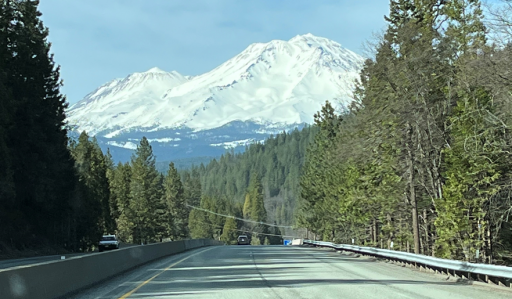
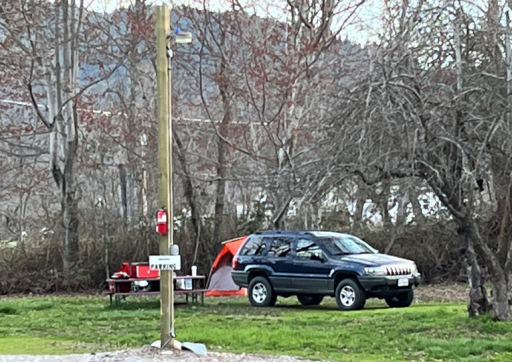
First time to MOAB and it was GREAT! 2282.3 miles on the clock and home again last night. Trip average of 18.1 MPG. The long desert stretches made up for the trail crawling. Nothing was on the roof there and back, I had the luxury of putting the gas cans and such in a friends truck and only putting things on the roof for trail running. We found a great campsite along the river on Potash Road. It was centrally located and near town and near the trails we had planned. No issues with the WJ at all on this trip.

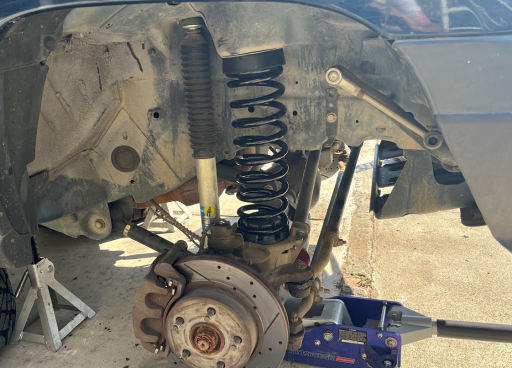
Prep for the trip was to fix a pull to the right and right tire wear. Figured the stock control arm bushings were toast. Right upper was torn and disintegrating, and lower front bushings on both arms were collapsed. Found a few other things along the way as well. Found right shock was internally damaged as the compression resistance was very little and rebound was incredibly slow. Both sides of the JKS track showed a little movement even with 9/16 hardware. So tired of replacing the JKS bushings before and after every trip!

Installed Core 4x4 upper and lower arms with good old Clevite bushings, Trail Forged track bar, and Bilstein shocks all the way around. Added 1/2 inch to the front bumpstops for track bar clearance. Tire balance, rotation, and a final good alignment. Only red in the alignment specs was the caster at - 4.6 degrees (right on target!).

Much more stable with the Trail Forged track Bar, much less track shift and bump steer while disconnected as well. As expected on road was much improved and off road and disconnected it had lazier flex due to intact and fresh bushings. Front and rear differential bearing noises continue but nothing changed pitch or got louder. The usual pops and groans in 4 low. Could have definitely made use of fresh tires when we encountered mud, snow, and ice. They have about 1/3 tread left, not enough for best traction but still have a lot of highway miles left on them.

Trail repairs included tightening a lower control arm bolt on a TJU way out past hardscrabble Hill. The bracket had separated 1/4 inch and the arm was hammering back and forth. Second fix was the battery strap came undone on a 4 Runner and the chassis ground ripped out. He was lucky there were no shorts. Secured the battery and made/installed a new ground strap and he was good to go. Third was a lost end link bolt on a JKU Rubicon. A trip to Napa and he was good to go.

I'll get some pics up once I catch up at work and deal with liberating them from my iPhone.
 

JimBill

Rank V
Member
Investor

Advocate I

2,268
San Benito County, CA, USA
First Name
James
Last Name
Madison
Member #

18747

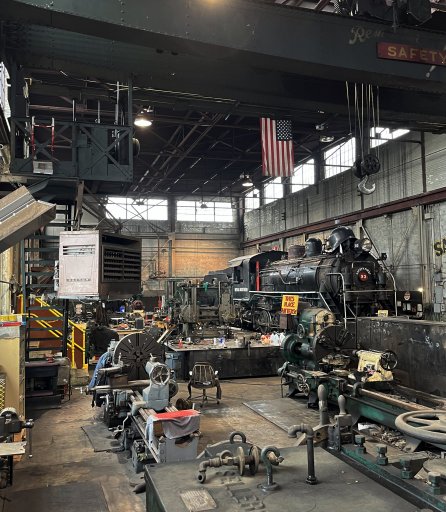
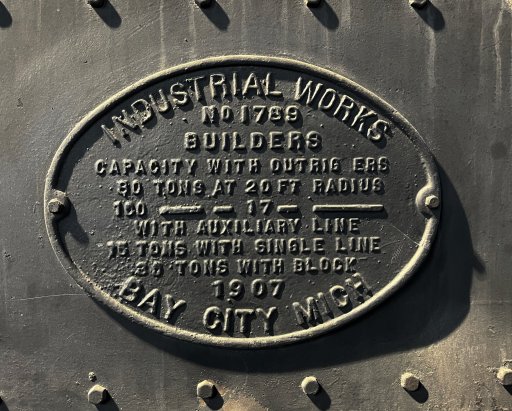
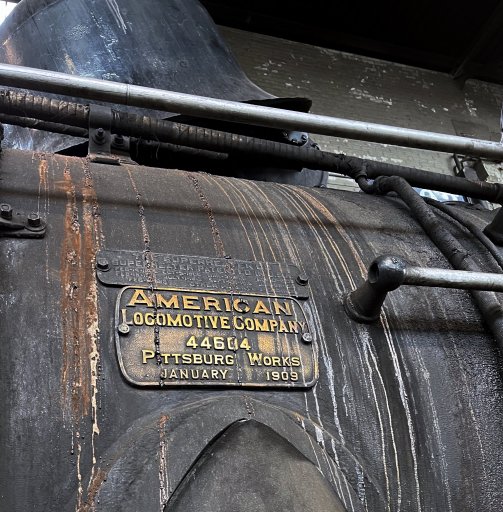
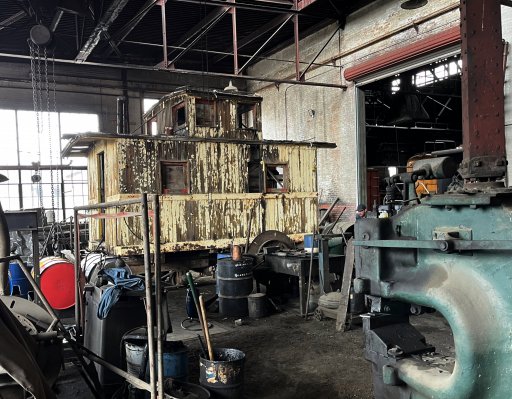
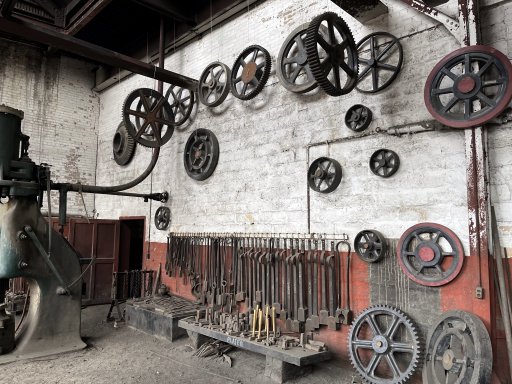
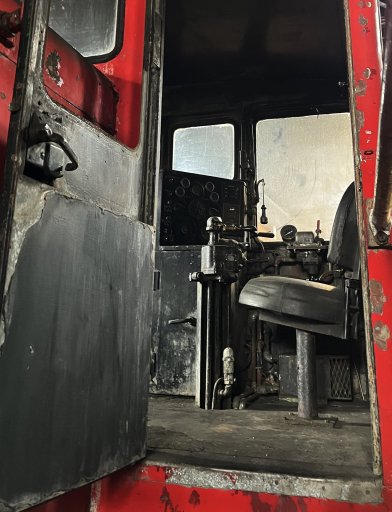
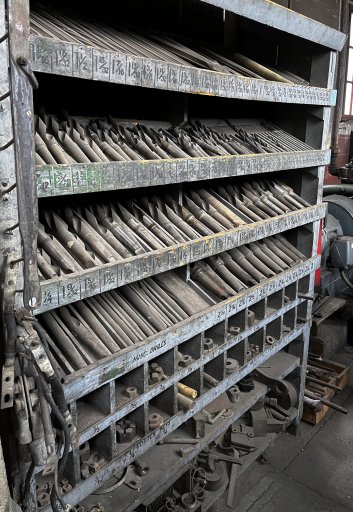
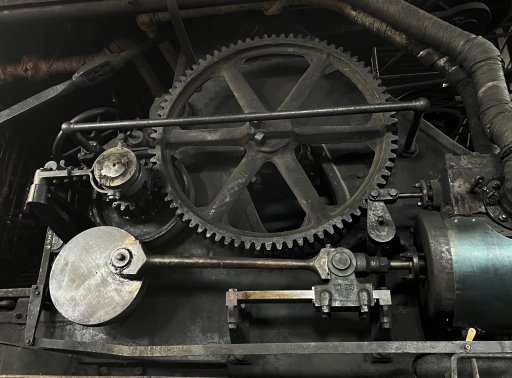
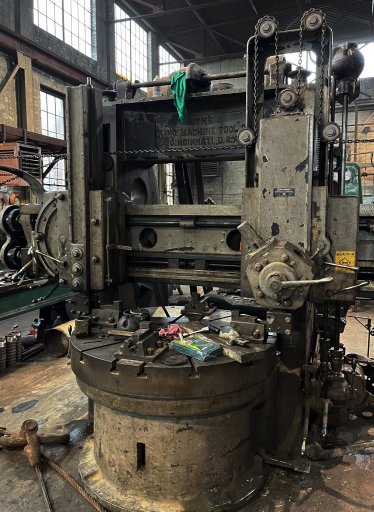
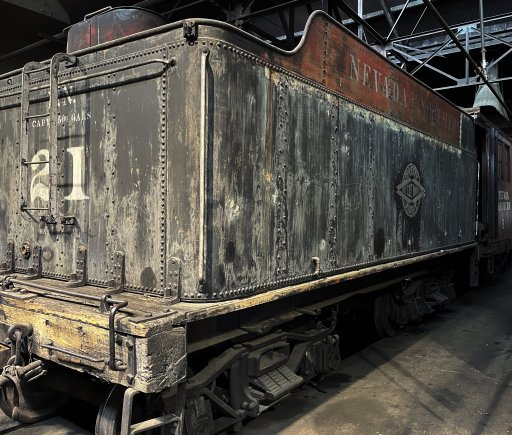
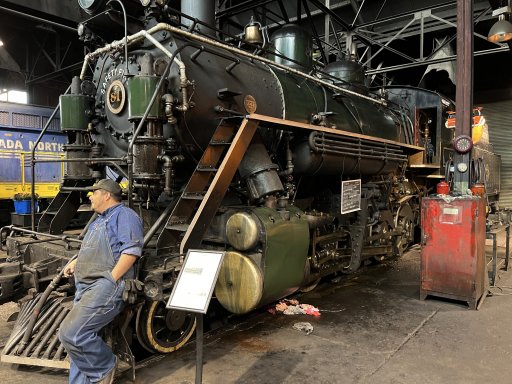
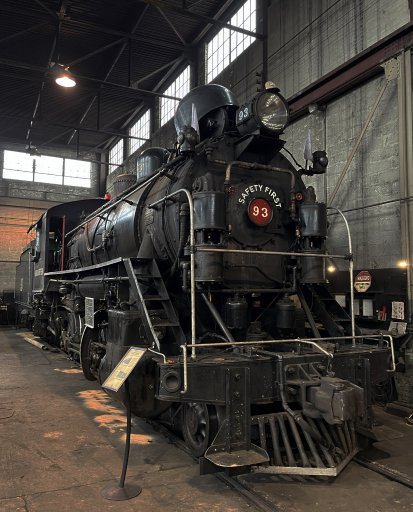
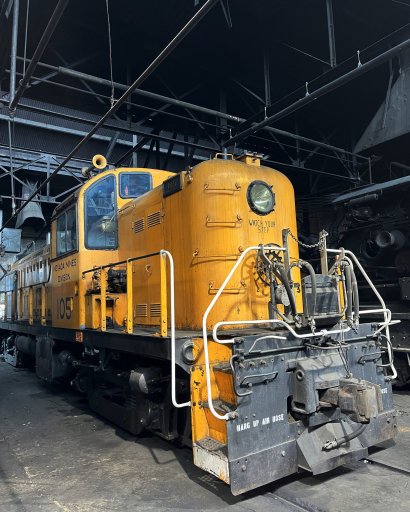
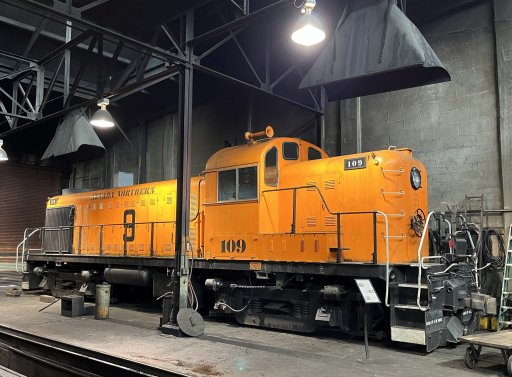
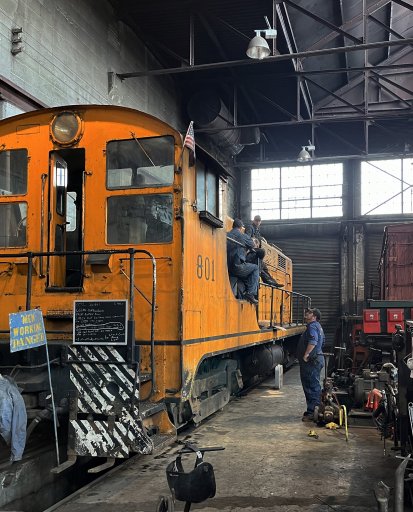
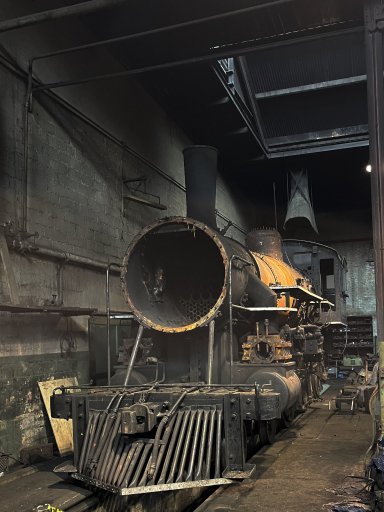
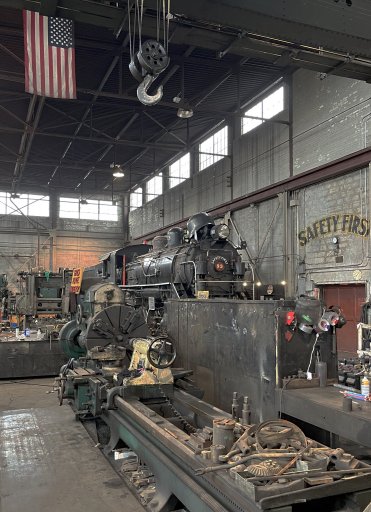
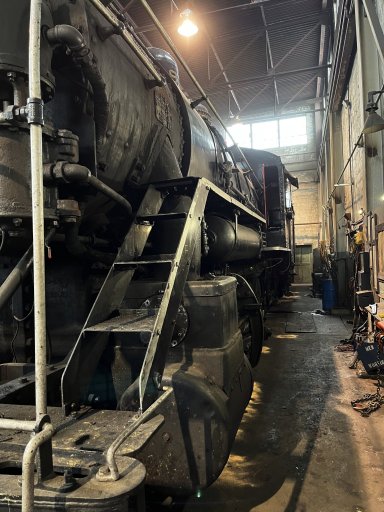
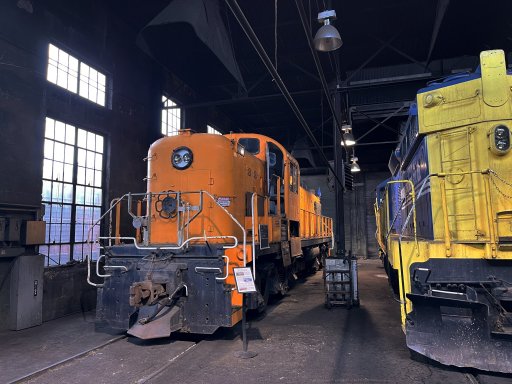
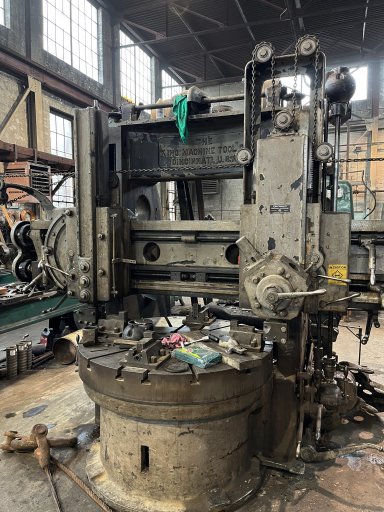
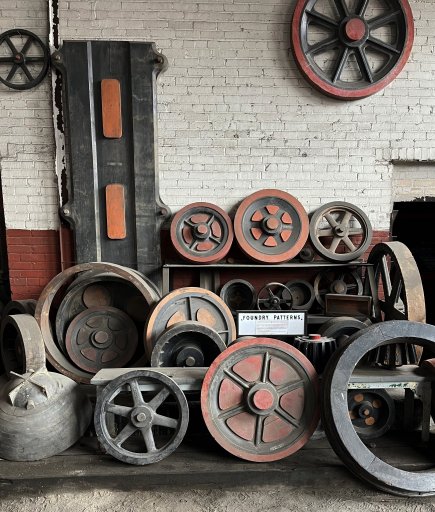
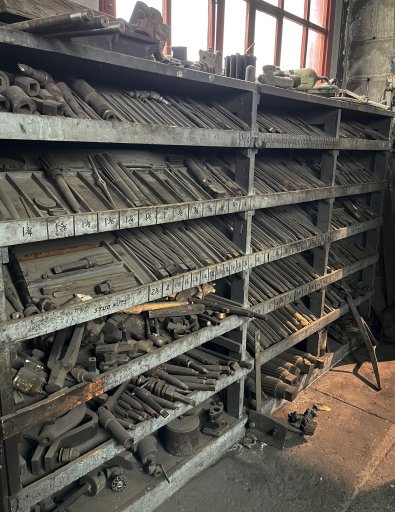
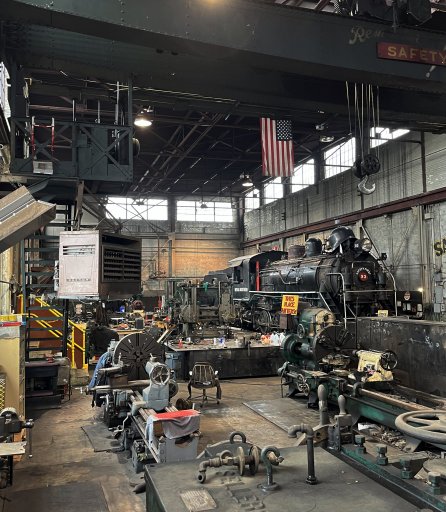
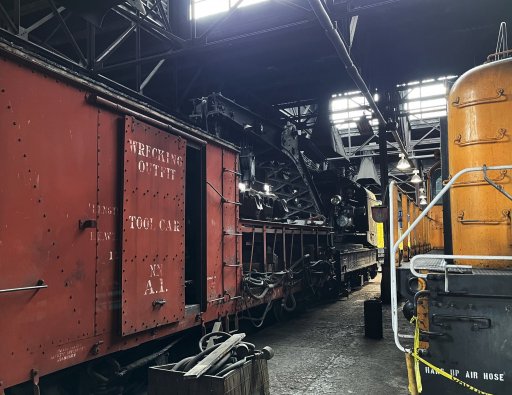
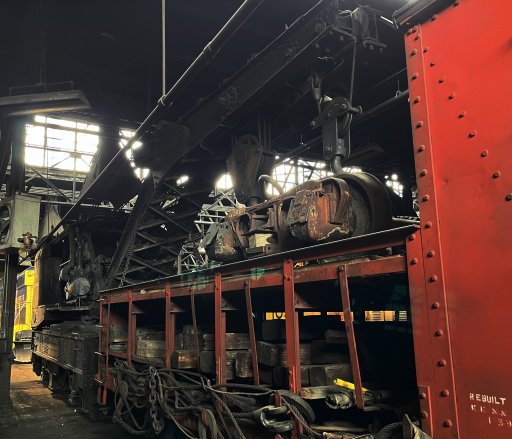
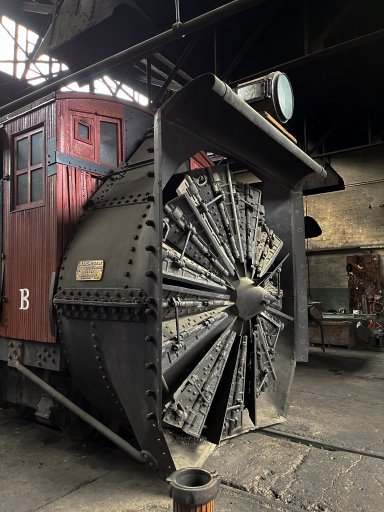
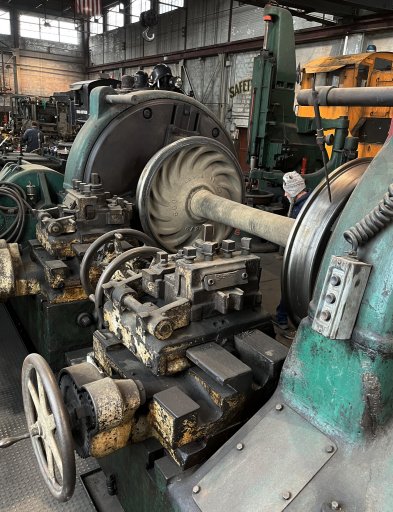
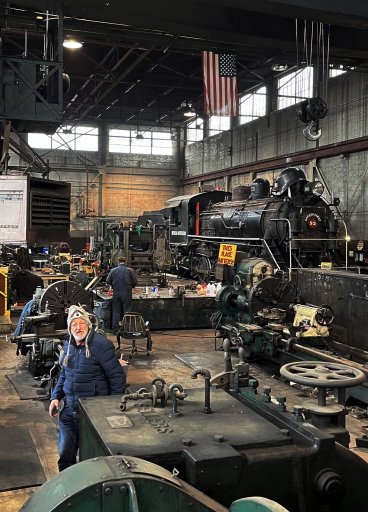
Still working through photos of the March Moab trip. First stop was Ely Nevada overnight, and train museum in the morning. For a rail fan, the museum is a bucket list must to visit.

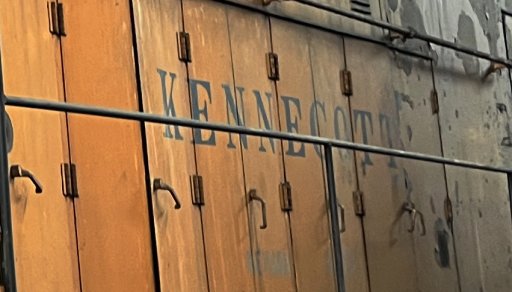
Being as far in the middle of nowhere as you can get in the US of A, the railroad had to be self sufficient and had complete works for locomotive and rail car repair and rebuild, snow removal, recovery, etc. Also being remote, it ran steam longer than most and didn't abandon the capability when diesel locomotives came along. The shops just absorbed what it needed to keep those running as well as steam and diesel ran together for a while. When the Kennecott mine shut down in the early 80s, the rail yard shut down as well. Literally doors were locked and everyone furloughed. Back then everyone thought the mine would pop back into operation when copper prices rebounded. But this didn't happen. After a short while the city bought the railyard to keep it alive as a museum and preserve a hugely important aspect of Ely history. If you get the chance to visit, I highly recommend it!

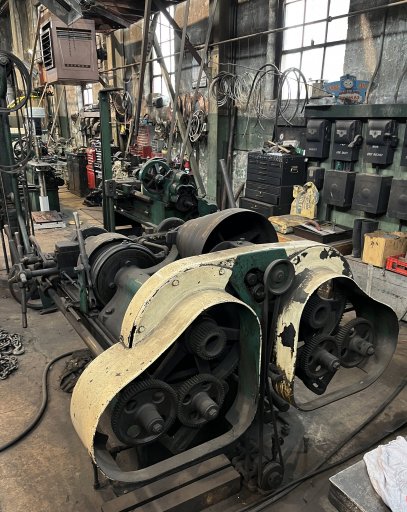
Loco Shop.jpg
 

JimBill

Rank V
Member
Investor

Advocate I

2,268
San Benito County, CA, USA
First Name
James
Last Name
Madison
Member #

18747

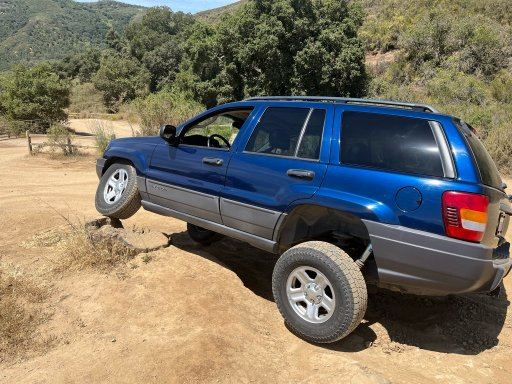
Everything was rush rush to get to Moab last March. Working on the house has dominated time when not at work, and will for the forseable future (years!!) . Add gas prices and so on, not much on the books overland adventure wise. Have a planned trip to Alaska in a few months. We will fly there and within Alaska rent an SUV at each landling place to explore. in the meantime, the Tahoe needs about everything - transfer case work, u joint, seat, and replacing the engine are not too noteworthy to report as it is my workhorse mostly and not my main overlander. Yesterday did make a morning trip to the local off road part (Hollister Hills) to help a buddy check clearances and test and tune his TJ as the lift, tires, and engine issues are all sorted out. Since I rushed checking clearances on the WJ before Moab, brought it along. Put both right side and left side teetering on two wheels and verified no metal to metal contact on the control arms, steering, etc. Other than loosing a little front end droop due to the shock change, it looks like the clevite bushings flex well enough. I had to back off on the front shocks, I blew 2 Rancho shocks out due to over compressing them They were a wee bit too long. The death wobble experienced was attributed to one bad front shock (almost infinite rebound resistance and almost zero compression resistance) and slight play in the JKS track bar bushings. All taken care of now. Hoping I get the time this fall to change the rocker arm tensioners in the WJ, other than that it is now sitting in the garage waiting a good paint clean and wax, and a little rest until things clear up a bit. Will get MOAB pictures up next, at some point!

1654401875175.png
 
Last edited:

JimBill

Rank V
Member
Investor

Advocate I

2,268
San Benito County, CA, USA
First Name
James
Last Name
Madison
Member #

18747

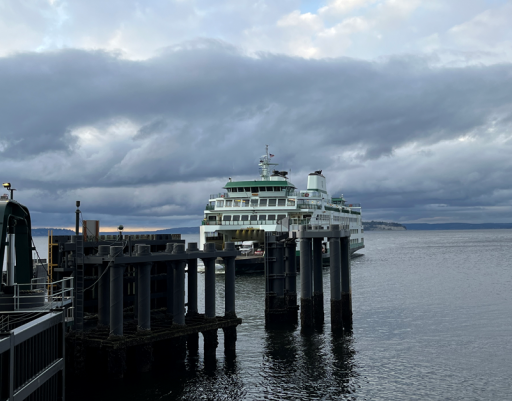
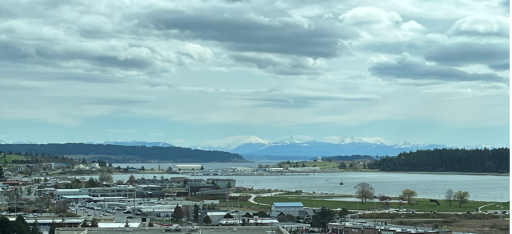
We are in the middle of an overland trip from Central California to Whidby Island Washington and back. Technically this is overland travel- just pavement based!

Still have not had time to sort MPOAB Pictures from last year! Winter has brought a lot of challenges on top of last summer's crap! Tree down across 3 cars, street flooding, and so on. Mustang sorted and fixed, Tahoe in process of being converted to owner retained salvage title, and still waiting on resolution for likely totaling the 62 Pontiac. Thought it would quiet down, I have had a full kit of "the rest" of what I wanted for the WJ suspension in wait. Either no dry weekend or no free time yet to install. Ah throw in a stucco stressing earthquake centered almost directly under my house and now a family health emergency forcing a 2000 mile road trip. Due to the Mustang just being too confining for me for that long of a trip and the Tahoe in limbo and damaged, the WJ was it! Needing spark plugs, tires, rear diff changed, and suspension finished.... with all parts sourced and awaiting... away we went.

1682102498495.png

1682103835453.png


1682102653688.png
1682102735774.png

1682102822824.png

1682102887312.png
1682102923226.png
1682103011510.png

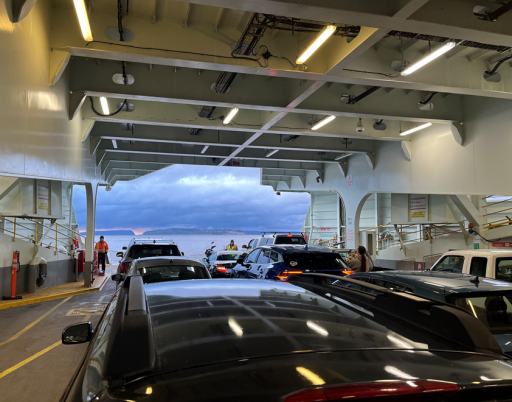
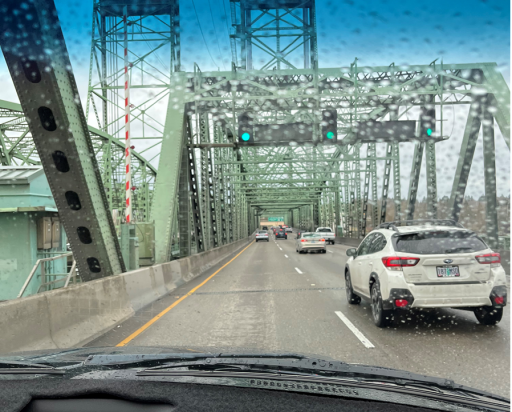
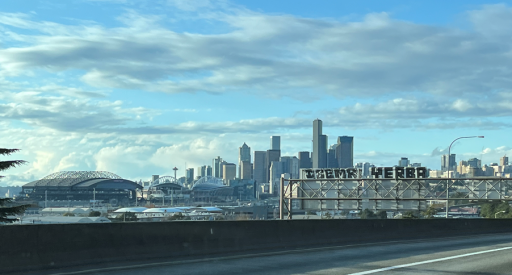
I had never driven interstate 5 north of Eugene Oregon, so this was a new experience. Portland lived up to it's reputation with at times brutally pounding rain, and that was fun using front wheels as rudders as my balding tires were not close to the task. Strangely, and maybe due to day and time, the easiest metropolis to get through was Seattle. The express lanes under the city allowed for quick and easy fly through. And another first was driving on to the Mulkiteo Ferry and using it as travel to Whidby island.

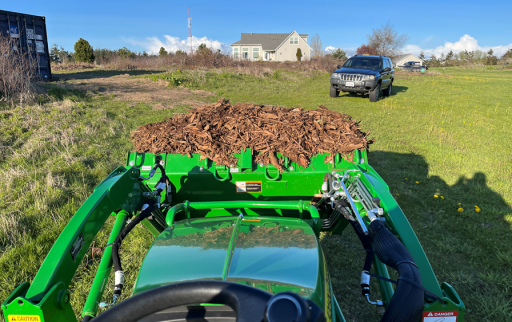
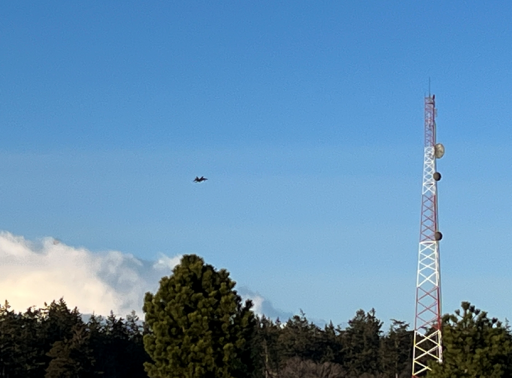
While here and working remotely most of the week, took the afternoon while the family was at the hospital to help out and do a little tractor work at their property- clean up after the well was drilled. Had nice fly overs from some of Americas finest as well. At least I know and approve where those tax dollars are going!!

1682103500708.png

1682103550096.png

1682103594845.png

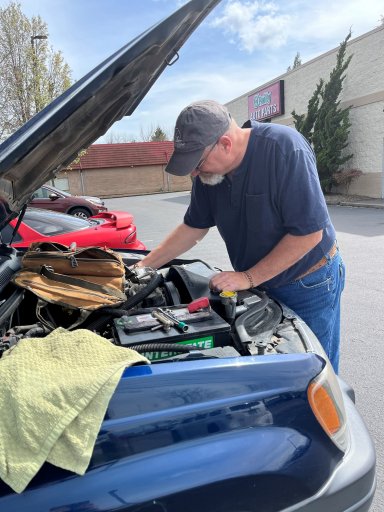
19 hour 1989 mile trip home, decided to push straight through. Somewhere just before Eugene Oregon the alternator died. Made it into Eugene on battery, found auto parts store, and luckily they had an alternator in stock. Luckily just had enough juice left int he battery to start it with the new alternator installed. Added about 50 minutes to that 19 hour trip! We are counting out lucky stars it all happened with a metropolils near. There is a lot of wonderful nothing between Oak harbor WA and Tres Pinos CA!

alternator.jpg
 

Attachments

Last edited:

JimBill

Rank V
Member
Investor

Advocate I

2,268
San Benito County, CA, USA
First Name
James
Last Name
Madison
Member #

18747

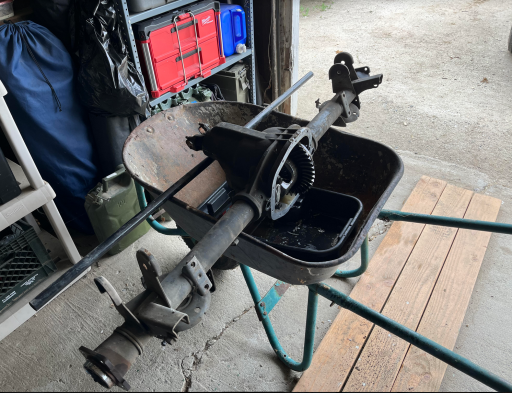
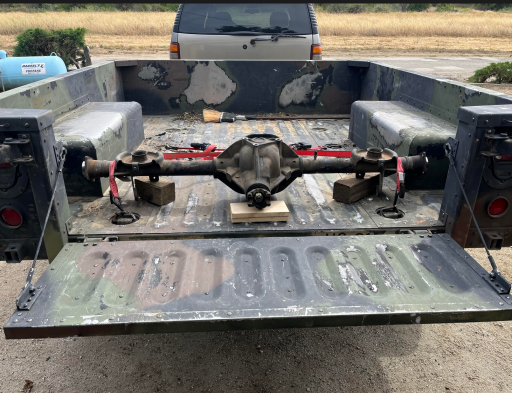
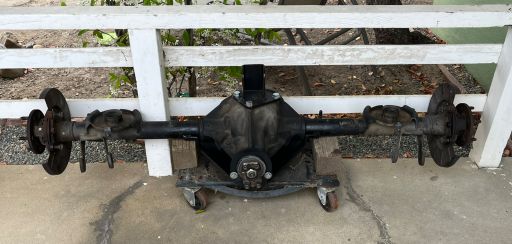
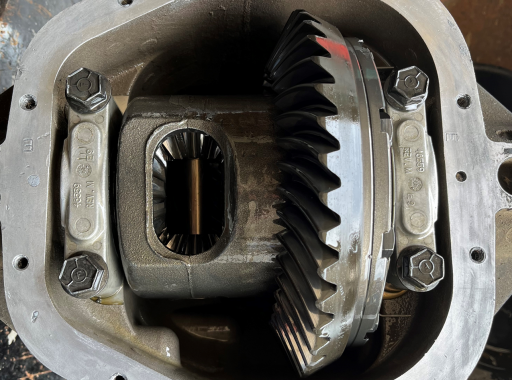
Life has been busy as can be. Finally had time to dig into the WJ again. The trip to Washington finished off the sloppy axle bearing housing.

First order was a few weekends ago freshened up the donor 44A rear diff with a new pinion seal, and axle bearings and seals. On inspection the backlash was super tight and the inside the cleanest I have seen on a used differential. Hope the Vari-Lock works! Also cut the skip plate off of the other housing I have and welded it to this one. That should be plenty of protection for the aluminum housing. Pretty standard stuff but did have a bit of trouble getting good out of the box parts. Settled on Napa SKF BR9VP Bearings and retainers, and O'Reilley MasterPro 2146 Seals. I also like the Spicer 49766 bearing retainers, they have a bigger diameter than the NAPA SKF ones which makes pressing with beat up machine shop tooling easier. Thank you Axle Machine in Hollister for letting me use the press, and welding the skid plate on.
wheel barrow.png1688528212090.pngRear diff ready.png

Edit: Donor diff was as clean as can be, factory setup paint still present!!!!
1689890190163.png
 
Last edited:

JimBill

Rank V
Member
Investor

Advocate I

2,268
San Benito County, CA, USA
First Name
James
Last Name
Madison
Member #

18747

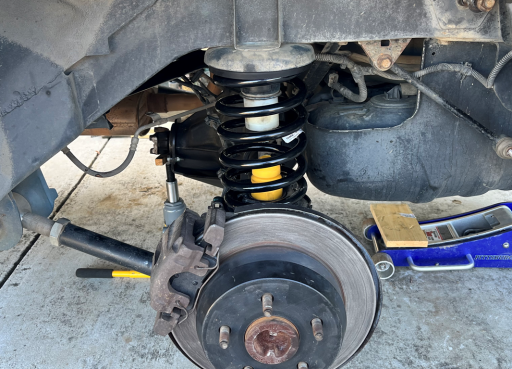
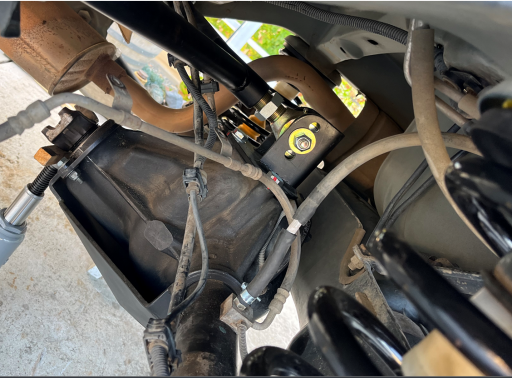
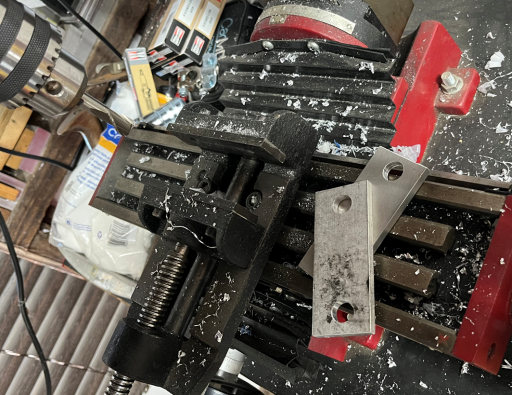
Donor rear end, all new e-brake pads and hardware, 4 new OME HD springs, Moog spring isolators, front and rear bumpstops, and Core 4x4 upper rear A-Arm install complete. Cycled rear with 265/75-16's on and figured out bumpstop length (went from metric 31s to 32s). Made rear bumpstop spacers from Nylon round stock scrap my friend had. Skid plate interfered with larger rear way bar, made bushing spacers from scrap aluminum I had laying around. Set Pinion Angle.

The initial install with the OME HD springs with 10mm spacers on the rear springs netted exactly 3" of lift over the factory hub center to fender measurement on all 4 corners. This netted about 3/4 inch lift over the very tired factory springs with a blown out budget boost that was in when I bought the vehicle. I was happy with that. Initial test drives showed it handled extremely well on the highway, although a litlte bumpy on my torn up local roads. Not harsh though. Upgraded rear sway bar not needed with the HD springs at this lift Setup perfect for a canyon carver, fully loaded, or trailer towing WJ.

But flex is everything this WJ platform has going for it. I was not happy with the ride off highway. The shorter spring with increased spring rate made for better on road and worse off road. Forget tucking the rear with the heavy sway bar and stiff springs with anything but a full load out.

Dove into harder research. 3" lift is almost no man's land for the WJ. Either 2 1/2 budget boost or go 4 inches plus. But I specifically want just under 4" to preserve factory drive lines and decent center of gravity and so on. Anyhow, the OME HD springs are rated at 220 lbs front 240 lbs rear. Factory is (depending on sources) 180/188. The IRO 3" lift springs report 175/175 lbs. So bought a pair and redid the spring installation. Spring compressors are a definite with the longer softer spring!

The IRO 3" springs netted 3 3/4 inch over stock all 4 corners, with 10mm spacers in the rear. Gives it a factory rake, which I want so that it has a chance to level out uner full load out. I like the ride now.

Still a few weeks off from flexing it out at the local 4x4 park and seeing what needs to be clearanced for the larger tires, or any interferences in the suspension. Now in the discovery and tuning phase. Last night got the tape measure out, confirmed the axles are parallel to each other on the dot, and about 1/8 of an inch from being on centerline with each other. Trying to decide if that is meaningful or not, inconsequential or needs correction.

In the shakeout so far- Need to have castor checked and then adjust if necessary. One axle seal didn't take, have to see what's up with that. Rear Core 4x4 A-Arm johnny joints limit out in downward droop. May modify it or try the MetalCloak duraoflex replacement joints, or maybe decide it does not matter. And go flex it out and see what witness marks are left and what self clearances.

lastly, in my setup the change up in tire size resulted in a big MPG drop and took it just outside of the transmission shifting perfectly. Slow to get into overdrive and so on. Not quite the passing pep as before. And as "commercial traction" rated tires, more tire noise but it mostly cancels out with the eliminated roar from the bad rear axle bearing issue.

I keep telling my better half- no, its not done. It is an iterative process.


1689707942436.png 1689707996193.png

1689708047538.png 1689708107051.png

1689708171412.png
 

ThundahBeagle

Rank V

Advocate I

1,548
Massachusetts
First Name
Andrew
Last Name
Beagle
Member #

0

Back when i had my WJ, I had gone with IRO springs that I got from KOLAK (on a Jeep forum). My lift was slightly more modest. I liked the clearance and the ride.
Your WJ looks good...makes me think about going out and getting another one.
But JUST thinking about it
 
  • Like
Reactions: JimBill

MrWilsonWJ

Rank V
Launch Member

Member III

1,691
Kennewick, WA
First Name
Dustin
Last Name
Wilson
Member #

23384

I liked the ride I had with the 3" IRO coils but I felt they were too soft when full loaded for a weekend of camping and sagged too much. I switched up to the 4.5" Clayton springs and it's great now. Rides nice on the road, carries a full load of gear without too much saggy butt and flexes awesome. For modifications needed I'm running adjustable CA's throughout and the same drivelines I had with the 3" coils, this past weekend I wheeled it pretty hard on the trails and had no issues with anything. Front driveline is a factory double cardine sourced from a wrecking yard WJ and the rear Is from a 2000 Durango that I had shortened and run a 1310/1330 U joint in. My transfer case is a 242 from the Durango so I snagged the driveline but I would think you could make a factory WJ work with 4.5".
 

JimBill

Rank V
Member
Investor

Advocate I

2,268
San Benito County, CA, USA
First Name
James
Last Name
Madison
Member #

18747

I liked the ride I had with the 3" IRO coils but I felt they were too soft when full loaded for a weekend of camping and sagged too much. I switched up to the 4.5" Clayton springs and it's great now. Rides nice on the road, carries a full load of gear without too much saggy butt and flexes awesome. For modifications needed I'm running adjustable CA's throughout and the same drivelines I had with the 3" coils, this past weekend I wheeled it pretty hard on the trails and had no issues with anything. Front driveline is a factory double cardine sourced from a wrecking yard WJ and the rear Is from a 2000 Durango that I had shortened and run a 1310/1330 U joint in. My transfer case is a 242 from the Durango so I snagged the driveline but I would think you could make a factory WJ work with 4.5".
Heard IRO springs too soft for full load was why I went OME springs first. Perhaps my “feel” is clouded by the complete mush of the blown out stock springs and budget boost that was in, but the IRO feels pretty stiff compared to the way it was as well!
Time will tell when I get it out for a good long trip fully loaded. The 10mm shims in the back are a little hedge against the rear end sagging too much under load.
I do pay attention to GVW so I don’t run it overloaded.
At 4 inches lift you may or may not end up needing a slip yoke eliminator, and the caster/pinion angle game starts to get more challenging and I don’t want to play that game with this rig. Also 32s are about as big as you can go regardless of lift (if you still want tuck), without more modding of sheet metal (let alone the Dana 30…) I am not ready to tackle either at this time.
And my lady is short and at this modest lift it is about her comfort limit lol.
If I went long arm I think yes, I’d go right to the 4 or 4.5 inch lift. But i stuck with all adjustable short arms and pieced together the lift over time on a budget.
In the end each his own. I do enjoy seeing all the different setups and new tricks, and really enjoy the challenge of wringing every last bit of capability out of a modest setup.
 

tjZ06

Rank V
Launch Member

Advocate I

2,268
Las Vegas/Palo Alto
First Name
mynameisntallowed
Last Name
Adams
Member #

20043

Life has been busy as can be. Finally had time to dig into the WJ again. The trip to Washington finished off the sloppy axle bearing housing.

First order was a few weekends ago freshened up the donor 44A rear diff with a new pinion seal, and axle bearings and seals. On inspection the backlash was super tight and the inside the cleanest I have seen on a used differential. Hope the Vari-Lock works! Also cut the skip plate off of the other housing I have and welded it to this one. That should be plenty of protection for the aluminum housing. Pretty standard stuff but did have a bit of trouble getting good out of the box parts. Settled on Napa SKF BR9VP Bearings and retainers, and O'Reilley MasterPro 2146 Seals. I also like the Spicer 49766 bearing retainers, they have a bigger diameter than the NAPA SKF ones which makes pressing with beat up machine shop tooling easier. Thank you Axle Machine in Hollister for letting me use the press, and welding the skid plate on.

View attachment 261584View attachment 261585View attachment 261586
I can tell you that VL still worked, even with a ~32" tire on it. When I bought the WJ it came from it had ~92k miles but was sitting on a dealer lot at Stevens Creek Subaru... and this was only like 6-7 years ago. That tells you how insanely clean the WJ it came from was, that they kept a 12+ old Jeep on their lot rather than sending it to the auctions. Plus, the family that traded it in were the original owners and got an Outback - so you know they weren't "wheelers." On top of that, it was dealer-maintained the entire time they had it, as evidenced by how clean the inside of the diff was, then I got it and stepped up the maintenance even further. ;)

-TJ
 
  • Like
Reactions: JimBill

JimBill

Rank V
Member
Investor

Advocate I

2,268
San Benito County, CA, USA
First Name
James
Last Name
Madison
Member #

18747

Life has been busy as can be. Finally had time to dig into the WJ again. The trip to Washington finished off the sloppy axle bearing housing.

First order was a few weekends ago freshened up the donor 44A rear diff with a new pinion seal, and axle bearings and seals. On inspection the backlash was super tight and the inside the cleanest I have seen on a used differential. Hope the Vari-Lock works! Also cut the skip plate off of the other housing I have and welded it to this one. That should be plenty of protection for the aluminum housing. Pretty standard stuff but did have a bit of trouble getting good out of the box parts. Settled on Napa SKF BR9VP Bearings and retainers, and O'Reilley MasterPro 2146 Seals. I also like the Spicer 49766 bearing retainers, they have a bigger diameter than the NAPA SKF ones which makes pressing with beat up machine shop tooling easier. Thank you Axle Machine in Hollister for letting me use the press, and welding the skid plate on.

View attachment 261584View attachment 261585View attachment 261586
I can tell you that VL still worked, even with a ~32" tire on it. When I bought the WJ it came from it had ~92k miles but was sitting on a dealer lot at Stevens Creek Subaru... and this was only like 6-7 years ago. That tells you how insanely clean the WJ it came from was, that they kept a 12+ old Jeep on their lot rather than sending it to the auctions. Plus, the family that traded it in were the original owners and got an Outback - so you know they weren't "wheelers." On top of that, it was dealer-maintained the entire time they had it, as evidenced by how clean the inside of the diff was, then I got it and stepped up the maintenance even further. ;)

-TJ
I assumed it would only ya would have said something lol. Right off the bat it didn’t, but I suspect that was from sitting so long and then new fluid and friction modifier. Did a few figure eights at work on pavement and it started to work. Then it got a bit sticky, so a few more figure eights and it is settling down. All good!

Vibes on acceleration is what I’m trying to track down now. Pinion angle was is dead nuts so no easy answer now. Gonna check u joints and rotate on diff 180 and see if there is any change. Heck, for all I know it could be coming from the front.

Tinker tinker tinker.
 

tjZ06

Rank V
Launch Member

Advocate I

2,268
Las Vegas/Palo Alto
First Name
mynameisntallowed
Last Name
Adams
Member #

20043

I assumed it would only ya would have said something lol. Right off the bat it didn’t, but I suspect that was from sitting so long and then new fluid and friction modifier. Did a few figure eights at work on pavement and it started to work. Then it got a bit sticky, so a few more figure eights and it is settling down. All good!

Vibes on acceleration is what I’m trying to track down now. Pinion angle was is dead nuts so no easy answer now. Gonna check u joints and rotate on diff 180 and see if there is any change. Heck, for all I know it could be coming from the front.

Tinker tinker tinker.
One thing to know about the VLs, they *require* wheel spin to work. They have a gerotor pump that is driven by a speed differential across the carrier in the diff, which applies pressure to the clutch packs. In other words, one tire has to spin some to build pressure for the clutch packs to grab. It takes a little getting used to, but when you get a tire in the air you'll feel it working. Not a great vid of it, but the first one I found:

At about ~9 seconds you'll see the front left tire off the ground, spin for a bit, then the front right starts to pull it through (and if you keep watching you'll see how the XJ behind him doesn't pull, just spins the tire in the air).

Here's a better one actually:

-TJ
 
  • Like
Reactions: JimBill

Ronald Miranda

Rank III
Launch Member

Enthusiast III

646
18.465161, -69.953888
Member #

10107

DUDE, I JUST LOVED YOUR REPORT, and now reading everything you did!!!

Great choice in going to a 3" lift! Above 4" you need to change almost everything in terms of Suspension and Steering geometry! And If you don't need to fit 33"+ tires on it, sticking to 32" is perfect for that size rig!! (Without trimming)

I do prefer Bilstein over Ranchos (or PROCOM, Rough Country, or OME, I tested all), you're right about the weight of the vehicle. Ranchos are stiffer, so better at handling fully loaded. I recommend MD or HD springs. (Anything over 220lb/in) to manage more weight and better stability. Maybe some Claytons or OME MD.

About the cooling system! YEAH!!.... Jeeps tend to overheat (A LOT and Easily).
I did this: Electrical (WK HEMI) fan, Fan Clutch, Additional high rpm fan with an external switch. + Transmission oil cooler (big one) + Engine Hood Vents + The best coolant you can get! + 185 degrees thermostat. (No more cooling problems, EVER!)
 
  • Like
Reactions: JimBill

JimBill

Rank V
Member
Investor

Advocate I

2,268
San Benito County, CA, USA
First Name
James
Last Name
Madison
Member #

18747

DUDE, I JUST LOVED YOUR REPORT, and now reading everything you did!!!
Thanks for your comments! I did go back to the Bilsteins, I kept blowing the right front Rancho. Likely I was a little off on my lengths and I think I kept bottoming the shock out. Letting them ride for now other than need to install bar pin eliminators to the front shocks. And they are a little short for the new lift now. We shall see how the springs settle in and do under load. Keeping the OME springs in case I find the IRO too soft. In the meantime chasing vibration from either front or back driveshaft and normal other tinkering such as caster/pinion angle compromising and other tinkering.

On cooling so far so good, but I do want to add hood vents soon. Hopefully a patriot blue WJ shows up in the local pick and pull with a decent hood to cut up. I'm a little wary of cutting my original and would like to experiment/dial it in on a donor. The only time temp rose uncomfortably was when I held it on a steep hill by throttle instead of the brakes on a 105 degree day. Self induced. Shows I need a bigger transmission cooler someday. Just backed to level ground and let it idle in park and it came back to norm.

I do have a 185 thermostat but have not put it in. one of these days will need to try that as well.
 
Last edited:
  • Like
Reactions: Ronald Miranda

JimBill

Rank V
Member
Investor

Advocate I

2,268
San Benito County, CA, USA
First Name
James
Last Name
Madison
Member #

18747

One thing to know about the VLs, they *require* wheel spin to work. They have a gerotor pump that is driven by a speed differential across the carrier in the diff, which applies pressure to the clutch packs. In other words, one tire has to spin some to build pressure for the clutch packs to grab. It takes a little getting used to, but when you get a tire in the air you'll feel it working. Not a great vid of it, but the first one I found:
-TJ
It's all good. Mine left the factory with the rear VL so I am experienced with it. So nothing new for the rear. After some miles and getting fluid pumped through it, the VL is definitely locking up. Looking forward to freshening up your Dana 30 front donor, having a VL in the front will be new to me.
On the VLs I found they don't like to sit for long periods and also are very temperamental on the additive amount. The synthetic fluid I buy advertises it is already in the formula, so that throws the factory recipe out the window of adding 4 ounces. Just more tinkering to figure out.
Know anyone who wants to rotate my C's? I'm playing the pinion angle/caster game but strongly considering setting it up perfect. I can figure the angles I need on my existing setup, then send off your D30 donor to get the mod. Would give me the excuse to finally get that installed lol.
 

tjZ06

Rank V
Launch Member

Advocate I

2,268
Las Vegas/Palo Alto
First Name
mynameisntallowed
Last Name
Adams
Member #

20043

It's all good. Mine left the factory with the rear VL so I am experienced with it. So nothing new for the rear. After some miles and getting fluid pumped through it, the VL is definitely locking up. Looking forward to freshening up your Dana 30 front donor, having a VL in the front will be new to me.
On the VLs I found they don't like to sit for long periods and also are very temperamental on the additive amount. The synthetic fluid I buy advertises it is already in the formula, so that throws the factory recipe out the window of adding 4 ounces. Just more tinkering to figure out.
Know anyone who wants to rotate my C's? I'm playing the pinion angle/caster game but strongly considering setting it up perfect. I can figure the angles I need on my existing setup, then send off your D30 donor to get the mod. Would give me the excuse to finally get that installed lol.
Hmmm, I didn't realize anything but the full QD system had a rear VL, you learn something every day. I probably used the same sync with the modifier you do, lol (IIRC it was redline) but found they like a little of the Mopar stuff too. And I agree, if it doesn't get driven it gets grumpy. As for the Cs the guy that did mine (and built the exhaust for the Hemi swap) would certainly do yours too (yours should be far easier since there is less truss/custom shock mounts/bump pads/etc. going on) - want me to check on a ballpark price?

-TJ