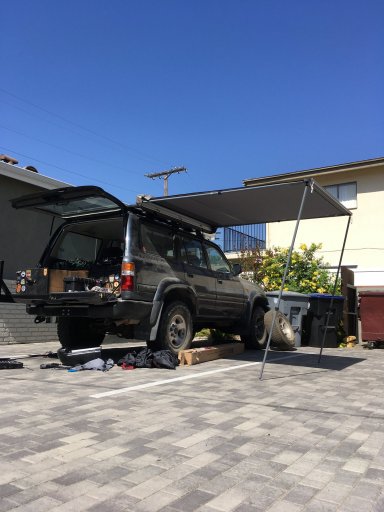
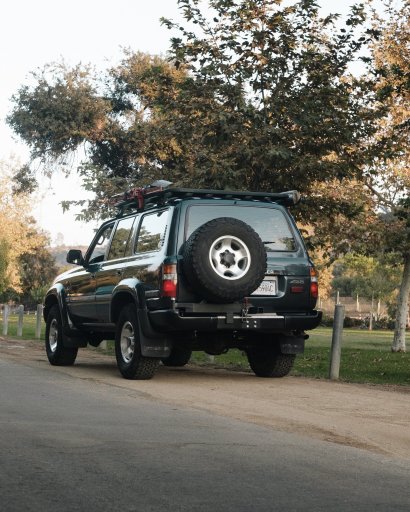
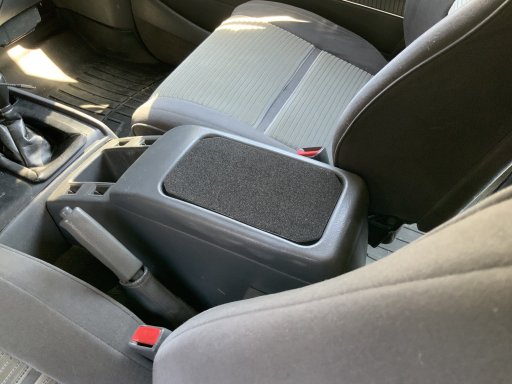
1993 HDJ80 - 5 Speed / 1HDT / LOCKED / LHD - slow build

  • HTML tutorial

BryceDP

Rank II

Enthusiast III

473
Burbank, CA
First Name
Bryce
Last Name
Drobny
Member #

22561

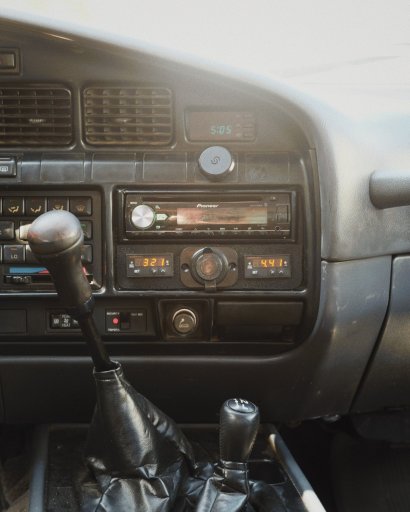
EGT and BOOST gauges hooked up, I think they are calibrated well. I’d love to hear numbers on the 1hdt and what I should be looking out for! Everything on mine is OEM For the most part.

EGT probe is pre turbo. Boost vacuum hose was tied into the hose coming out of the ‘turbo’ crossover manifold.

Initial tests show:
Idle after warmed - EGT ~360F / BOOST ~4.6 PSI
110kph @ ~2500RPM - EGT ~600-800F / BOOST ~10 PSI
During acceleration onto highway - EGT ~1000 - 1200F / BOOST ~12PSI
Short burst of full acceleration - EGT ~1100 - 1400F

id love to hear any thought on these numbers and any recommended adjustments.
DB843951-4B9B-4A39-B976-125381B59129.jpeg
 

ThunderwingLC

Rank II
Launch Member

Enthusiast I

404
El Monte, CA
First Name
Anthony
Last Name
Montanio
Member #

25123

Awesome rig! My FJ80 has cracked fender flare seals as well. What brand/product did you use to replace those? I am looking to redo all my seals soon. How do you like them?
Thanks!
 
  • Like
Reactions: BryceDP

BryceDP

Rank II

Enthusiast III

473
Burbank, CA
First Name
Bryce
Last Name
Drobny
Member #

22561

Awesome rig! My FJ80 has cracked fender flare seals as well. What brand/product did you use to replace those? I am looking to redo all my seals soon. How do you like them?
Thanks!
Thanks! I sources mine from Delta Vehicle Designs. They are OEM Toyota seals. They fit and work great so far!
 
  • Like
Reactions: ThunderwingLC

BryceDP

Rank II

Enthusiast III

473
Burbank, CA
First Name
Bryce
Last Name
Drobny
Member #

22561

Took 20 minutes today to adjust the injector pumps timing on the 1hdt. 1mm was recommended and it seemed to work a treat. EGTs are down and low rev power is up. No more / less smoke than before. Yellow is the old mark. Blue is new.
F19EF44F-2AE3-4EA9-B720-DF7EA54840F0.jpeg
 

BryceDP

Rank II

Enthusiast III

473
Burbank, CA
First Name
Bryce
Last Name
Drobny
Member #

22561

I finally took on the Big End Bearings (con rod bearings) this week!

Overall, it was a pretty simple job. The most annoying part was getting the oil pan off and cutting the FIPG. One I was in the motor, i just took my time and did everything by the books. I replaced them with ACL tri-metal bearings.

I followed some instruction I found on here from @bonznfc and followed some other tips and tricks i found in my research Along the way.

The old bearings were COMPLETELY SHOT! I cannot believe how bad of shape cylinder 1 and 6 were in (I just clocked over 290k km). Doesn’t look like these were ever swapped out. Overall, its great to knock this off of the list. Ill run this oil and zinc additive for 500 miles and do another oil / filter change when everything is broken in.

CA9D0868-4415-491E-BE42-A4EAFDA11ACD.jpeg


FF83EA28-E3FC-4E4D-A60C-461BC6724B58.jpeg


6388B07E-D5B8-4763-B226-09107C691116.jpeg
 
  • Wow
Reactions: simonb and EXPO_D1

BryceDP

Rank II

Enthusiast III

473
Burbank, CA
First Name
Bryce
Last Name
Drobny
Member #

22561

since I have no plans to upgrade the bumpers, I beefed up the front and rear recovery points with IronMan points. I painted them black....
FBD7017E-B496-41BC-9FC4-7B6E99020063.jpeg


D15C265B-F3FF-4894-B628-68EBA4C2ADA9.jpeg


8F0AB406-1935-43DD-8691-1028BE56F408.jpeg
 
  • Like
Reactions: RoarinRow

BryceDP

Rank II

Enthusiast III

473
Burbank, CA
First Name
Bryce
Last Name
Drobny
Member #

22561

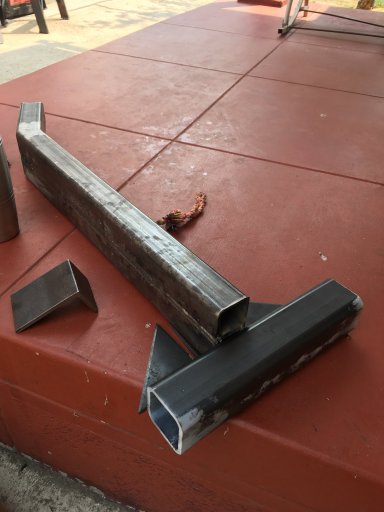
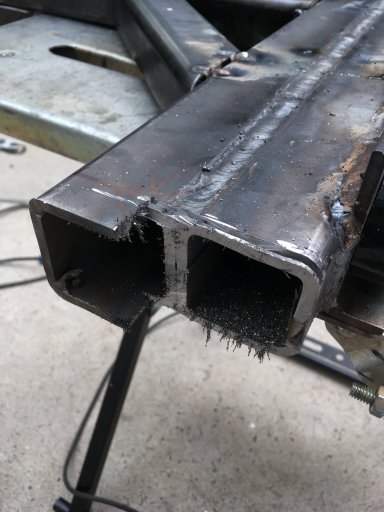
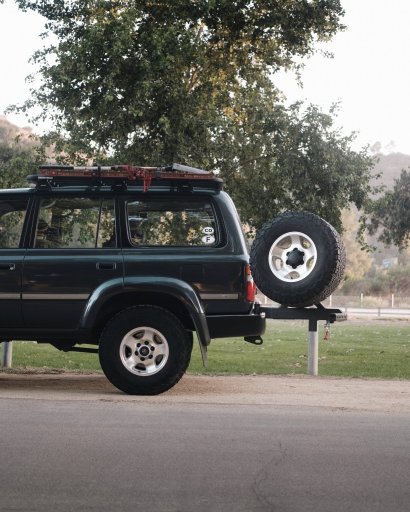
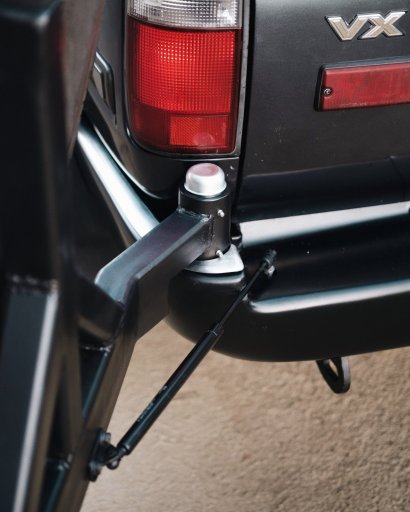
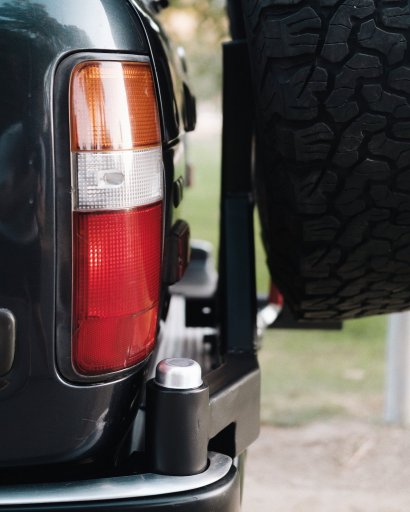
First of a few posts reguarding the new rear tire swingout.
I went with an old Summit Cruisers Kit because I LOVE the OEM look. Plus it’s a million times stronger and more capable than a JDM swingout... PLUS it’s on the drivers side, which is correct to me.

This was my first time ever doing any kind if welding or metalwork. My buddy showed me the ropes and insisted we did stick welding in order to learn the craft. SO FUN! We did it all in his backyard and the local Home Depot parking lot.


F5ECAF99-994B-49CA-87BE-3949598F2C09.jpeg


9CC08A4A-A12E-4246-B5AB-4D9B54A8F9D9.jpeg


0CA2A7A2-F097-4E37-A5D6-9B936940F6EE.jpeg


F85DFBAD-4CDB-4D6C-9C8E-FD59BAE841CF.jpeg


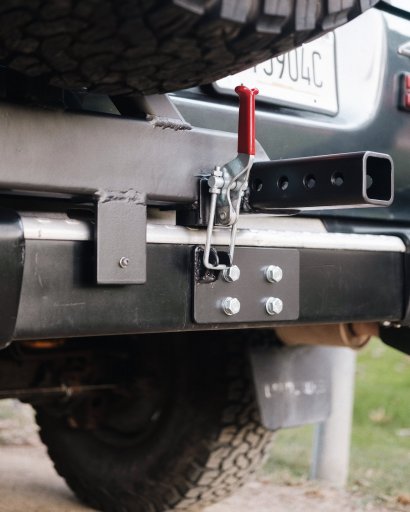
thought it would be kick ass to add out own touch... a 2in hitch receiver to hold a cooler or bike rack... NO TOWING!
04671867-C9C6-4FED-9042-390854B85BDE.jpeg
 

tjZ06

Rank V
Launch Member

Advocate I

2,268
Las Vegas/Palo Alto
First Name
mynameisntallowed
Last Name
Adams
Member #

20043

Really impressive work. Am I reading right that you see 4.6psi of boost at idle? Also, I'm always a little suspect of in-motor bearing replacements. It looks like your bearings were pretty rough, you said #1 was really bad specifically. How did the journals look on the crank?

-TJ
 
  • Like
Reactions: BryceDP

BryceDP

Rank II

Enthusiast III

473
Burbank, CA
First Name
Bryce
Last Name
Drobny
Member #

22561

Every
Really impressive work. Am I reading right that you see 4.6psi of boost at idle? Also, I'm always a little suspect of in-motor bearing replacements. It looks like your bearings were pretty rough, you said #1 was really bad specifically. How did the journals look on the crank?

-TJ
the crank looks good and healthy. These bearings are known to fail and corrode like this on the 1hdt
 

BryceDP

Rank II

Enthusiast III

473
Burbank, CA
First Name
Bryce
Last Name
Drobny
Member #

22561

retrofitted some One Stone Armrests... love the OEM look and quality.

all that was needed was to reposition the Windsor run lip with some new holes... I took it a step further and bolted it to the door. No rattles or squeaks over here!


160A9A96-D170-4B17-BE30-98765383FB18.png


2477B6AC-8677-4B66-AB61-0548002C4F35.png