

Advocate I
- 1,958
- First Name
- Randall
- Last Name
- Treloyn
- Member #
-
5615
- Ham/GMRS Callsign
- VK7VWK
I'vw my van in the introductions thread before. This thread is about the van, what I've done to it and what I'd like to do with it, hopefully before too long.
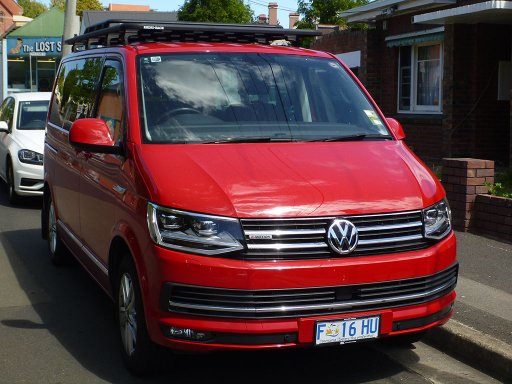
The Base Vehicle
The vehicle is a 2016 Volkswagen Multivan T6. It came in Highline trim with leather seats electric rear doors and tailgate. It has parking sensors all around and radar cruise control.
It is driven by a 1.9 litre, 4 cylinder, bi-turbo diesel engine developing 201 horsepower and 450Nm of torque.
It has VW's 4Motion drive system. Is primarily front-wheel-drive and switches in the rear differential on demand. This differs from an AWD system in that power will always be sent to one of the front wheels and if the rear differential is in use will drive one front and at least one rear wheel (like any other part-time 4x4 or constant 4x4 with diff lock engaged).
It has no low range but has a 7 speed DSG transmission to give a wide spread of gearing.
The vehicle has an electric rear differential lock activated from a dashboard switch and hill descent control.
I also opted for an analogue panel, which is located under the front seat. This is a digital vehicle where every function is performed by processors on a data bus, so you can't just tap into wires. The analogue panel allows functions such as a battery feed, ignition on wire etc., to be accessed without interfering with the running of the vehicle.


