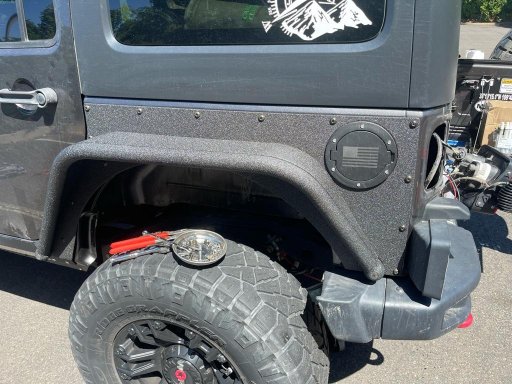
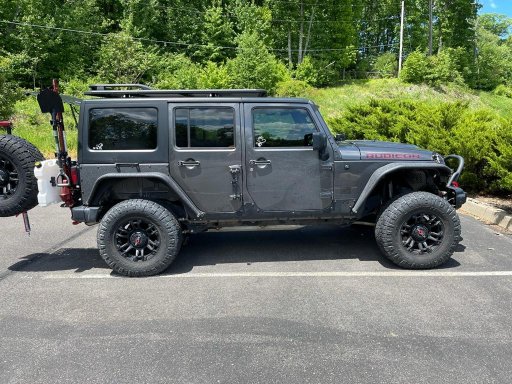
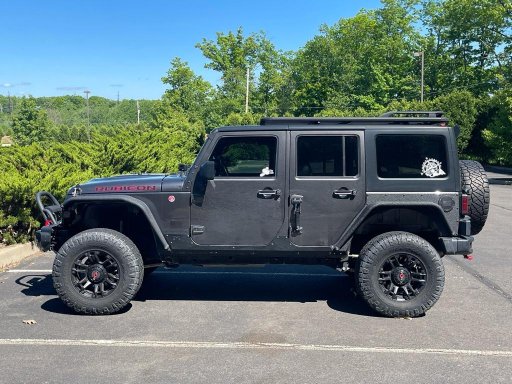
I recently installed some Metalcloak Overline fenders on the front and rear of my Jeep and also installed the aluminum Metalcloak Exoskins a few years ago.
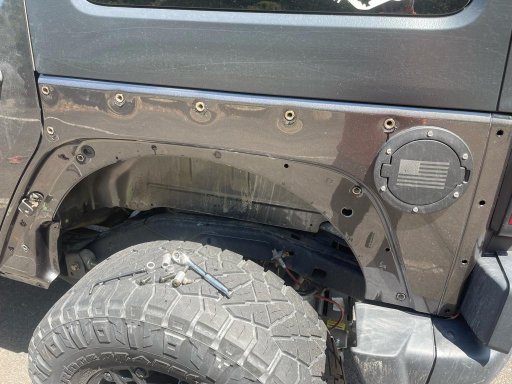
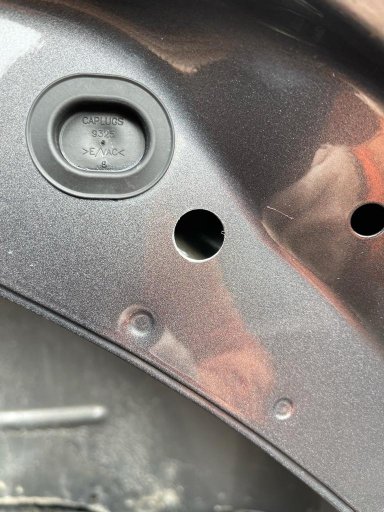
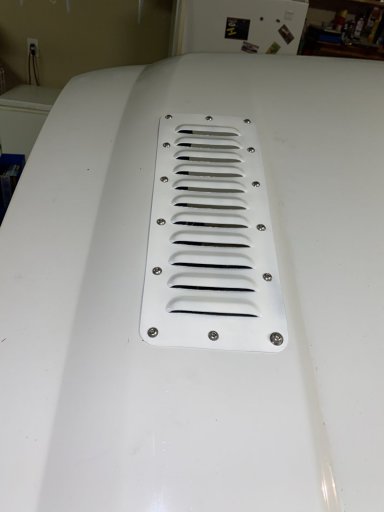
A lot of people do things to their rigs that require drilling holes into the fenders, hood, roof or other areas that are made of sheet metal. A lot of people use normal twist drills and on some rigs that's ok. Some have thicker sheet metal than others. Jeep Wranglers are notorious for having very thin sheet metal which makes using a regular twist drill to drill into the sheet metal a dicey thing risking the drill catching and tearing the metal making the installation of a rivnut almost impossible.
When I did my fenders and exoskins, I used what is called an annular cutter along with the correct spring loaded centering arbor. It made absolutely perfect holes with no tearing or even the thought of catching and tearing. The holes were clean and easily touched up with a little primer before I inserted the rivnut. (As an extra step, I put a bead of silicone under the flange of the rivnut prior to installing it to help guard against the possibility of rust)They come in various sizes and in my particular situation I used a 17/32" and a 3/8". The ones I used were made by Hougen and I got them off Amazon. They aren't exactly cheap, but they are worth the investment if you will be doing a lot of holes or think you will in the future.
I also didnt use my Astro Rivnut setting tool either. I preferred to use the small rivnut tool that Metalcloak provided and I used and 11/16" wrench on the free float nut and a 9/16" socket on my Metabo 18v 1/4" drive impact wrench. I didn't tighten down till the wrench stopped turning either. I let up once I saw the rivnut starting to dimple the sheet metal slightly. That ended up being the perfect amount of torque and every rivnut got set with none of them spinning and none of them stripped out.
Also, I used marine grade anti-seize on the bolt for the rivnut tool. It helped to ensure the bolt wouldn't gaul into the rivnut and left enough compound for the bolts to go in without problems when I was putting the panels on.
A few pictures:
Attachments
-
149.7 KB Views: 20
-
206.7 KB Views: 19
-
122.8 KB Views: 18
-
143.3 KB Views: 18
-
172.3 KB Views: 17


