It has been one year since I started buying parts to install a water system on Yeller and I had made no progress on the project.. After experiencing no water and bad water at planned refill sites in 2021 I knew I had to come up with a versatile water solution. My initial plan was to have a permanently installed tank that could be filled from the outside of the trailer. The benefit to this was I could build a shelf over the square tank for more interior storage and it would have kept the water weight as low as possible. The glaring issues with this plan were maintenance, refilling the tank in the field and how to access water if the pump fails.
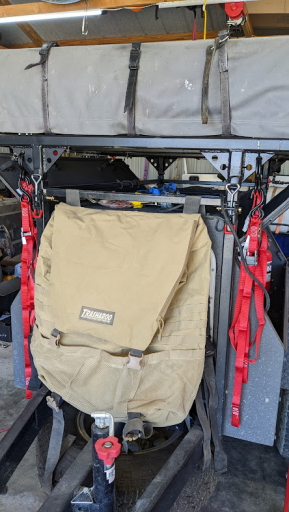
I have used tan (military style) LCI water cans for years and even installed a hand pump on one cap. In my mind these water cans were the 'answer' to my water storage problem in Yeller, but I hadn't come up with a solution for pumping and filtering water. I have read about and watched video of every water storage solution online and came up with my plan.
- Three water cans positioned between the frame rails of the trailer
- Each can is plumbed with a suction system through the cap
- Quick disconnect at each can
- Water can cap is minimally altered and air relief screw still opens for fresh air intake
- Isolated water cans reduce the chance of contaminating all of the water with bad water (even though filtration should 'fix' it)
- Water can can quickly be removed to refill
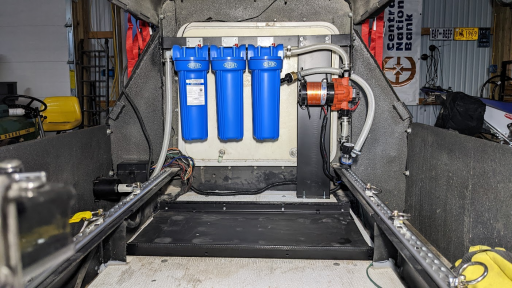
- 50 micron strainer to protect pump
- 45 PSI Pump to push water through filters
- Self Priming
- Can run dry without damaging the pump
- 30 Micron Poly Block Filter
- 5 Micron String Filter
- 0.5 Micron Carbon Block filter
- RV shower attachment
- Mounted on side of trailer body

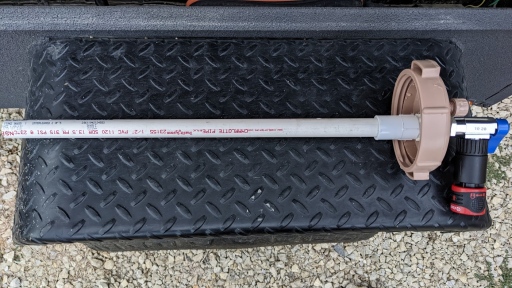
The first thing I did was modify the three water can caps.
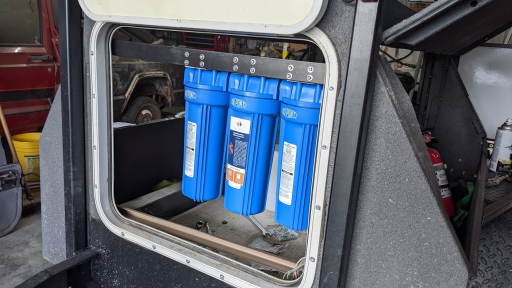
Built a bracket to support the filters. They are easy to access through the front door of the trailer. In the last year of using the trailer, I never used the front door while on a trip.
Built another bracket to install the pump. I added the zip ties to help support the pump on its rubber mount then started test fitting the plumbing.
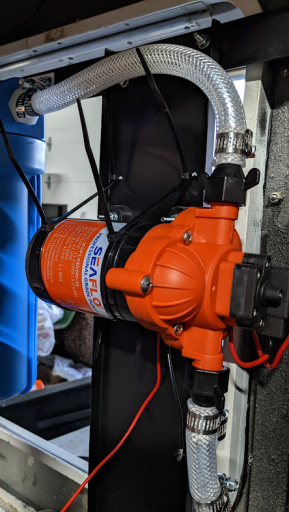
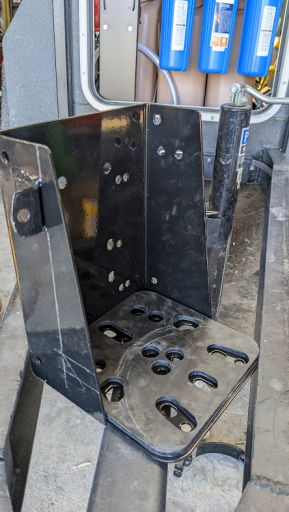
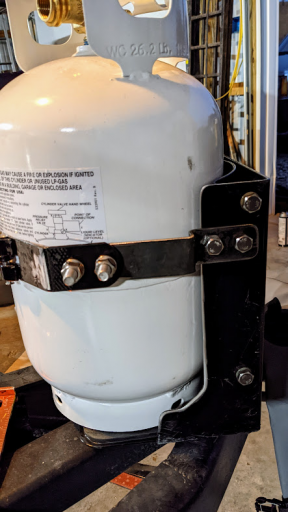
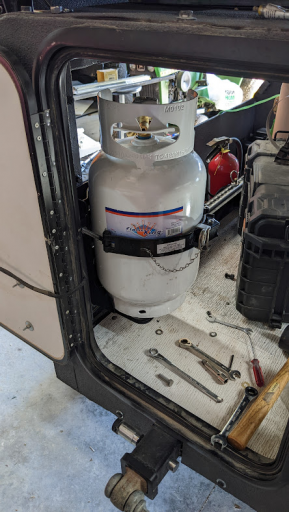
I added floor brackets that are bolted to the frame to support the weight of the water cans and prevent them from sliding forward and backward. I also wired the pump to the remaining circuit on the Auxbeam fuse box. Since there was not a "water pump" label with the Auxbeam, I used 'power' for the pump switch.
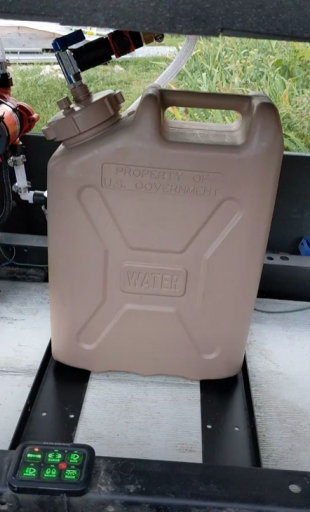
Fit and ready to go!
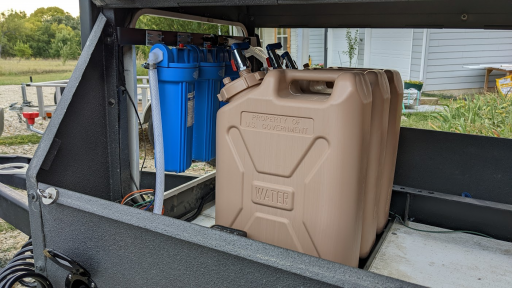
Here is a video of the system operating.
Tap to view!

photos.app.goo.gl
The pump is remarkably quiet. You will notice there is air in the system in the video. This is caused by water draining back into the can after the pump shuts off. When the pump comes back on it has to draw air before water. I hope to remedy this by installing "PVC Check Sockets" at the bottom of the intake pipe in the bottom of the can. A check valve should keep water in the suction line at all times.
As it sits, the pump will draw all but three cups of water out of the water can. I call that a win!
