Orange the 1999 Amigo: here we go

  • HTML tutorial

utherjorge

Rank V
Launch Member

Enthusiast III

1,416
Warren, PA
Member #

17438

Good morning and happy Easter to all.

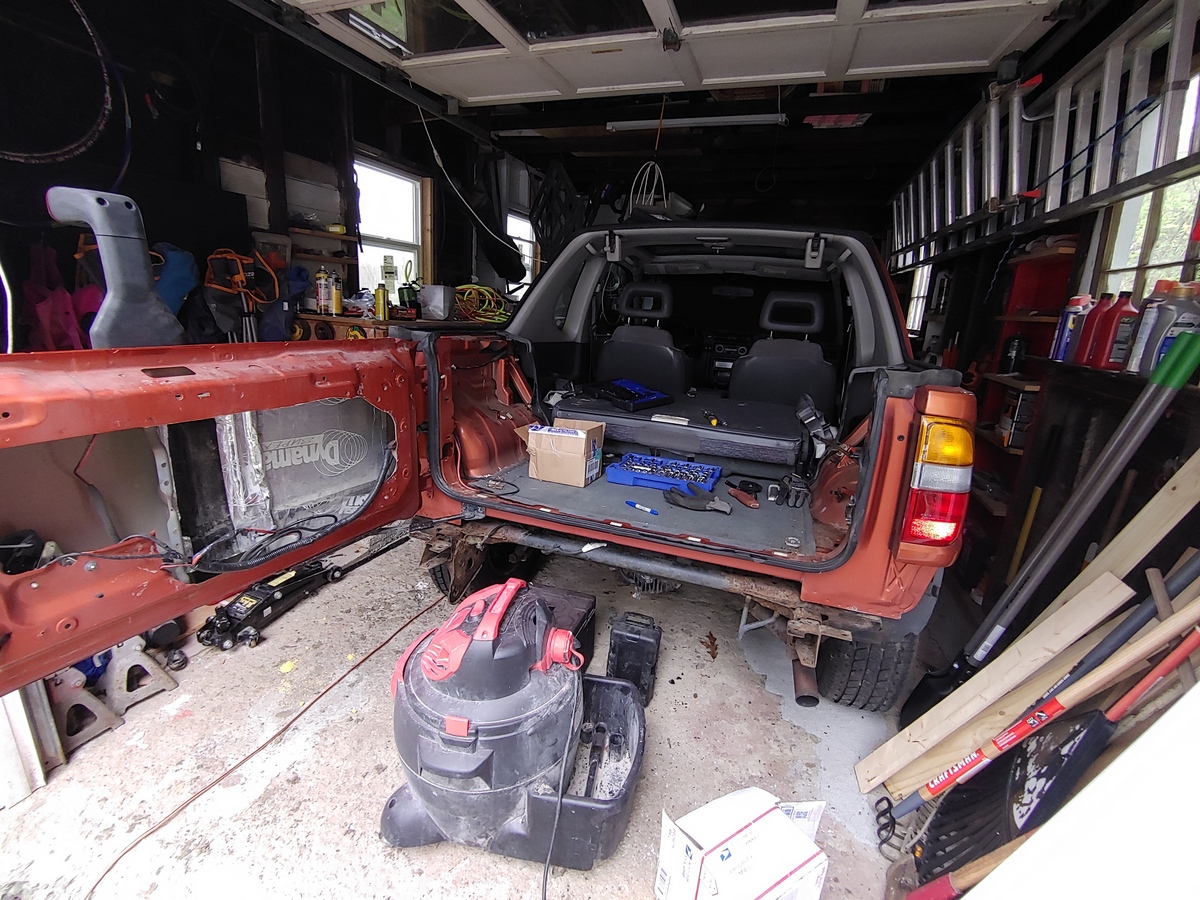
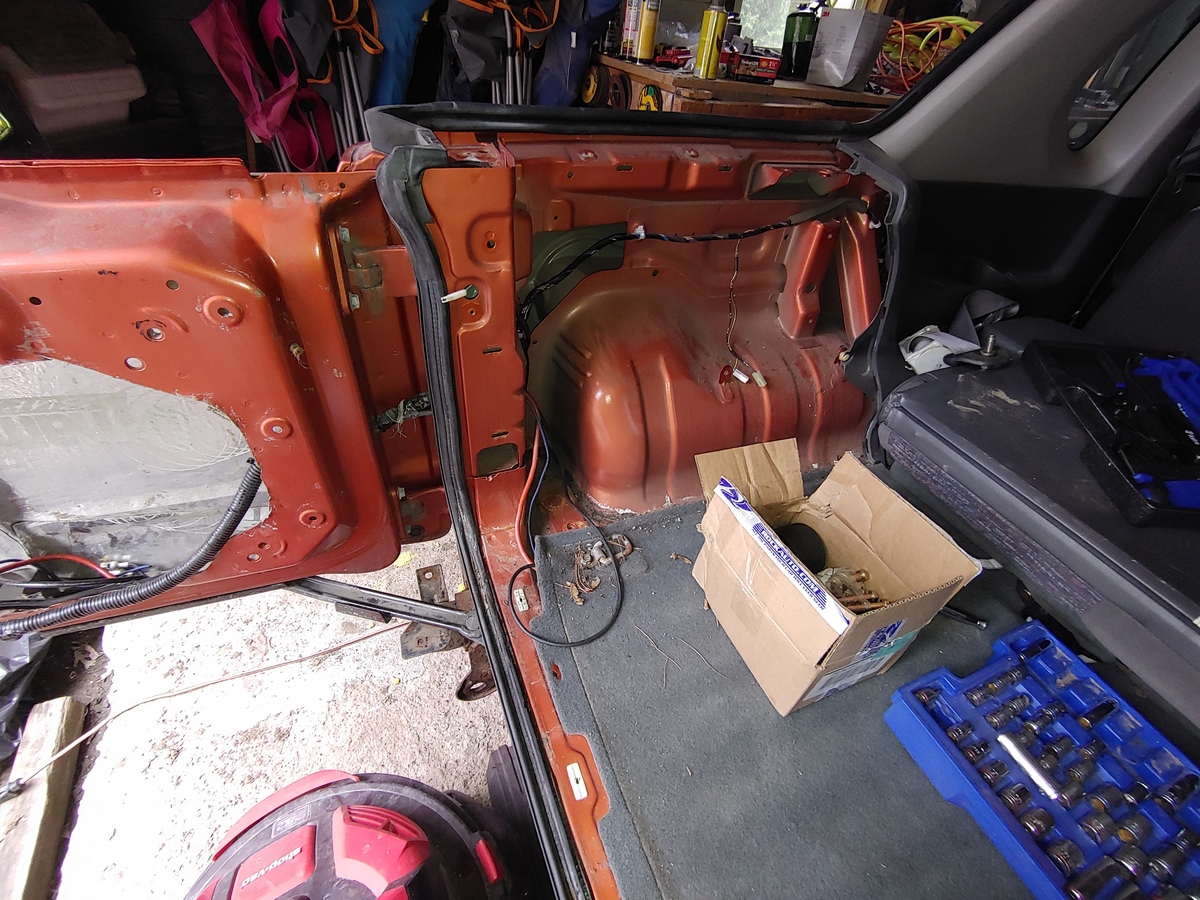
I have finally started to get my rig on the road and get shenanigans done.

To simplify the tale of the little rig: I got this rig, like the last one, from an online auction, but I learned my lesson and didn't try to find something across the country. This one was three hours away! And still...would you believe that there was more hassle in this than shipping a vehicle from California or Arkansas? Yes, yes it was.

So, for reasons I'll 'splain later, it's still not on the road, but with the current virus fun, I wouldn't be going anywhere anyway.

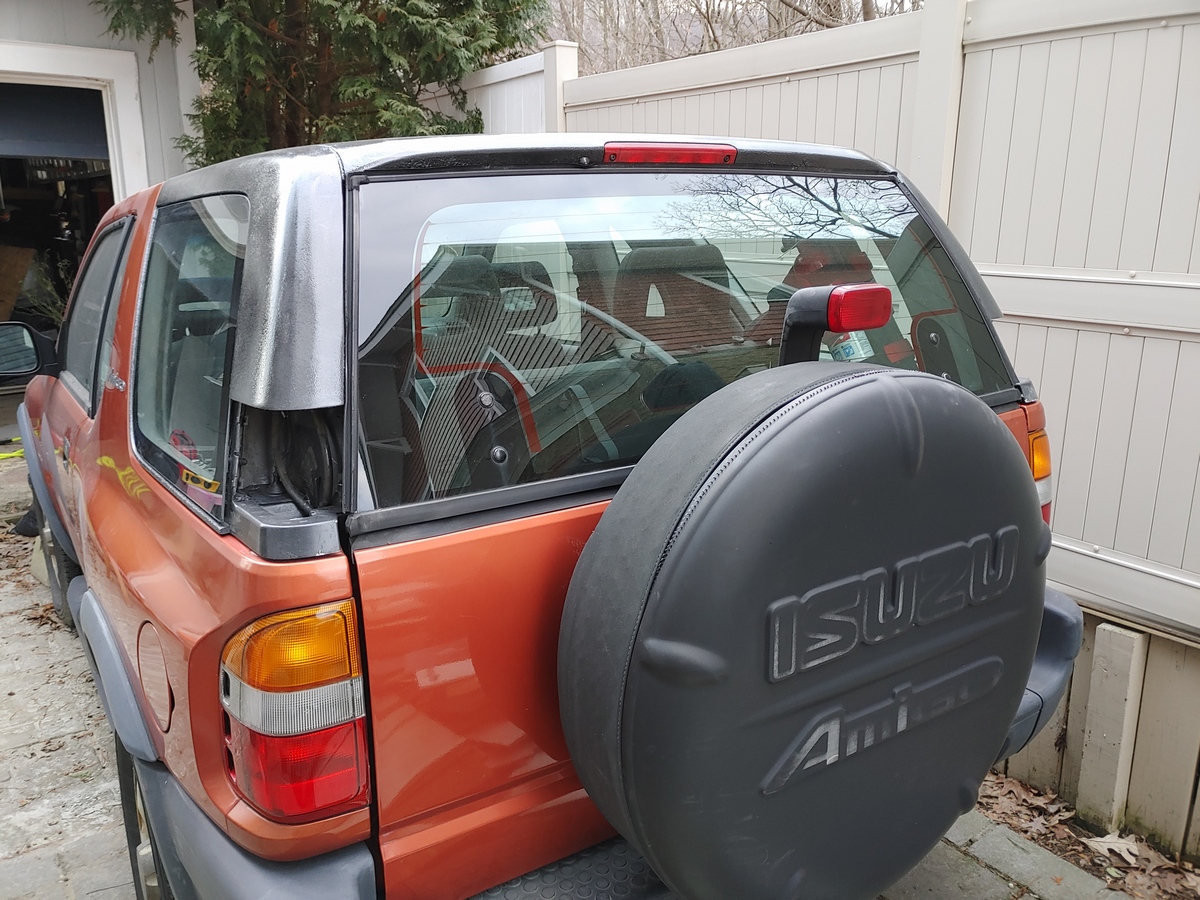
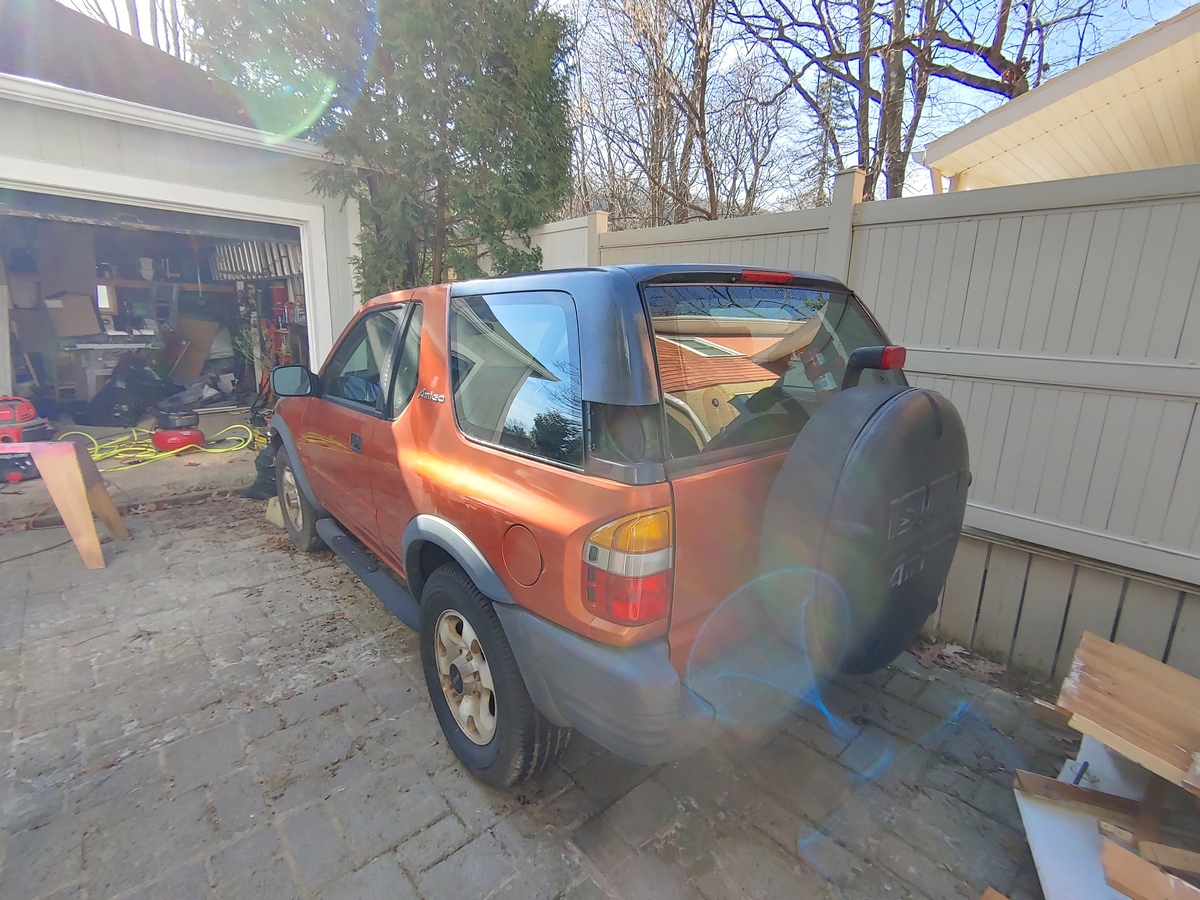
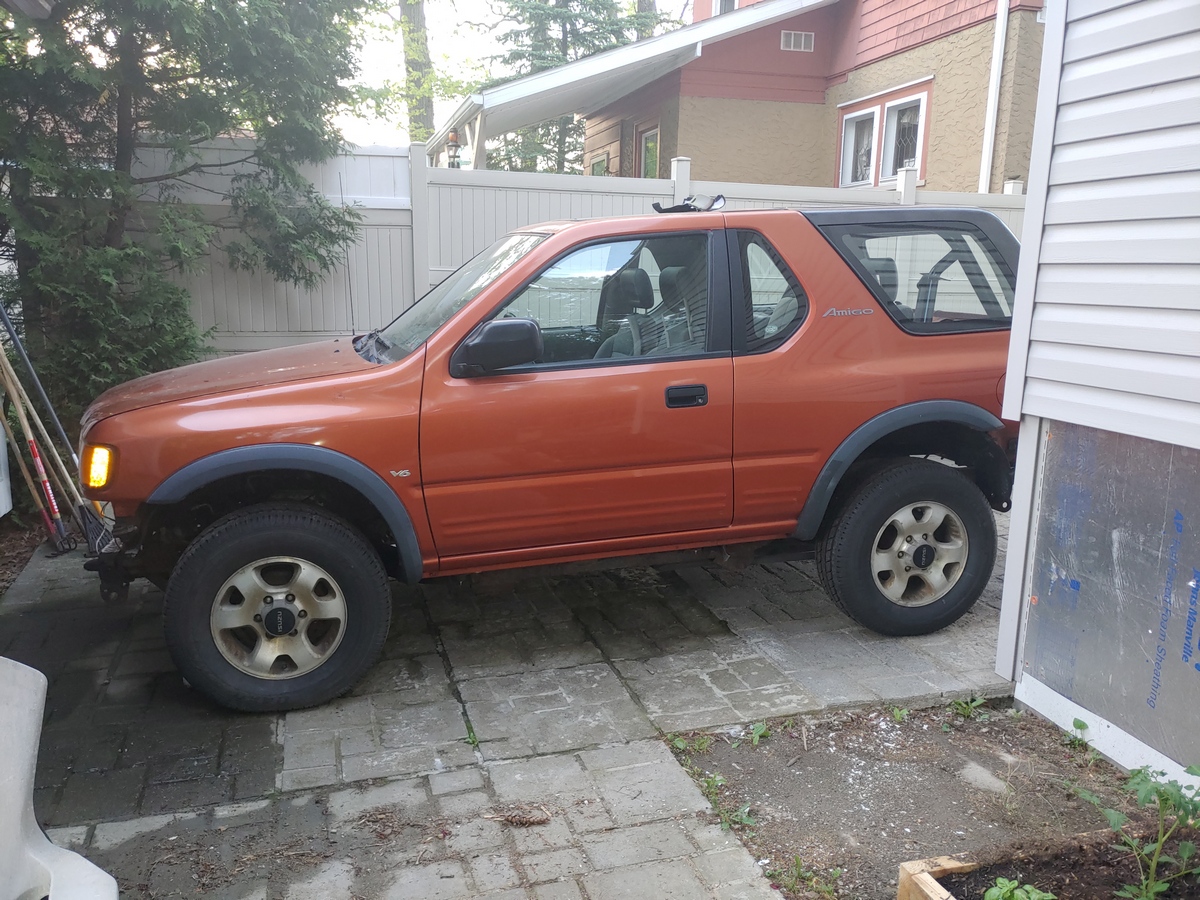
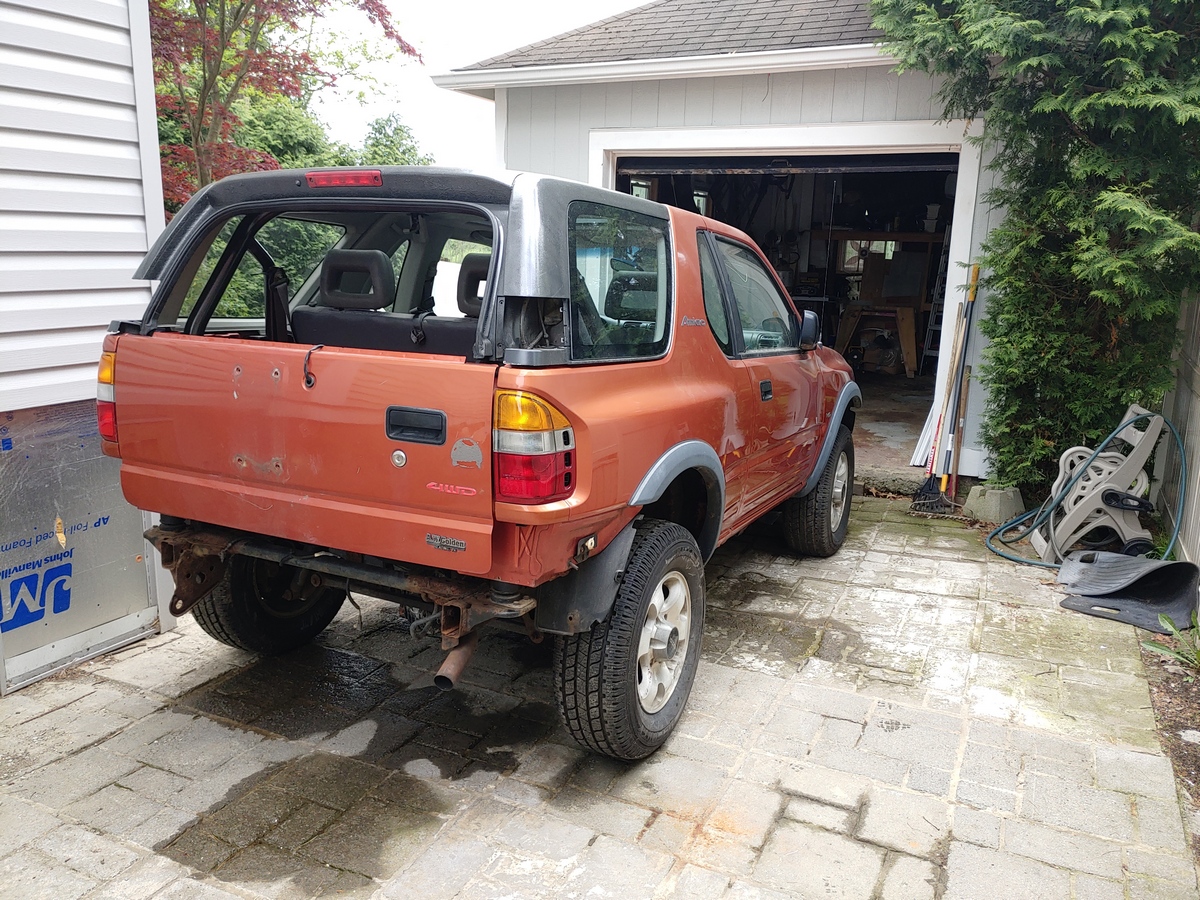
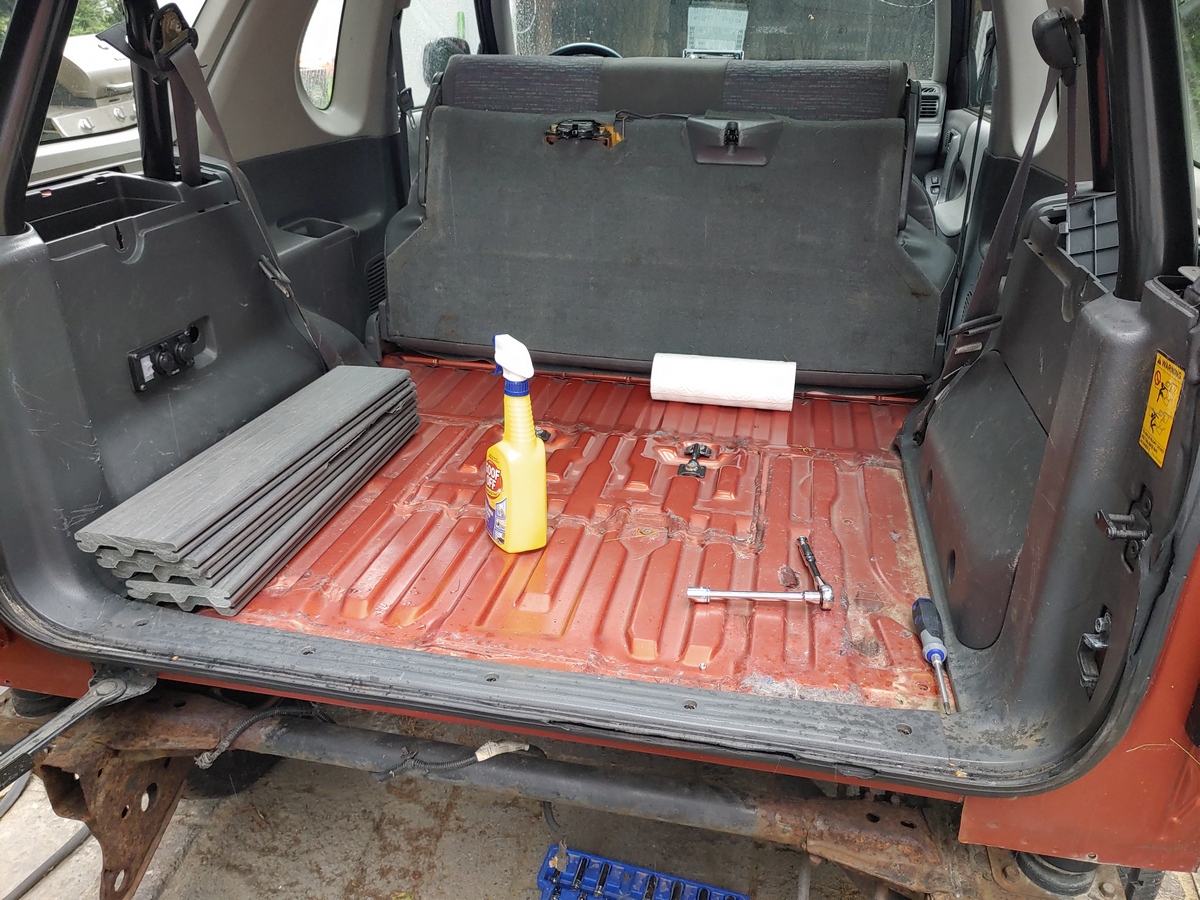
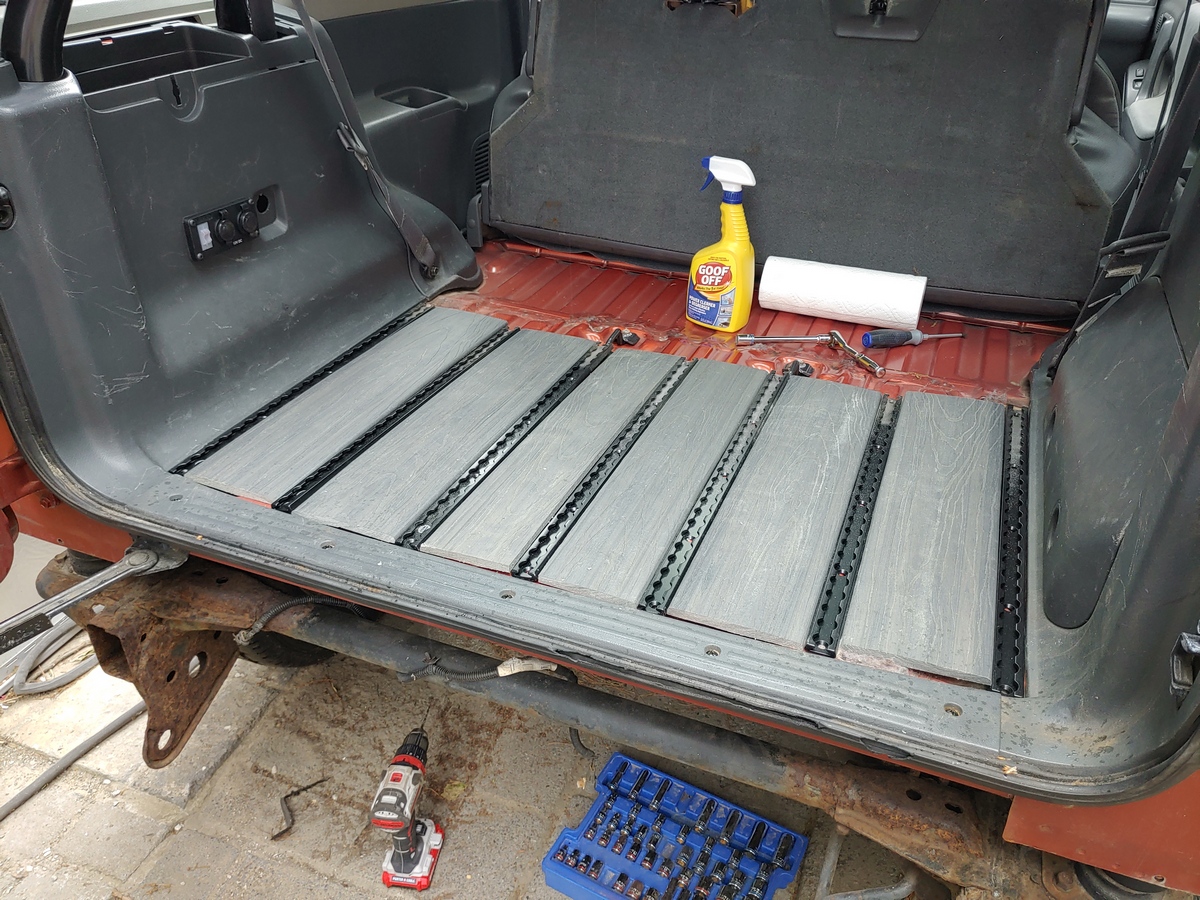
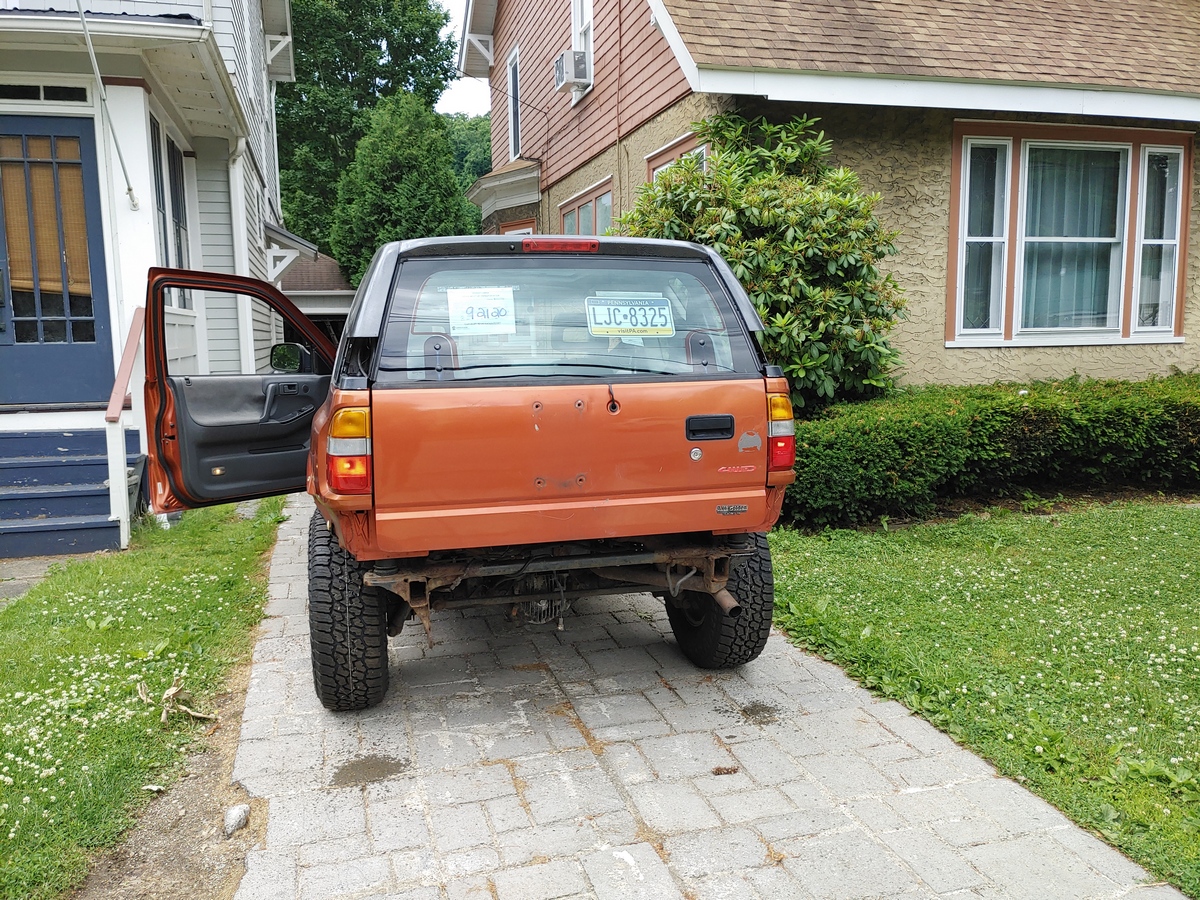
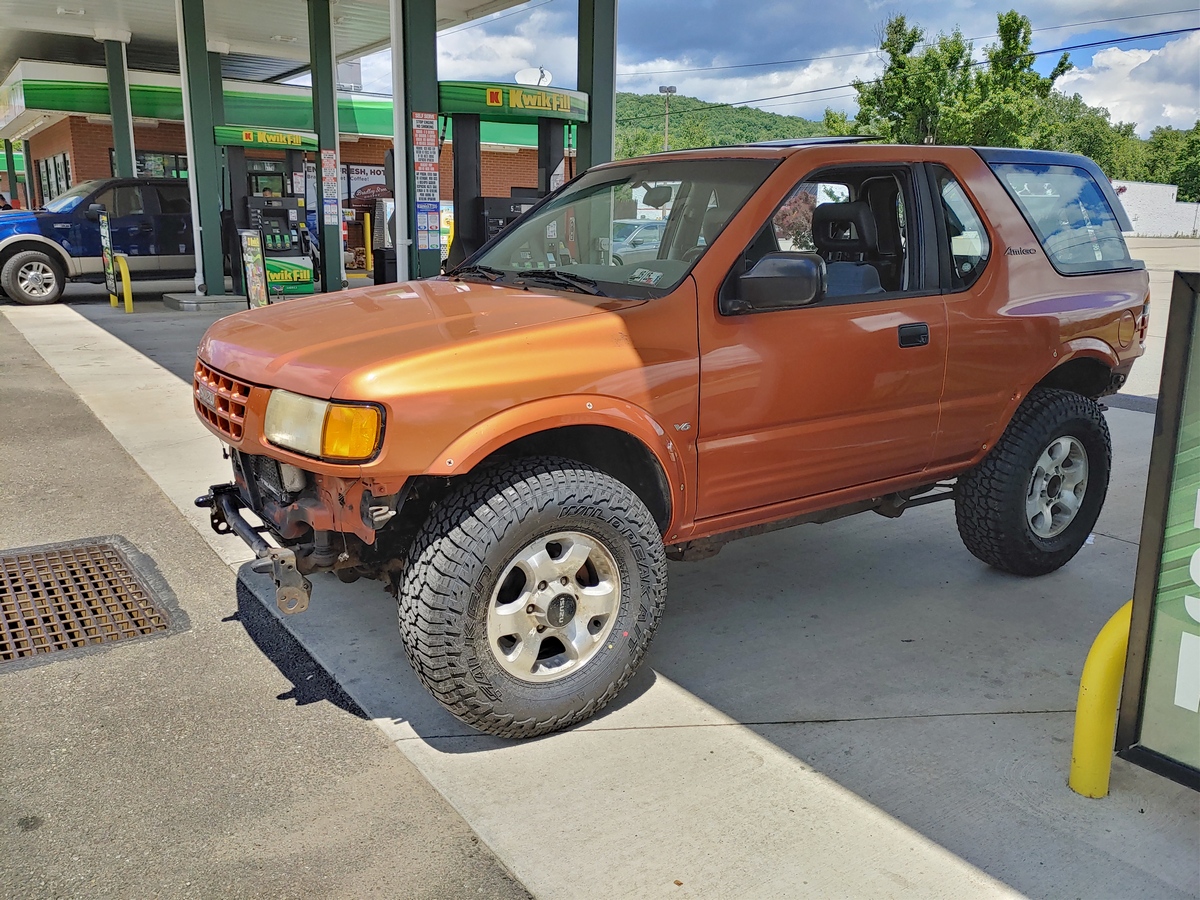
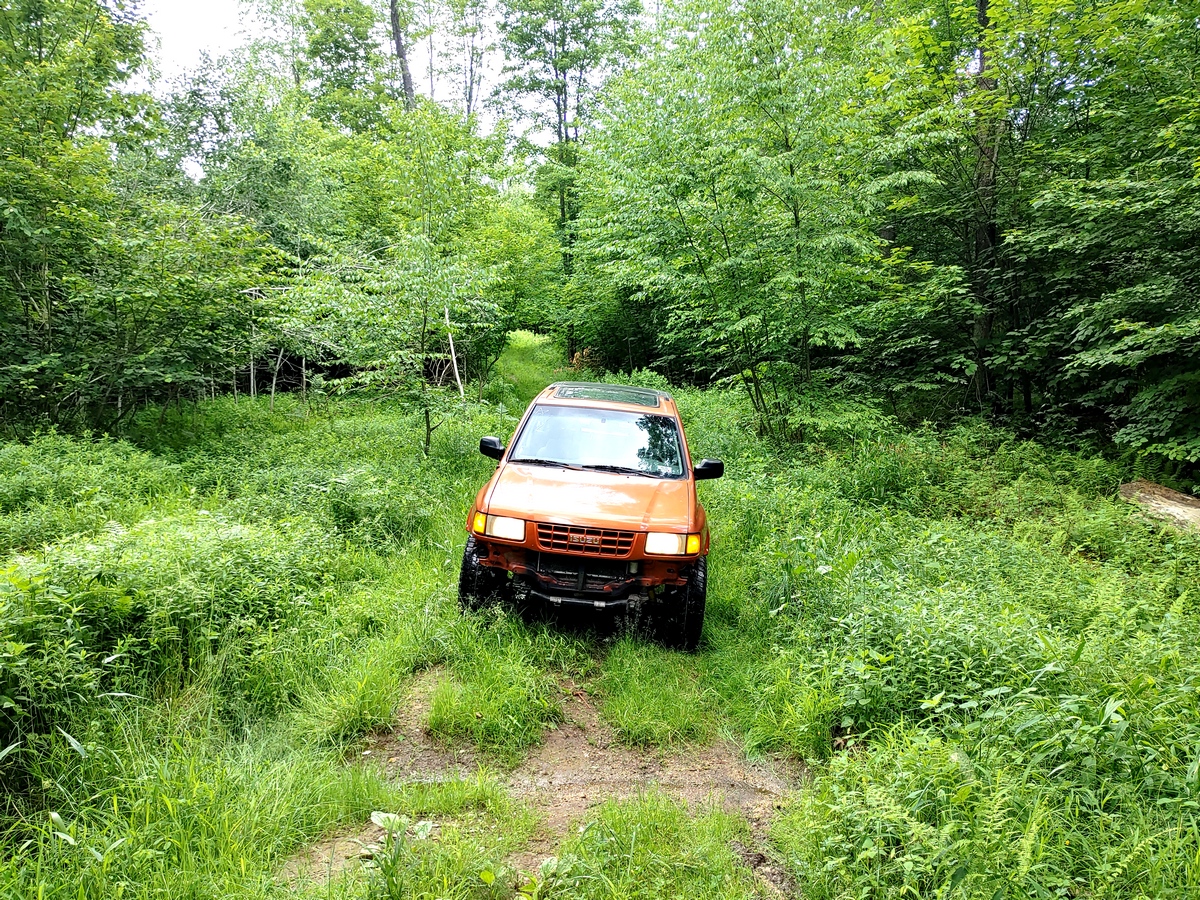
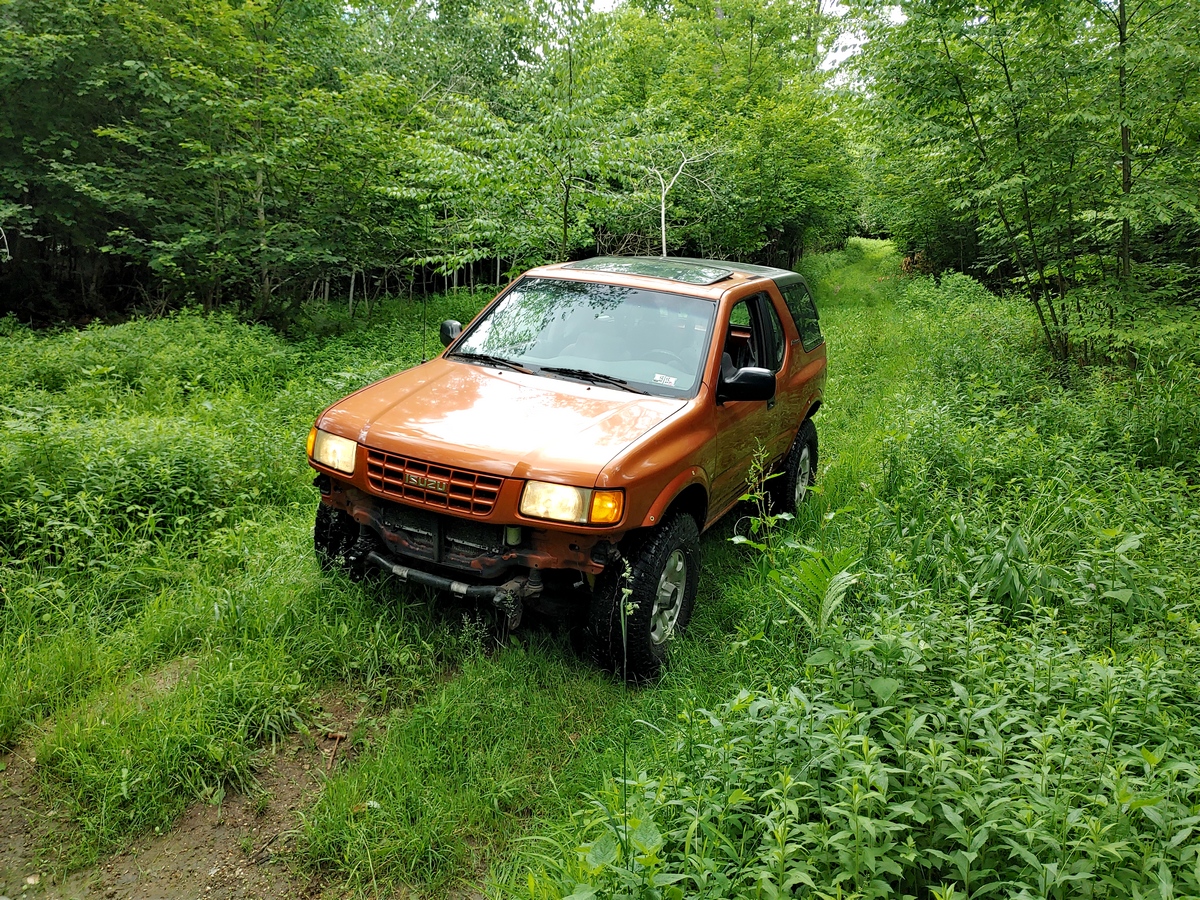
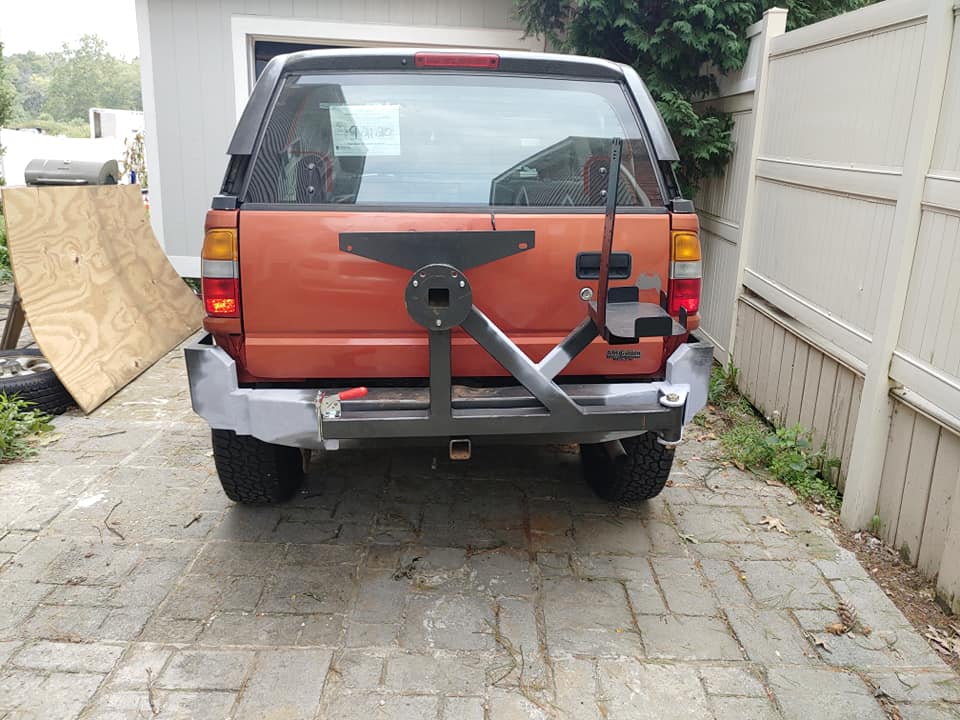
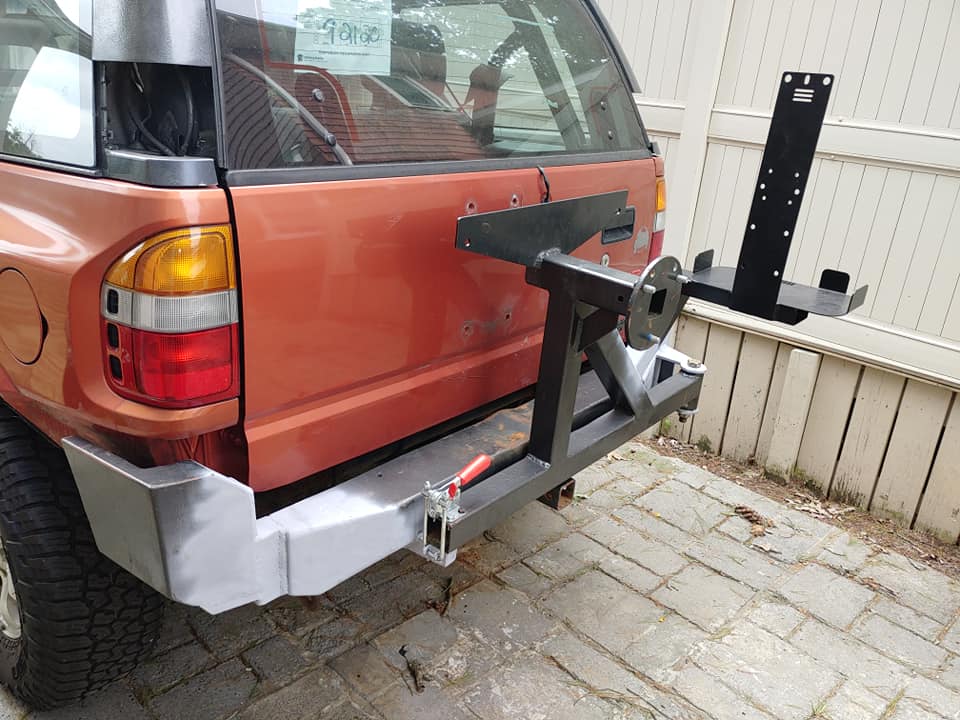
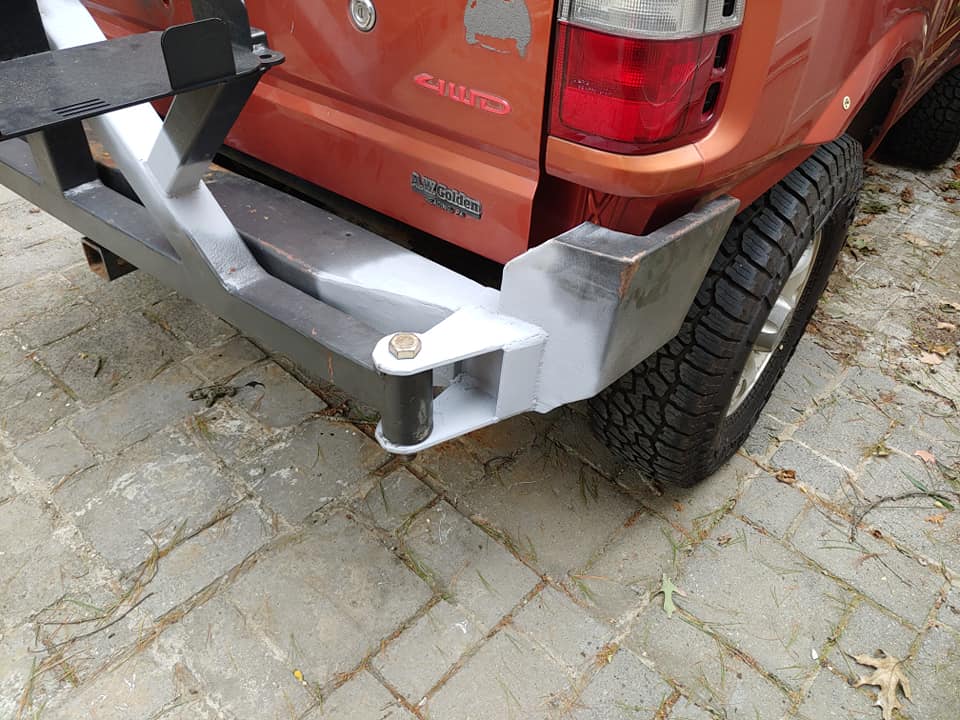
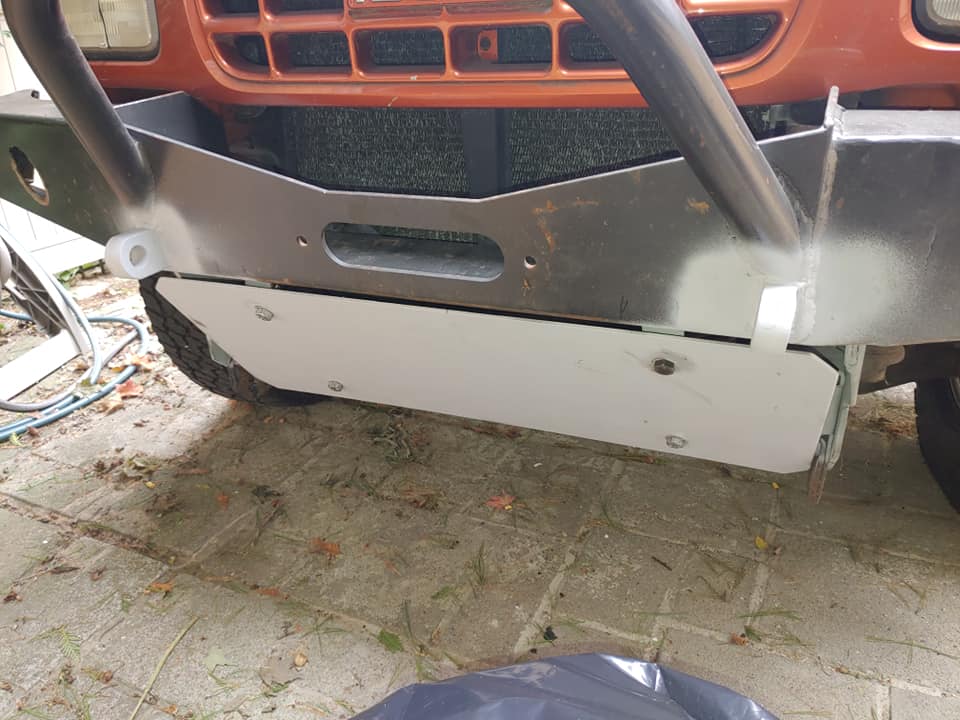
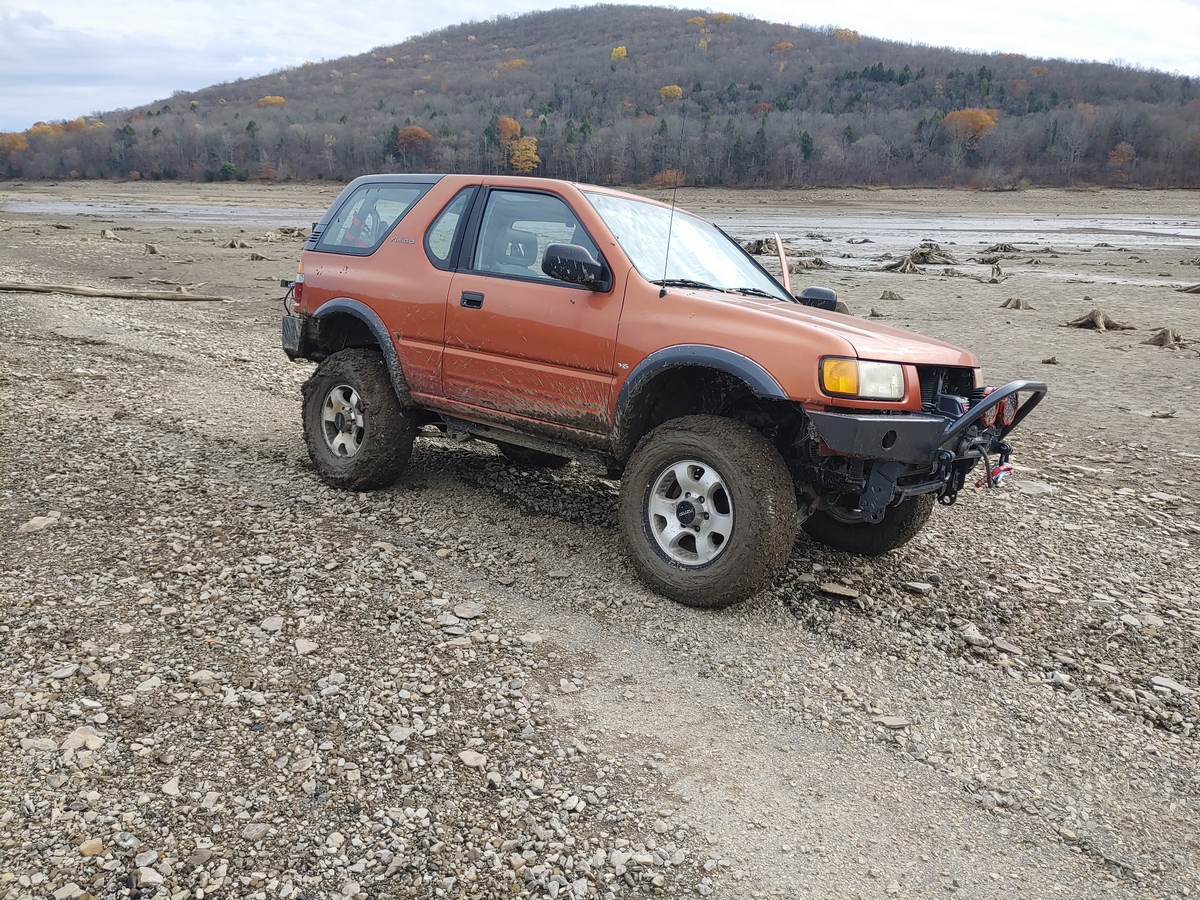
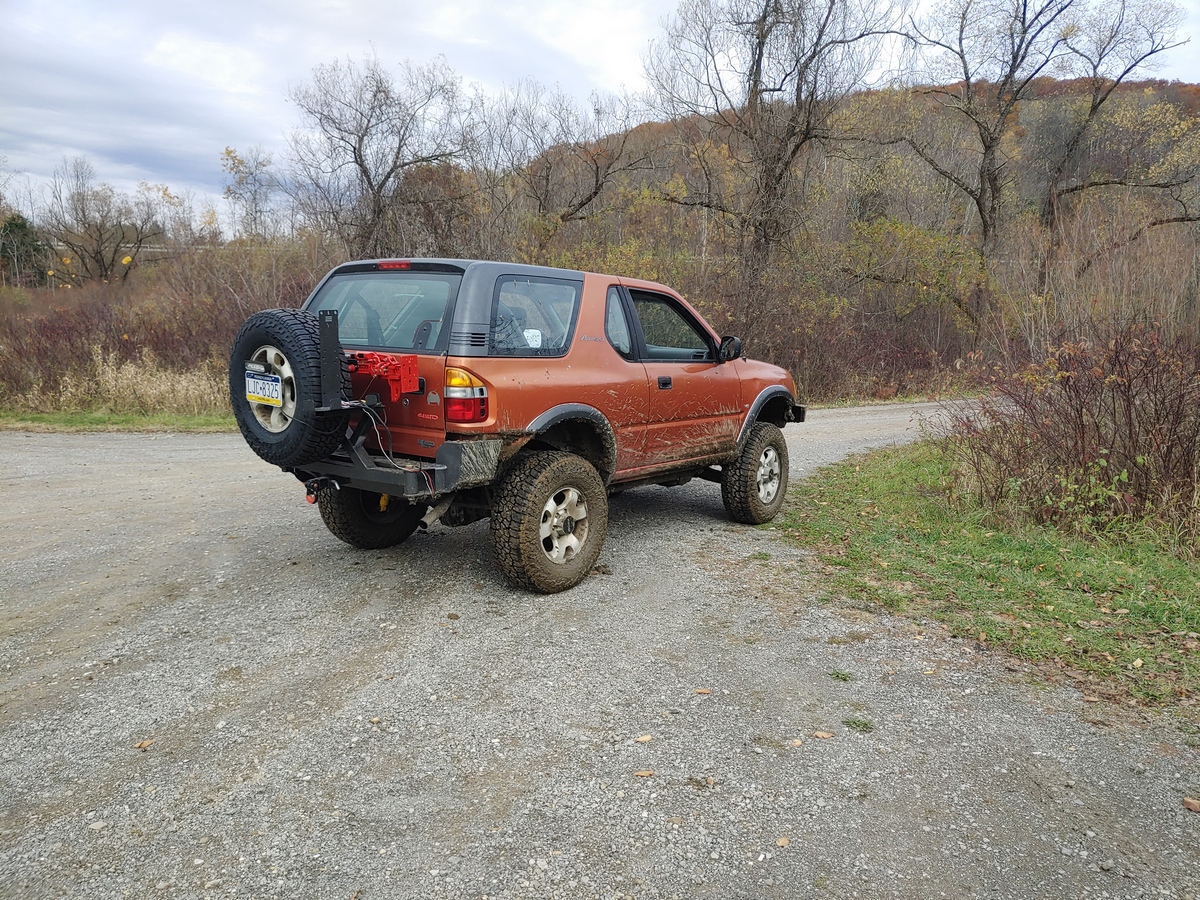
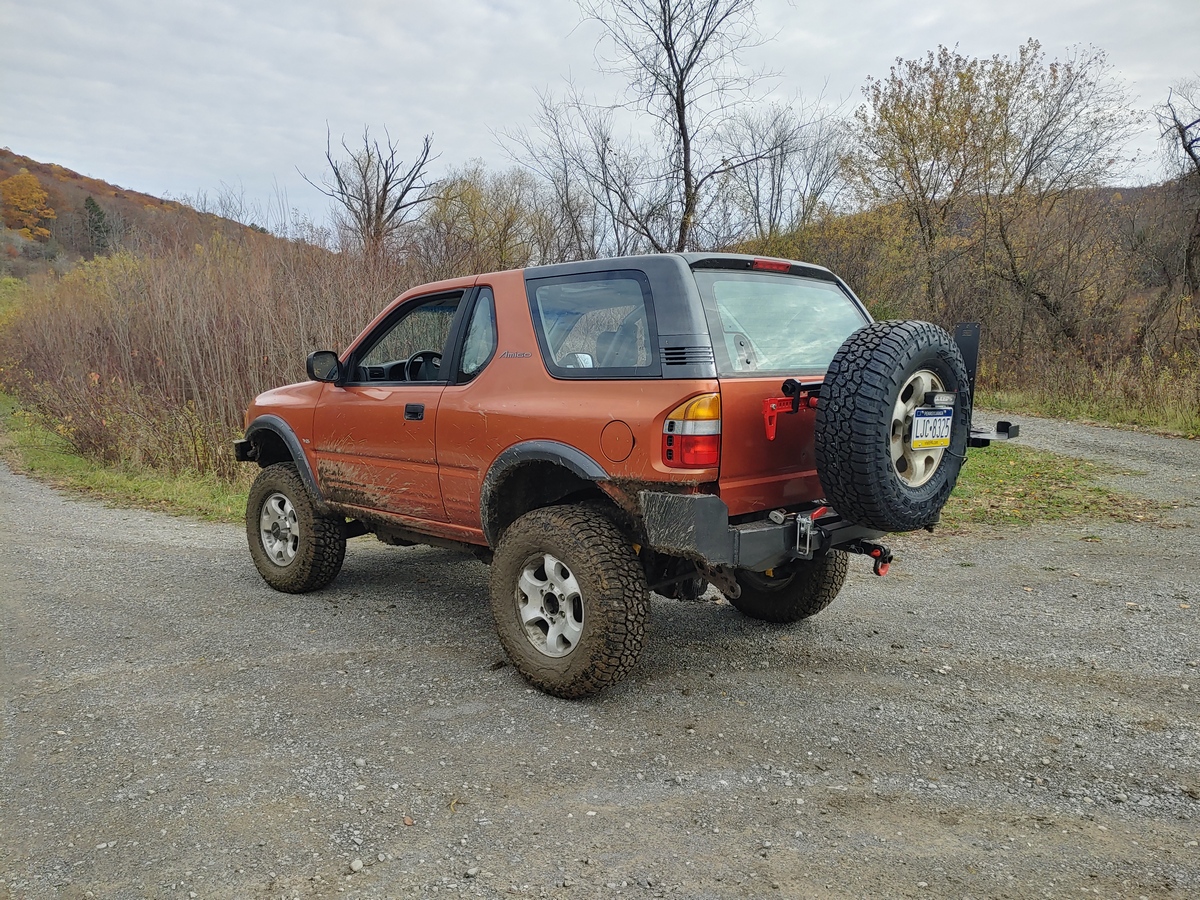
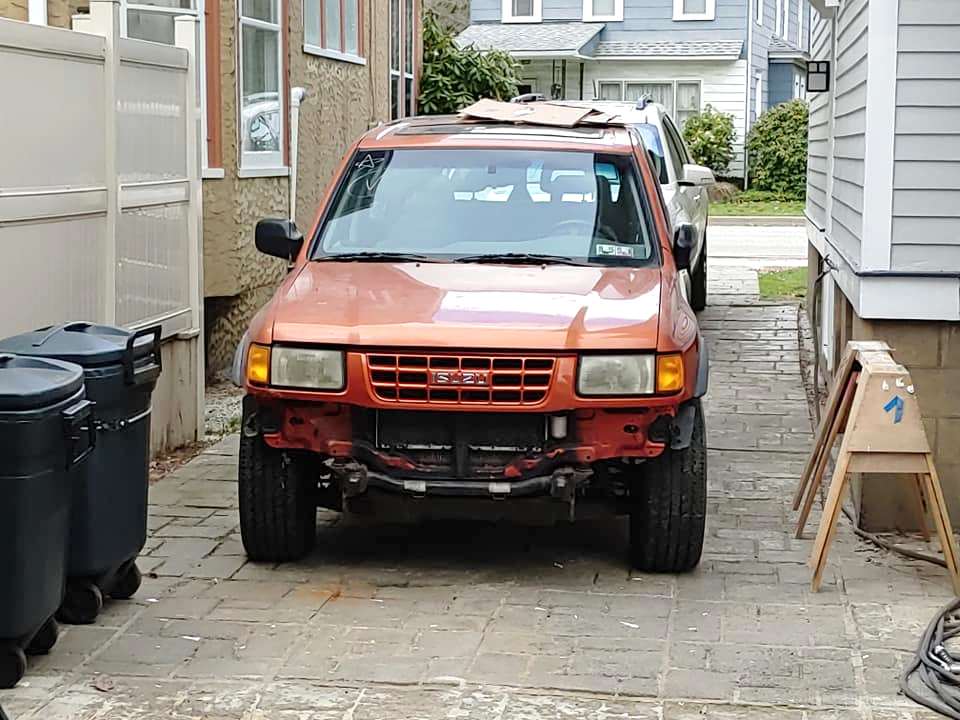
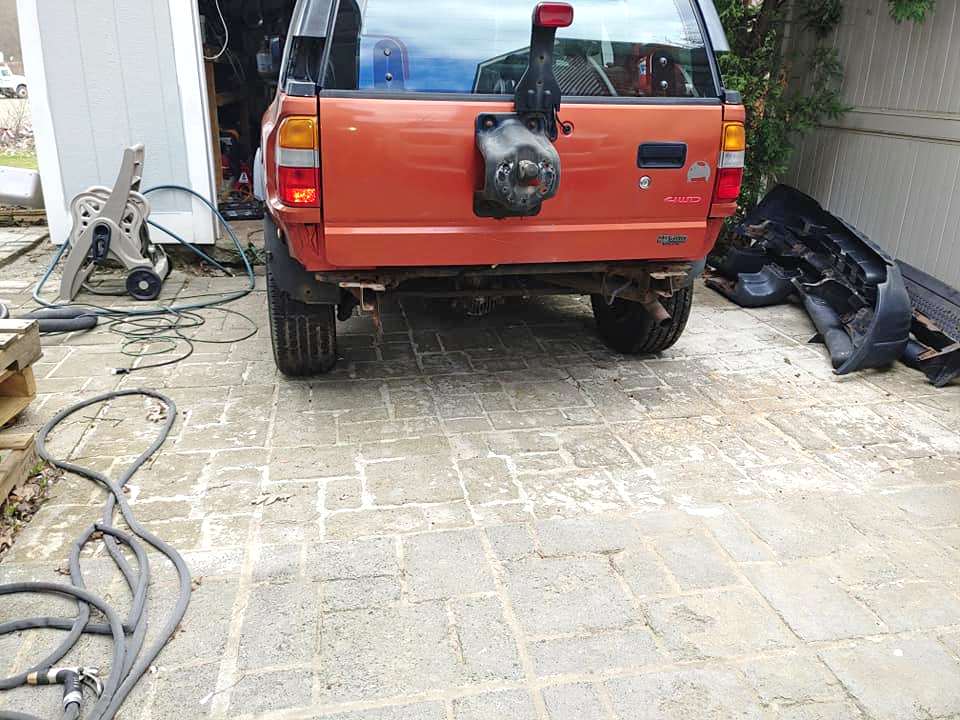
The rig: 1999 Isuzu Amigo. 200k miles, and I got it for free, basically: I sold some parts off of it and recouped my cost. Also great...I'm only the second owner and the first owner did a fair job of keeping it maintained and working. I'm going to do upgrades, obviously, but it's a sound base to begin with. Here she is, after some work has already been done:


Onward and upward, friends.
 

utherjorge

Rank V
Launch Member

Enthusiast III

1,416
Warren, PA
Member #

17438

So, time to cheat a little bit. What I have planned is a once weekly update to get stuff on the little trucklet, but alas, we have had copious amounts of snow this week, so I have to use a couple of weeks ago and what I got done with the top.

My Orange was stock as a convertible. There are some very minor changes to make if you want to go hard top, but nothing major. I still don't have all the bolts in, as I'm not driving it yet. But I had to swap the hard top on as the old soft-top was original to the truck and band-aided together with safety pins, allowing lots of weather in. If I folded it down, it wasn't going back up.

I searched for a top, and very nearly bought a whole Amigo to use for parts, along with the top, but I found a top (plus back glass, which was also needed) for a steal. Something like $200, which I snatched up right away. However, it was covered with some real low-end type of bedliner product, which was hard as a rock, where it was still sticking. I had to sand it all off. Then I used Rust-Oleum Hammered Black over it, which dries to a nice charcoal color; this will be used much more as we go along.

First pic, rear view:


Close up, where you can see some of the crumb-crap still on: I did not dig it out because I started to dig into fiberglass with the point of my sander and I wanted to avoid this.


Finally, why not with some Star Trek lens flare, completely not on purpose:


Lastly, the rear glass from the inside. It was not lining up with the bolt holes at this point...but did after some consultation with an Isuzu expert. You may see some of the messsssss of wiring I will need to sift through, as there was an enormous sub and amp in there:


I have already started body lift disassembly...hopefully, that's next week's post!
 
  • Like
Reactions: MazeVX and Ubiety

utherjorge

Rank V
Launch Member

Enthusiast III

1,416
Warren, PA
Member #

17438

Looks like a fun project! In that last pic of the tailgate my eyes keep seeing a dog instead of the third brakelight. :)
It does look a little like a dog! I didn't notice that!

Amigos are a ton of fun. Great build so far!
Thanks! Much more to come, including 2 inches of body lift and 2 inches of suspension lift. Bumper fun and electrical fun, too!
 
  • Haha
  • Like
Reactions: J.W. and Ubiety

utherjorge

Rank V
Launch Member

Enthusiast III

1,416
Warren, PA
Member #

17438

So, the body lift is slow going for a couple of reasons. Reason 1 is that there are supposed to be harnesses and what not in specific locations...and there are not. So, tracking down where the buggers have been moved to is a challenge.

Additionally, while I'm not seeing structural worries, there's a lot of rust to work around and knock off, which I'm doing as I go. You can see that in this first picture:


The end of the frame gives you a good idea of what I'm talking about.

Additionally, while I have it disassembled, I can attempt other things. High power cables were run for a large amp in the rear door. I can see where wires were run, and since the rear carpet and mat are still soaked after three months inside the garage, and I was removing the rug anyway, I'm debating about changing out the single 12v cigarette lighter plug in the rear for a newer own, perhaps with an Anderson plug, run from higher-grade wires. Stock looks weak.


I didn't run a meter off of those two wires to see the draw, but I have no faith in them delivering power I might need to the rear for "stuff."
 

diabetiktaco

Local Expert New Jersey, USA
Launch Member
Member

Explorer I

3,650
Marlboro Township, NJ, USA
First Name
Eric
Last Name
Beauchea
Member #

4723

I always wanted a 1st gen in aqua. When I was in middle school I used to lust over these. Shame they're gone..good looking trucks w/ a stupid name haha
 
  • Like
Reactions: utherjorge

utherjorge

Rank V
Launch Member

Enthusiast III

1,416
Warren, PA
Member #

17438

Ok, so the body lift is done. I do have a likely issue where the shifter boot is wadded up in the housing...so I don't have 2nd, 4th, or reverse...so I just push it out of the garage!

Actually, since the carpet continues to stay wet, I am taking the interior out to clean it, and then I can fix the shifter boot along with the wiring I'm trying to get help on. Looking to run that Blueseas panel and trying to get advice, so stay tuned to that, too.


utherjorge

Rank V
Launch Member

Enthusiast III

1,416
Warren, PA
Member #

17438

Well, I think I've decided what I'm going to do: a switch panel in the dash which will in turn run a new panel in the back.

The stock driver rear interior panel had a cig lighter, but not great wiring, and I doubt it would hold up, even though it was currently powered.

I have ordered a Blueseas panel, and am deciding if I want to run it right off the battery or from one of those multi-switch panel thingies in the center stack of the dash.
 

Rorschach

Rank V
Launch Member

Off-Road Ranger I

1,710
Huntington Beach, CA
First Name
Robert
Last Name
Niederhauser
Member #

1519

Ham/GMRS Callsign
KM6ULA
I am asking as I was a master tech for Isuzu light vehicle in the days of your vehicle and am now a technical writer in their Publications department for their commercial trucks. I still have access to the SUV information though. If I can help you with some factory wiring diagrams let me know. I will see what we still have.

As a side note, my best friend has the same version of your Amigo down to the color. Is this the 4 cylinder or 6 cylinder version?
 
  • Like
Reactions: SuburbanSasquatch

utherjorge

Rank V
Launch Member

Enthusiast III

1,416
Warren, PA
Member #

17438

If you were a master tech (and I'm not doubting you!) I'm sure I'll have questions for you!

What I'm doing (and it's on the way, so I have pics now and will have more later) is replacing the 12v cigarette lighter plug in the rear driver's side with a more robust panel so I can plug in a fridge, or really anything that has a larger draw. I will be posting some pics up before too long.

I've also stripped the carpet out. The front half is getting cleaned, but really the whole carpet was soaked despite being in my garage with a heater for two months. I believe the sunroof drains are blocked, but that's no biggie. After the carpet was out, we had a huge rain the other night...it was bone dry. When I picked this up, it had been sitting for a few years with a torn convertible top and no doubt the water came in a plenty for those years.

The rear half is going to be a combination of L-track and wood slats because I'm bizarre and I think it's going to look good.

Back to the panel, though: I'm deciding if I want to run this panel off the battery straight back, or use one of those sPod-sorta panels off the battery. Going straight off the battery would likely allow for a cleaner draw but I would lose the low voltage cut-off that an sPod panel allows. I'm on the fence about this at this point.

This is the 6-cylinder 5 speed.
 

utherjorge

Rank V
Launch Member

Enthusiast III

1,416
Warren, PA
Member #

17438

So, I did the first "real" overlanding sort of addition today. I got help from both a member here and from BlueSeas themselves, but I wired a new panel to be able to run items from the rear of the Meego.

So, first, here's the panel out of the vehicle. Driver's side, rear.


Closer look at the back of this flimsy accessory outlet? ENHANCE!


Let's look at the stock wires and see how they look!


They were live, but wouldn't run much. I should mention that I took the interior apart to put in a body lift and to find out the source of the water in the carpet. Both of those beign accomplished, it was time to tackle this.

So, I got 18 feet of 10/2 marine wire to run from the back to the battery. As per Blueseas, they preferred going negative to battery as opposed to ground. I did check and it worked on a spare battery, so here's to hoping. So, I ran the wire front, behind panels, and through an existing firewall hole and to the battery.


Now, I also shielded the cable under the hood and will be running it above the A/C lines to the battery location. I will have a picture of that later.

Here's the finished panel...I just need to blank out the previous hole!
 

utherjorge

Rank V
Launch Member

Enthusiast III

1,416
Warren, PA
Member #

17438

OK, so I'm really excited for this update, even though it's not done yet. I got the seats and carpet cleaned, cleared the sunroof drains, all that stuff, but that's no fun. However, I'm installing L-track and decking shaved to fit as a storage solution in the rear. Let's get into it!

I don't have any good pictures of the rear carpet, but it was left out to the elements for years, so it wasn't so good. I took it out, removed the D-rings that come stock, and was keft with this. Note the cut boards to the left.


I should now do a shout out to my local Lowes: I look for things I need, and since stuff was damaged, I paid a fraction of what the regular retail price. You can see one of the above boards looked funny: someone got a bit sporty with a forklift and damaged the decking where you'd biscuit it in to secure it, so the board was unsellable. Except to me!

I took these gray composite (i.e. plastic) deck boards and shaved them so they were about the same height as the L-track I used. It was one 12-foot section, cut in two-foot lengths, as you see above, then shaved. First, let's see what it looks like when you do six of these with a table saw:


Also, if anyone ever does this, mask up. You'll thank me.

In that pic, you can see the scrap to the left of my table saw. Here's what it looks like after you shave it: I basically used the groove that would take the biscuits and cut about there, both ways, as you can see with how the guard is aligned above. Here's what it looks like. The "keepy" side is at right.


I should pause for a second: I was going to use wood, but then I'd have to stain it and treat it for the elements with spar urethane, and then redo that every now and then, and even the oak I can find around here would still sliver, chip, and dent. I went with this because it stills looks "woody" but isn't, and is pretty durable stuff.

Now let's introduce the Core Trax I'll be using. There are a bunch of places that sell L-track, but as I'm a pain like this, I wanted black rails. Even more than that, though, was that regarding US Cargo's stuff, the fasteners aren't included and are on the short side. I wasn't convinced I would have enough depth to bolt on through the floor. The price and color combo was enough for me. Here's the depth of a cut/shaved board compared to the Core Trax thickness. This board is bent...but they're pretty close to even if not actually even:


Note also that the rings are in there to show what they look like, though I will have more on that later.

So, I cut all the boards to length, and then shaved them, and here's what they look like in the bed:


I will have to adjust the edge to they butt up to the rear trim piece ( and yes, I have to clean up the surface frame rust, I know, I know), but you get the idea. Then, I cut the core trax to two-foot lengths and laid them out, too. To be truthful, they were slightly wider than I thought, so on either side of the center piece, I needed to trim the deck board a bit. Here's the way it looks, before finishing:


Obviously, not done, and not even bolted in yet. I will use black construction screws through the decking (two on each side, to prevent curling) and Core Trax hardware for that. I need to trim both ends: by the rear door, to fit the curve of the trim piece, and at the front, to sidestep the rear seat and floor mounts for that, too. I need to level them, too. But I'm pretty happy with how this looks thus far.
 
  • Like
Reactions: RJCanyon

utherjorge

Rank V
Launch Member

Enthusiast III

1,416
Warren, PA
Member #

17438

I have lots of little upgrades I can post about, but what's most important is that it's now legal, and on the road! and...a little off the road, as you can see. Without any recovery gear, I didn't want to mess around too hard, and I heard some noises to address...but she's legal!


utherjorge

Rank V
Launch Member

Enthusiast III

1,416
Warren, PA
Member #

17438

OK, so lots of pictures and updates and things coming this week: new coils and other stuff on for the lift, and the bumpers are on, too. Better pictures coming in better light!
 

utherjorge

Rank V
Launch Member

Enthusiast III

1,416
Warren, PA
Member #

17438

Ok, so let's first talk about the bumpers. These came originally from my last rig, a Daihatsu Rocky. Loved that little rig, but the company did a Sh*t job engineering the engine, and you will always find them for sale with bad head gaskets or some related cooling issues. This is "a thing." I did not know about "this thing" when I bought it, and I even had the head done. Annnnnnnnnnnd the head still ate itself and died, taking the block with it, too. As related elsewhere here, I parted it out and got a lot of my money back.

But I kept my bumpers.

The bumpers themselves were pieced together with the amazing and extensive help from Myron at Zuk Offroad. They are essentially Tracker pieces (their Dominator bumper) with some Vitara bits thrown in. The Rocky had a similar width to the Amigo, so that was not a concern, but the Amigo's frame rails are much wider at the rear. So the front bumper needed some mods, but the back bumper needed to be extended at the center section, and the tails reinforced so that I could use a high lift jack on the corners if needed.

Additionally, I had Ballistic Fab clevis ends added at the front (there were none before) and at the rear, added a Rock Hard 4x4 fuel carrier to the side of the tire carrier for Rotopax, which will come later. The "old" skid plate at the front was awesome but did not fit, as it would cover the oil filter, so a much shorter skid plate was added. The tire carrier had a different way to close and secure which got rusty immediately, so I had an EMS Offroad latch put on, too.

I did not do the welding, because I am garbage at it. My local guy did it, and as his stuff has been "Accidentally" crash tested before, I trust him completely.


  • Like
Reactions: Rick Schlepphorst

utherjorge

Rank V
Launch Member

Enthusiast III

1,416
Warren, PA
Member #

17438

Been a little bit since I posted last. Lots has been done. Bumpers have been finished, and installed...along with the winch. I have to reinstall the skid plate in the front, but I have to play a bit more with the winch anyway. Also, the lift is on and done. I do think I need to crank the front t-bars down some for more travel (it's very stiff; not sure it it's the bars being too high or simply new, heavy-duty bars) but there isn't much droop.

With tires, body lift, and suspension lift...we are 5 inches higher than stock.

So, I went out and played once I got the winch on...and I needed it! I got stuck but was able to winch out with zero problems. Worked like a charm.

Front view, obviously. Grille needs to be finished, some more lights on, and so on...but good enough to go.


You may note some mud around the rear tire. I even aired down. I need some practice.


I need to finish the wiring on the rear light, but it was enough to get me inspected and legal. License plate light and brake work fine.


Out of the mud, and away we go.