Nissan Patrol Y61 with an OM606

  • HTML tutorial

game-on

Rank III
Launch Member

Pathfinder III

740
Slovenia
First Name
Matic
Last Name
Repic
Member #

18288

O9hiLXs - Imgur (1).jpg

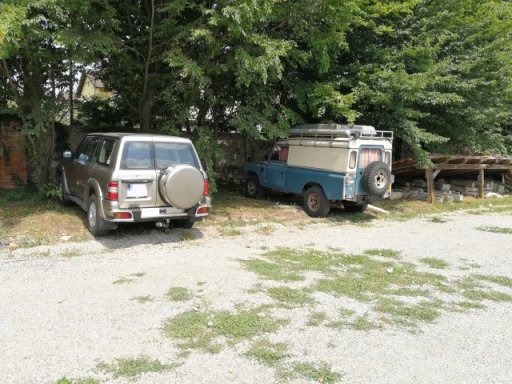
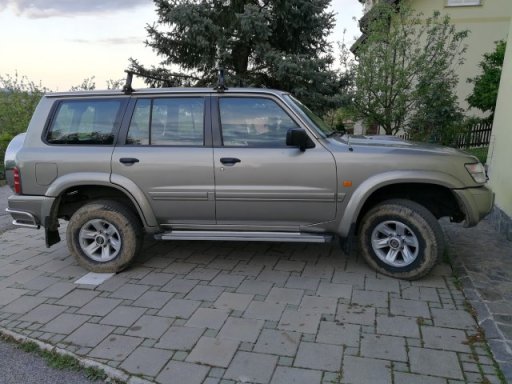
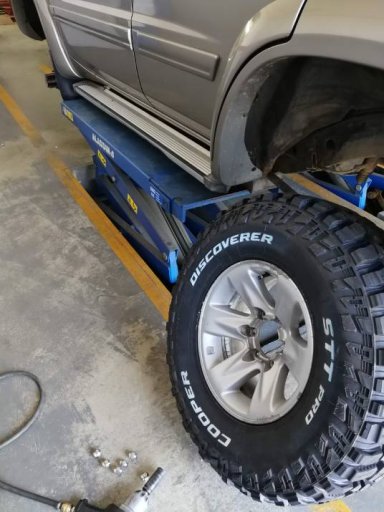
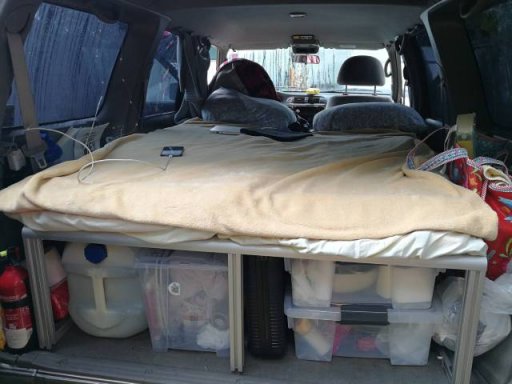
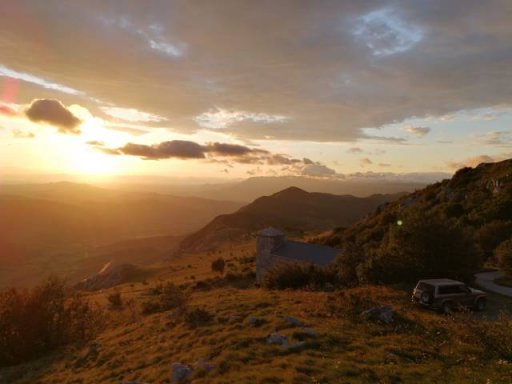
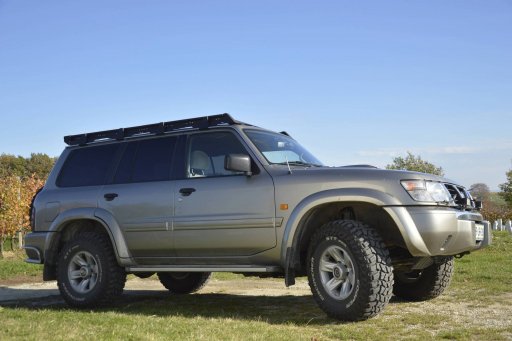
This is my 2001 ZD30DI Nissan Patrol Y61. Nothing major - it has a roof rack, 33" MT tires, tinted windows, and a sleeping arrangement inside.
However, let's start at the beginning.

1.jpeg
2.jpeg

I bought this behemoth of a car back in April of 2019. It was pretty well maintained by its previous owner and apart from minor rust, it looked great.
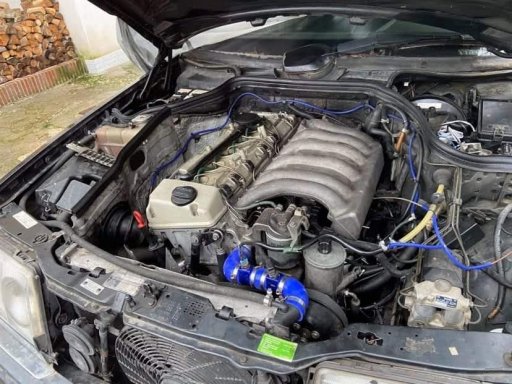
But ... there is always a but. I knew when buying it, that the ZD30DI engines weren't known to last.
To summarize, the ZD30DI engines are notorious for blowing up. The amount of blow-by on this engine is immense and as it returns into the intake it makes the MAF sensor dirty. This can be critical as it has the VGT/VNT turbine which is controlled by the ECU. The latter controls the amount of boost - meaning it increases the amount of boost when we need the power (e.g. driving up the hill). However, if the MAF sensor is dirty, the ECU can think there is a larger amount of air coming through the intake. Because of this, it increases the amount of fuel, which as a consequence leads to higher engine temperature. EGR also does not help, as it returns hot exhaust gases into the engine. All of this, and ZD30s oil channels which were designed too small, lead to engine overheating and can lead to piston 3 or 4 letting go.
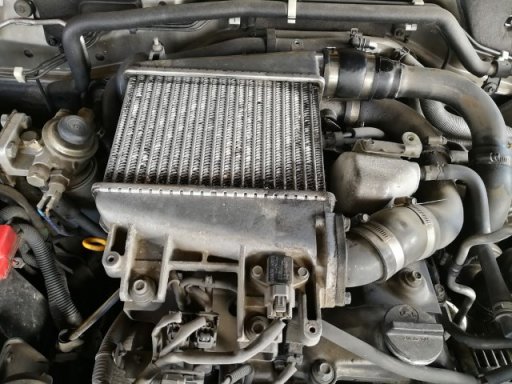
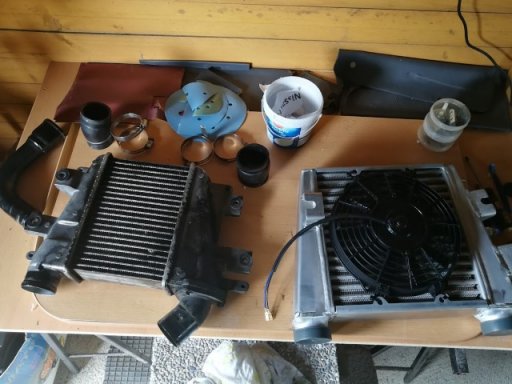
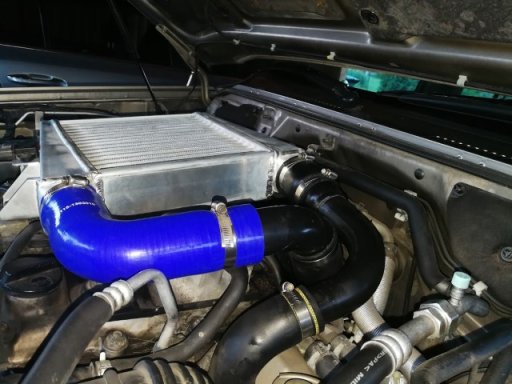
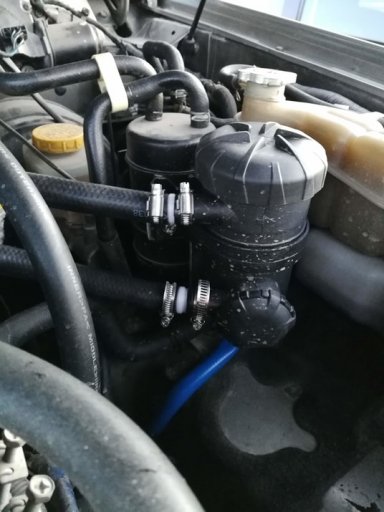
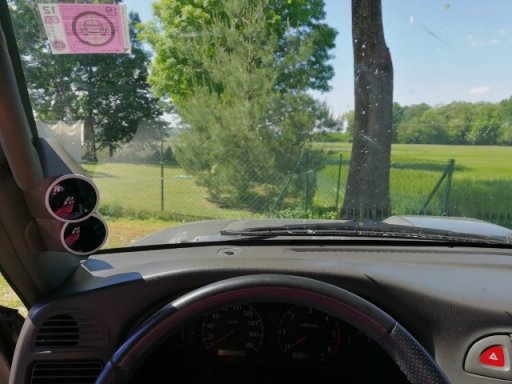
Of course, all of this can be avoided. Only a catch can, larger intercooler, EGR blanking plate, boost & EGT gauges, and a manual boost controller are needed.

7.jpeg
8.jpeg
10.jpeg

The story behind purchasing this intercooler is quite funny.
I found a guy on a Russian forum that makes them and decided to buy it. He sent it through his friend in the Czech Republic, as that meant I didn't have to pay import taxes for a package that came from outside the EU.
Imagine your phone ringing late at night and there is a Czech phone number shown on the screen. I answer.
The voice says: "Intercooler .... Patrol". I say "Yes, yes".
The voice goes on and explains something in Czech. I reply "I don't understand".
"You don't understand." Repeats what he just said, but slower.
"I don't understand".
"You don't understand." Repeats it again - really, really slowly, emphasizing each word.
I reply "OK".

I have absolutely no idea to what I agreed, but I received the intercooler. :sweatsmile:

21.jpeg
6.jpeg

Then came the preparations for our summer trip in 2020.
That meant bigger tires and a sleeping arrangement - a bed and tinted windows.

18.jpg
7.jpg

The trip was amazing!

10.jpg

More on what's happening in the garage right now - soon :)
 
Last edited:

game-on

Rank III
Launch Member

Pathfinder III

740
Slovenia
First Name
Matic
Last Name
Repic
Member #

18288

Everywhere I went, always in the back of my head were the possible problems of the infamous ZD30. All in all, it is a decent engine. Has an OK amount of power and is nice to drive, however, I wanted a bit more and something really reliable. Now, I could rebuild the ZD30, but the oil channels would still remain small, and power wise it wouldn't get much better.
That is why I started to flirt with the idea of an engine swap.
Now I am by no means a mechanic. Nor do I have experience with engine rebuilding. What I have done until now is service my own cars and replace the parts that stopped working. This is why I had (and still have) a lot of respect (and a bit of fear) for truly rebuilding a whole engine. But, this is probably for the best. I wouldn't want to rely on a poorly rebuilt engine in the middle of nowhere. However, I know that the knowledge I will gain through the rebuild will help me immensely when I will inevitably have to fix something on an engine far away from home with only myself to rely upon.

So, decided that I really want to do an engine swap, I set upon searching for the right engine. First I set my eyes upon a BMW M57 turbodiesel engine. Great common rail engine that seems very reliable and doesn't consume too much diesel. It also seems to be quite trendy when choosing an engine for either Patrol or Defender.
Then I stumbled upon 'superturbodiesel' OM606. Classical diesel engine with prechambers. Based on what I read, it truly is a reliable engine. But what really got me was the fact that you can put a fully mechanical pump from an OM603 engine on it and make it fully mechanical.

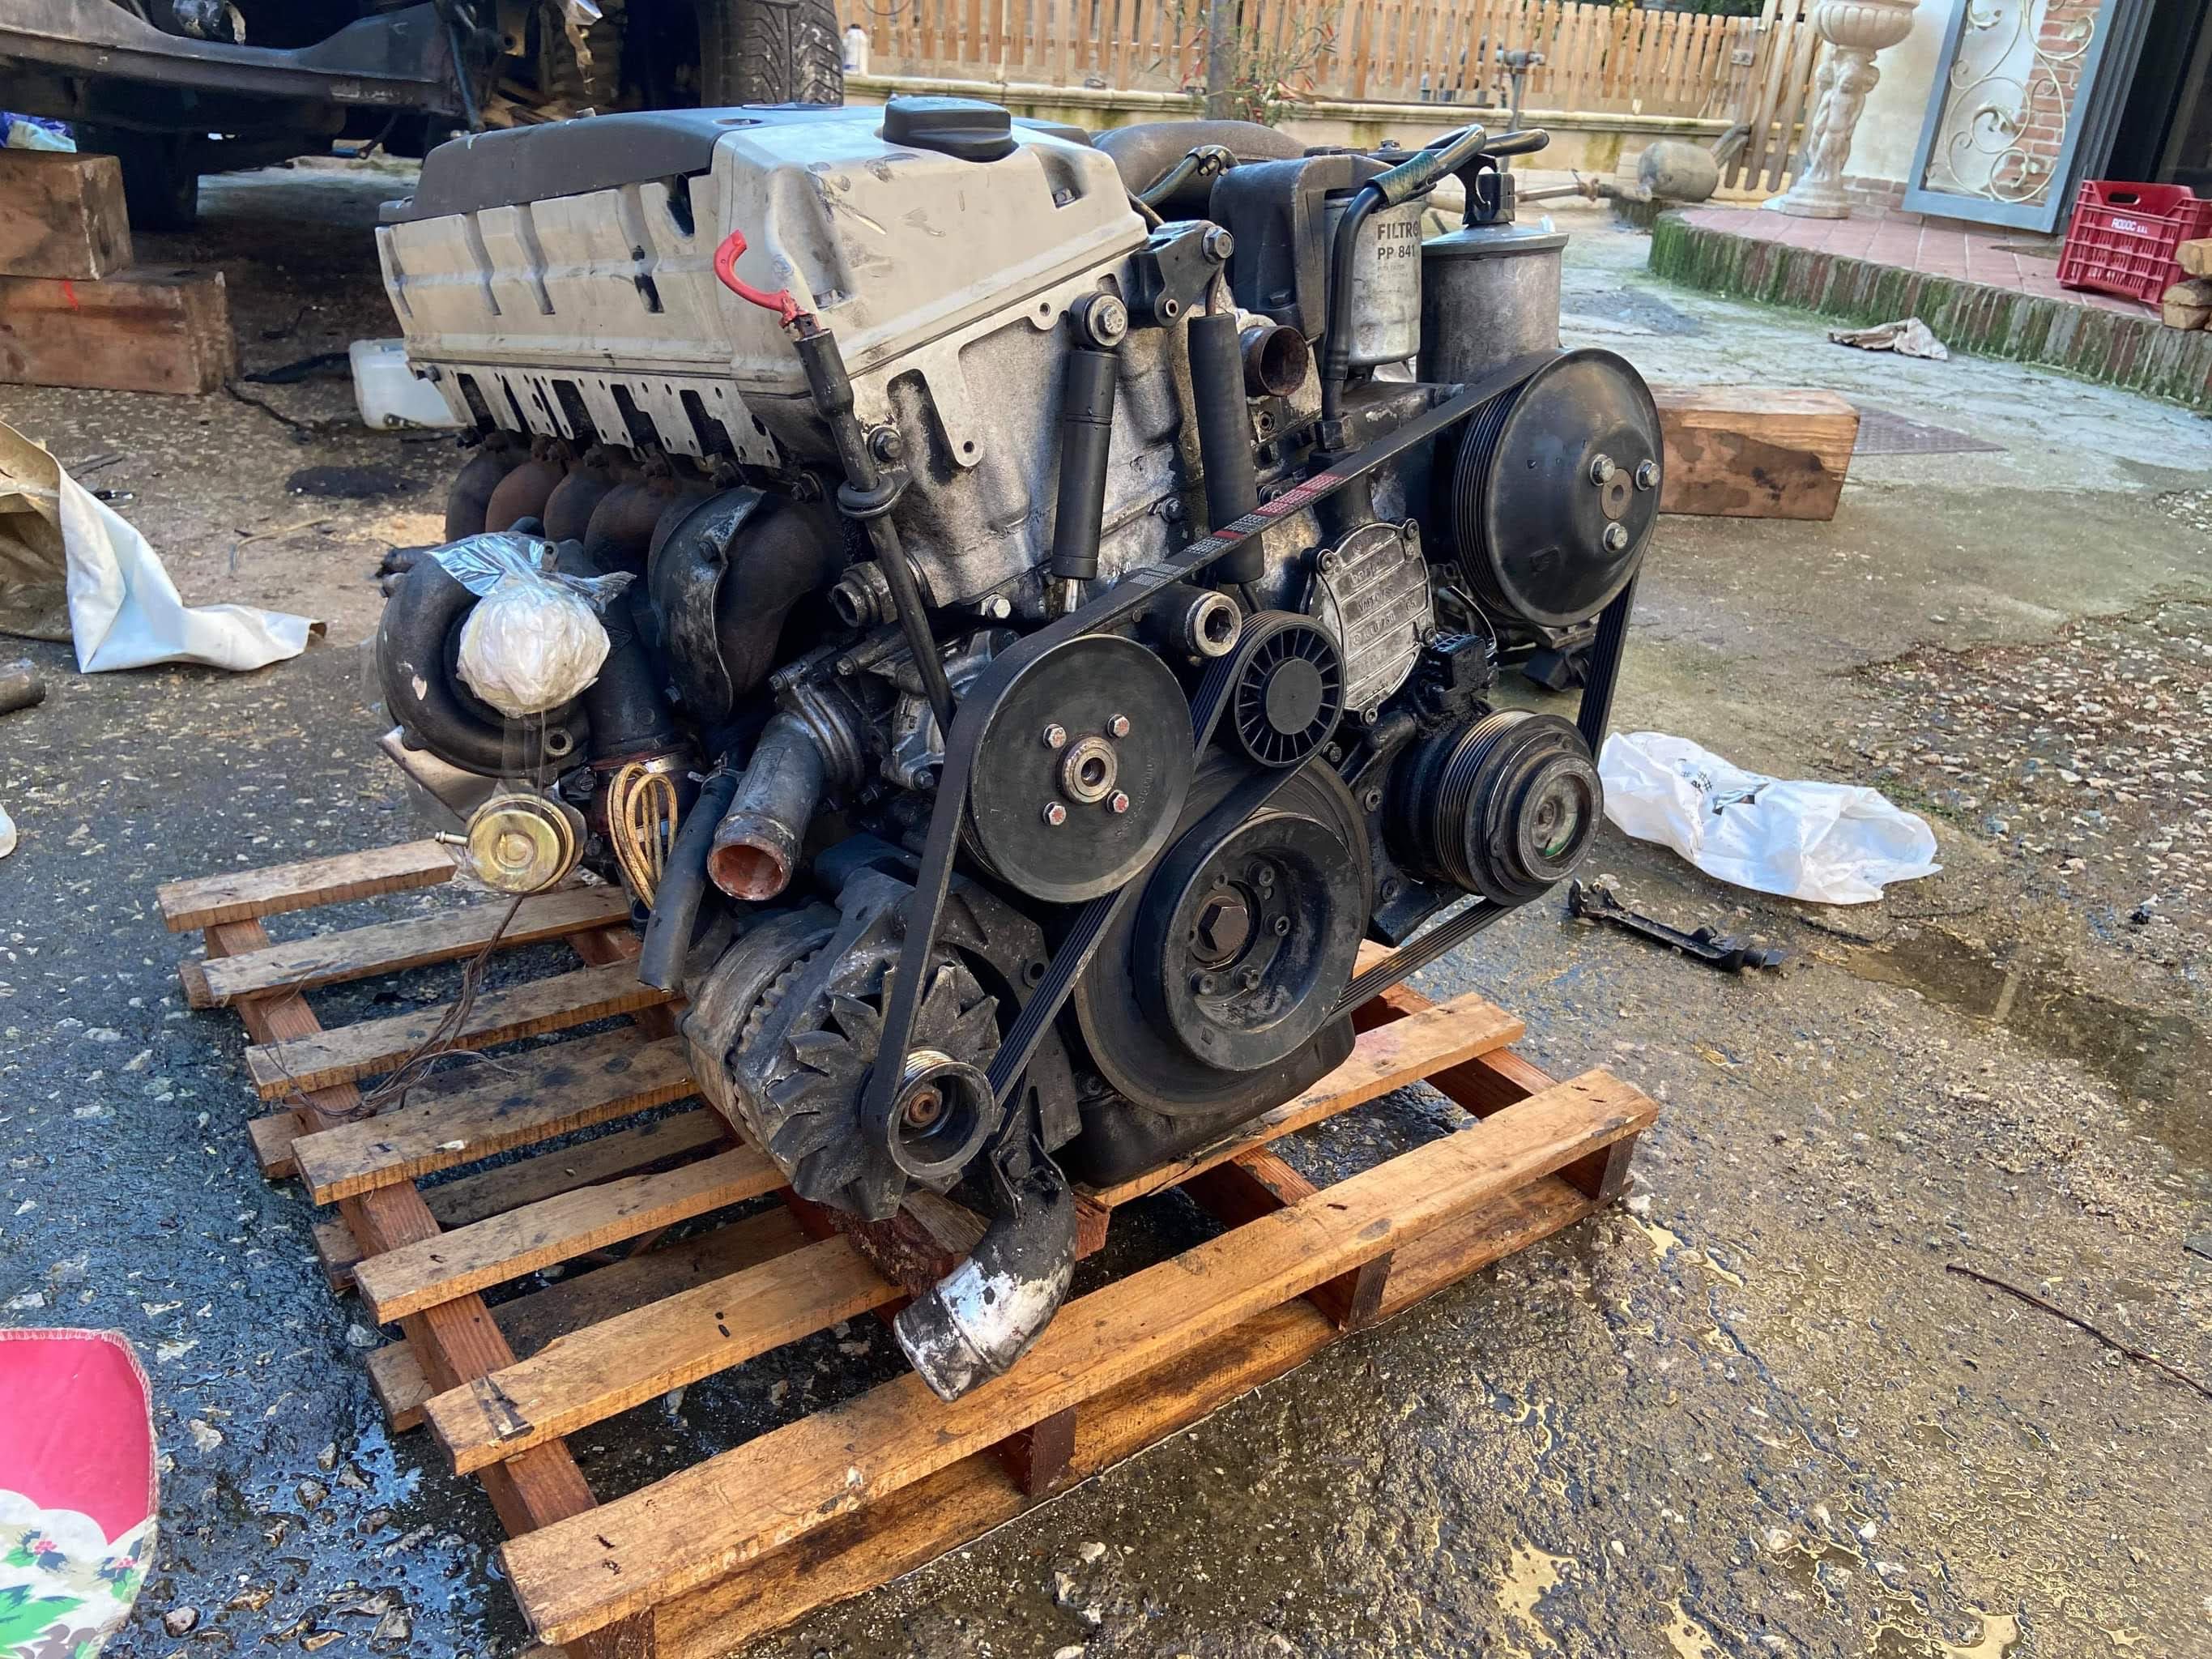
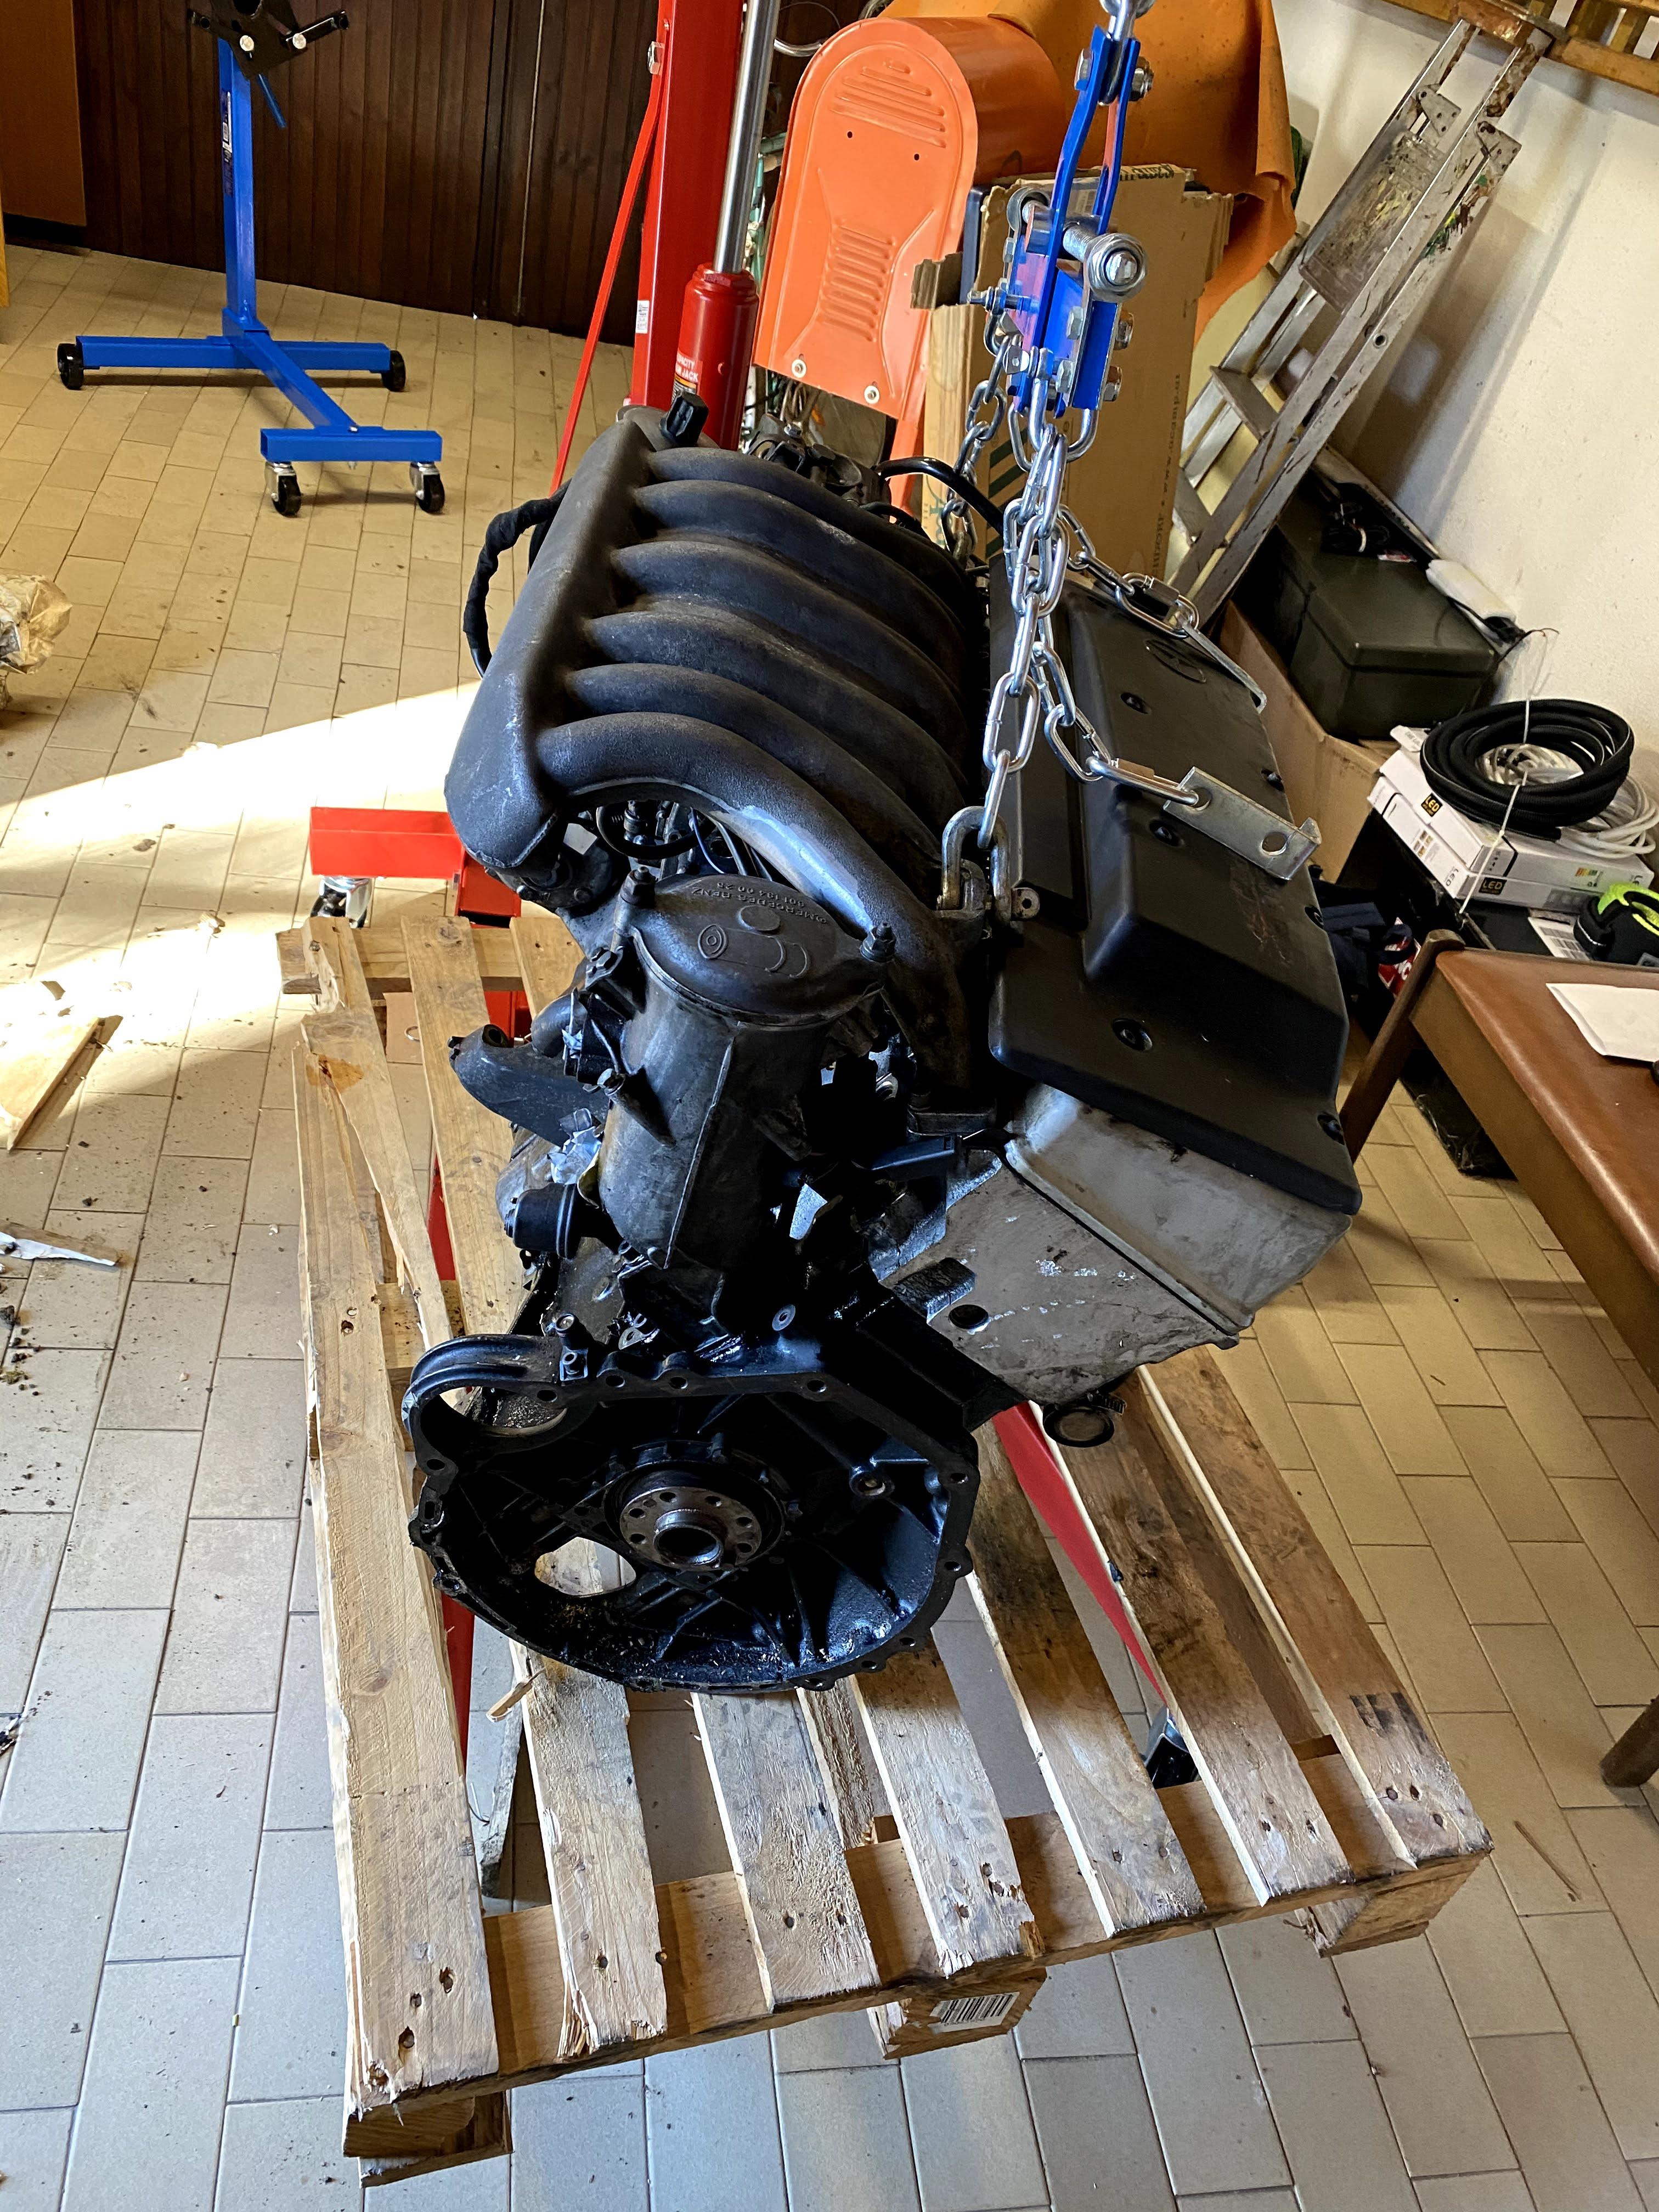
Decided on an engine I started looking at different marketplaces. I soon discovered that locally I wouldn't find it. This is why I had to look outside the country. I finally found the engine in Italy through the Facebook OM 606 Superturbo group. Because of the pandemic, I couldn't go see the engine, but the seller did send me a video and some pictures. So what would a sane person do? Well, buy it sight unseen, obviously. :laughing:

Videos:


If anyone speaks Italian I would be thankful if they could translate what the seller was saying. :sweatsmile:

OM606 - Imgur.jpg

The engine had (so claimed the seller) only 158 000 kilometers on it (around 100 000 miles). We agreed on the price of 600 euros (685 dollars) and on the fact that we both try and find the cheapest delivery service. As I found out, this was the hardest part. Not a lot of them wanted to pallet an engine. We ended up going with GLS. The cost of delivery was 265 euros (300 dollars).
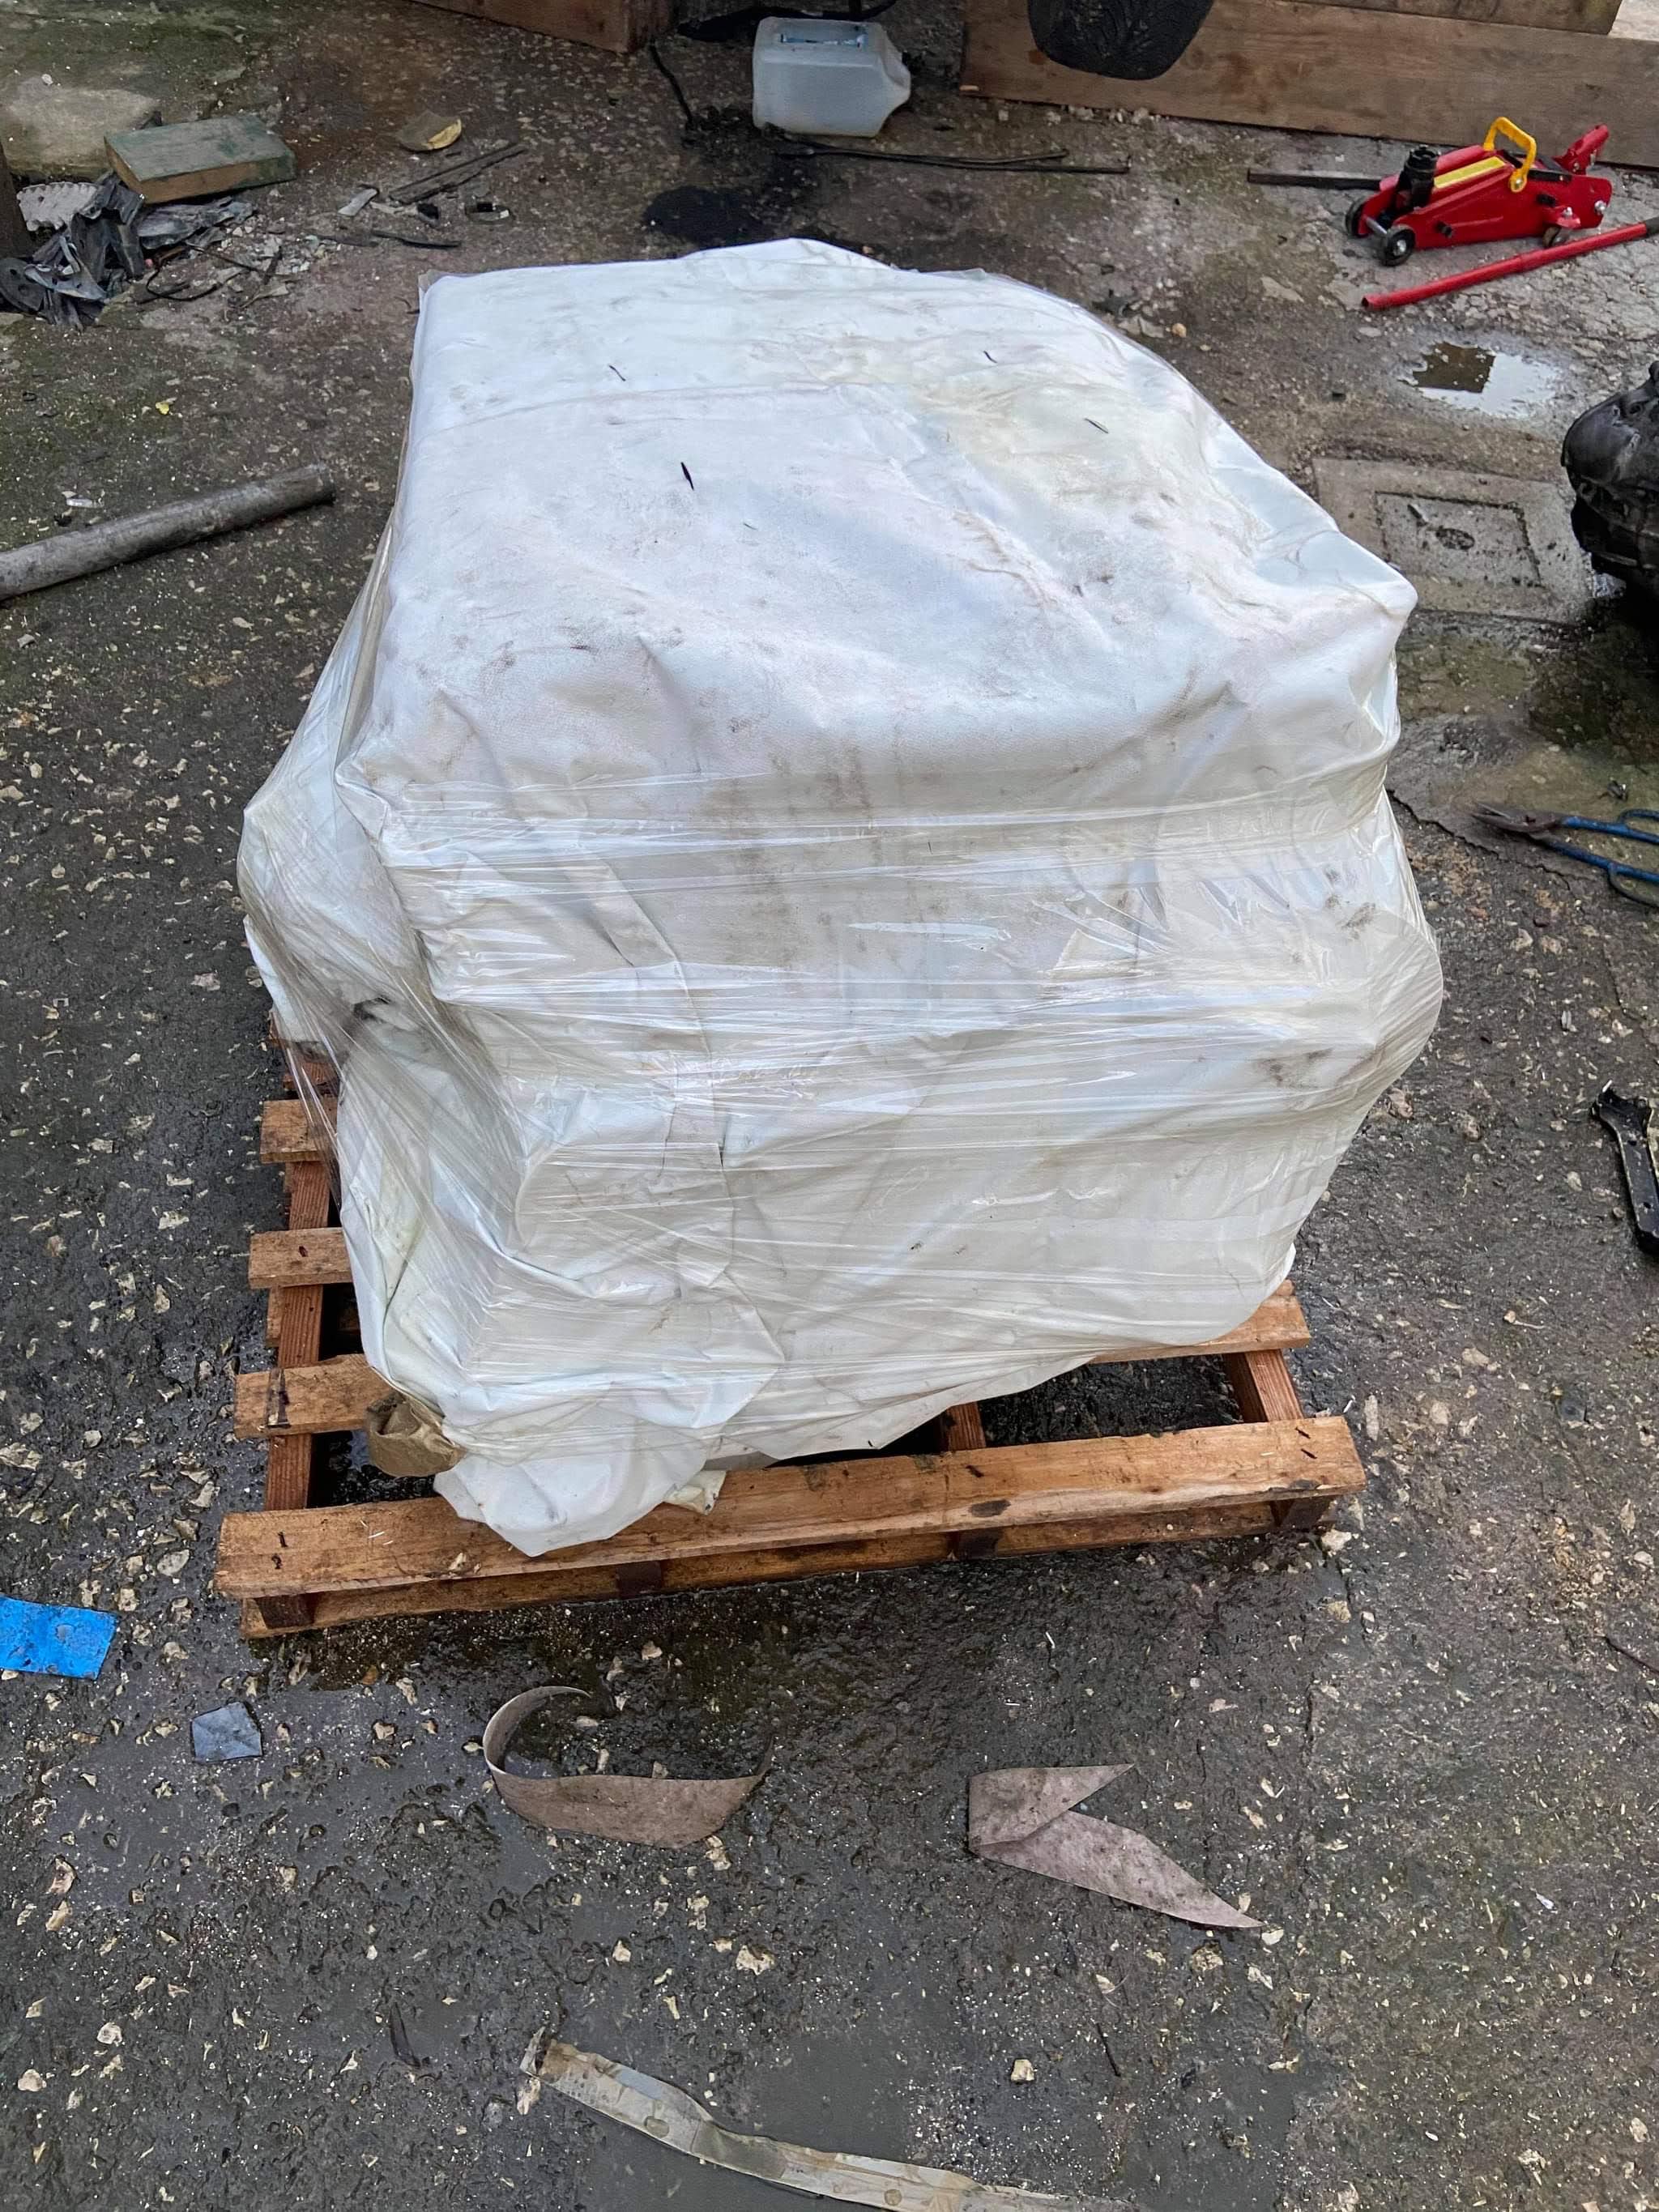
The seller sent me a picture before posting:


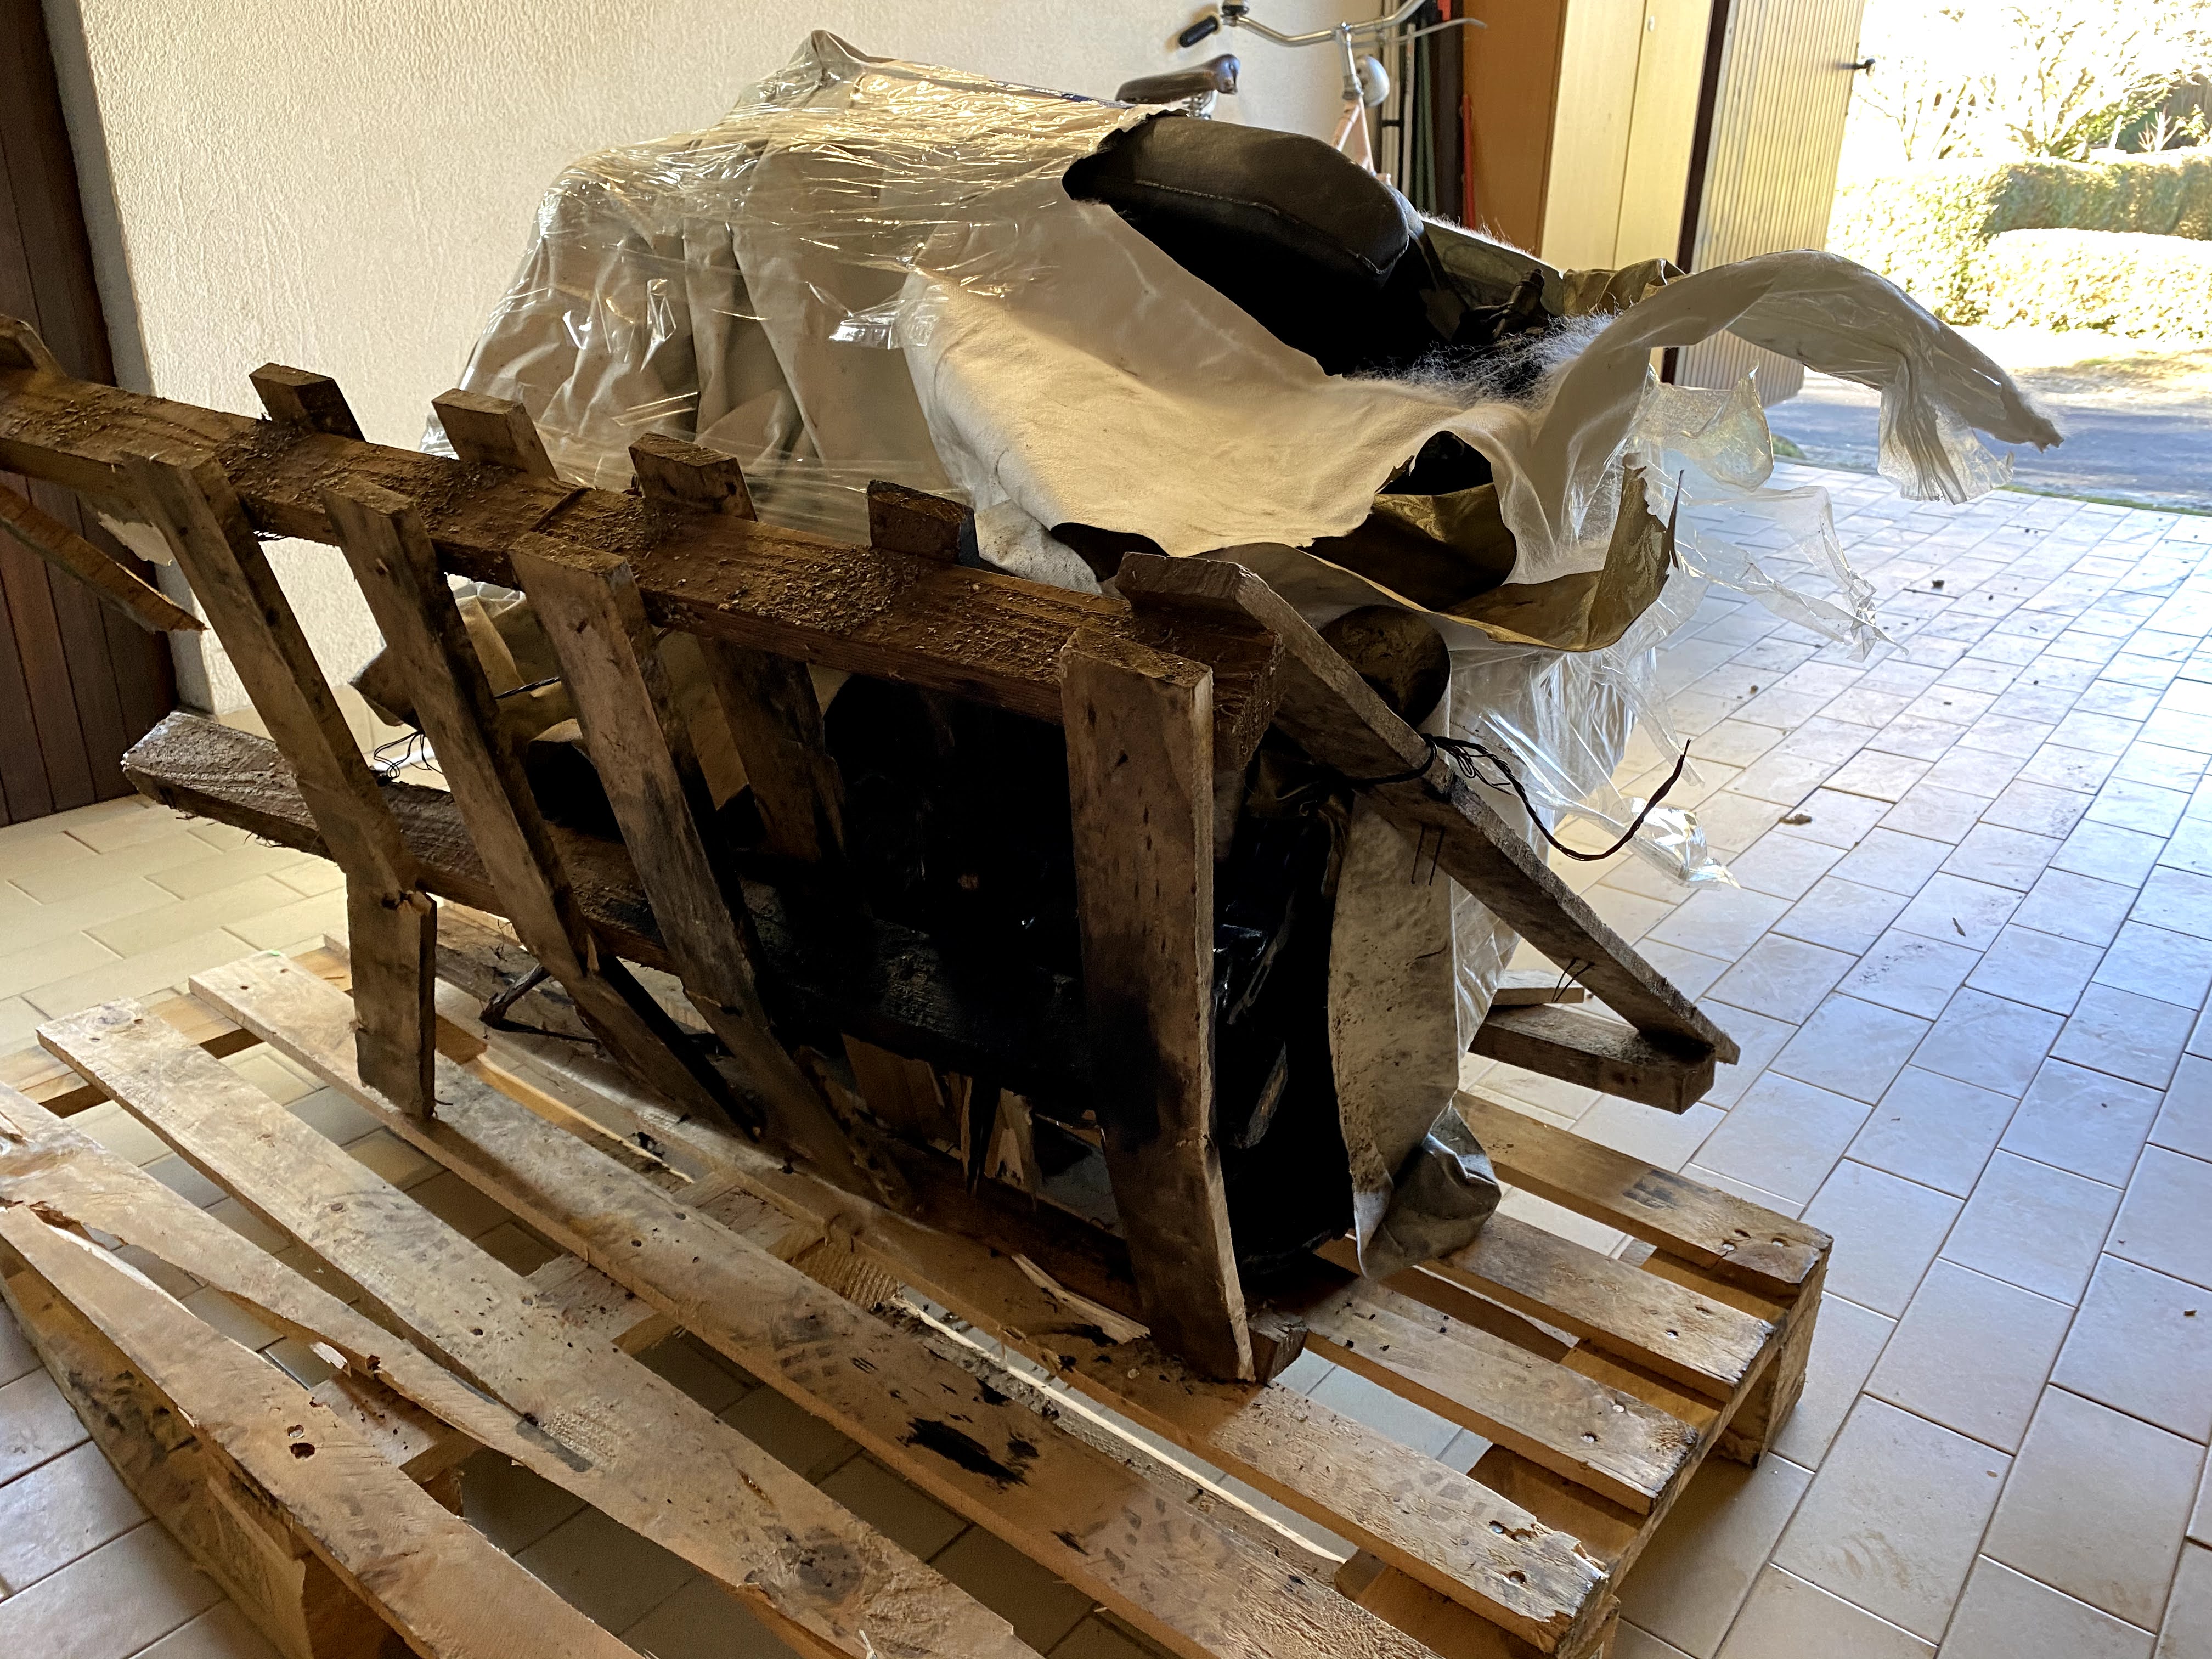
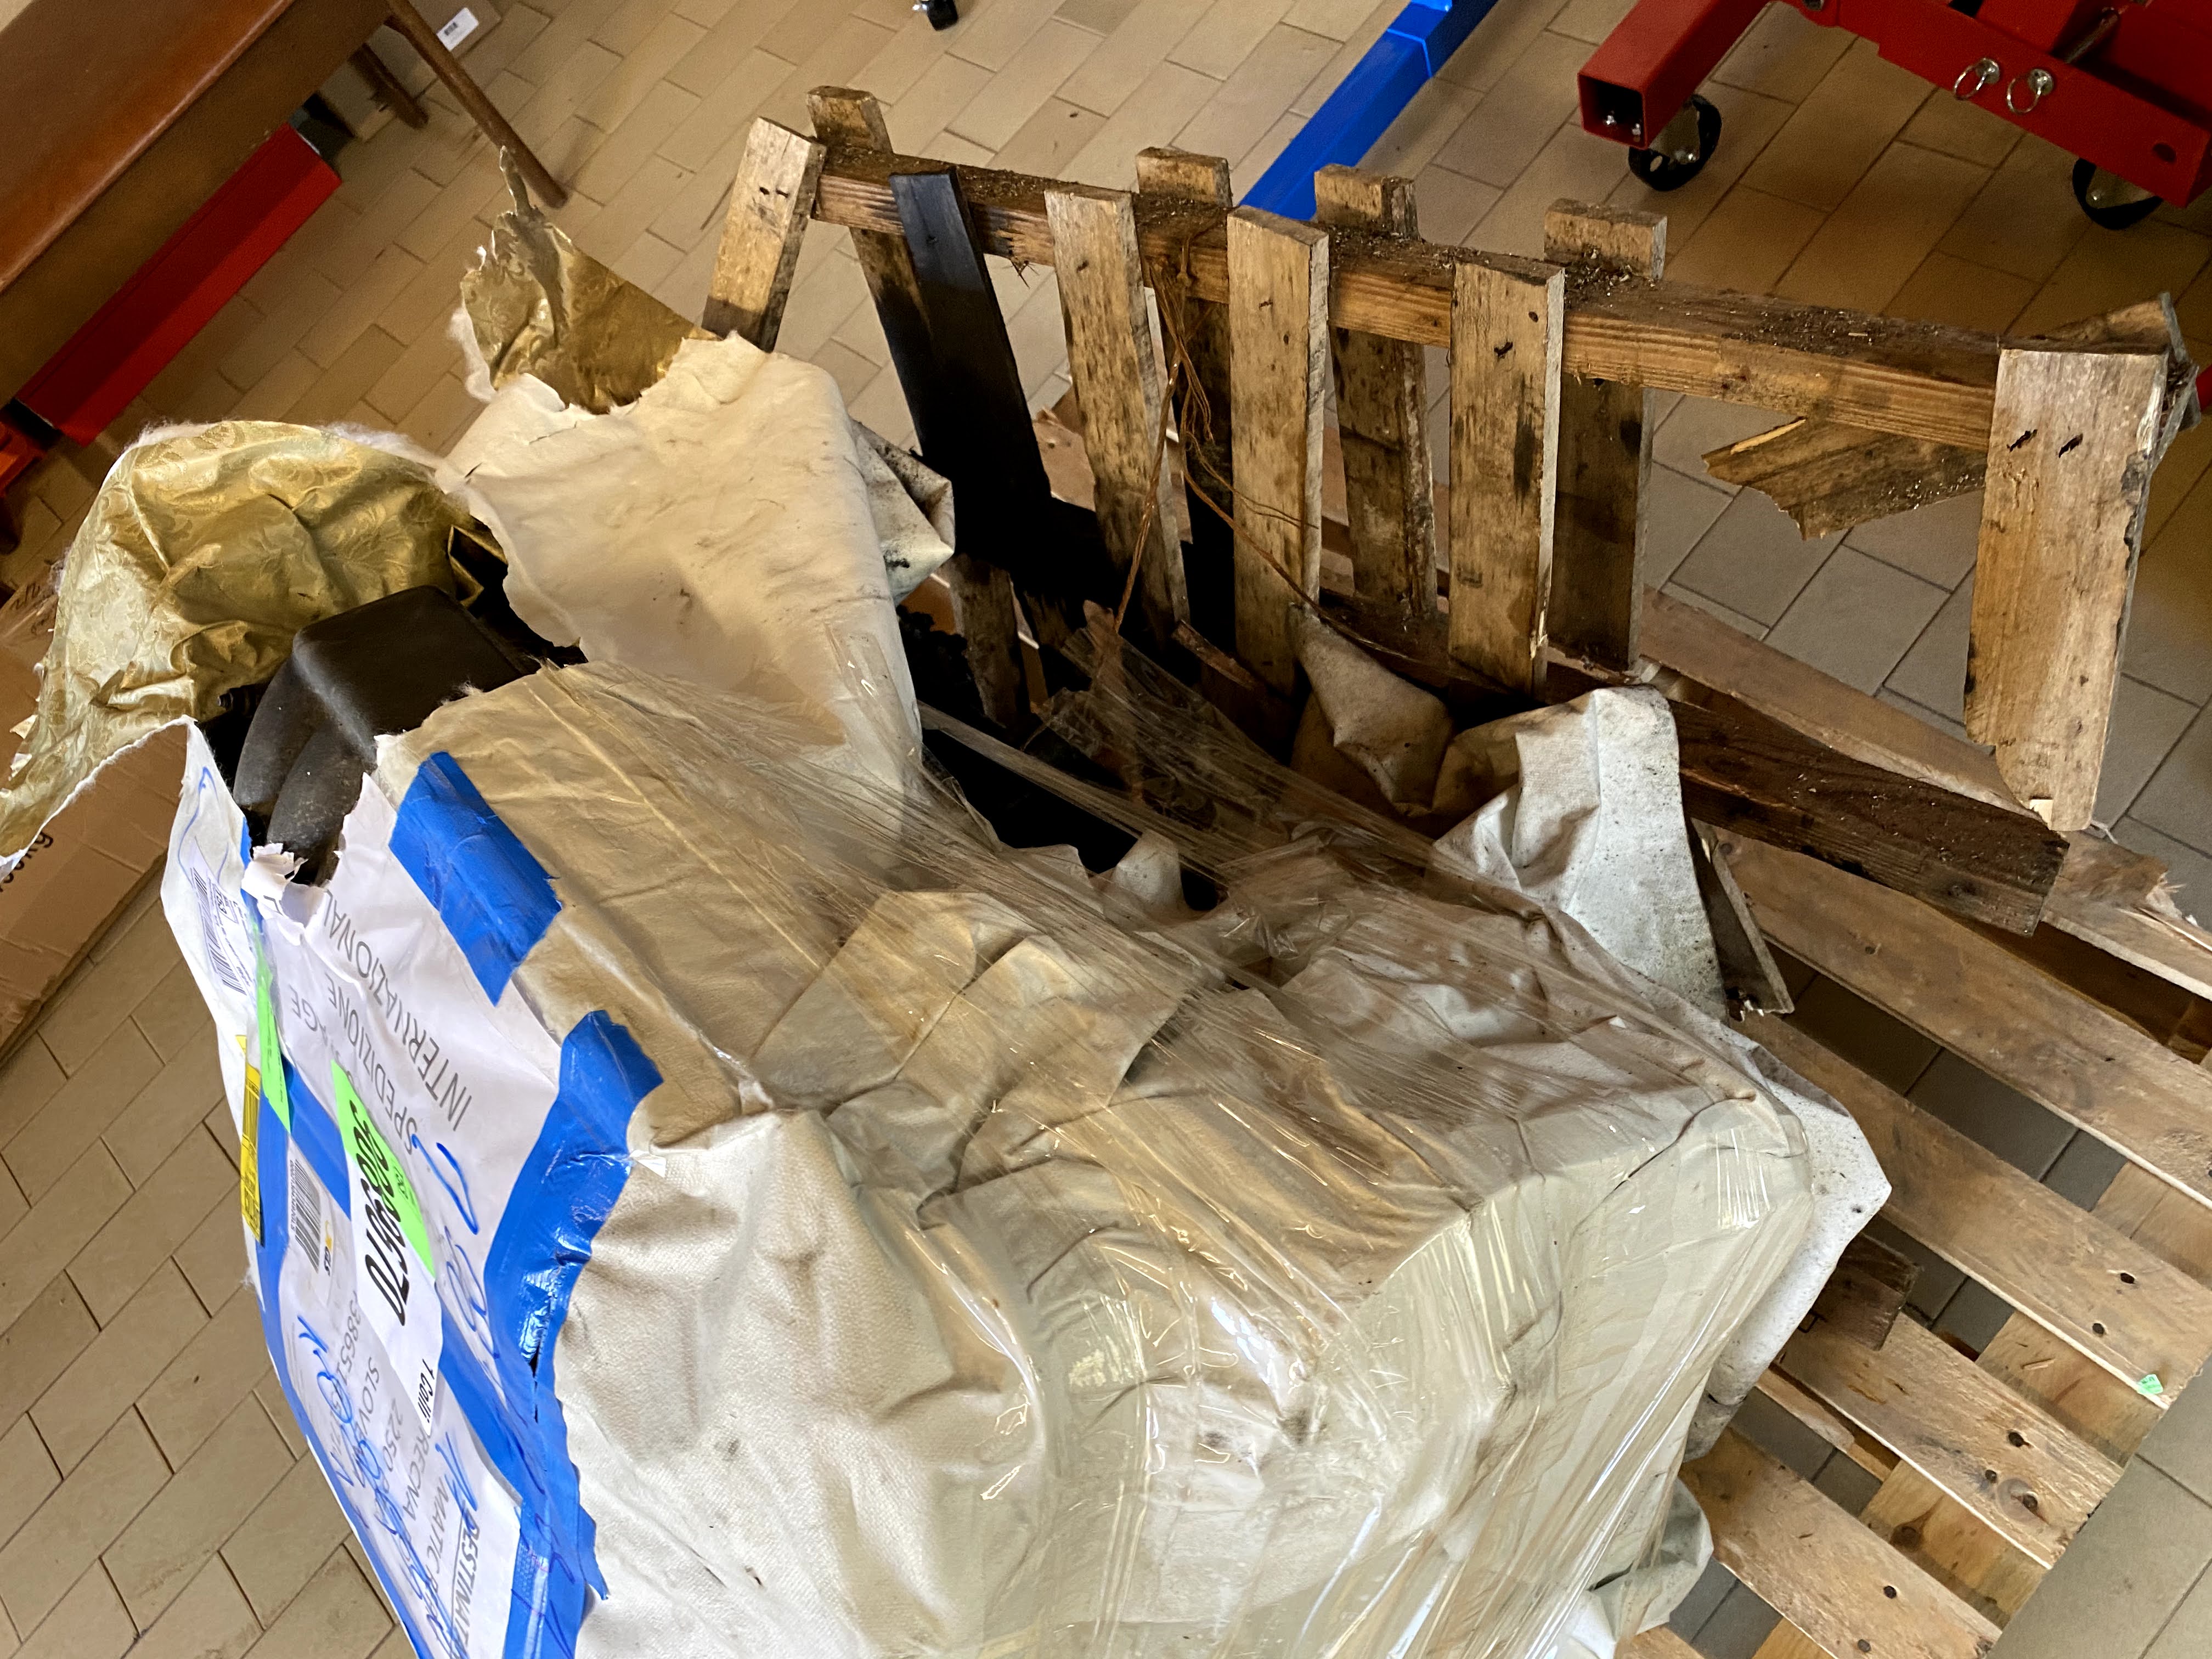
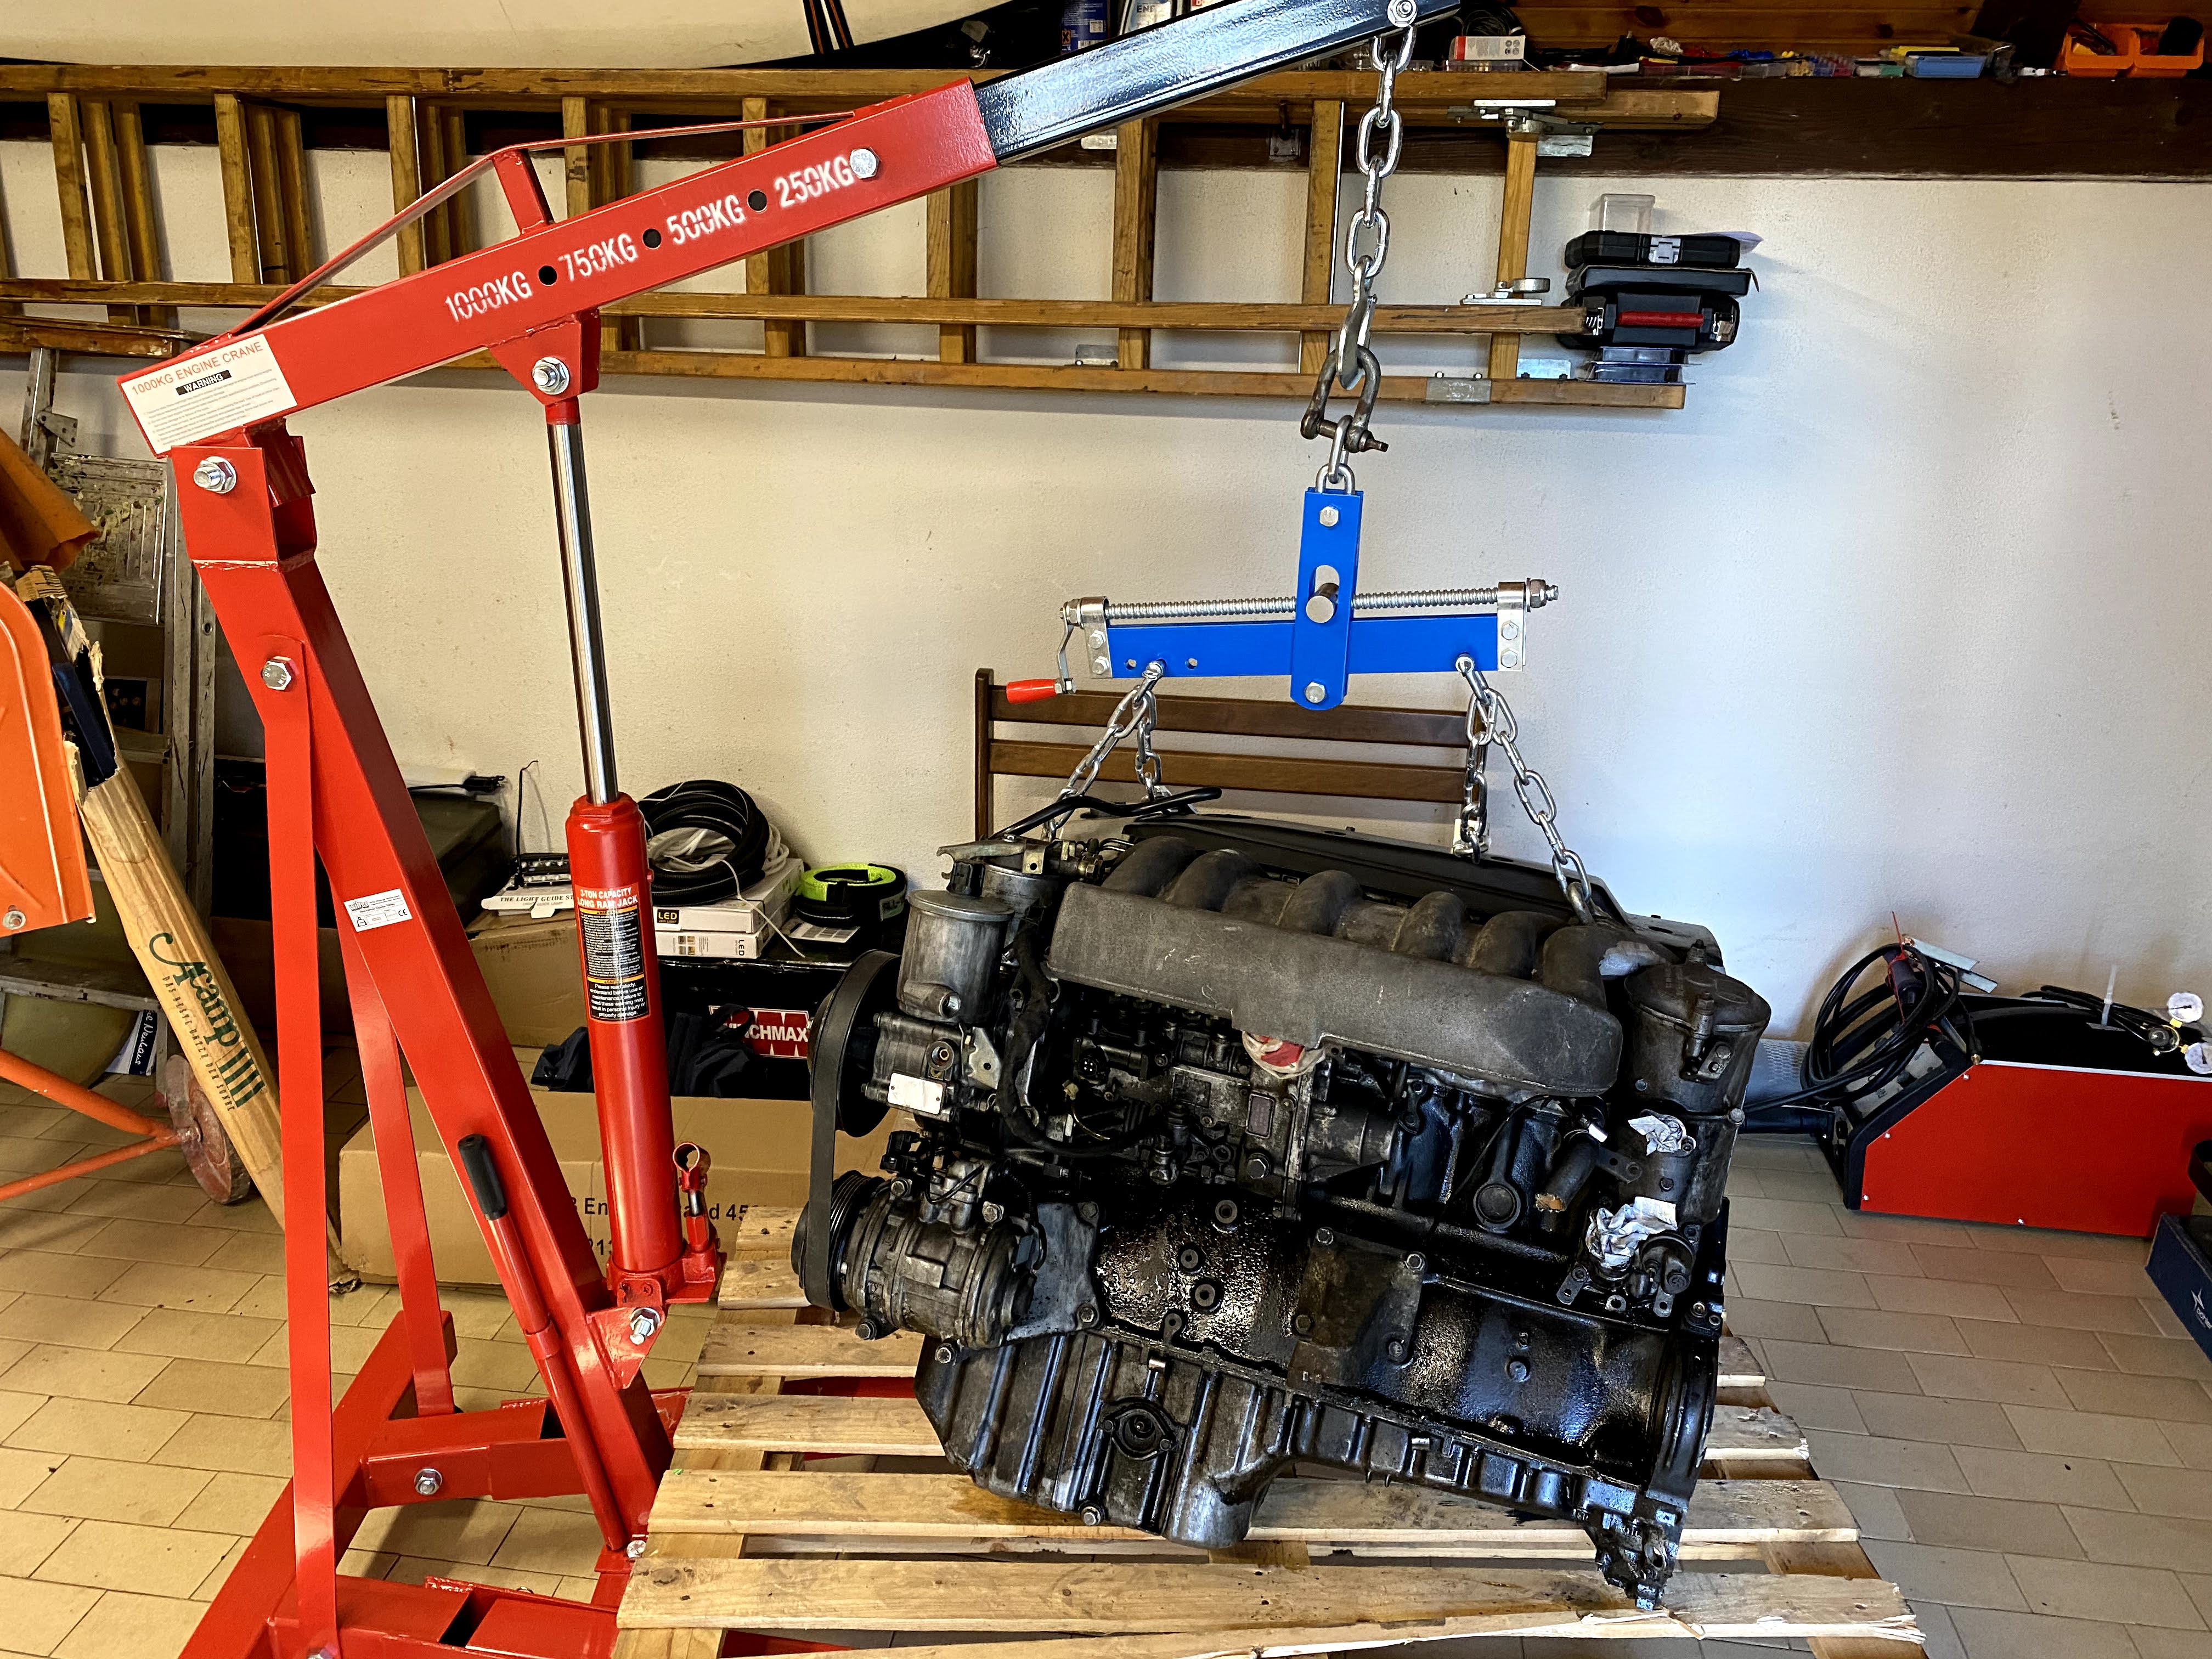
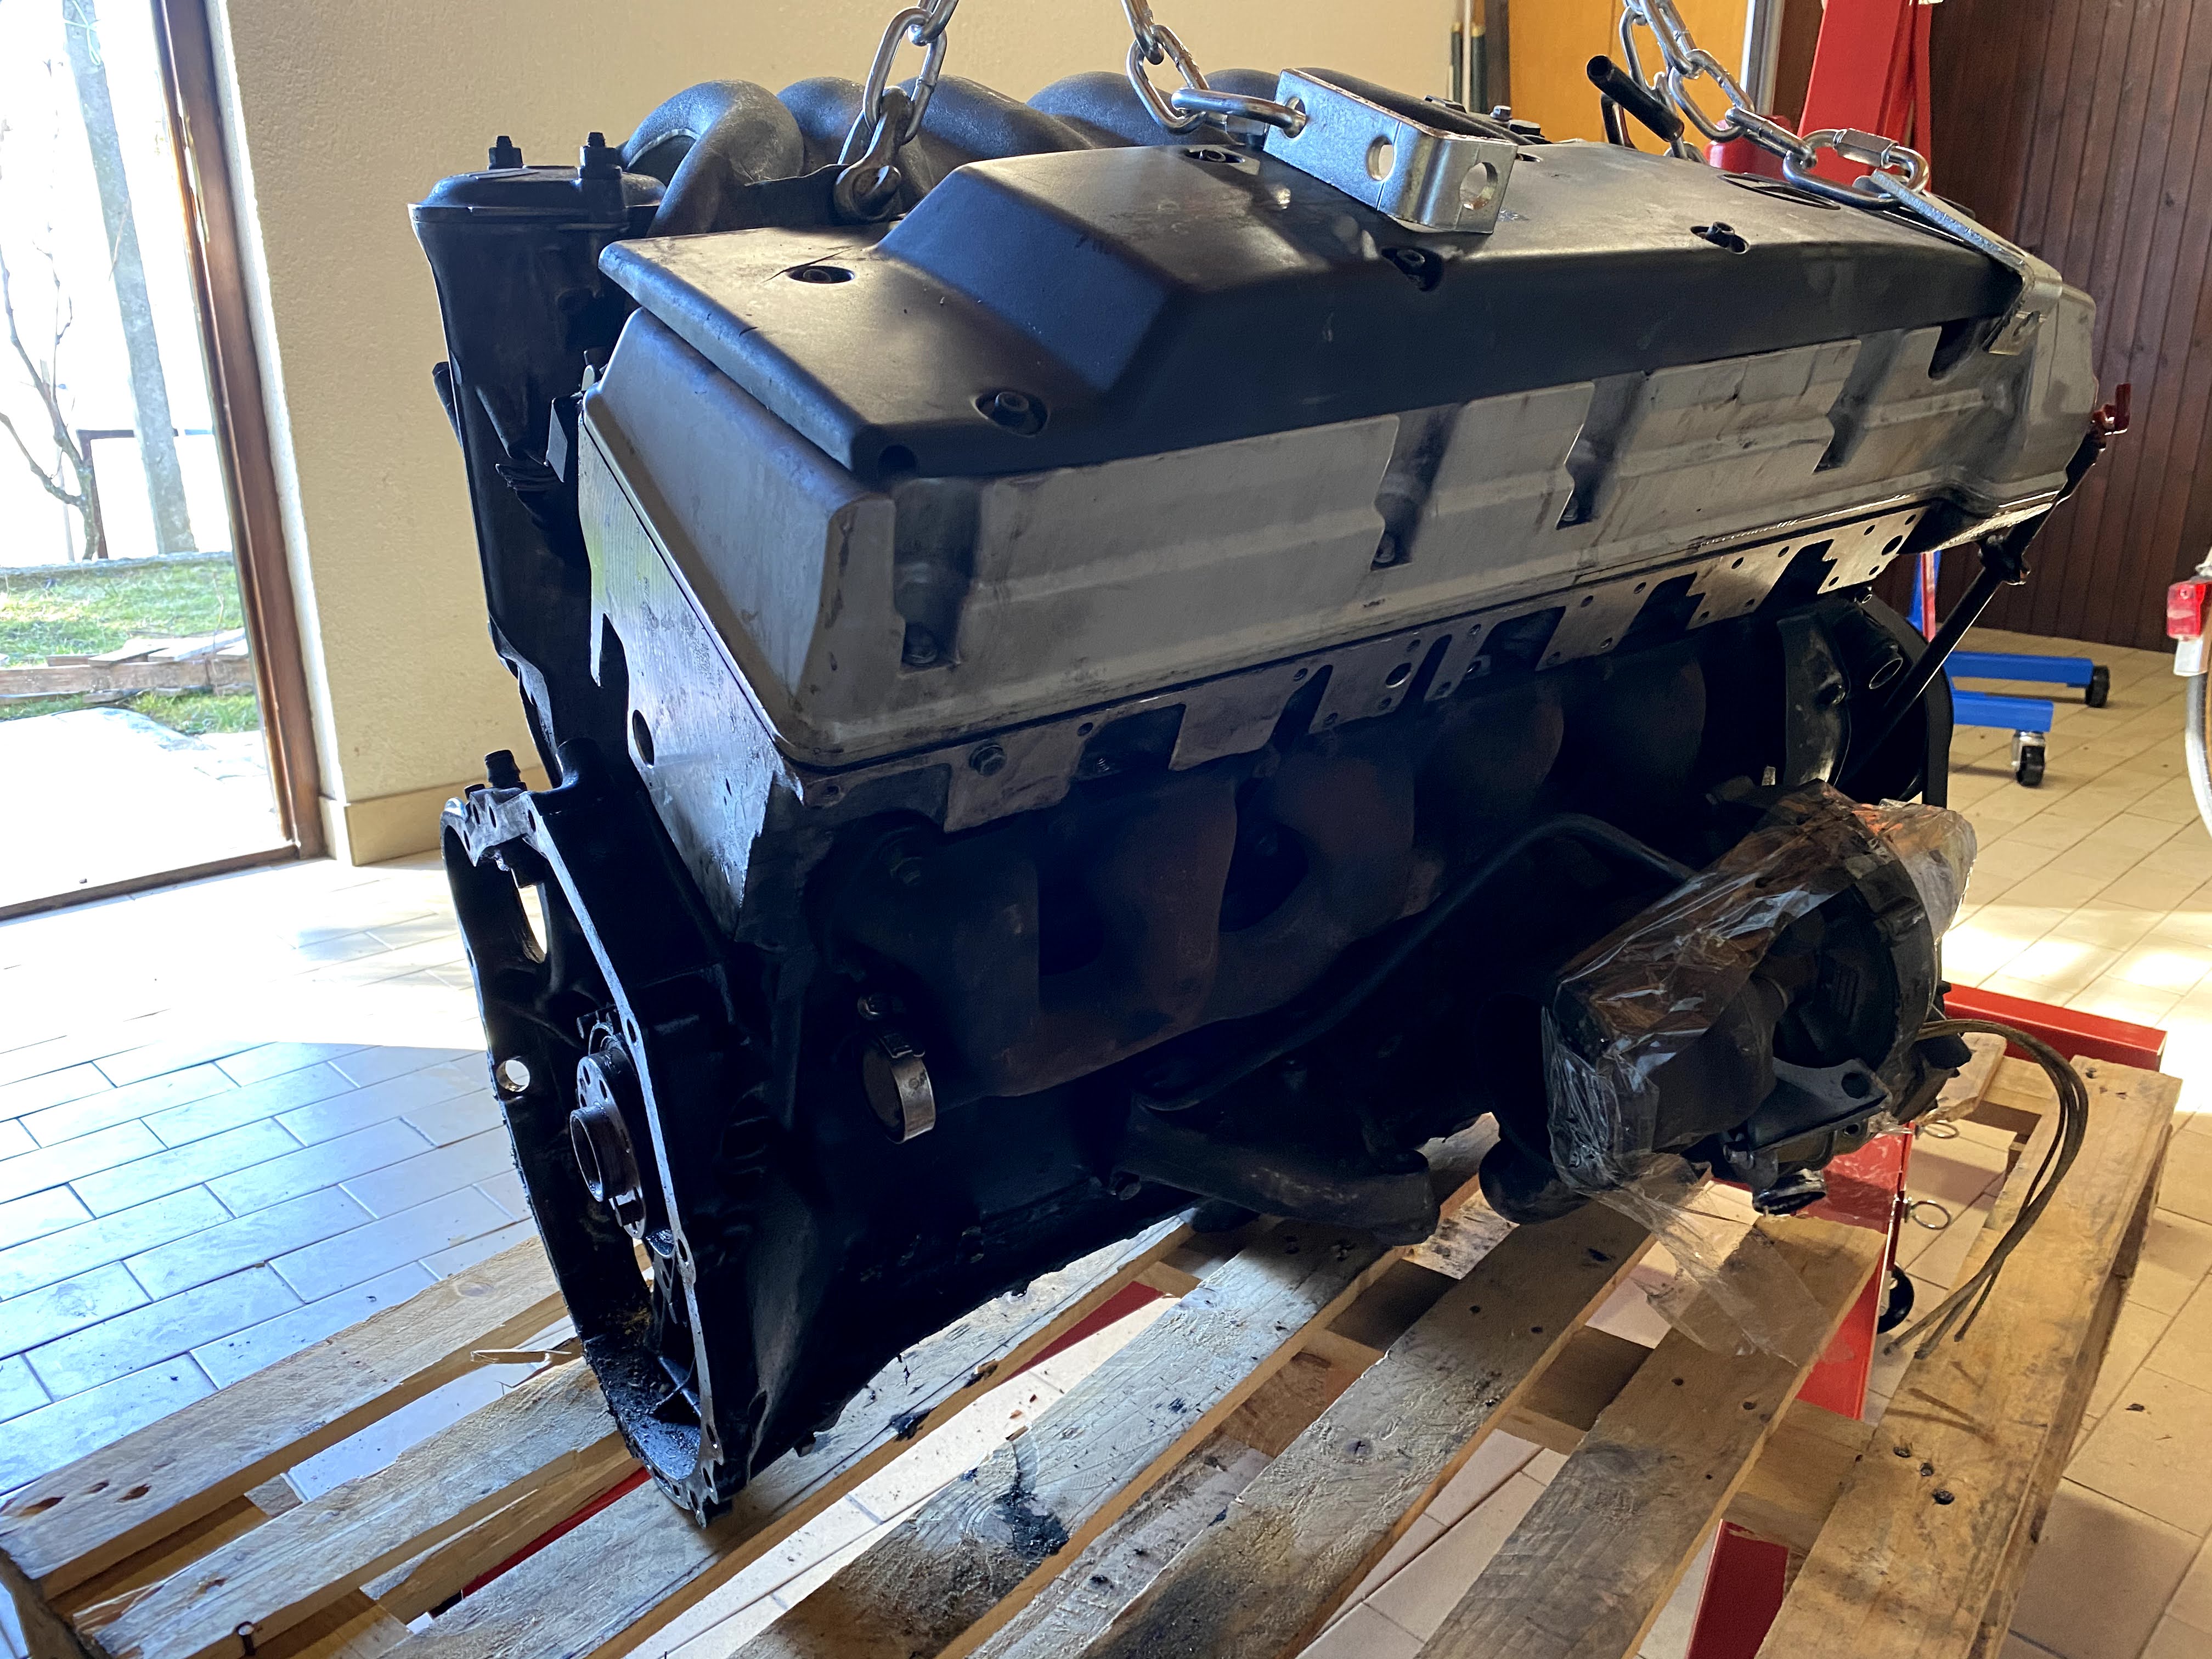
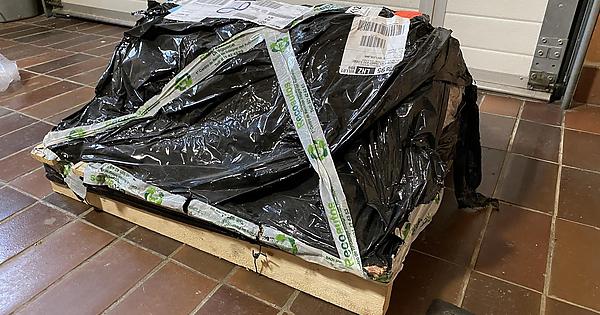
The pallet was delivered after 10 days. And, yes, first came the shock. The seller stupidly chose the pallet that was too small. The delivery service had to put another pallet under it so that the engine didn't drag on the ground,


But, hey, the engine seemed fine and without visible damage.


Now, let's rebuild!
 

reaver

Rank VI
Member

Explorer I

3,680
Caldwell, ID, USA
First Name
Brian
Last Name
McGahuey
Member #

23711

Ham/GMRS Callsign
GMRS WRMV941
I'm so jealous that everywhere but the states can get REAL patrols, and not the soccer-mom'd Armada version that we get here.

I'd love to get my hands on a y60 or y61 patrol from Australia.

Looking forward to seeing the progress on the engine swap.
 
  • Like
Reactions: game-on

El-Dracho

Ambassador, Europe
Moderator
Member
Supporter
Investor

Off-Road Ranger III

13,288
Lampertheim, Germany
First Name
Bjoern
Last Name
Eldracher
Member #

20111

Ham/GMRS Callsign
DO3BE
Hi Matic,

That is an awesome built. The OM606 is legendary and is (similar to the M57 BMW diesel you mentioned) often used for conversions of other makes.

Great that you share the story. Thank you.

Enjoy!

Bjoern
 
  • Like
Reactions: game-on

game-on

Rank III
Launch Member

Pathfinder III

740
Slovenia
First Name
Matic
Last Name
Repic
Member #

18288

Thank you @MattLodi for the translation.

I finally put the engine on the newly bought stand. It is rated at 450kg (~1000lbs). I contemplated on building my own, however, this one only cost 70€ (~80$) and seems to be of good enough quality.


Eagerness got the better of me at this point and I started to disassemble the engine. Without washing it, of course.


After having an engine on the stand I started to contemplate whether I should go and do a full rebuild or only dress the engine up. It supposedly only had 158k kilometers (~100k miles).
I also checked the chain stretch (followed this procedure) and it seemed not to have any.

But if I already have the engine on the stand and have the opportunity to really restore the engine, why not take the chance and do it. And learn something along the way,
'Do it once, do it right is what I decided to do :smile:
--
The workshop manual is something that occupies my work table right now. It looks something similar to the next picture.


I had quite a struggle with pins that are pressed into the head and hold the chain sliders. Took me a better part of the day to safely extract them.
Mercedes make the tool specifically for this job, of course. I don't have that tool, so I followed this procedure. I ruined the threads soon after and had to retap the pins. After an eternity and a concoction of nuts and bolts, I finally managed to pull the pins out.


It was smooth sailing or rather a smooth disassembly from that point onwards. Took the cams off and soon the whole head followed.


I also had a few questions during the disassembly.

When taking the head off, I saw a bolt that had a clearly ruined head. The chain itself seemed undamaged. However, I still thought that somehow the chain did this.
After asking about it, it seems that somebody before me tried to take the head off and used a chisel to undo this bolt. More on this in OM606 Superturbo Facebook group.


The engine also had blocked coolant passages. I wondered what that tells me about the history of the engine. Seems that it only tells me that the previous owner used tap water as a coolant.


Also, one of the injector surroundings was covered with a 'white substance'.
After asking about it, it seems that this actually is an oxidized coolant. More on this here (question in a FB group).


game-on

Rank III
Launch Member

Pathfinder III

740
Slovenia
First Name
Matic
Last Name
Repic
Member #

18288

There has been quite a bit going on, but let's start from the beginning.
I knew that the engine head needed a bit of work, however, I did not want to rebuild it myself. I believe that it is a more complex engine component and that it is better to entrust the work on it to an experienced pair of hands. With that in mind and on the recommendation of a friend, I took the head to Martinišće (near Zagreb) and left it in the hands of mechanics at the Očić workshop. Already during the first quick inspection, they pointed out a few indicators that suggested that the head was in worse condition than expected. The head gasket had obviously failed. The leakage between the cylinders was immediately noticeable, and upon closer examination of the head gasket at home, the leakage was also visible on it. I tell myself that I could have noticed this earlier if I had paid more attention to examining the gasket. This explains the presence of oxidized coolant and some rust on the valves of the fourth cylinder as well. The coolant found its way from one of the channels into the cylinder. Based on the amount of rust in the coolant channels, it seems like the previous owner didn't care much about using the correct coolant and instead used regular tap water. This lack of attention likely played a role in the current condition of the engine.


The mechanics took care of the head, and I focused on the rest of the engine. The first challenge of disassembling the bottom part of the engine was removing the balancer. Since the engine didn't have a flywheel (I bought the engine without a flywheel, and I'll have to buy one in the future), I had to "lock" the crankshaft in a more unconventional way. After watching this video, I came up with the idea to make a similar tool myself. I designed and 3D printed a tool similar to a huge nut using ASA+ plastic filament. With the mentioned tool and large pipe pliers, in theory, I could hold the crankshaft in place. I tested the tool, but only after buying bigger pipe pliers because the printed nut was so damn big. The tool worked, although the plastic got damaged while holding it with the pliers.


Taking apart the rest of the engine went smoothly and soon only the bare engine block was left on the stand.


So, then came the surprise.
To be completely honest, at first, I thought everything was within normal limits. The bearings, with the exception of the fourth one, were in very good condition. However, the condition of the cylinder walls and the fourth piston puzzled me. The cylinder walls had no major scratches and showed low signs of wear in some areas. In those areas, you could see the "crosshatch" marks from honing. On the other hand, the higher areas of the cylinder walls looked quite worn and had areas that resembled water-scale flakes. I found it interesting that these areas didn't create grooves where you could get your fingernail stuck.

At this point, I wanted to keep the original pistons, so I measured the cylinders. All cylinders, including the fourth one, which was also a bit rusty, were within the prescribed 0.2mm tolerance.

Also, I bought a 30L ultrasonic cleaner for cleaning smaller engine parts. To be honest, I didn't even know these existed until now.


At this point, Očić informed me that the engine head was cracked. They said it could be repaired by welding. I reluctantly agreed to this. I was initially angry and then quite disappointed with the situation. But once I came to terms with it, I received another call. The head had failed the pressure test and showed signs of cracks on all cylinders. I was almost ready to give up. I felt angry at the previous owner who had shown no care for the engine's maintenance, and angry at myself for investing a lot of money into this project.

After sleeping on it for a couple of nights, I decided to push through and finish the project. I started looking for another engine head. I considered buying another engine, but the prices had gone up and these engines were becoming rarer. During my search, I came across several OM606 engine heads without a turbo, but they were apparently not exactly the same. After a few weeks of searching, I finally found and purchased an engine head from an OM606.962 engine, which is a turbo variant of the OM606 engine.

By purchasing the second engine head, it seemed like the project was headed in the right direction. This feeling was reinforced by a mechanic who is currently rebuilding an OM606 engine himself. He saw some of my questions on Facebook in the OM606 Superturbo group and contacted me. After our conversation, I took the engine block to him for blasting, honing, and other machining.
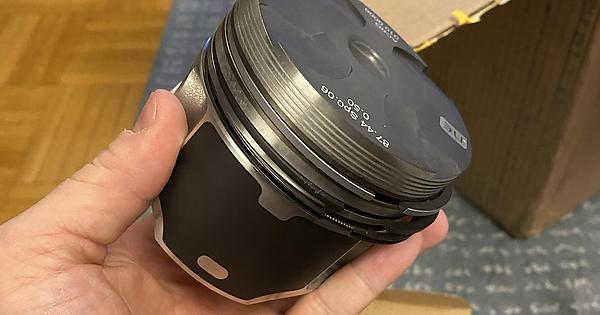
After our discussion, I was convinced that the only right path was a complete engine block rebuild, honing the cylinders to a 0.5mm larger diameter, and purchasing new pistons. At the same time, I decided to replace the connecting rods with much stronger, forged ACM or Hench Performance connecting rods.

Finding larger pistons turned out to be a more challenging task than expected. I was looking for 87.5mm pistons from the German manufacturer NPR. I found several European sellers, but none had them in stock or could supply them. In the end, I found them at BenzForce in the USA and ordered the last six in stock.


Then, the replacement engine head arrived.


During the removal of the glow plugs from the new head, which are notorious for breaking and seizing in this engine, I managed to break three glow plugs. At that moment, I started to sweat again. However, everything should turn out fine in the end. I took the new head to the mechanics at the Očić workshop, where they will remove the glow plugs and overhaul the head.
Hopefully, this time, I will have better luck with the head.
 

game-on

Rank III
Launch Member

Pathfinder III

740
Slovenia
First Name
Matic
Last Name
Repic
Member #

18288

The guys at the Očić workshop have successfully rebuilt the replacement head. I have to admit, I was nervous if things would go as planned this time, or if I would be burned again. However, luck, or rather misfortune didn't strike me this time and everything was perfectly fine.

Let me backtrack this story a bit.
Before taking the head to a shop for a rebuild, I removed the head cover, camshaft assembly, two sensors and then tried to remove the glow plugs. However, I hit a snag with the glow plugs. Interestingly, while removing the ones that didn't end up getting stuck in the head, I managed to unscrew most of the threads of the plug. Only then did the plug get "stuck" and I ended up breaking it. It broke above the thread, which remained intact while the upper part freely rotated. So technically, the upper part didn't fully break off.


When I successfully broke three spark plugs, I became angry and disappointed and thought that this head would also end up cracked and useless. I could have probably welded new nuts onto the threads and tried again, but I honestly didn't feel like it. Plus, the professionals likely have much more experience with this than I do. So I took the head to the shop with three broken glow plugs.

After a few days, I received a call that the head was finished and ready for pickup. The total cost was 350€.


I also brought the decorative piece of aluminum home (the original head). I assume that they first discovered a crack, then welded it to make the head withstand some pressure during testing. However, during further testing, all the other cracks appeared.
Here they discuss the indestructibility of these heads, so I wonder what the previous owner did to destroy the head like that. How many times and by how much did they overheat the engine...


game-on

Rank III
Launch Member

Pathfinder III

740
Slovenia
First Name
Matic
Last Name
Repic
Member #

18288

I then finally brought the engine block home.
The block got decked and cylinders were bored and honed to a dimension of 87.5 mm.


Originally, it was agreed that the engine block would also be sandblasted and painted, but in the end, it didn't happen due to a malfunctioning sandblasting compressor. Anyway, the block is now back on its stand at home.


Because the engine block wasn't too rusty and had already been straightened and machined, I decided to hand-sand the existing paint. Then I washed the engine block with a pressure washer and a lot of detergent. I poured the detergent into an interesting bottle so that my neighbors could have a new picture of my madness. :tearsofjoy:


I dried it using a compressor and then wiped all the surfaces with a thinner. Next, I applied masking tape to areas that should remain unpainted. The 'hammer method' works pretty well (more about it in this video), but I used a hammer with a plastic cap instead. It works just as well, although I probably wouldn't use it on an aluminum block.


I used VHT Engine Enamel paint for painting. Following the manufacturer's instructions, I applied 3 coats of primer paint first (VHT SP-148), then 3 coats of paint (VHT Engine Enamel, Nu Cast Iron color, SP-997), and finally 3 coats of clear coat (VHT SP-145). For each set, I first applied 2 thin layers according to the instructions, and then one medium coverage layer. It was necessary to wait 10 minutes between the layers in each set and 30 minutes between sets. I kept the garage temperature above 19 degrees Celsius during the painting process.

In the end, the appearance of the engine block exceeded my expectations. The paint looks great and I am extremely happy with the look. I had doubts about the Nu Cast Iron color. I was afraid it would be too bright and too silver.

Although the paint should be heat-treated (20 minutes at 95 degrees Celsius), I skipped this step, and the paint will be heat-treated for the first time when the engine starts.