Time has come to complete the power steering system updates after the modifications/repairs I made to the pump's old beat-up reservoir didn't pan out...
So enter here the new "remote fill can" that I've mounted over the pump
(the part that has the 20-25 note written on), now replacing the old integral fluid reservoir for a single AN fitting input port
(wrapped in blue tape). The high pressure line stays the same, albeit in tight quarters with the engine mount as seen by the "scallop" cut I had a friends help in machining out of the lower-half
(seen here in light gray primer) to make way for a small socket or thin box wrench:
I wanted to mount the new steering fluid reservoir in a fairly specific spot, since it's size
(in part due to the internal filter & the built in hydroboost ports) limited the placement options in the remaining space available under the hood. Thankfully there are a plethora of AN fittings in -6 and -10 to suit the fluid routing I wanted, but the bracket to mount it to the complex shape of the fender's wheel-well was up to me to fabricate. So after some chopping, grinding, & drilling... out came the 1" x .120" pieces of mild steel to stick together to make the "tripod" shape bracket I had in mind:
Figured I should start using more of the rivet-nuts I have, in place of welding "captive nuts" to things, should theoretically be easier to replace in the event of damage to the threads. Here they're on both the bracket & the sheet metal of the wheel-well where the bracket lies. Fresh coat of paint applied
(at home where it's warm enough to cure) & don't mind the funny looking angles on these upper pair of legs... that's required just to match the curve of the wheel-well fender area it's mounting onto:
All the new power steering hoses
(connecting the new reservoir between the cooler and the pump) that I put together turned out great, just as I hoped, away from friction dangers & thankfully still keeping enough room around the injection pump to make servicing things in the driver's side engine-bay area easy enough. The -6AN parts went together simply, but man did the -10 drain from the reservoir to the new pump can put up a fight! Even using proper tools + lubrication with aluminum fittings can be hair-raising:
Still a bit messy on this side until I can get ahead on the electrics part of the build
(most of the larger electrical components will reside in that blank area atop the wheel-well pictured here in the foreground), after which I can do a little more tidying up when I know for sure where components will be mounted / cables routed. And now with all the new steering components in place I topped up with fresh hydraulic fluid & did a leak check. All good aside from a copper sealing washer that I think I had removed & installed a few too many times which caused it to work-harden on me... but no worries, if you don't have another handy there's an easy trick to make it soft enough to work again: Remove it & file/sand flat, then blast with a torch until it glows briefly, let it cool on it's own, which anneals it back to sealing capable if necessary:
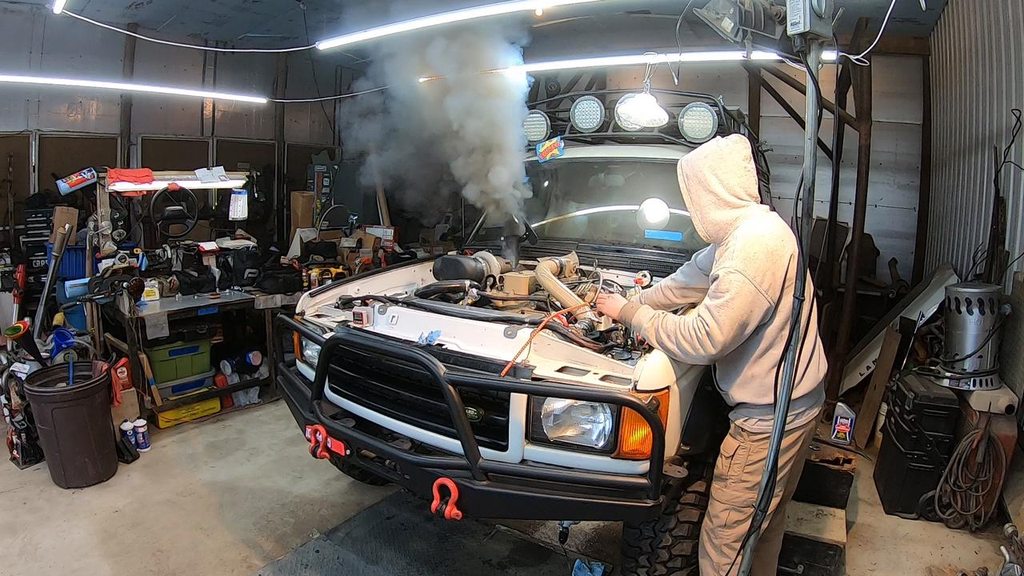
Finally with the steering system reconnected I'm able to start it again! Now for the final touches to prepare for the first voyage out of the shop with diesel power:
Pre Flight Checklist looks something like: Make a couple throttle cable brackets, bleed the brakes, connect vacuum pump to brake booster, wire starter switch + shutdown, add air filter just in case, mount a few more gauges, cut down the super long shifter handle...
GO!


