

There are so many good digital maps that I find and often wish “I wish I could put that map on my Garmin”. Well, you can. Here is how.
Step 1.
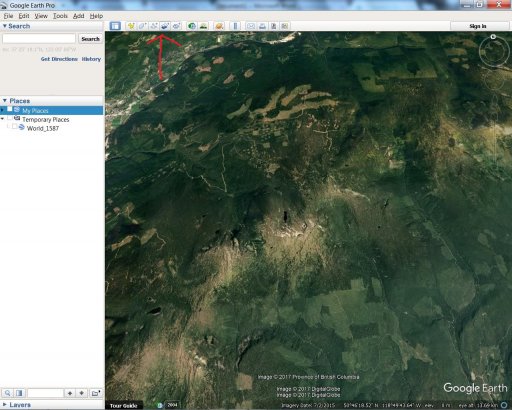
Open Google Earth. Zoom into the area you know the map covers.
Step 2.
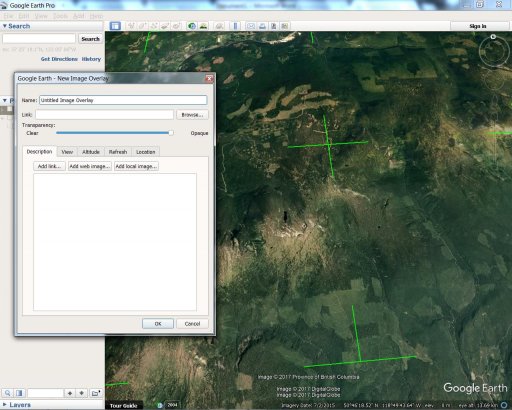
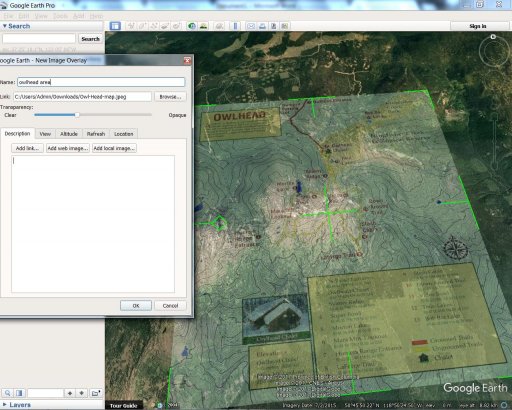
Hit the “Add Image Overlay” button. It will open a window in Google Earth.
Step 3.
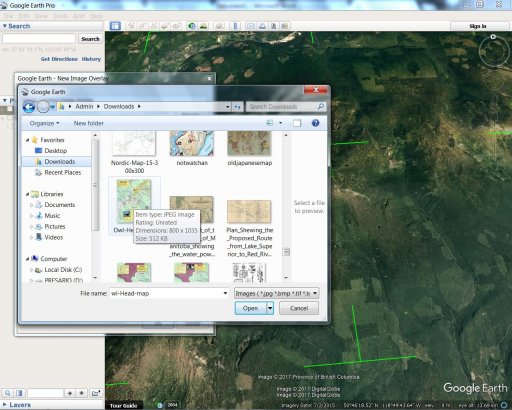
Click "Browse" and find the .jpeg image on your hard drive you want to use. It must be a .jpeg file.
Step 4.
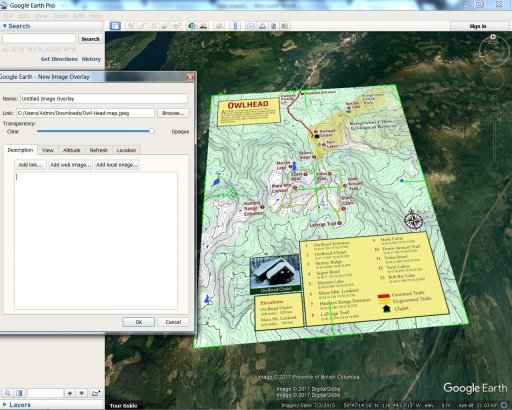
Hit “Open”. The map will appear in Google Earth
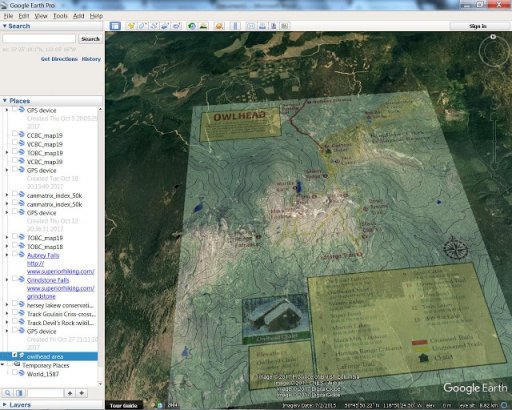
Step 5.
Choose a few key landmarks, and using the green rotation and movement marks on the map, get it into place. Adjusting the transparency makes it pretty easy, but it might take a bit. Lakes and roads are what i usually look for. It might not be exact, but if you mess with it you can get it pretty close if its a good map.

Step 6.
Give it a good name. Hit “OK”
Step 7. The box will automatically close, but you should see the map you named in the “Places” section of your Google Earth.
Step 8.
Right click the new map and choose “Save As”
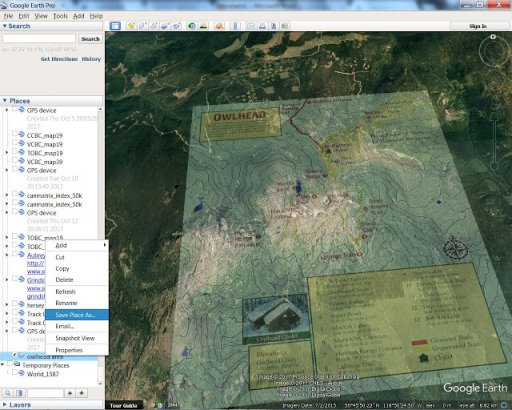
Step 9.
Give it a good name again and save it as a .kmz file. Make sure you notice where you are saving it to.
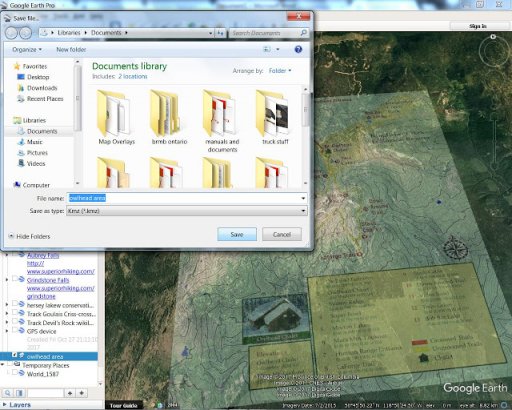
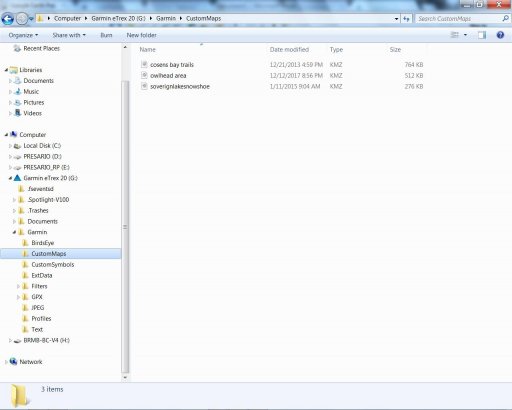
Step 10.
Plug your Garmin into the usb on your computer. Drag the new .kmz file you just created into the folder on your Garmin named “custommaps”
Done. You should be able to select the map for viewing in the map option on your Garmin, and it will be right where you put it on Google Earth. I use an etrex 20 and a gpsmaps. It should work on most other colour handheld Garmins too.
Step 1.
Open Google Earth. Zoom into the area you know the map covers.
Step 2.
Hit the “Add Image Overlay” button. It will open a window in Google Earth.
Step 3.
Click "Browse" and find the .jpeg image on your hard drive you want to use. It must be a .jpeg file.
Step 4.
Hit “Open”. The map will appear in Google Earth
Step 5.
Choose a few key landmarks, and using the green rotation and movement marks on the map, get it into place. Adjusting the transparency makes it pretty easy, but it might take a bit. Lakes and roads are what i usually look for. It might not be exact, but if you mess with it you can get it pretty close if its a good map.
Step 6.
Give it a good name. Hit “OK”
Step 7. The box will automatically close, but you should see the map you named in the “Places” section of your Google Earth.
Step 8.
Right click the new map and choose “Save As”
Step 9.
Give it a good name again and save it as a .kmz file. Make sure you notice where you are saving it to.
Step 10.
Plug your Garmin into the usb on your computer. Drag the new .kmz file you just created into the folder on your Garmin named “custommaps”
Done. You should be able to select the map for viewing in the map option on your Garmin, and it will be right where you put it on Google Earth. I use an etrex 20 and a gpsmaps. It should work on most other colour handheld Garmins too.
Last edited:

