Land Rover Defender 110

  • HTML tutorial

Soloshootsfirst

Rank V
Launch Member

Enthusiast III

1,721
San Francisco, CA, USA
First Name
J
Last Name
P
Member #

16147

IMG_2220.JPG
Front Runner drawer system and Wolf boxes going in. Carpet installation in progress.
IMG_2223.JPG
IMG_2222.JPG
Company that makes bowling balls and cue balls made the new shifter knobs for tranny and transfer case.
IMG_2224.JPG
New steering wheel installed adds a touch of class to the build.
 
  • Like
Reactions: Jimmy P

Soloshootsfirst

Rank V
Launch Member

Enthusiast III

1,721
San Francisco, CA, USA
First Name
J
Last Name
P
Member #

16147

IMG_0042.JPG

Learned LED turn signals working wonky as current is flowing through the indicator bulb on the dash so when you signal right, you get left signal too. A new LED bulb for dash with a dedicated ground fixes the problem. Found it on UK eBay.
 
  • Like
Reactions: Jimmy P

Soloshootsfirst

Rank V
Launch Member

Enthusiast III

1,721
San Francisco, CA, USA
First Name
J
Last Name
P
Member #

16147

IMG_2363.JPG
Learned the heater on this truck blows...and not in the literal sense. I froze my butt off. I also learned the Scheel Manns needed to be wired up ASAP.

I bought a painless wiring harness and it’s great. In addition to the seat heaters I used it to feed power to a couple of USB switches inthe cubby and a combined USB port/ volt meter in the dash. One is hot all the time in case I want something charging with the key out and the rest are AC on only. I plan to run a hot to the rear of the truck to install a Blue Sea Systems panel like Michael did in one of his videos. The painless harness made the job easy.

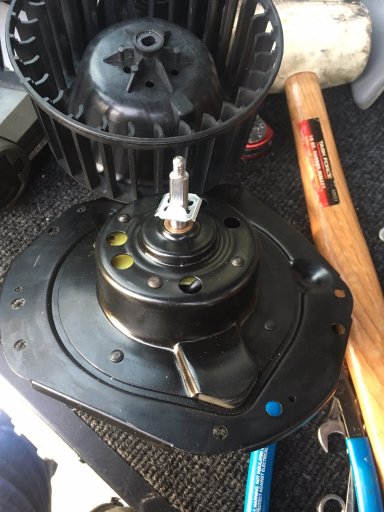
Instead of buying a new Land Rover heater fan I bought the PM136 from Auto Zone. It is considered a better fan as it flows more and is cheaper too. The plan is to open the casing and remove the motors ground to the casing and run the ground external to link up with the defender wiring. With the heater motor out I’ll back flush the core and mod the bulkhead to provide more flow to the plenum.
 
Last edited:

toxicity_27

US MidWest Region Member Rep
Launch Member

Member II

3,278
Minnesota
Member #

0656

Loving the Defender. Any restrictions running the Antique plates? I know here there are different restrictions around it.
 

Soloshootsfirst

Rank V
Launch Member

Enthusiast III

1,721
San Francisco, CA, USA
First Name
J
Last Name
P
Member #

16147

Loving the Defender. Any restrictions running the Antique plates? I know here there are different restrictions around it.
According to VA's DMV its considered an antique if the model year is more than 25 model years old before January 1 of the current calendar year. The statute continues to stipulate:
  • Participation in antique car club activities, exhibits, tours, parades, and similar events.
  • Testing its operation, obtaining repairs or maintenance, selling the vehicle or trailer, transportation to and from events as described in number 1 above and for the occasional pleasure driving not to exceed 250 miles from your residence.
  • Carrying or transporting passengers, personal effects or other antique motor vehicles being transported for show purposes.
So occasional pleasure driving (my weekend jaunts from Arlington don't exceed that number round trip) and antique car club activities (all imported Defenders are antiques as DOT laws require 25 years old to import) includes me getting together with my local LR club.

Thanks for all the encouragement on the build.
 

Soloshootsfirst

Rank V
Launch Member

Enthusiast III

1,721
San Francisco, CA, USA
First Name
J
Last Name
P
Member #

16147

IMG_2389.JPG

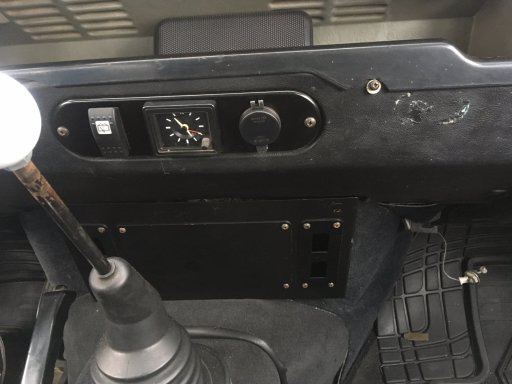
Installed a Series Defender Outfitters switch cover, analog clock, USB with volt meter, and new rear wiper carling switch. Jason at SDO makes great products and they are always well thought out.

Also installed a Raptor engineering cover over my fuse box. 4 switches currently empty but when I go ARB lockers that’s where I’ll put the switches.

Gotta get to that hood pull cable soon...
 
  • Like
Reactions: Jimmy P

Soloshootsfirst

Rank V
Launch Member

Enthusiast III

1,721
San Francisco, CA, USA
First Name
J
Last Name
P
Member #

16147

IMG_2394.JPGIMG_2395.JPG

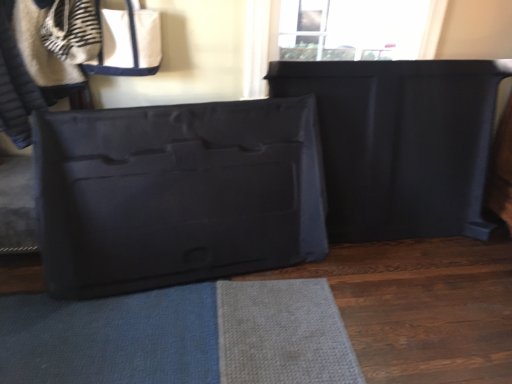
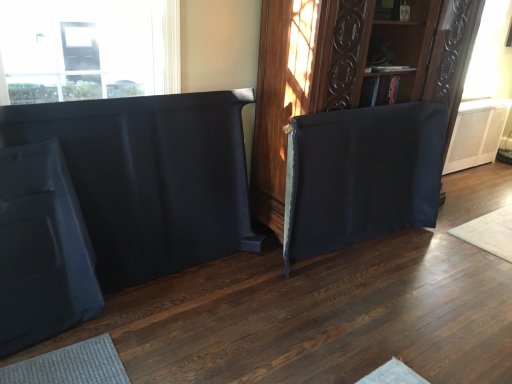
The original headliner was covered in dried mud. I bought some new black headliner fabric at JoAnn’s and used 3m 90 adhesive. I’ve never done upholstery before and didn’t have the right staples. I ended up using paper staples as the shop staples were too long. Even the ones sold at JoAnne’s were longer that traditional staples. They poked through the cardboard. I’m happy with the result, now I just need to source the right length of black tree for my 110.
 

Soloshootsfirst

Rank V
Launch Member

Enthusiast III

1,721
San Francisco, CA, USA
First Name
J
Last Name
P
Member #

16147

IMG_2397.JPGIMG_2398.JPGIMG_2401.JPG

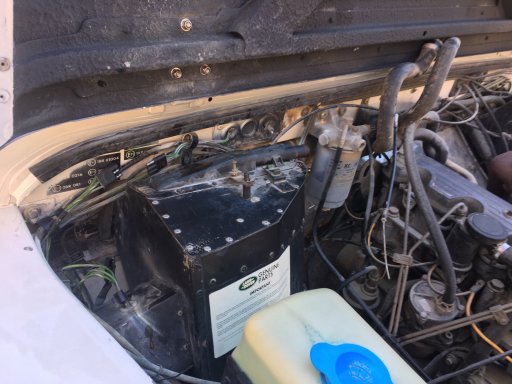
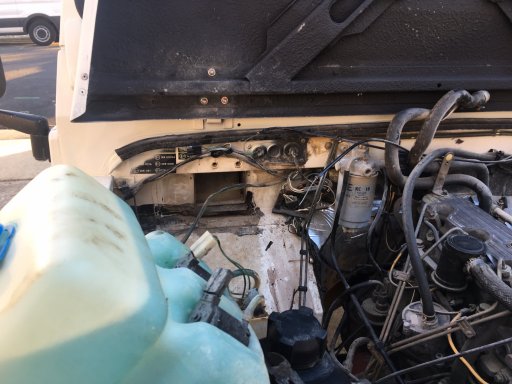
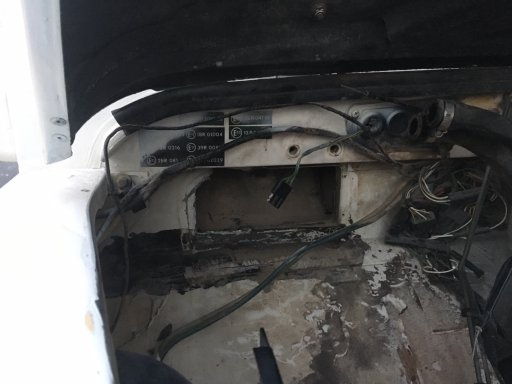
Heater out! As planned I took a cutting wheel to the bulkhead and opened it up to match the actual heater. I have no idea why Land Rover didn’t do this in the first place as it’s so restrictive. I also dropped black water out of the heater core. I’ll flush it this week to see if I need a new matrix.