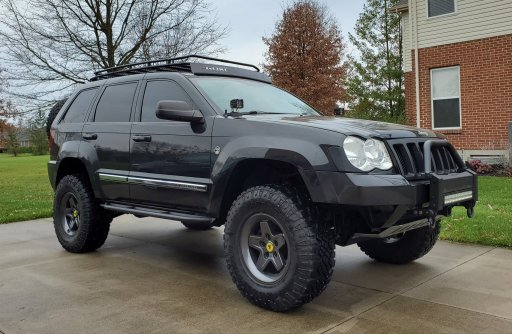
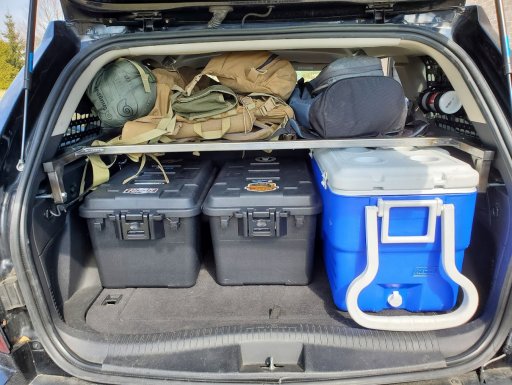
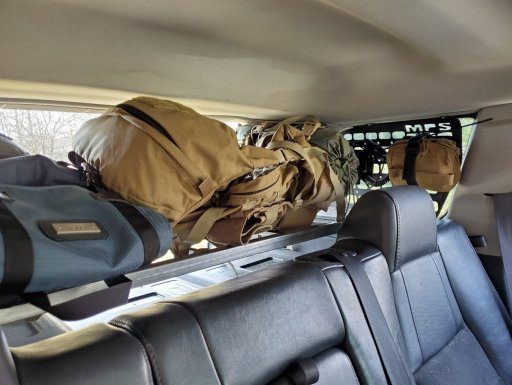
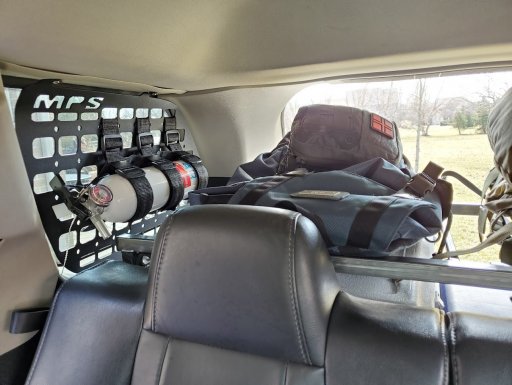
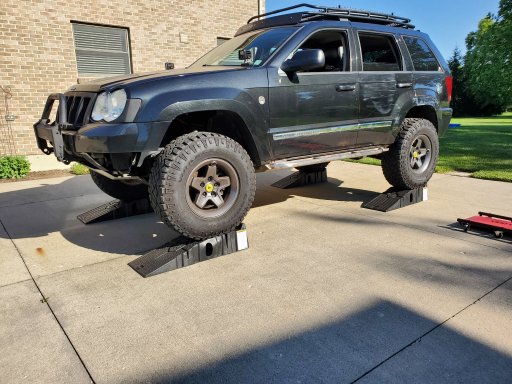
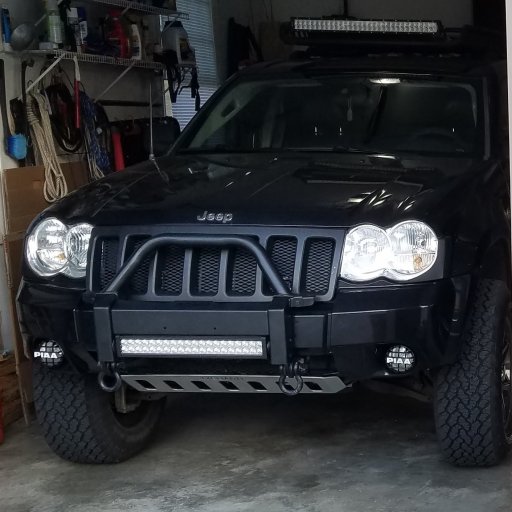
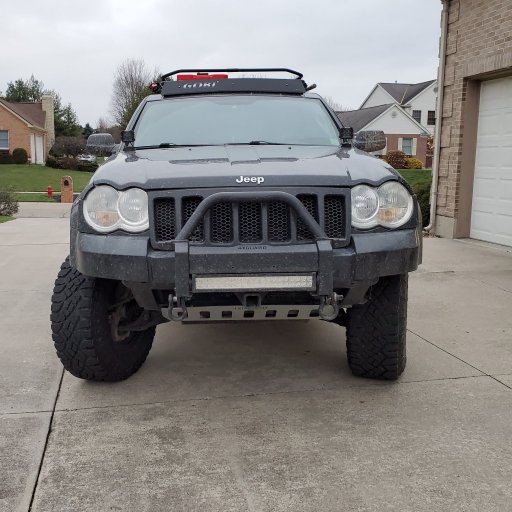
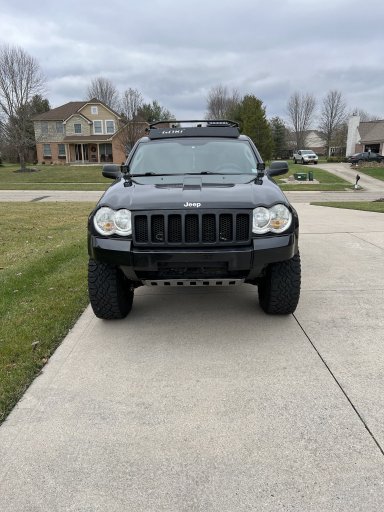
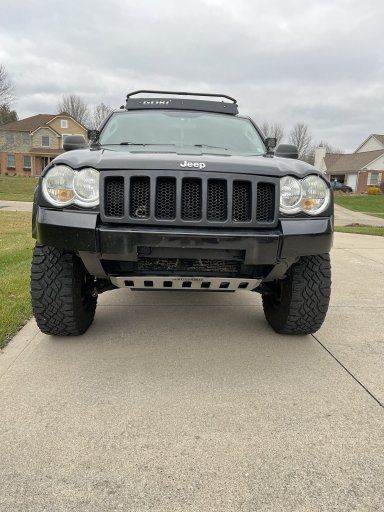
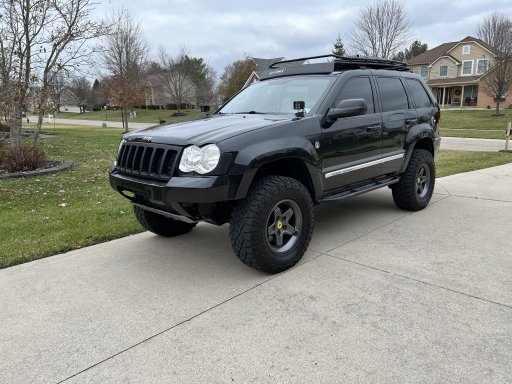
Here is my last 10 months summed up in 1 post. A lot more happened than I remember:
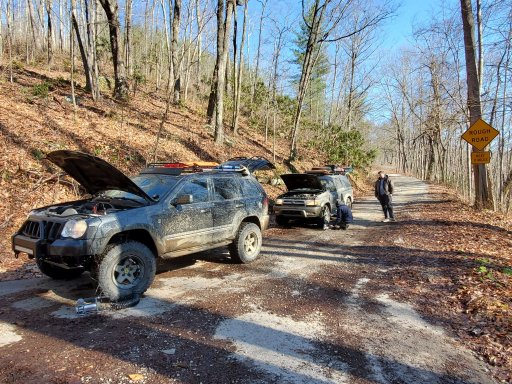
From December to June, I had been through a bit of vehicular hell. It started with my daily getting broken into, and the vandals did about $6k in damage to the front and rear passenger doors from their fight against my laminated glass just to steal a knife, a pair of sunglasses, and throw my dashcam. Luckily insurance covered all of that. About a month later, my daily got rear-ended in the snow and another $3k in damage was done to the rear bumper, but the other driver's insurance covered it. Around the same time, I was driving my WK through snowy traffic that came to a standstill. after some time parked on the interstate, my WK gave me the engine over temp light. I killed it, and because the temp needle was all the way to the right and not going down, I then decided to purge the radiator and let the hot coolant out. the temp went down to about 3/4 right and I ended up getting it towed to my mechanic. Water pump and radiator fan had failed in the standstill and had to be replaced.
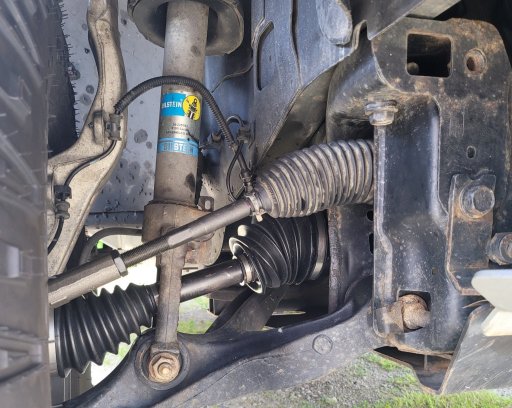
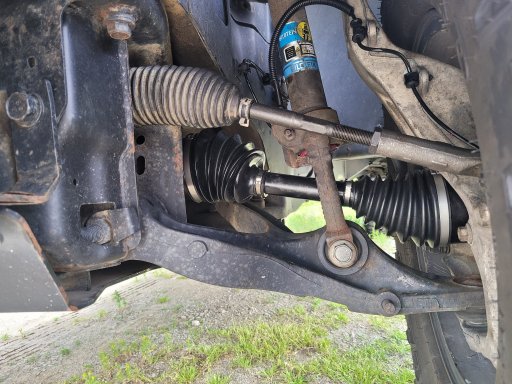
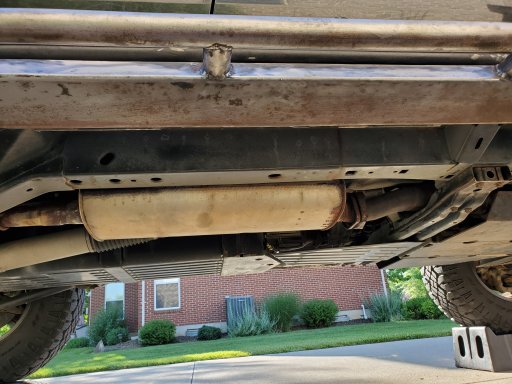
Once my daily was in the shop to get repaired (2 months), I was daily driving my WK and started to really pay attention to all the different noises. There was a clicking on the driver's front with acceleration in turns, a front vibration, and a front humming noise, as well as the usual rear-end knocking and an overly soft rear suspension. The clunk from accelerating even came back. Once I got my daily back, I took my WK to my offroad shop to have all of these issues evaluated. Turns out the WK needed new front LCA ball joints and bushings, front wheel hubs and wheel bearings bilaterally, front differential bushings, and front driver side spider gears in the differentials for axle play in the diff. After reassembly, a bit of clicking remained a turns, although less, indicating some wear of the driver's side inner CV. My shop spoke with RCV, and the axles are warrantied at failure, not wear. I spoke with the shop and they agreed with my mild to moderate overland style use, there should not be any issue. I am planning on going back in 2-3 years regardless to have the inner CV rebuilt. In the rear, King shocks turned out to be air shocks that were pretty low on air. Once it was determined there was no leak, the shop filled them with air and now the rear end ride is significantly improved. Additionally, the shop cleaned up the contact area between the rear axle and rear subframe from the trunk so there is no more contact. There is a significant decrease in the clunking noise with these improvements as well.
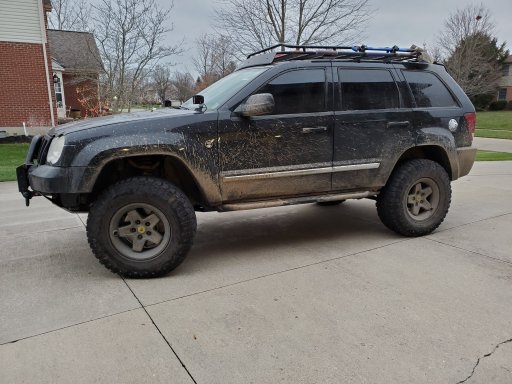
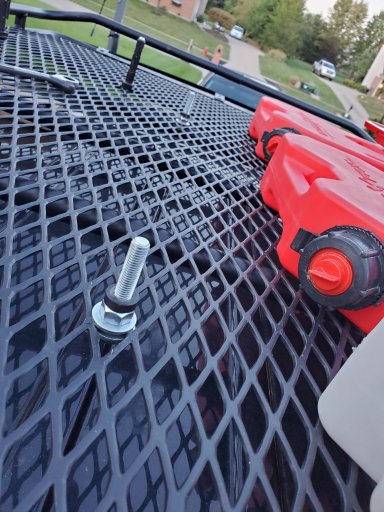
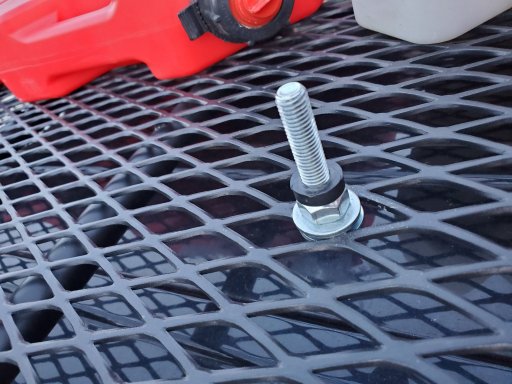
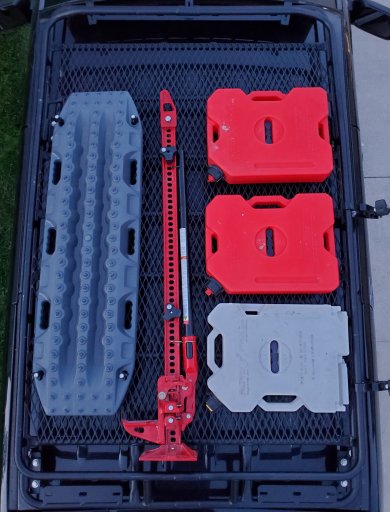
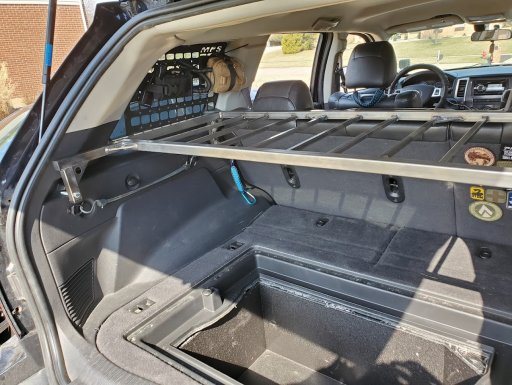
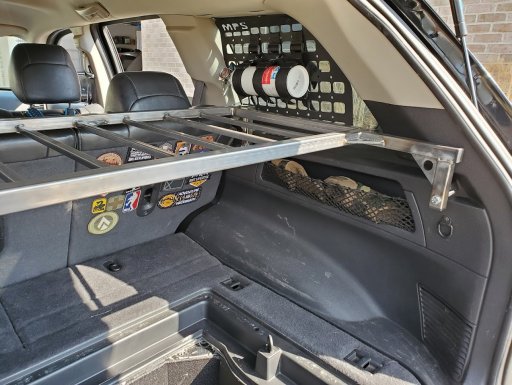
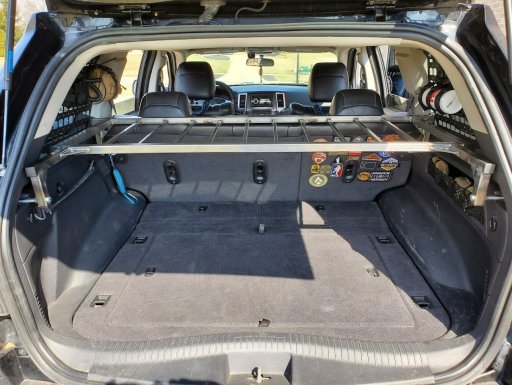
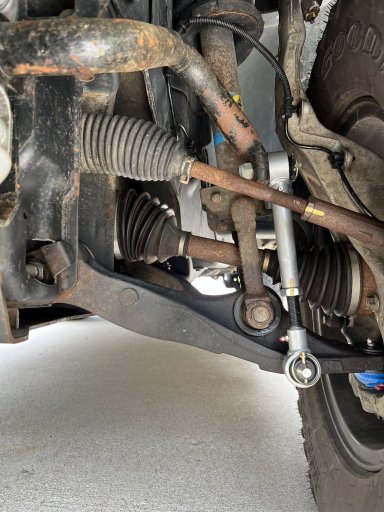
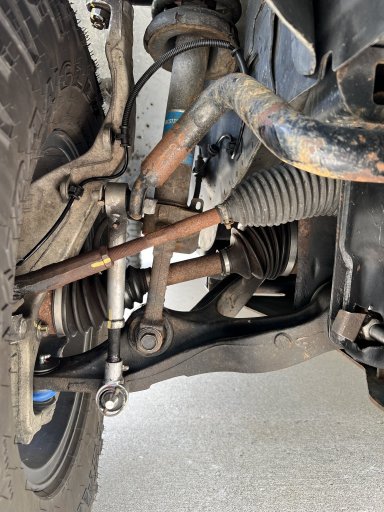
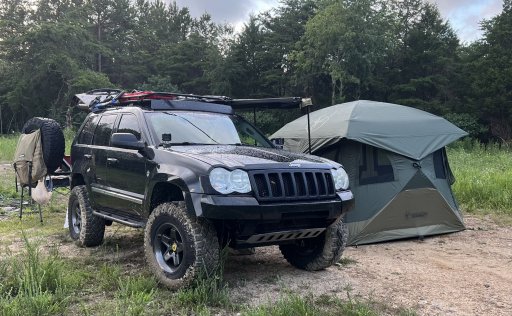
Since then, I've also added Rubicon Express QD sway bar links to the front with front and rear Addco sway bars, as well as custom length BWoody sway bar links in the rear. The QD links required a bit of modification, specifically rethreading the LCA sway bar mounting points to the specified thread of the QD mount (can be provided upon request). The reason I went with stiffer sway bars can be explained in the video below. Overall, the WK is running as good as it ever has after all this work. Bash let me know my hidden winch has been shipped, so once it comes in, it'll get a few coats of paint before install, and finally a superwinch. From that point, the remaining mechanical modifications is a short list, with more to do regarding overland/camping setup. The Gazelle T4 Overland tent fits perfectly on top of a Gobi rack, by the way. I had discussed adding a cooking table to the rear swing arm with my shop, but with everything else that needed to be addressed, that was put on the backburner.
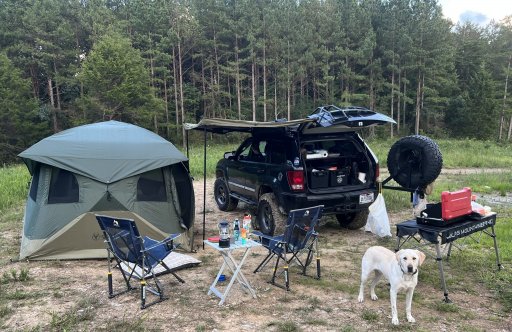
In July, I took a quick trip in the Daniel Boone National Forest with my girlfriend and dog. The focus was on camping and hiking, also getting her comfortable with going offroad. Overall it was fairly successful. The forecast called for rain all Saturday, so I made the last minute decision to call my local overland shop and they had some 23Zero awnings in stock. I was able to pick it up and get it installed later Friday before leaving Saturday morning. It was a fairly straight forward install and bolts on securely. At camp, the awning really pulled the whole setup together, and made my girlfriend question why I hadn't gotten one sooner.
The jeep performed well, but the coil spring isolators are going bad in the rear, and made a hell of a racket going through bumps with a mild amount of speed. The AC also took a poorly timed ****, and we had to drive with the windows down for the 400 miles total we travelled. With how simple it was to find a trail on Gaia, pack, drive 2-2.5 hours, and get a bit of hiking, camping, and offroading together, we agreed to begin doing these kind of weekend trips to Kentucky a bit more often.
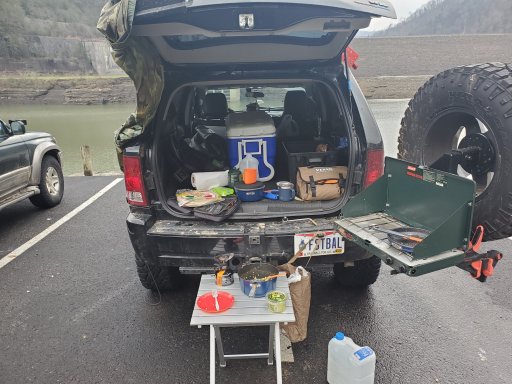
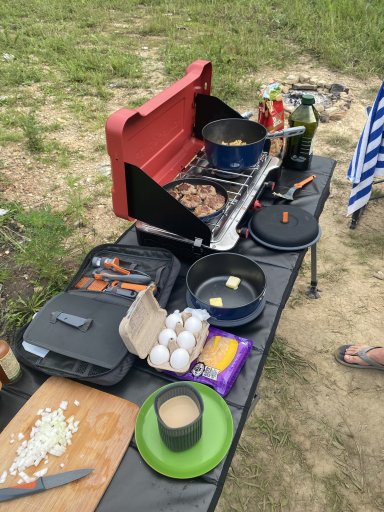
The Gazelle tent was an easy setup and tear down, and it kept in a decent amount of heat with the rain fly on which gives us confidence about camping in colder weather. The Camp King stove had some killer burners and cooked easily. Still a bit of a learning curve making coffee at camp. Biggest disappointment was the amount of trash left behind at the campsite. It was mostly alcohol containers, fireworks, and spent ammunition, which makes me think locals. I cleaned up a bit here and there but it was far more that I could fit with what I had packed.
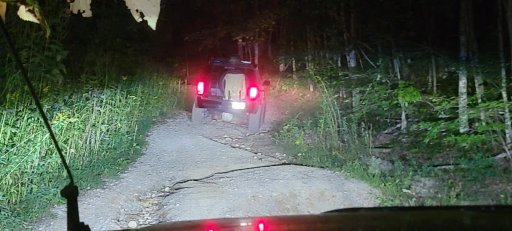
Overall, there is not much I would change about my setup. The awning and tent on the roof were not significantly noisy, and provided for a good camp. I will certainly need some more lighting, mostly scene lighting for camp and some reverse lights. I am not a big fan of night offroading so I likely won't be dropping a lot on a fancy lightbar. Beyond that we could only identify little odds and ends we missed out on, like a flyswatter.
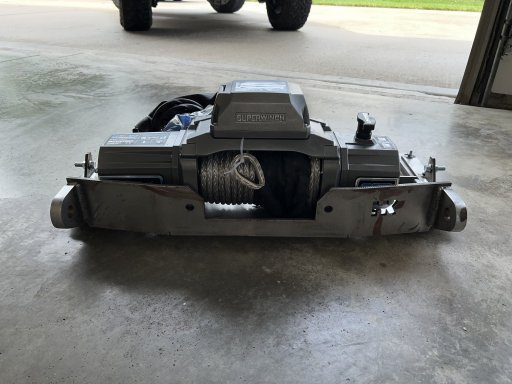
August hidden winch install I had been working on. Hit the hidden winch mount with a bit of 220 sand paper to get the surface oxidization before 2 coats of this paint, 1 whole can for each side.
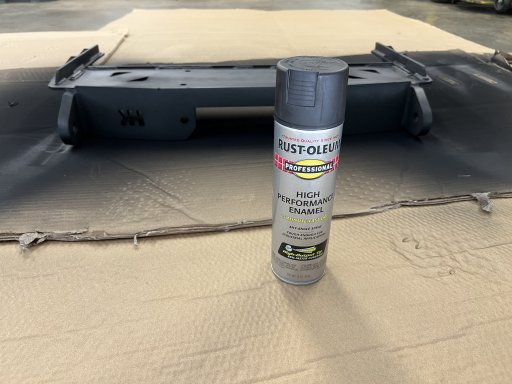
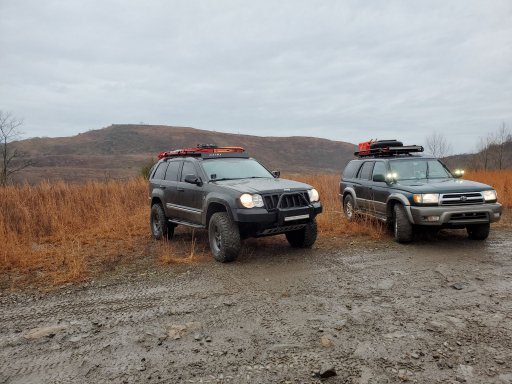
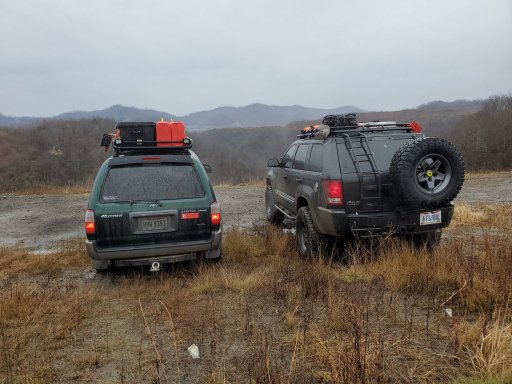
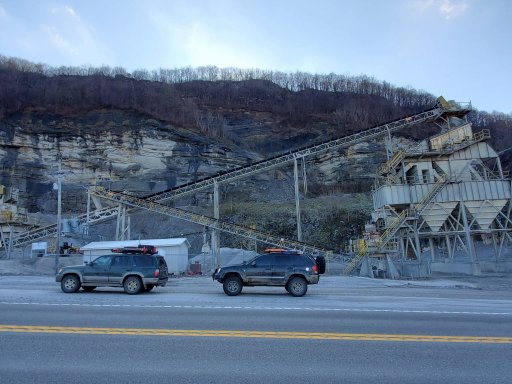
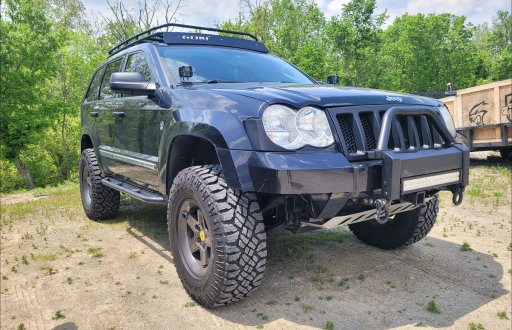
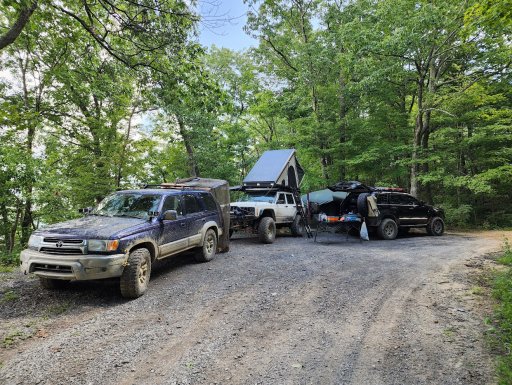
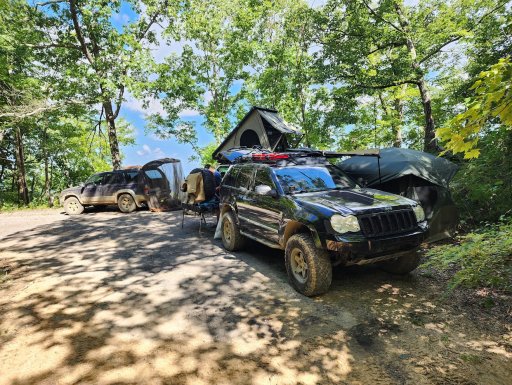
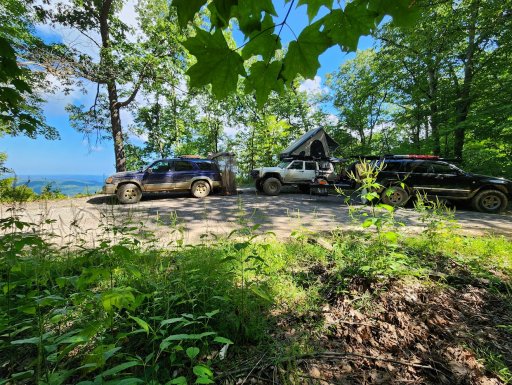
Labor day weekend was a good one. I spent Saturday and Sunday on parts of the Kentucky Adventure Trail with some buddies, and ended up camping on Pine Mountain near the Virginia border. Ironically, it wasn't until Monday after the trip that I got the hidden winch mount and Superwinch installed.
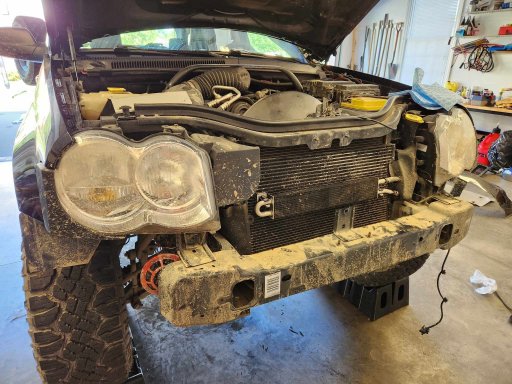
All things considered, the install was not as challenging as I anticipated it being. The directions on the HK website more or less cover it all. After stripping the grill and bumper off, you break out the sawzall and hack off the old front crossmember. After that, you clean up the old metal edges for a clean tight fit, and add a coat of paint to the exposed metal to prevent corrosion.
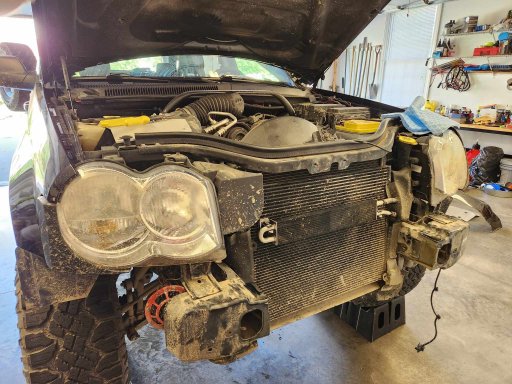
Next, mount the hidden winch via sandwich plates in the frame rails. You will have to drill out the farthest back bolt for mounting, which is something I did not find to be as clear in the instructions. Mount up the hidden winch with the front 4 bolts (2 each sire), then mark each rear slot for drilling. There are also 2 perpendicular bolts on either side through "bunny ear" tabs that require drilling into the frame rail. This was not a difficult process, so long as you have a good set of drill bits. After that, you have to straighten out the bottom legs of the hood latch support to mount to the hidden winch extension tabs. Not a difficult task if you have a table vice, otherwise Bash recommends using the hidden winch mount itself to bend the ends straight.
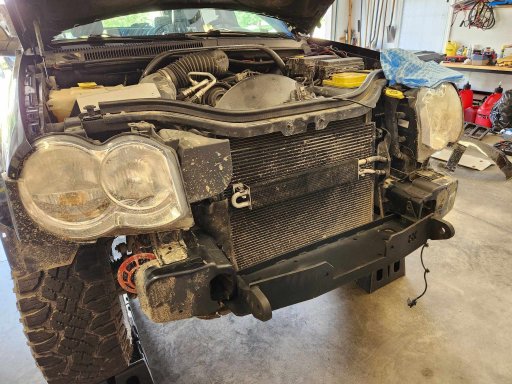
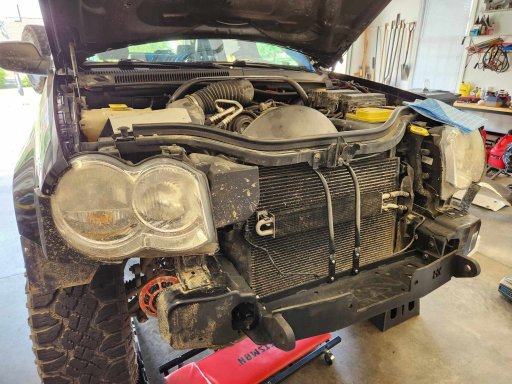
From here you just tighten everything down and throw a coat of paint over any remaining exposed metal. Once that is taken care of, you can drop in the winch and begin the fitment process.
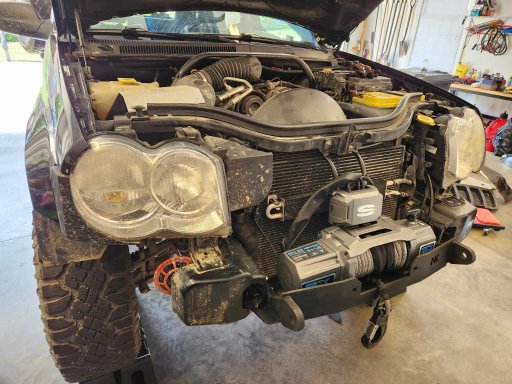
The SX10SR Superwinch dropped right into the mounting holes. First thing, the temp sensor has to be relocated, so I secured the wiring to the back of the winch mount and bolted the sensor to a radiator support bracket on the passenger's side. The winch control box was too tall to be on top of the winch due to contact with the grill, so I attempted to drill in self tapping screws into the hood latch supports, but the provided screws were too short. I opted for zip ties instead and feel I have a secured result. From there was wiring. The negative wire has to be attached to the terminal on the rear of the winch, and the positive wire comes attached. I ran both wires across the winch mount, up through the driver's side headlight cavity, and around each side of the battery tray. I went under the positive side of the battery with the positive cable to avoid contact with a radiator hose in the way. I had a friend recommend an Anderson switch to cutoff power and prevent parasitic draw, but I have not gotten there at this point. Ideally, I would connect this to one of my unused rocker switches on the driver's cubbie.
Once the winch was tested and proven to be functional, I moved to trimming the bumper around it. This winch comes with a wireless remote, so I opted to not cut a hole for the wired remote. If a situation comes where I will need to use the wired remote, I will just have to pop out the grill with the 6 tabs and then it is easily accessible. The other consideration was clutch engagement. I also opted to not cut a hole, but rather leave the winch engaged and use the "out" function on the remote to unspool the winch. Again, just 6 tabs to remove the grill and I can easily access it. Because my bumper had been cut for a lightbar before, I had different options I could take. 1: cut all the way around the toe hooks for 1 big opening, or 2: cut just around the tow hooks and not enlarge the opening. I opted for option 2 due to more plastic support for the bumper shape. It was a process of cutting, test fitting, cutting more, test fitting, and cutting more until I got it right. Eventually it slid on far enough back and I decided to button it back up. Only 1 more relief cut was needed to get the hooks onto the mount, but it looks nice and flat now.
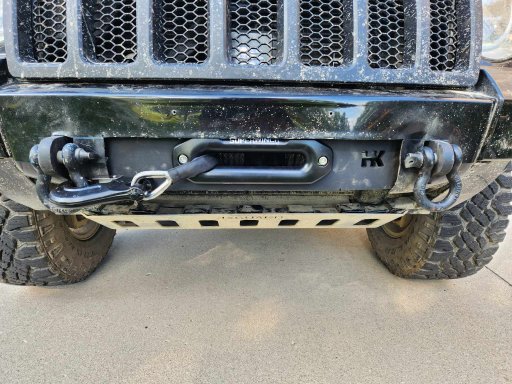
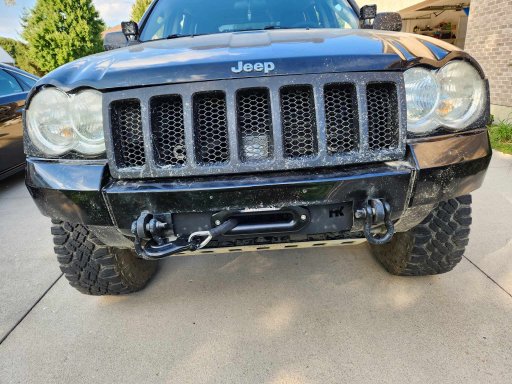
Once the grill was on, the hood release from the cabin was not properly working. It seems the hood is not able to go 100% of the way down as it was previously, but is able to go down enough to being locked. I went back and made sure the hood latch was mounted as high as possible, tightened it back down, and it has just enough room to work the proper way now. it is a tight fit against the grill, but it is a fit. Bash had mentioned possible extended hood latch brackets if it was not working, but for now it’s not necessary.
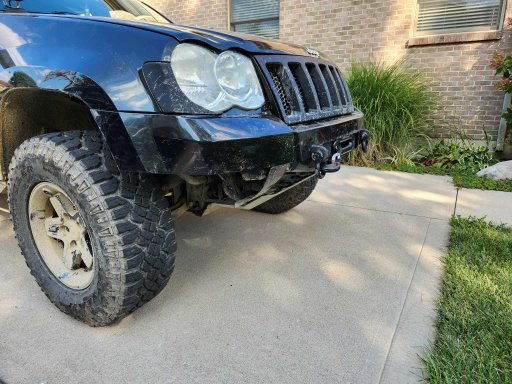
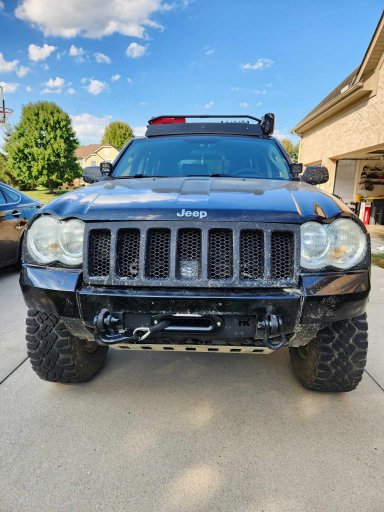
All in all, this was probably a 5-6 hour process. The frame rail caps, bumper shaping plastic support piece, and crossmember all become scrap. The front end does not seem to be sagging with 5100s and OME MD coils. I am satisfied with the look and presumed functionality, as well as improved strength this product provides, and I am looking forward to using it in the future.
Earlier this month, It appeared the winch unveiled my 145k mile alternator’s wear, so the Jeep ended up dead for about a weak. Having had my eye on upgrading my alternator in the past, I figured no time like the present. I settled for a Mechman 240 amp alternator, sending 110 amps at idle. This is certainly an upgrade from the 160 amp alternator that came with the 3.7, and should do a better job of supporting the winch. Being in an apartment, I did not have a trickle charger. With that in mind, no surprise my battery went with it. Luckily my battery was still in warranty, so I got a new yellow top as well. The install was fairly straightforward and got the Jeep back up and running. I did not upgrade the wiring as of now, needing to move the Jeep sooner rather than later at the time of repair. Something to consider for the future. Certainly a smaller pulley on the new alternator as well.
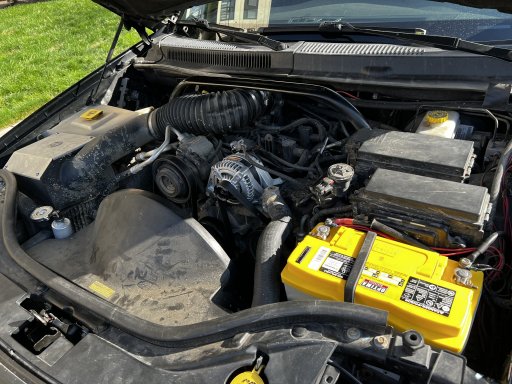
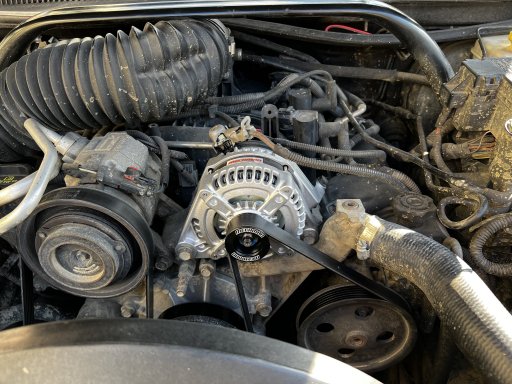
And that's it! I think next is going to be winch power management. The driver's arm LCA ate another sway bar link bolt, so I think I'm going to call it quits on the front sway bar idea. Anyone need a good think WK front sway bar? Some science indicates it may be best to go without a front sway bar overall on an IFS rig.
Articulation vs Sway Bar
