
Influencer II
Overland Bound community,
Whats up every one, my name is Nick and I am here to teach you how to setup and properly opperate a Power Tank. I will be demonstrating this write up with my personal 10 lb. Power Tank.
A Power Tank is an excellent mobile means of compressed air (Co2) for loads of uses when either out on the trails or assisting road side. These tanks can either be carried to an immobile vehicle stuck out on the trail or put to use while strapped into your rig. I will be instructing you how to properly use the Power Tank and a few important notes to take down before even filling your Power Tank.
WHERE TO FILL: I have filled my Power Tank at fire stations and local automotive / 4x4 shops. Some will charge a small fee others will let it go for free. These tanks are built to last and have a very attractive warranty.
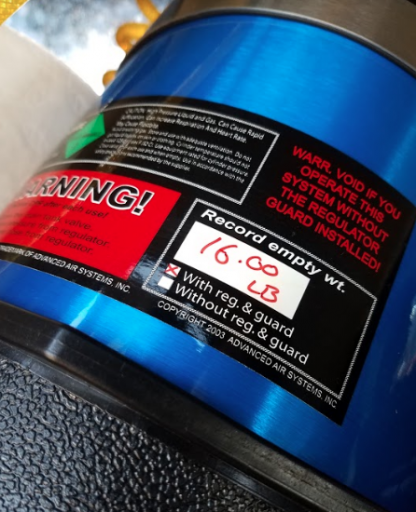
Step #1: When you first receive your Power Tank always record the empty weight of the system without the hose. Use this open space on the sticker to record the empty weight. This is allow you to figure out when the tank is near empty later on.
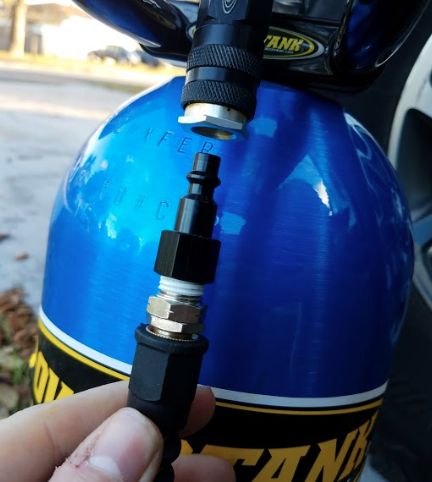
Step #2: Assure your regulator and main tank valves are seated in the CLOSED position before starting. Assure your high pressure hose is securely connected before opening any valves.
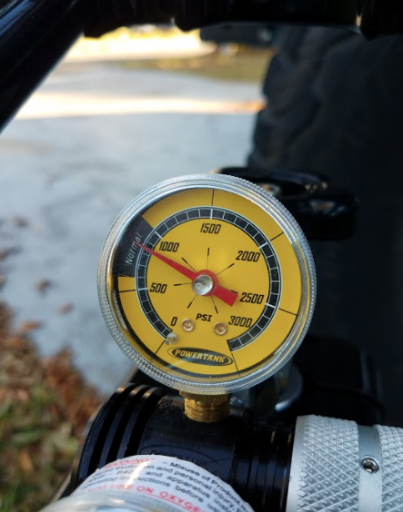
Step #3: Visually inspect your primary tanks PSI meter to ensure you have the proper amount of pressure within the tank.
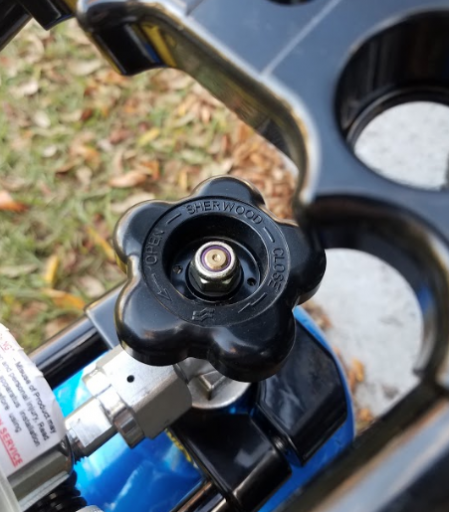
Step #4: When you are ready to opperate the system FIRST open the primary tank valve by turning the valve a few times counter clockwise. This will allow pressure from the tank to flow out and rest against the inside of the regulator. No Co2 will be flowing to your hose at this point.
Step #5: Now that your primary tank valve is allowing Co2 to flow to your regulator, slowly open the pressure regulator valve and watch the needle on the regulator meter rise as your hose becomes firm with pressure. Watch the regulator meter to find where the appropriate pressure should sit for your task.
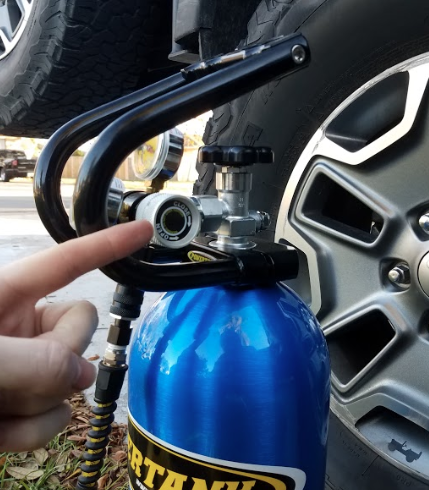
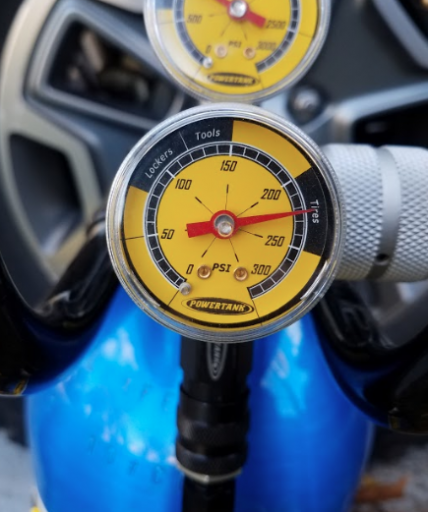
Step #6: When filling your tires with Co2, take the air chuck and press firmly to the stem to allow air to flow into the tire. Check your tire pressures periodically since the Power Tank does allow for a high flow of Co2 when entering the tire.
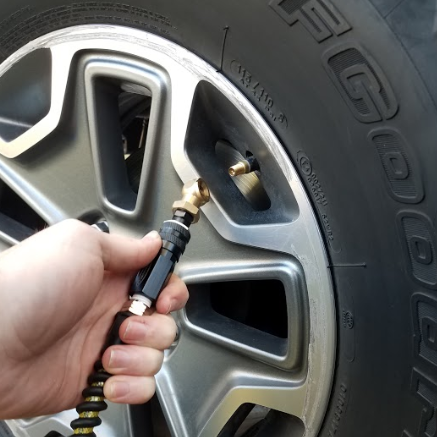
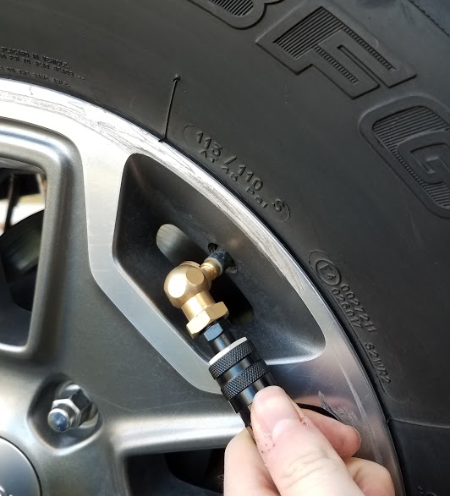
Step #7: When you have completed your task FIRST close the primary tank valve in order to cut off the supply of Co2 to the regulator.
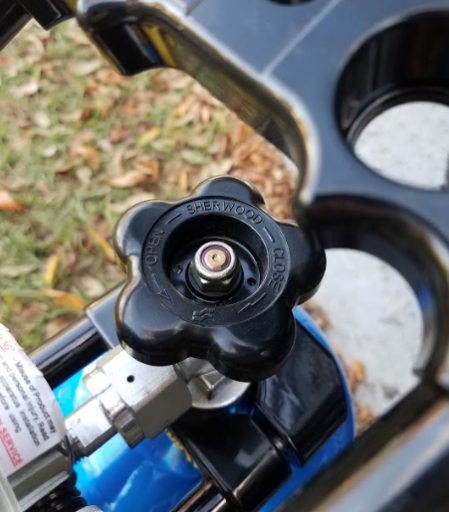
Step #8: SECONDLY close off the tanks regulator valve. When sealing this valve you will head an audible purging of pressurized air escaping the regulator. This is completely normal as there is still pressurized Co2 within the regulator and hose. You will notice the needle on the regulator dropping as you continue to close off the regulator valve. Once closed off and the system has been purged you should notice the regulators needle resting at zero on the meter.
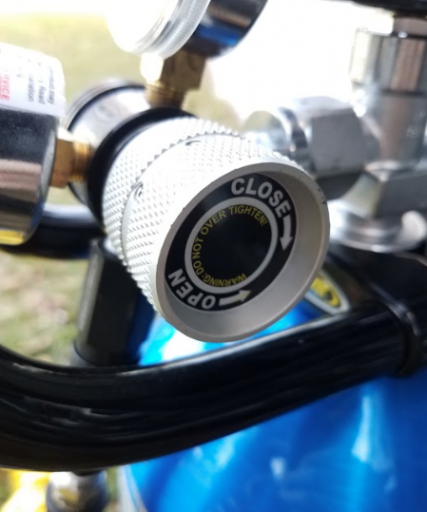
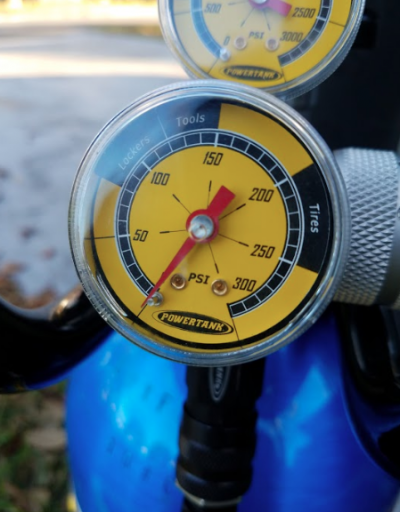
Step #9: It is now safe to disconnect the high pressure hose from the system. There should be zero air coming from the regulator or tank at this point. Feel free to carry on down the trail.
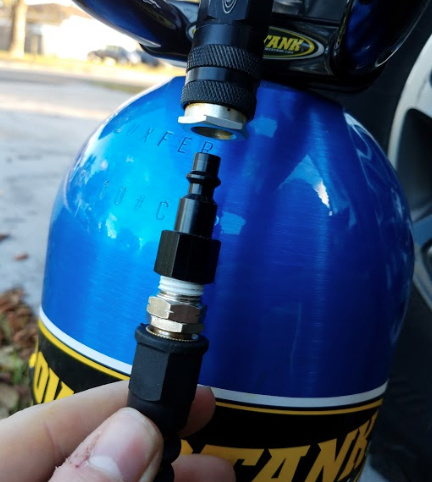
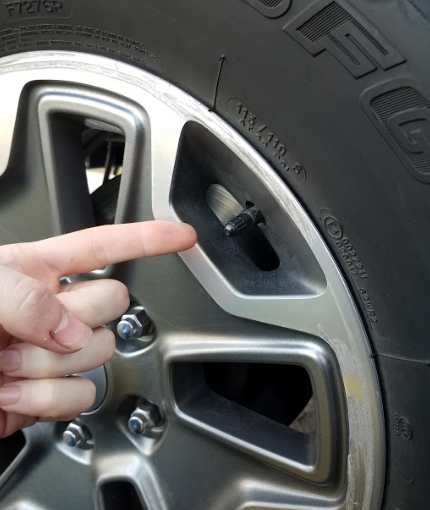
Step #10: Always remember to replace stem caps! These are a B word to loose.
You are now armed with the proper knowledge to assist yourself or others out there on the trails.
Thank you!
- Nickzero OB#12727
Whats up every one, my name is Nick and I am here to teach you how to setup and properly opperate a Power Tank. I will be demonstrating this write up with my personal 10 lb. Power Tank.
A Power Tank is an excellent mobile means of compressed air (Co2) for loads of uses when either out on the trails or assisting road side. These tanks can either be carried to an immobile vehicle stuck out on the trail or put to use while strapped into your rig. I will be instructing you how to properly use the Power Tank and a few important notes to take down before even filling your Power Tank.
WHERE TO FILL: I have filled my Power Tank at fire stations and local automotive / 4x4 shops. Some will charge a small fee others will let it go for free. These tanks are built to last and have a very attractive warranty.
Step #1: When you first receive your Power Tank always record the empty weight of the system without the hose. Use this open space on the sticker to record the empty weight. This is allow you to figure out when the tank is near empty later on.

Step #2: Assure your regulator and main tank valves are seated in the CLOSED position before starting. Assure your high pressure hose is securely connected before opening any valves.

Step #3: Visually inspect your primary tanks PSI meter to ensure you have the proper amount of pressure within the tank.

Step #4: When you are ready to opperate the system FIRST open the primary tank valve by turning the valve a few times counter clockwise. This will allow pressure from the tank to flow out and rest against the inside of the regulator. No Co2 will be flowing to your hose at this point.

Step #5: Now that your primary tank valve is allowing Co2 to flow to your regulator, slowly open the pressure regulator valve and watch the needle on the regulator meter rise as your hose becomes firm with pressure. Watch the regulator meter to find where the appropriate pressure should sit for your task.


Step #6: When filling your tires with Co2, take the air chuck and press firmly to the stem to allow air to flow into the tire. Check your tire pressures periodically since the Power Tank does allow for a high flow of Co2 when entering the tire.


Step #7: When you have completed your task FIRST close the primary tank valve in order to cut off the supply of Co2 to the regulator.

Step #8: SECONDLY close off the tanks regulator valve. When sealing this valve you will head an audible purging of pressurized air escaping the regulator. This is completely normal as there is still pressurized Co2 within the regulator and hose. You will notice the needle on the regulator dropping as you continue to close off the regulator valve. Once closed off and the system has been purged you should notice the regulators needle resting at zero on the meter.


Step #9: It is now safe to disconnect the high pressure hose from the system. There should be zero air coming from the regulator or tank at this point. Feel free to carry on down the trail.

Step #10: Always remember to replace stem caps! These are a B word to loose.

You are now armed with the proper knowledge to assist yourself or others out there on the trails.
Thank you!
- Nickzero OB#12727


