World Traveler III

World Traveler III
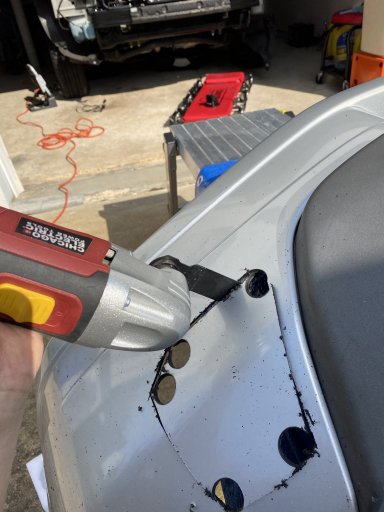
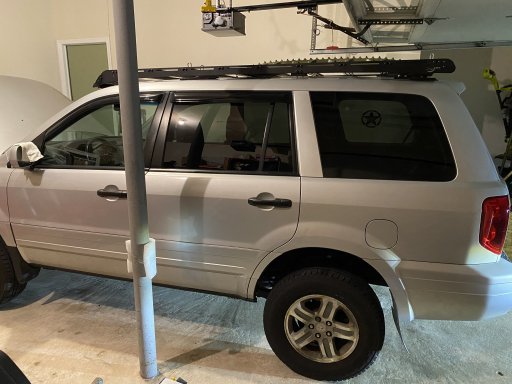
That looks awesome! so much roof space! Great job!Finished installing the Prinsu roof rack with 4 different attachment mounts on each side. The front mount was challenging to make because cutting the angled shape and small size with a sawzall is never safe. The third mount was the easiest to make and last one to install because everything else had to be tightened down first. Ordered a few Prinsu accessories like the “load panel” and twist on stainless loops that easily mount anywhere on the roof rack.View attachment 191065View attachment 191066View attachment 191067View attachment 191068View attachment 191069
Thanks. Should be enough room for a roof top tent. Just have to watch my weight limits static versus dynamic. Stay safe and keep on adventuring with the family.That looks awesome! so much roof space! Great job!
Not sure what changed on the 2011 Pilot but you have to remove your roof rack to see what bolts or nuts are there. My ‘04 had bolts in the drip channel. The Prinsu mounts were close but did not match the bolts on my Pilot so custom brackets were made to mount the Prinsu. On the pic 3 Pilot bolts secure a custom angle bracket to meet the Prinsu. After my installation it seems other brands like Victory had bolt on mounts for their rack which could reduce the amount of custom work.I love how this is shaping up. I have a 2011 Pilot that I'm thinking about diving into, and that Prinsu roof rack looks amazing. Any chance you have details on how you mounted it to the roof? I know you said "four points on each side", but you mentioned you weren't cutting into the roof and I'm just curious how that worked out. Keep it up, and I appreciate the posts! It's great motivation!

Member II
