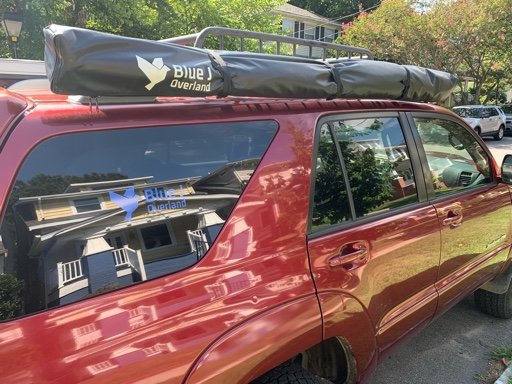
Guana Equipment 270* awning

  • HTML tutorial

throma

Rank 0

Contributor I

60
Denver, CO, USA
First Name
Tom
Last Name
Hro
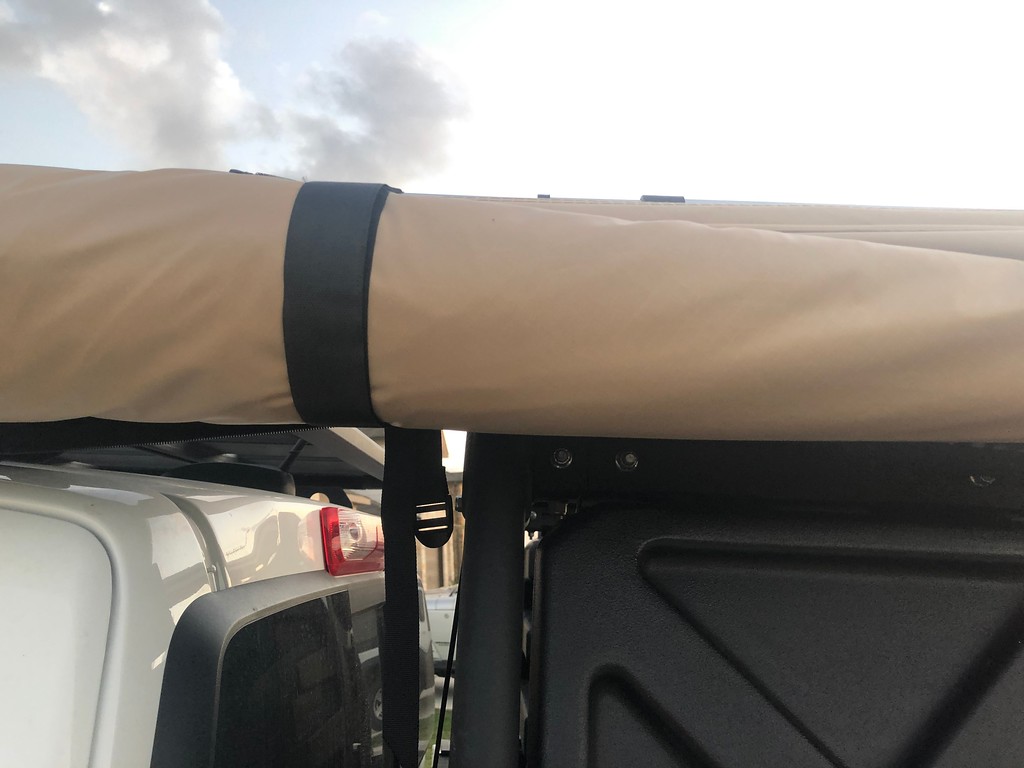
Unzipping and lifting the top of the bag was easy enough:


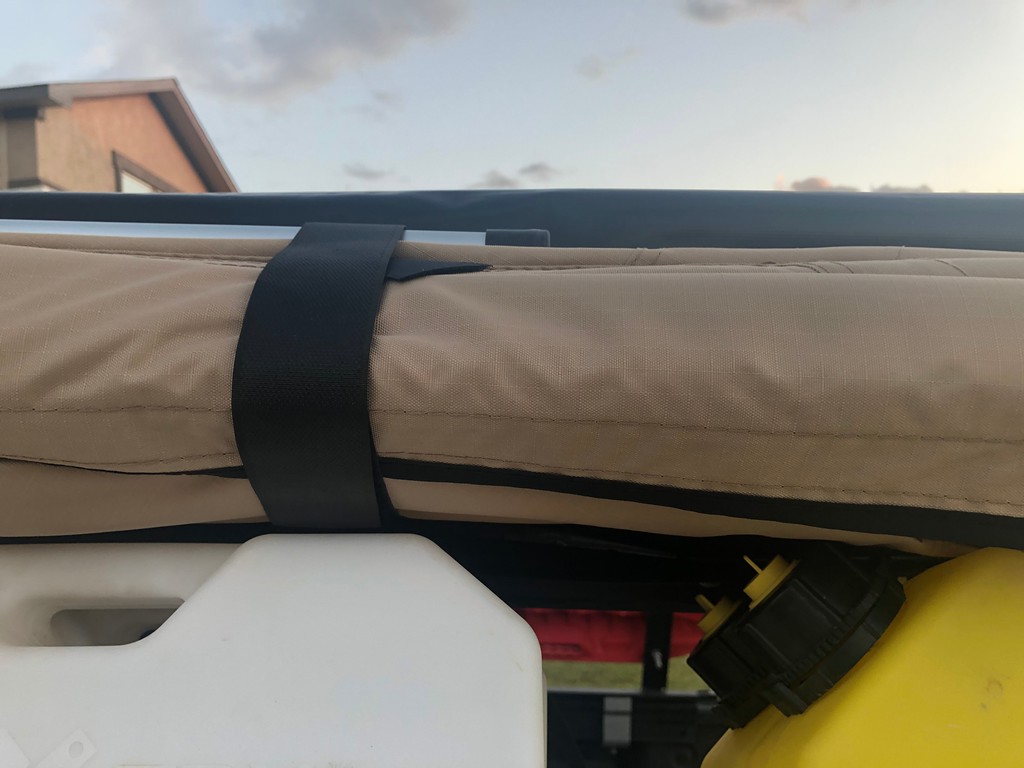
You can see that it has 3 internal Velcro straps as well:


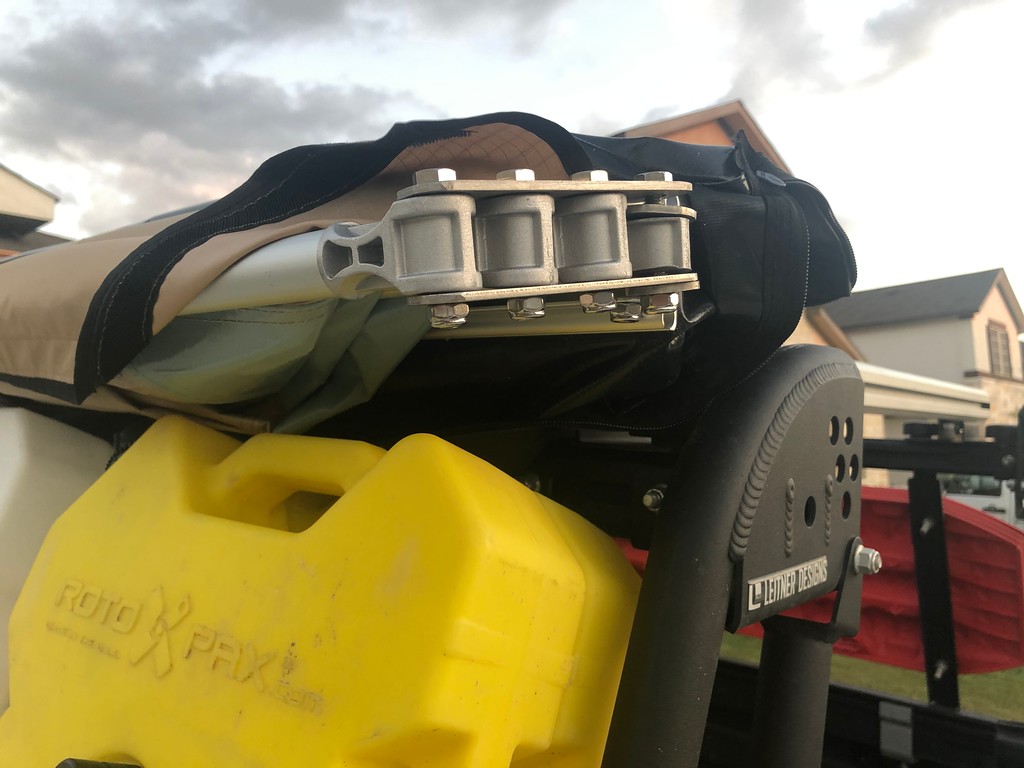
And here is a close up of the bracket, relatively simple design and it looks like it will be easy to repair if necessary. Nice that the bracket is all metal.


Not as nice of a design as the Batwing, but that bracket is a combination of plastic and metal, the Alu-Cabs is in a league of it's own.

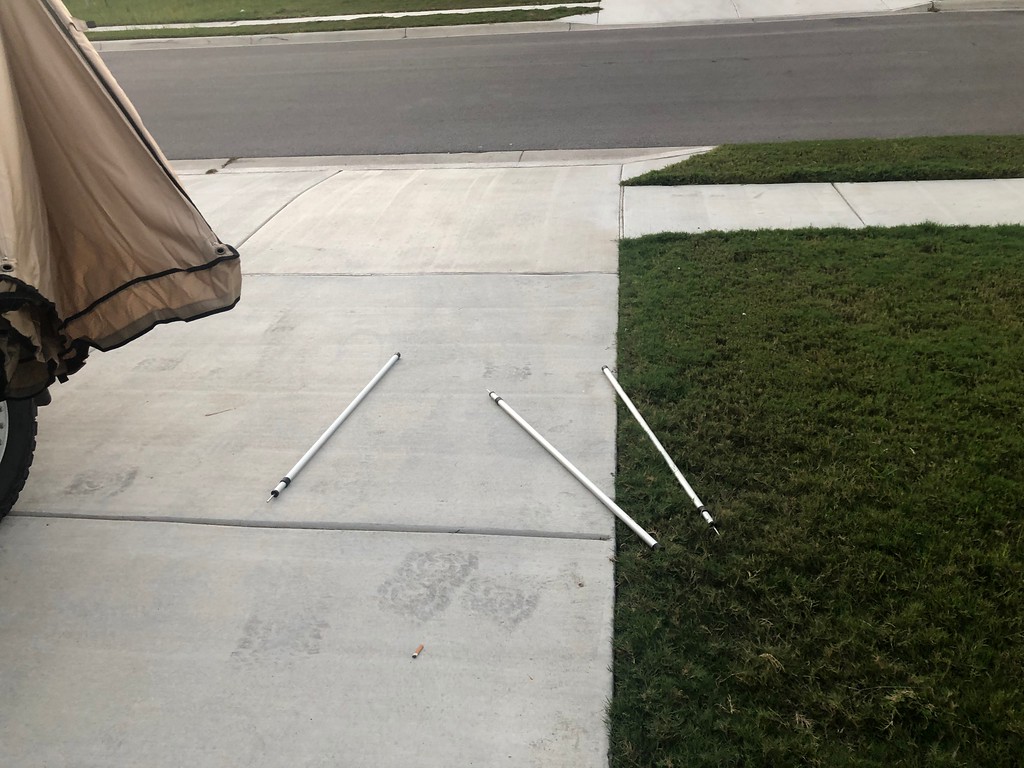
As soon as I un-Velcroed it, the foot poles fell out. The Rhino's has the foot poles attached to the bars. This isn't a great design, as the poles can hit your vehicle. I think I will wrap the poles together and put them in last, at least that way I can grab them when I open the bag.


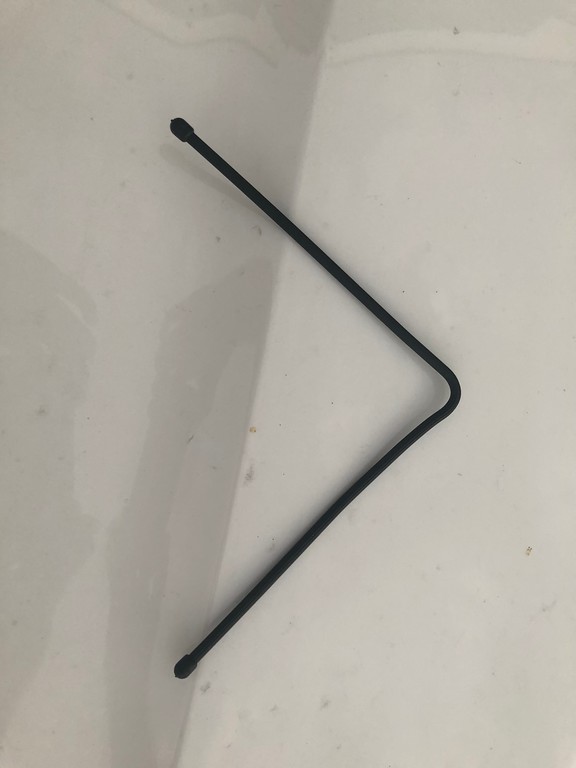
I pulled on the first/last bar and brought it around to the back of my truck, no built in strap like the Rhino or the Alu-Cab to attach it, which means you have to let the opened awning hang off the bracket. I tried putting in the foot poles but they won't hold the awning on it's own, the Batwing is basically the same way, but Rhino had a built in strap to attach it to something. I ended up using a Nite Ize twist tie.


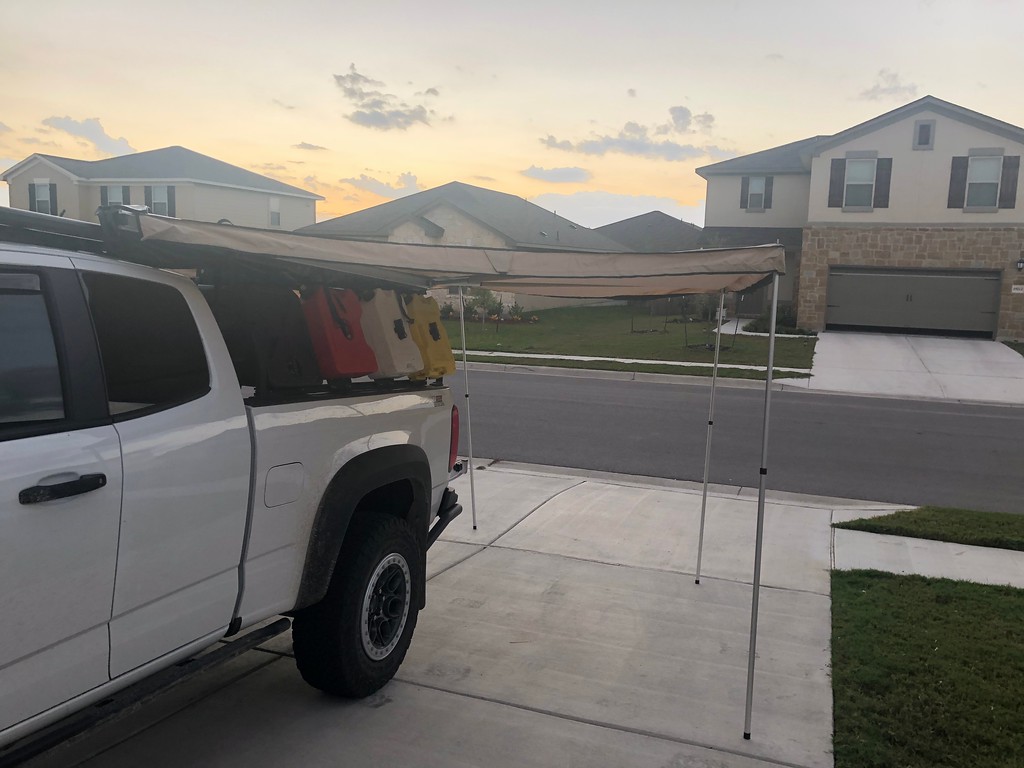
So here it is with no guide ropes in 8 mph winds and 16 mph gusts:


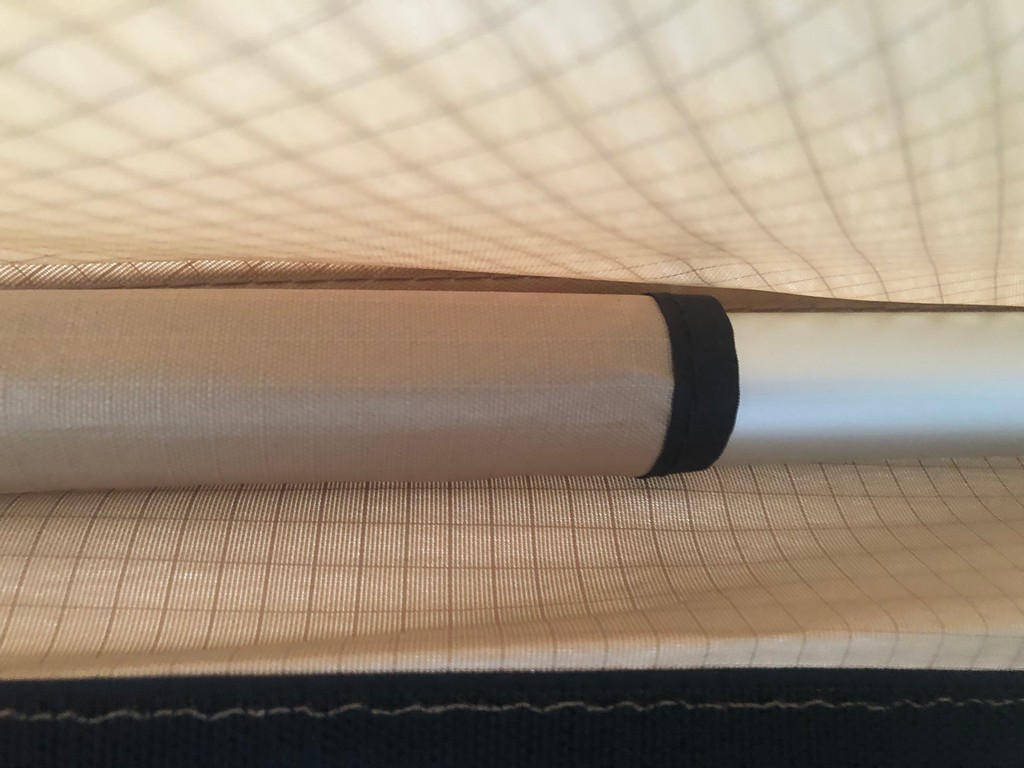
The Batwing you were able to stake the poles, you can't with these poles, so you must use the guide lines provided with the stakes provided. I like being able to stake the poles themselves. The other big difference is these poles go through the top of the awning, this is going to let water in, so you are definitely going to have to guide rope the centers between the poles during rain. The Rhino's design has the poles outside the awning.


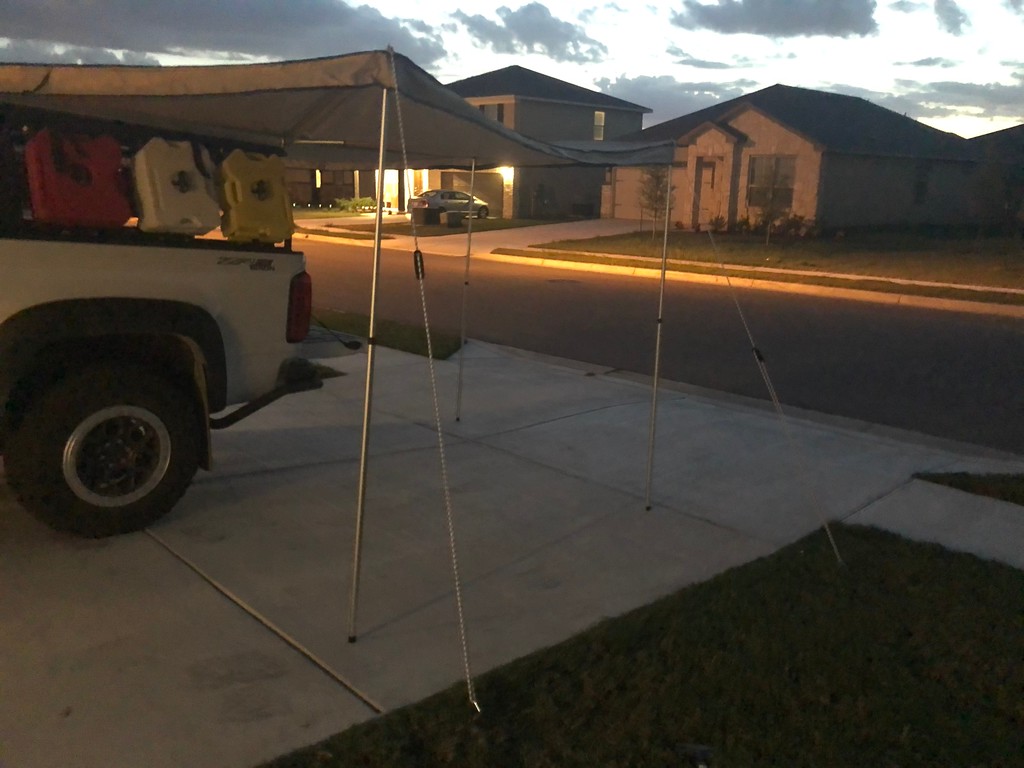
The only way to attach the guide ropes to the poles is to the metal spike that goes through the awning, there is nothing but to tie a knot around the spike. Here's the Rhino for comparison.


Here's the Guana from the top, The stitching looks good:


Here's looking up at the awning from underneath of it:


I had to guide rope the poles down, because one or two would fall out with a gust of wind.


Packing it for the first time, took some time, release all the poles, gather the poles, unhook from the back of the truck and swing around, all the poles are attached in one plane, trying to get the poles to lay in the folded up awning is a pain in the ass, they keep falling out, I finally just left them out until I had the thing velcroed in you also have to make sure the bars are pulled as far forward as possible, otherwise you can't close the bag. There is room in the bag for the guide ropes and stakes. I'm sure I'll get the hang of it with more use.

The best thing about this over all my other awnings...I can get in my garage with it on. :)


Overall the quality is decent, the Rhino Rack Batwing is a better design but not much beefier or sturdier than this awning. For the price my first impressions is it is a great value and better quality than I anticipated for the price. Will it last you ten years? Sure if you take care of it and don't use it in high winds, but I learned first hand the same could be said of the Batwing. As a value purchase the Batwing does offer a better design (attached poles, magnetic catch for holding the poles to the bracket when closing, a better stake/guide line set up, a nice material on the awning itself. But the Batwing is bigger to store, heavier and twice as much money. The Guana is better value than the Batwing, at this price (especially with free shipping) it's an unbelievable value, I think it would still be a value at $500.00

I'll be using it for real this weekend on my trailer and will let you know my thoughts of using it "in the field".
Absolutely amazing review - one of the best I've ever seen - thank you!!

A few questions - when you first open the awning to deploy it, you said that all the weight rest on the bracket (where it pivots). What's your impression on this failing even though the pivot point is made of metal? I know this could be circumvented if you have someone to help hold it up while you attach it to the back of the vehicle and then stake it down but sometimes that's not an option. Are the support poles telescoping so that when it rains you can set up a decline for the water to run off and not pool up on top? Do you find it necessary for the straps to be wrapped around the bag? Maybe they're just there to help prevent sagging.

Overall, I'm really impressed with this but clearly there are some modifications or manufacturing redesigns that need to be made, but for that price, it's really hard to beat.
 

throma

Rank 0

Contributor I

60
Denver, CO, USA
First Name
Tom
Last Name
Hro
So are those metal plates on the top and the bottom (where the bolts go though) are what you're talking about? I wonder if you could buy longer bolts and double up on those brackets to make them stronger?
 

JersT4R

Rank V
Member
Investor

Traveler III

2,352
Norfolk, VA
First Name
Jeremy
Last Name
Bailey
Member #

8880

Wow, this thing looks really familiar. Too bad I didn’t decide to sell them on my BJO website.... lol.

YouTube video here on my channel:
IMG_5178.JPG
IMG_5248.JPGIMG_5250.JPG
 
Last edited:

Knife_guy_in_WY

Rank III
Launch Member

Enthusiast III

646
Gillette, Wyoming, United States
First Name
Chad
Last Name
Kauranen
Member #

19236

Service Branch
U.S. Marine Corps
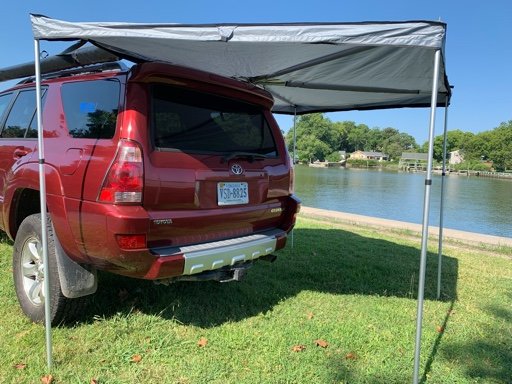
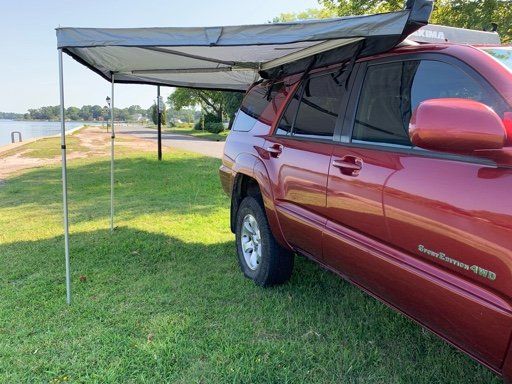
When I first inboxed my Morpho I was caught by surprise because I wasn’t expecting the poles to drop out. Not liking that way for storage I just keep the poles in the truck with all my other RTT/annex/awning gear. I also saw this as a weight saving issue and not having them in there helped with the bouncing and shaking that mine gets having a bit of an unsupported overhang.
 

Knife_guy_in_WY

Rank III
Launch Member

Enthusiast III

646
Gillette, Wyoming, United States
First Name
Chad
Last Name
Kauranen
Member #

19236

Service Branch
U.S. Marine Corps
As for opening and setting up the Morpho, I’ve done it over a dozen times and by myself. Quite easy. I open it all the way and then use a double hook bungee and attach the awning to the rack legs under my RTT. After that I then set each pole to what I want for height. Wind shouldn’t be a big topic though, it’s a big wing. No matter the company or style, setting one up in bad or very windy weather is not recommend. When I had an RV they were very specific with that detail and the awning was a very strong, stout unit. As for staking the poles to the ground, that would be a nice feature for sure! I saw that on a Bat-wing and was, “Oh man... that’d be sweet.”
 

MMc

Rank V

Influencer II

1,749
San Dimas, Ca.
First Name
Mike
Last Name
McMullen
Member #

18647

[B]emulous74[/B],That quite a first impression review. I am not sure you should be doing a setup and usability review as you unbox a product. Most of camping products have a few things that them unique, good or bad. There might be a trick to get thing to work, call it a learning curve. With the polls coming out is there a trick to keeping together (bungie cord), putting the polls away, samething add them last might be the trick. A product review is better after using the "thing" a few times. IMO

A couple of points. The awning is
designed to be used with polls, to not use the support poll that thing would fold up with any wind. The support polls radiate out from center are 1 or 1.5 inches? All tie downs lines should be coming off the top of the polls for maximum strength using the tag end of the poll is standard for awnings. Look a most canvas tent with a awning. Get rid of the shakes that came with the unit, go to a hardware store and get these things that look like the biggest nail you have ever seen. They are 12" long and 3/8" thick, and yes, they have a point. If you want bullet proof 18" #4 rebar no point needed,

Thanks for posting all the images and your first thoughts, It was a good read.
 
  • Like
Reactions: Knife_guy_in_WY

Knife_guy_in_WY

Rank III
Launch Member

Enthusiast III

646
Gillette, Wyoming, United States
First Name
Chad
Last Name
Kauranen
Member #

19236

Service Branch
U.S. Marine Corps
[B]emulous74[/B],That quite a first impression review. I am not sure you should be doing a setup and usability review as you unbox a product. Most of camping products have a few things that them unique, good or bad. There might be a trick to get thing to work, call it a learning curve. With the polls coming out is there a trick to keeping together (bungie cord), putting the polls away, samething add them last might be the trick. A product review is better after using the "thing" a few times. IMO

A couple of points. The awning is
designed to be used with polls, to not use the support poll that thing would fold up with any wind. The support polls radiate out from center are 1 or 1.5 inches? All tie downs lines should be coming off the top of the polls for maximum strength using the tag end of the poll is standard for awnings. Look a most canvas tent with a awning. Get rid of the shakes that came with the unit, go to a hardware store and get these things that look like the biggest nail you have ever seen. They are 12" long and 3/8" thick, and yes, they have a point. If you want bullet proof 18" #4 rebar no point needed,

Thanks for posting all the images and your first thoughts, It was a good read.
[emoji1360]
 

Knife_guy_in_WY

Rank III
Launch Member

Enthusiast III

646
Gillette, Wyoming, United States
First Name
Chad
Last Name
Kauranen
Member #

19236

Service Branch
U.S. Marine Corps
Hoping to try it out in the coming months but I was thinking of instead of the guideline tie points between the poles being stakes to the ground, use the like to attach to any neighboring trees if bumpy some. Granted, they may get someone if not paying attention but they would also make a decent clothes line or a way to string up a couple small camp lights or glow stick. [emoji848]