Traveler III
Howdy,
Relatively new to OB (October-ish), but haven't really done anything to outfit Gunner until recently, so I decided on a "build thread".
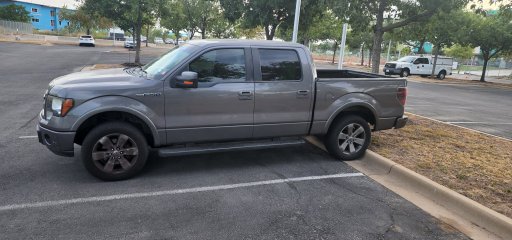
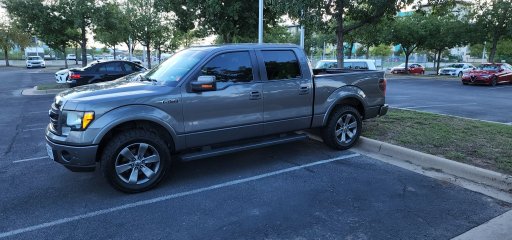
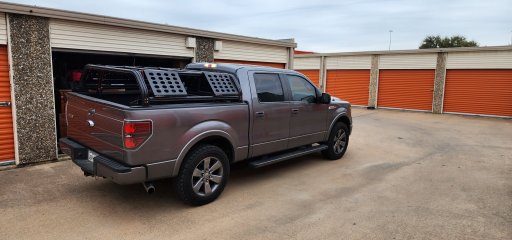
Gunner is a 2013 F150 FX2 Ecoboost Supercrew. He was a Christmas present from my now ex-wife back in 2016, but she secretly did her research and bought me exactly what I wanted except for the 4wd. I've always been into camping and hiking, but since the divorce I've been doing more of it. It's good for my mental health and she wasn't really into all that so I thought now was a good time to pick it back up and get back to the things that really make me happy; the outdoors.
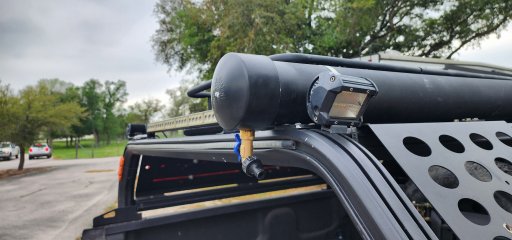
Gunner came to me with only one major aftermarket modification, a 3 bell air horn!! This means onboard air already installed. Since October when I made the decision to go in this direction I've made a few changes.
Step 1: Went from 275/55r20 highway tires to a set of 275/65R20 General Grabber AT's (about an inch larger).
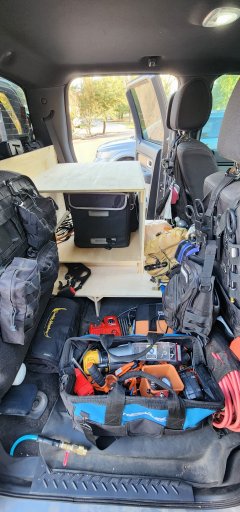
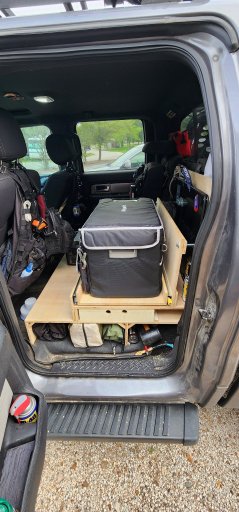
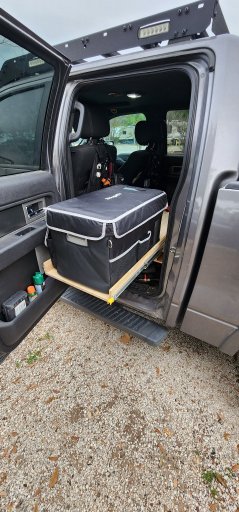
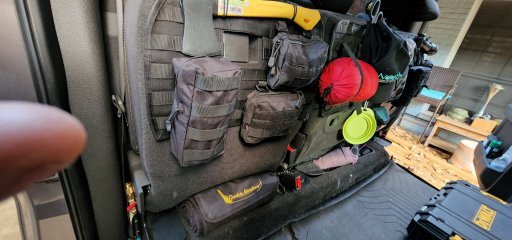
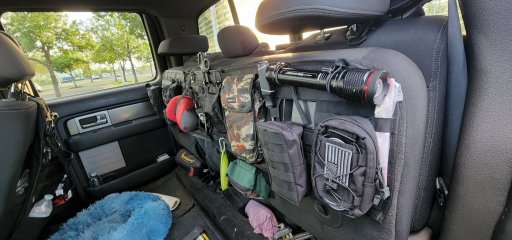
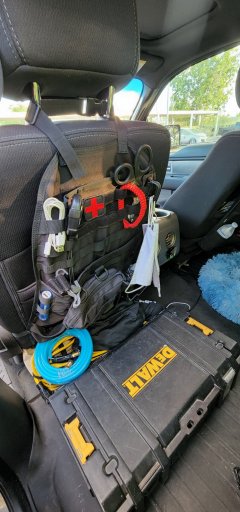
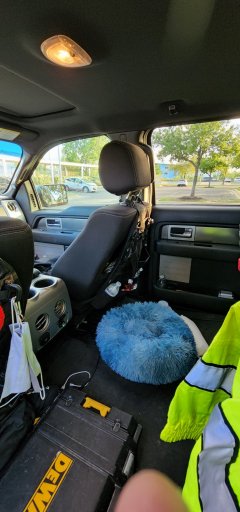
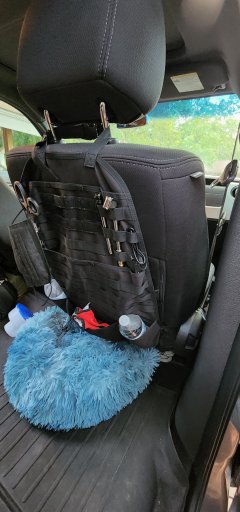
I also found these awesome velcro Molle panels that stick right to the fabric under the rear seats that I always kept up anyway. As well as a Molle panel on the back of each of the front seats.
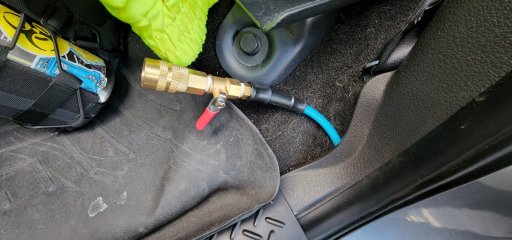
Step 2: I did the obvious and tied into the already installed air system. rather than one at the front and one at the back, I put an airline under the rear seat on both sides.
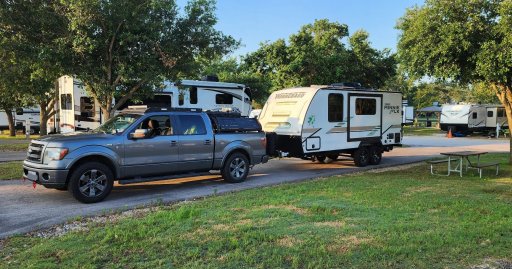
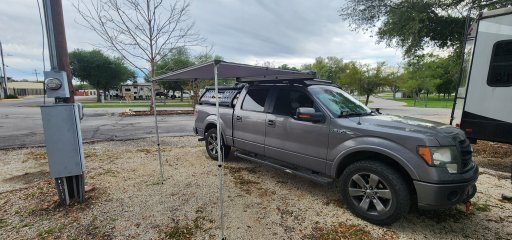
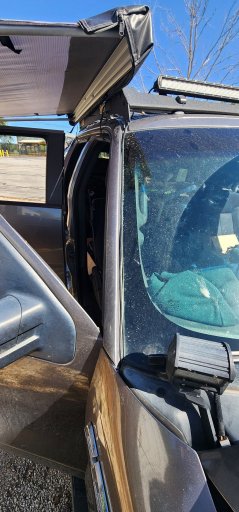
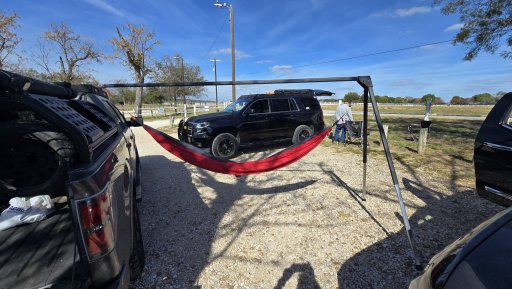
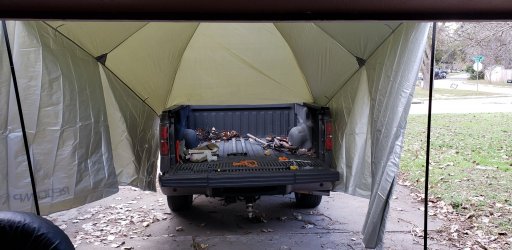
While I'm more of a ground tent person rather than a RTT person, my favorite way to camp is a hammock. My ex-girlfriend got me a hitch mounted hammock stand for Christmas 2 years ago and I absolutely love it, so I keep all the hardware and hammock system in the truck, she also got me a nifty awning usually for the back of an SUV, but it works with my truck and even better now that I have a bed rack.
Typical setup: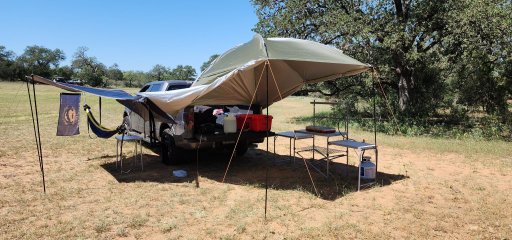
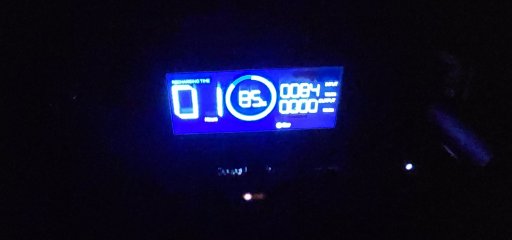
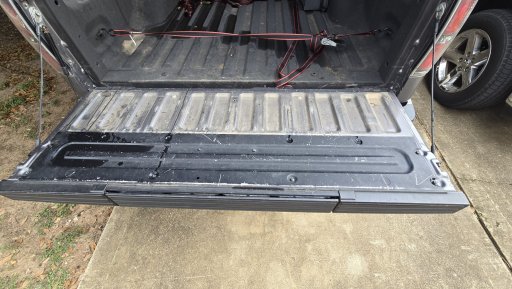
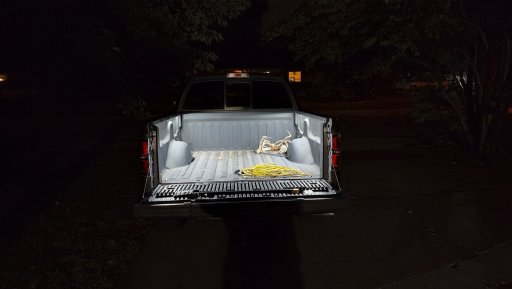
Step 2.5: I've always wanted better lighting in the bed so I found a good idea on YouTube and installed some lighting under the bedrails, its got a magnet switch so that it comes on when I open the tailgate, but it also has a switch to override it if I need to leave the tailgate down for a long period of time. it's PLENTY bright!!!
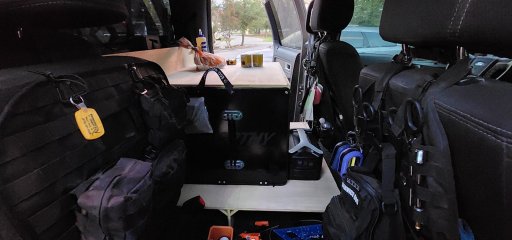
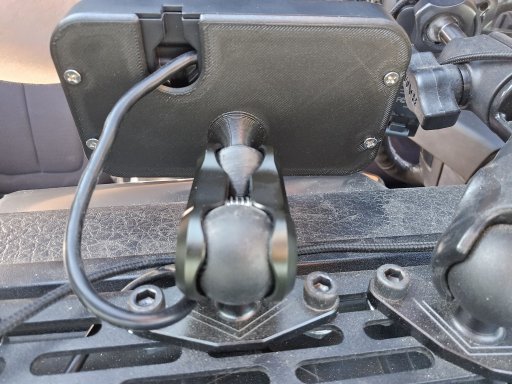
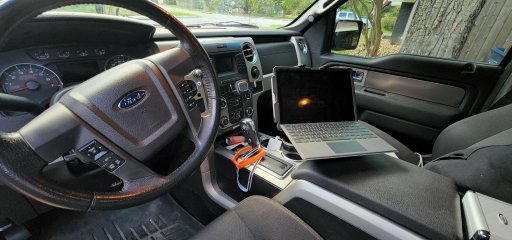
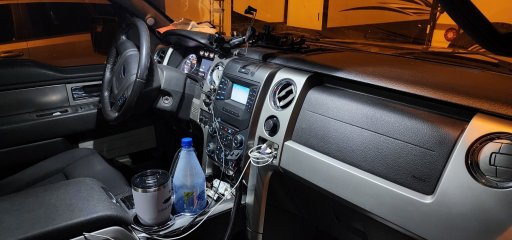
Also part of Step 2.5 was a mount/stand for my laptop. I've got a surface and it functions as both a tablet and a laptop, So I installed a mount so I can use it for mapping, music, video, etc.
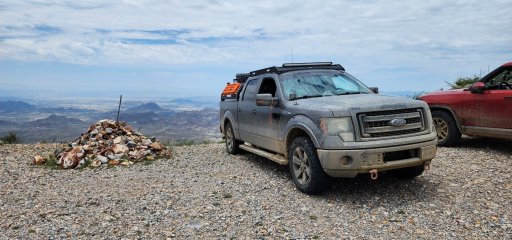
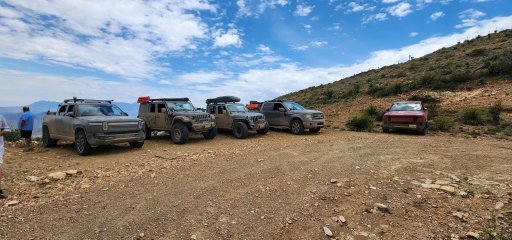
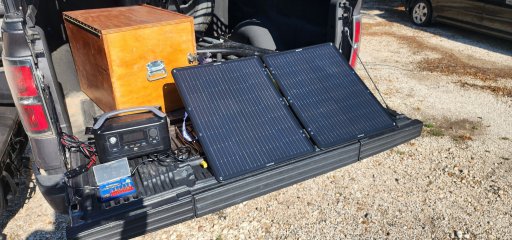
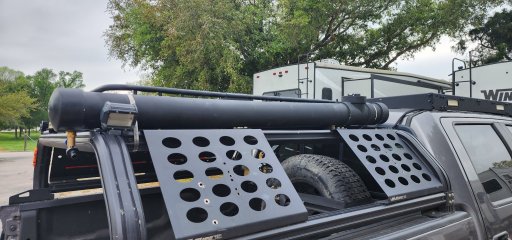
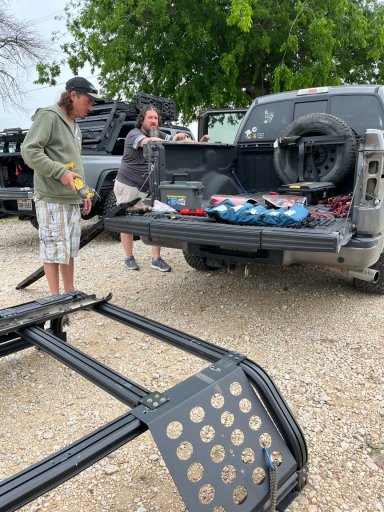
Step 3: Bed Rack! Found a Putco Venture Tec rack in College Station for $475, only a year or 2 old, in great condition. Bought it and ratchet strapped it to the bed for a month before I was able to get some much needed help from @Rav4_Overland and @J_Walker1977 at our April meetup.
Got me a set of recovery boards
Also installed a Pedal Commander thanks to @Kueezy
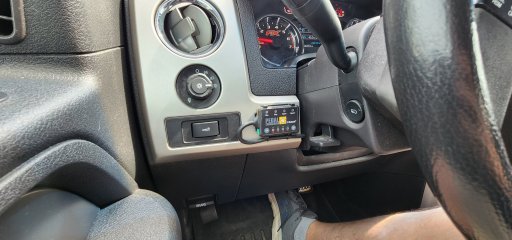
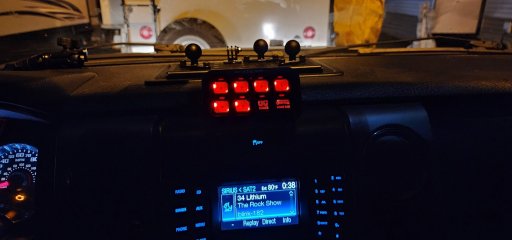
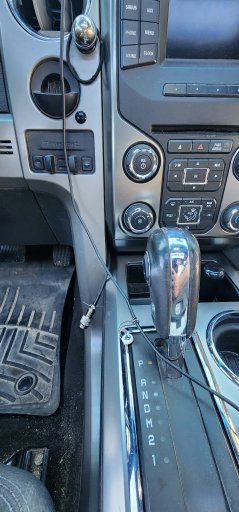
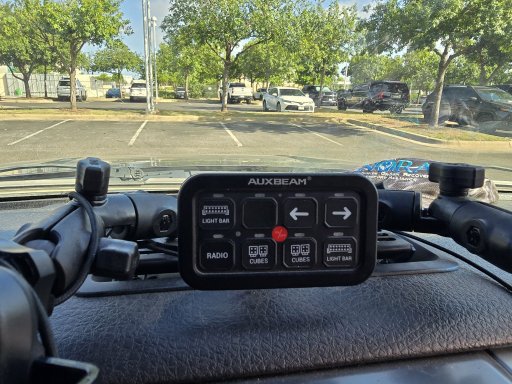
Step 4: Realize this is actually happening and go a little crazy buying some things. Start with the Built-Right Industries dash mounting plate thingy. it mounts into a completely unused (by me) cubby on the dash. great for RAM mounts, GoPro mounts, etc.
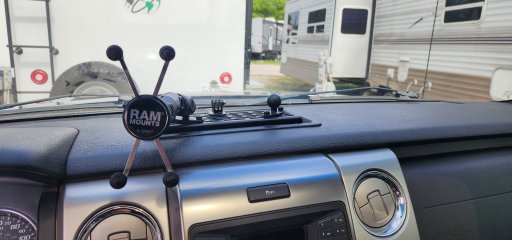
This is also where I will be mounting my new Auxbeam!!
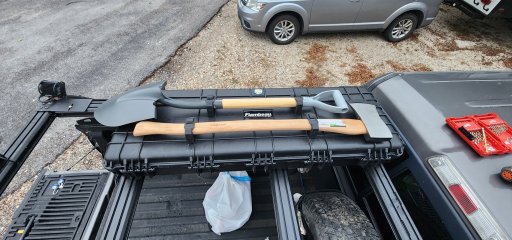
Bought a Waterproof rifle case from FB Marketplace and mounted it to my bed rack.
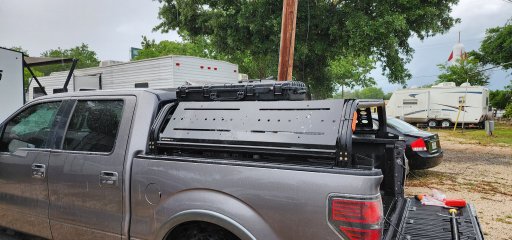
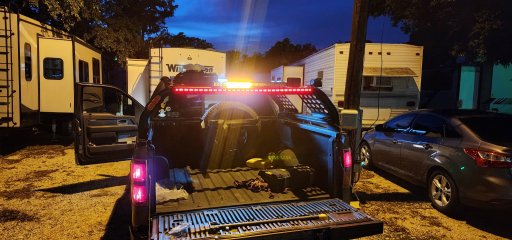
Its barely visible but in the above picture if you look closely at the back end of the bed rack you can see an LED strip that I mounted. It's normally for under the tailgate on a pickup but since my bed rack somewhat obscures my 3rd brake light I went ahead and installed it there on the bed rack. It has brake light, running light, turn signals, and reverse. (need to trouble shoot the reverse light as its not working but of course I forgot to test it until AFTER is got it all tied back up and secured)
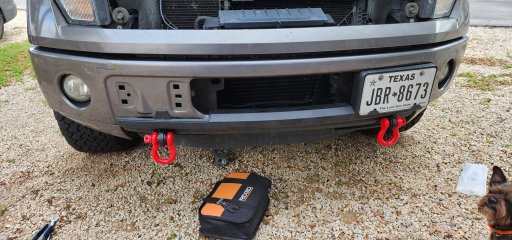
Next is the front tow hooks. They were certainly not as difficult to install as YouTube would make them out to be. you have to take out about 14 screws, but once you pop off a plastic cover for the bumper there is no drilling into the frame that is required contrary to popular belief.
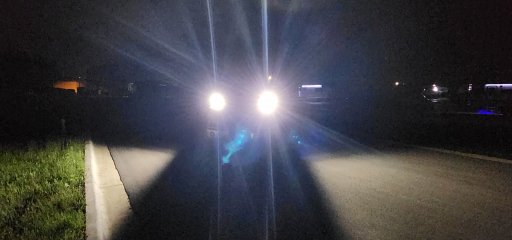
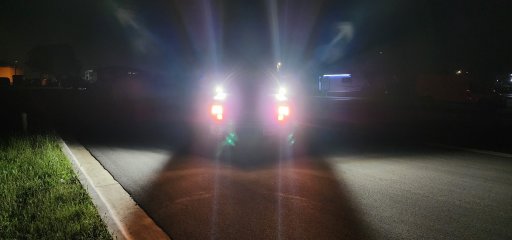
And the final part of Step 4, is merely cosmetic and personal preference, I swapped out the factory bulbs inside and out with daylight LED's (LP lights, bed lamps, rear interior dome, and both Map lights.)

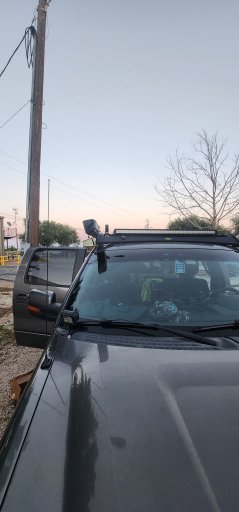
Step 5. Step 5 hasn't happened yet, but all the parts are in and ready to install. this includes new Hooke Road Roof rack, Auxbeam (the fancy one that connects with the app), 40" lightbar, 30" amber chase lightbar, ditch lights on hood hinge mounts, and the same lighting used inside the bed, but I haven't exactly decided where to put them. One thought is under the truck to serve as a type of rock light, another is on the underside of the bed rack to light up the already well lit bed, and 3rd would be to mount them facing down and out along the outside of the bed rack to light up the ground around the truck.
Future plans:
Ideally a small lift, maybe 2 inches, leveling kit at a minimum.
Front bumper with a winch. I'd really like to use the Rough Country hidden winch mounting plate behind the factory bumper but to do that I would have to relocate the intercooler, which costs the same as a new bumper, so its kind of a toss up.
Rear bumper
Rock sliders maybe - its 2wd, so if I'm needing rock sliders I may be in over my head.
IF I was able to fit 35's after the new front bumper then I'd like to go that way as well.
Still need recovery boards, shovel, and axe. I'm sure there is plenty more that are escaping me now.
Suggestions always welcome, Thanks for listening. Cant wait to get out more and explore. because OB is right, Adventure IS Necessary
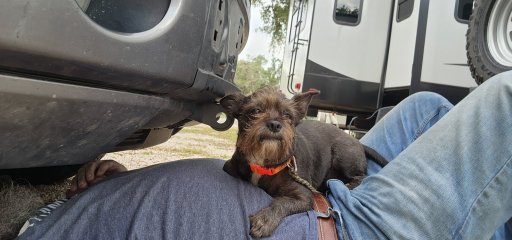
Dog tax - He didn't like lying on the gravel while I was installing the tow hooks so he found a softer place to lay.
Relatively new to OB (October-ish), but haven't really done anything to outfit Gunner until recently, so I decided on a "build thread".
Gunner is a 2013 F150 FX2 Ecoboost Supercrew. He was a Christmas present from my now ex-wife back in 2016, but she secretly did her research and bought me exactly what I wanted except for the 4wd. I've always been into camping and hiking, but since the divorce I've been doing more of it. It's good for my mental health and she wasn't really into all that so I thought now was a good time to pick it back up and get back to the things that really make me happy; the outdoors.
Gunner came to me with only one major aftermarket modification, a 3 bell air horn!! This means onboard air already installed. Since October when I made the decision to go in this direction I've made a few changes.
Step 1: Went from 275/55r20 highway tires to a set of 275/65R20 General Grabber AT's (about an inch larger).
I also found these awesome velcro Molle panels that stick right to the fabric under the rear seats that I always kept up anyway. As well as a Molle panel on the back of each of the front seats.
Step 2: I did the obvious and tied into the already installed air system. rather than one at the front and one at the back, I put an airline under the rear seat on both sides.
While I'm more of a ground tent person rather than a RTT person, my favorite way to camp is a hammock. My ex-girlfriend got me a hitch mounted hammock stand for Christmas 2 years ago and I absolutely love it, so I keep all the hardware and hammock system in the truck, she also got me a nifty awning usually for the back of an SUV, but it works with my truck and even better now that I have a bed rack.
Typical setup:
Step 2.5: I've always wanted better lighting in the bed so I found a good idea on YouTube and installed some lighting under the bedrails, its got a magnet switch so that it comes on when I open the tailgate, but it also has a switch to override it if I need to leave the tailgate down for a long period of time. it's PLENTY bright!!!
Also part of Step 2.5 was a mount/stand for my laptop. I've got a surface and it functions as both a tablet and a laptop, So I installed a mount so I can use it for mapping, music, video, etc.
Step 3: Bed Rack! Found a Putco Venture Tec rack in College Station for $475, only a year or 2 old, in great condition. Bought it and ratchet strapped it to the bed for a month before I was able to get some much needed help from @Rav4_Overland and @J_Walker1977 at our April meetup.
Got me a set of recovery boards
Also installed a Pedal Commander thanks to @Kueezy
Step 4: Realize this is actually happening and go a little crazy buying some things. Start with the Built-Right Industries dash mounting plate thingy. it mounts into a completely unused (by me) cubby on the dash. great for RAM mounts, GoPro mounts, etc.
This is also where I will be mounting my new Auxbeam!!
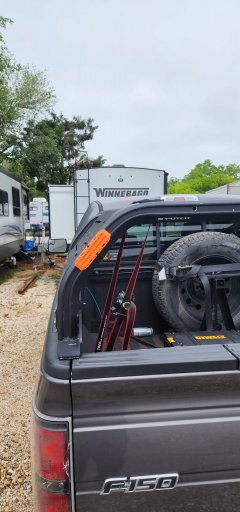
Bought a Waterproof rifle case from FB Marketplace and mounted it to my bed rack.
Its barely visible but in the above picture if you look closely at the back end of the bed rack you can see an LED strip that I mounted. It's normally for under the tailgate on a pickup but since my bed rack somewhat obscures my 3rd brake light I went ahead and installed it there on the bed rack. It has brake light, running light, turn signals, and reverse. (need to trouble shoot the reverse light as its not working but of course I forgot to test it until AFTER is got it all tied back up and secured)
Next is the front tow hooks. They were certainly not as difficult to install as YouTube would make them out to be. you have to take out about 14 screws, but once you pop off a plastic cover for the bumper there is no drilling into the frame that is required contrary to popular belief.
And the final part of Step 4, is merely cosmetic and personal preference, I swapped out the factory bulbs inside and out with daylight LED's (LP lights, bed lamps, rear interior dome, and both Map lights.)
Step 5. Step 5 hasn't happened yet, but all the parts are in and ready to install. this includes new Hooke Road Roof rack, Auxbeam (the fancy one that connects with the app), 40" lightbar, 30" amber chase lightbar, ditch lights on hood hinge mounts, and the same lighting used inside the bed, but I haven't exactly decided where to put them. One thought is under the truck to serve as a type of rock light, another is on the underside of the bed rack to light up the already well lit bed, and 3rd would be to mount them facing down and out along the outside of the bed rack to light up the ground around the truck.
Future plans:
Ideally a small lift, maybe 2 inches, leveling kit at a minimum.
Front bumper with a winch. I'd really like to use the Rough Country hidden winch mounting plate behind the factory bumper but to do that I would have to relocate the intercooler, which costs the same as a new bumper, so its kind of a toss up.
Rear bumper
Rock sliders maybe - its 2wd, so if I'm needing rock sliders I may be in over my head.
IF I was able to fit 35's after the new front bumper then I'd like to go that way as well.
Still need recovery boards, shovel, and axe. I'm sure there is plenty more that are escaping me now.
Suggestions always welcome, Thanks for listening. Cant wait to get out more and explore. because OB is right, Adventure IS Necessary
Dog tax - He didn't like lying on the gravel while I was installing the tow hooks so he found a softer place to lay.
Attachments
-
 390 KB Views: 67
 -
 331.3 KB Views: 67
 -
 324.2 KB Views: 67
Last edited: