Ebbs' Harbor Freight Trailer

  • HTML tutorial

Ebbs

Rank VI
Member

Influencer III

4,518
Spokane, WA, USA
First Name
Brandon
Last Name
Eberhardt
Member #

20143

Ham/GMRS Callsign
KE0JBH
Service Branch
Air Force 02-18
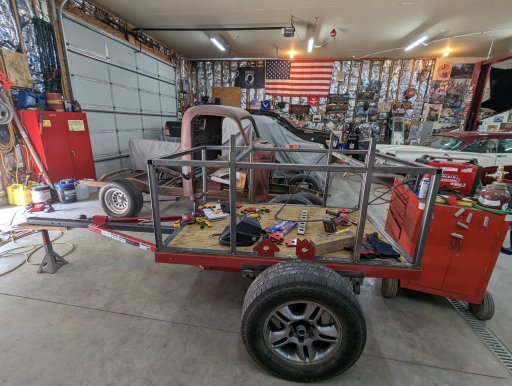
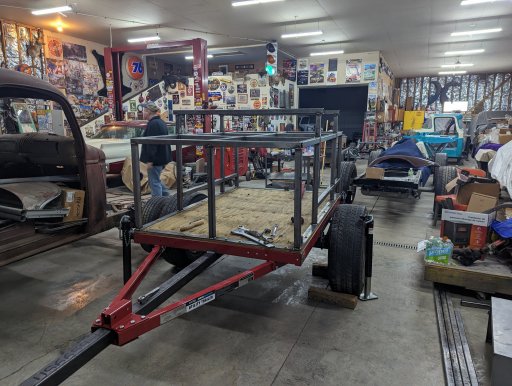
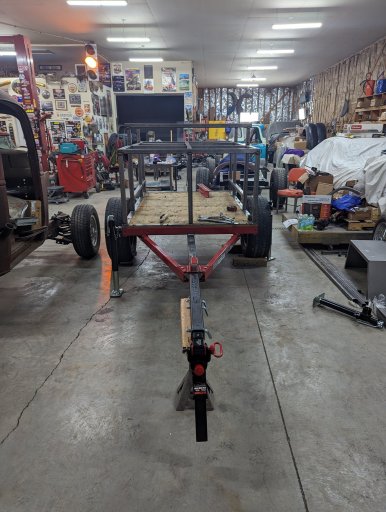
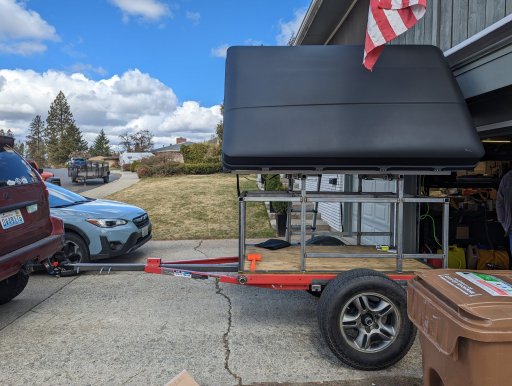
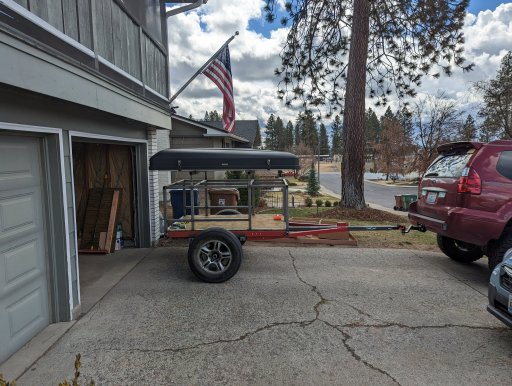
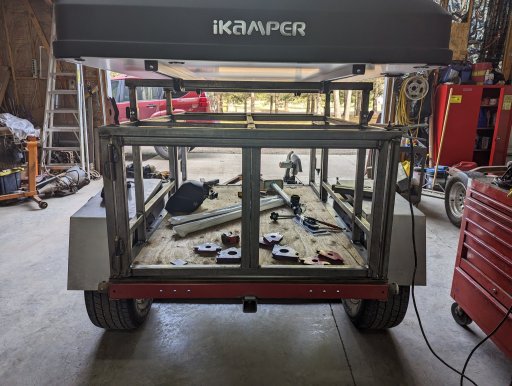
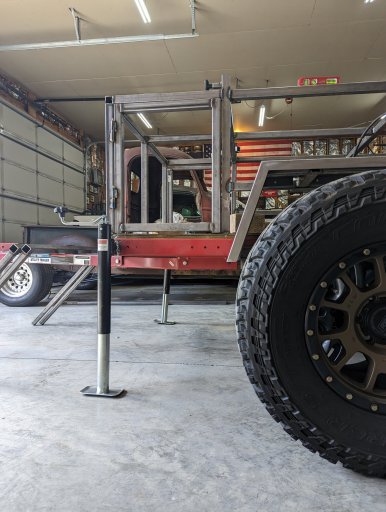
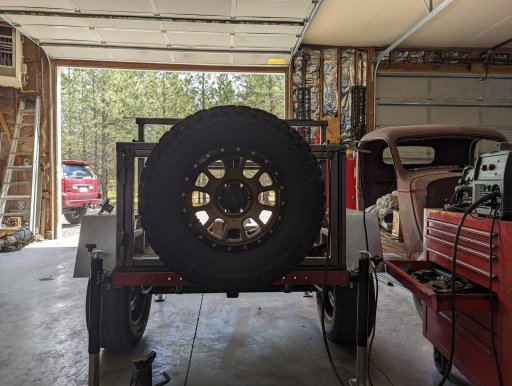
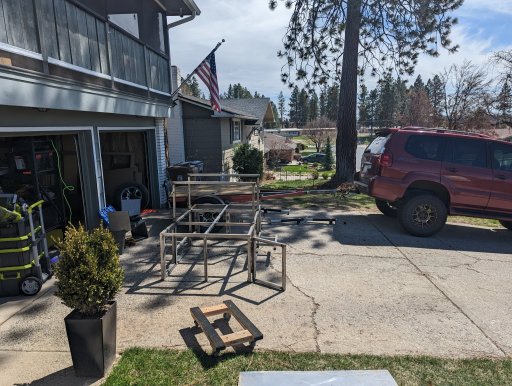
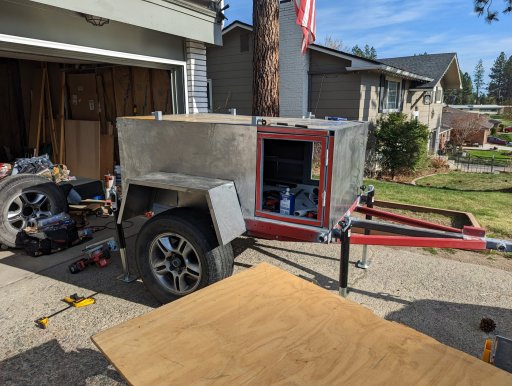
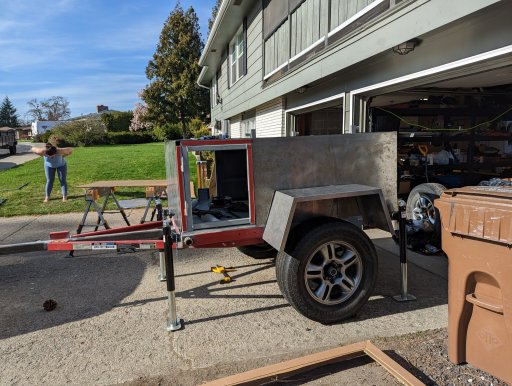
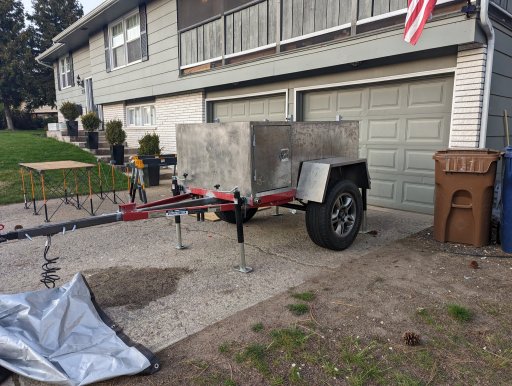
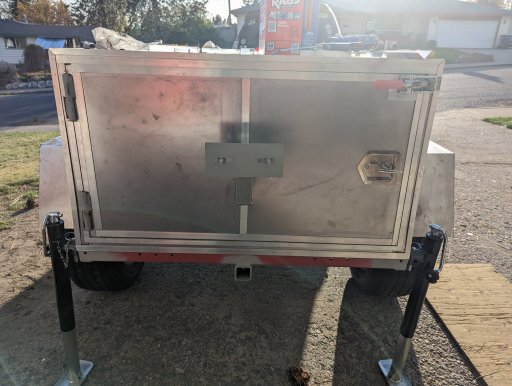
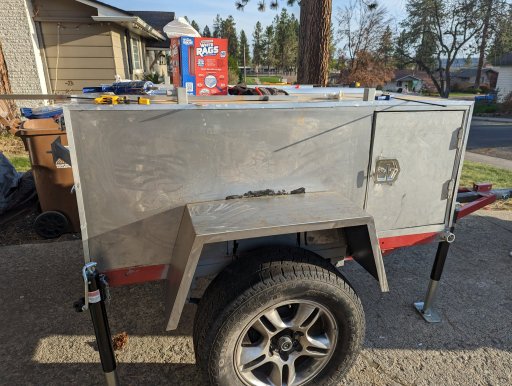
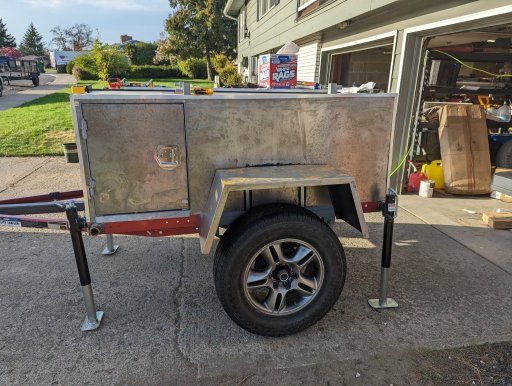
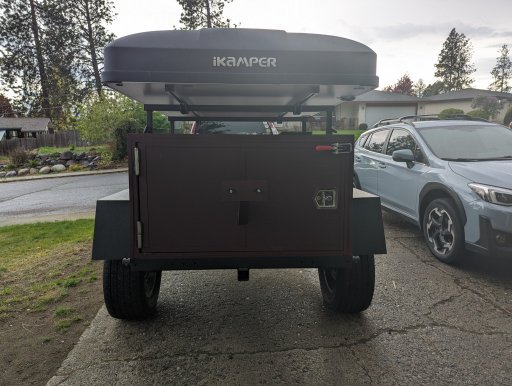
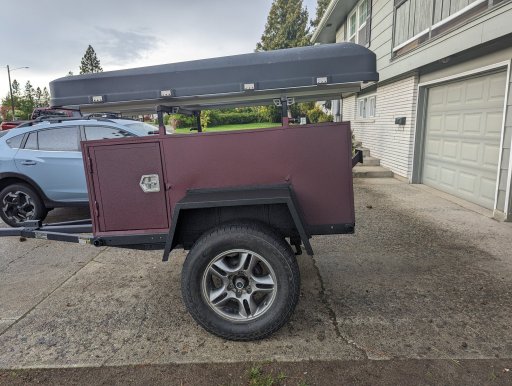
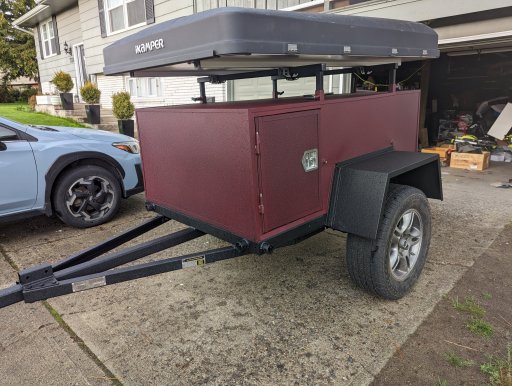
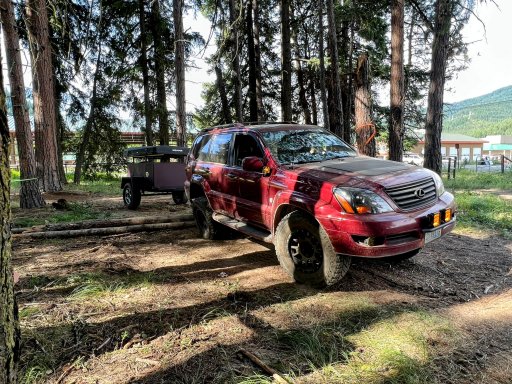
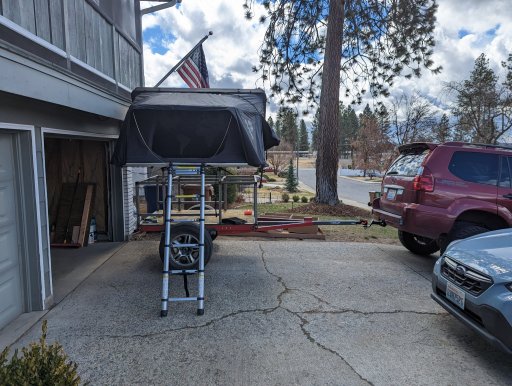
So at the time of starting this, I'm done with the initial build, just waiting on Raptor lining. So most of this will be in a single post, but thought I'd share and pass on some of the things I've learned along the way.
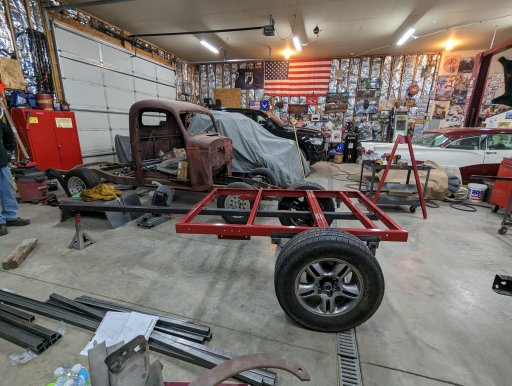
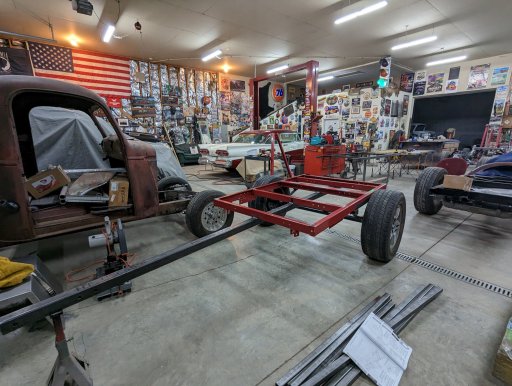
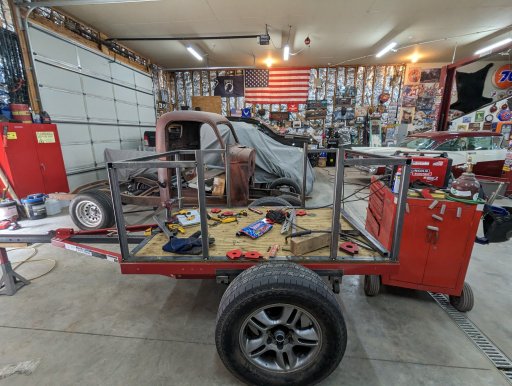
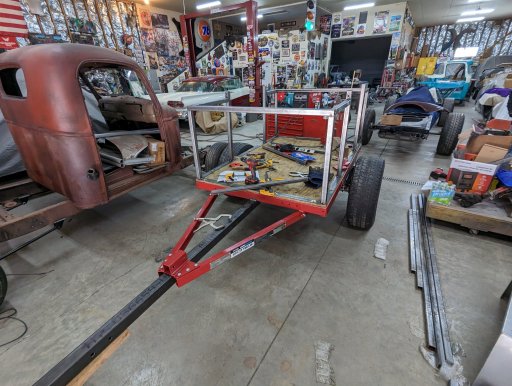
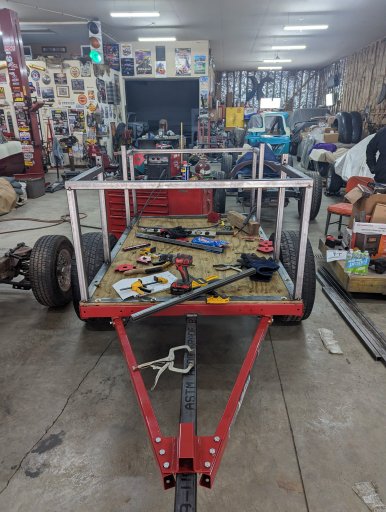
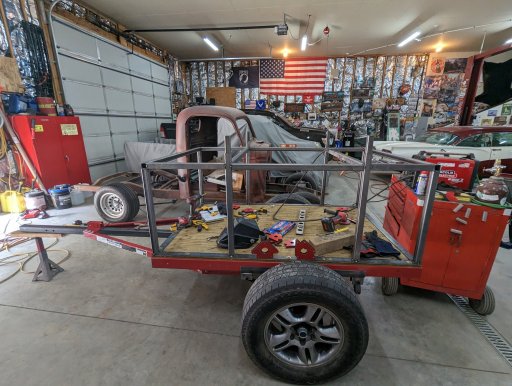
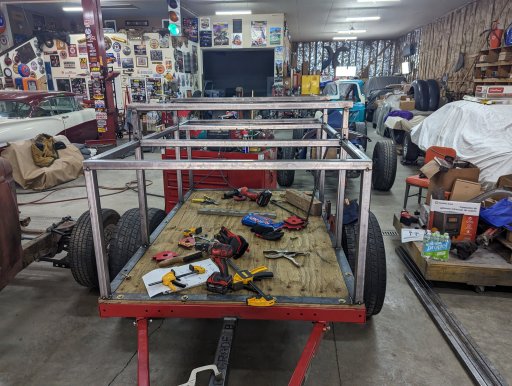
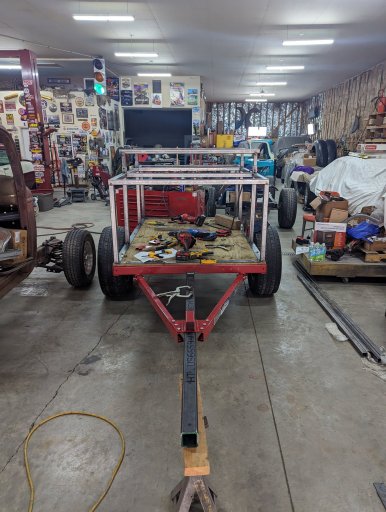
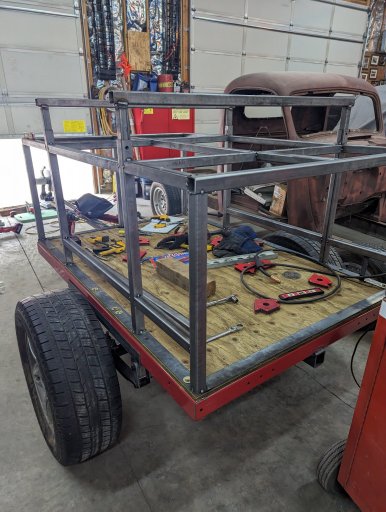
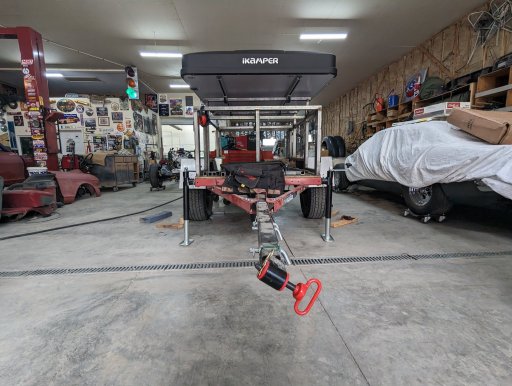
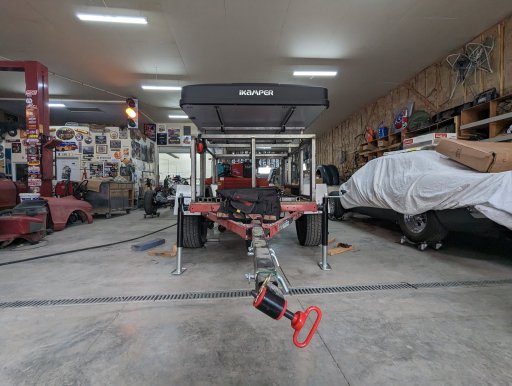
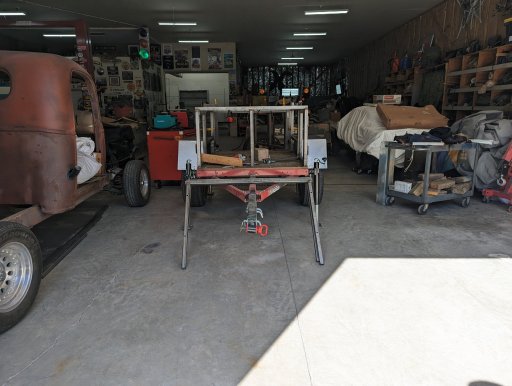
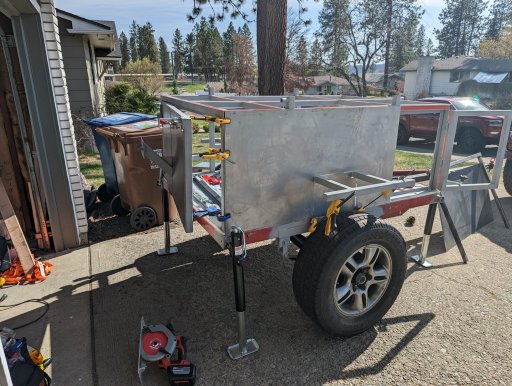
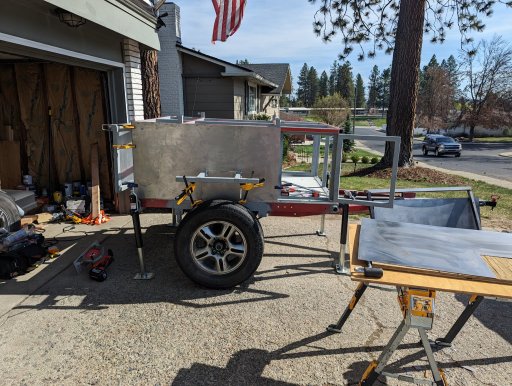
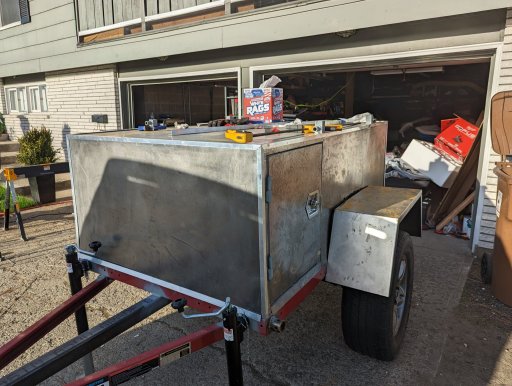
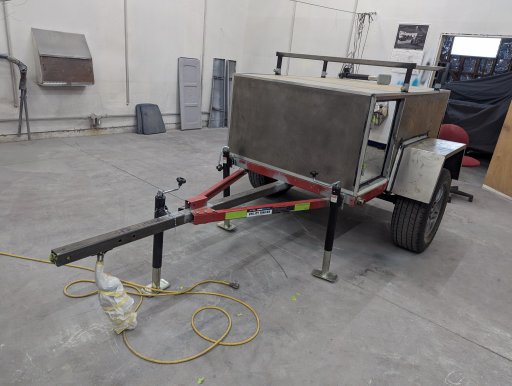
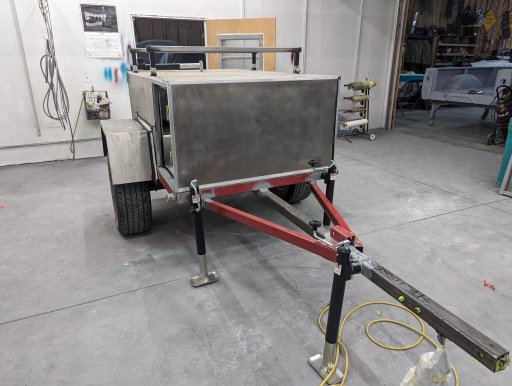
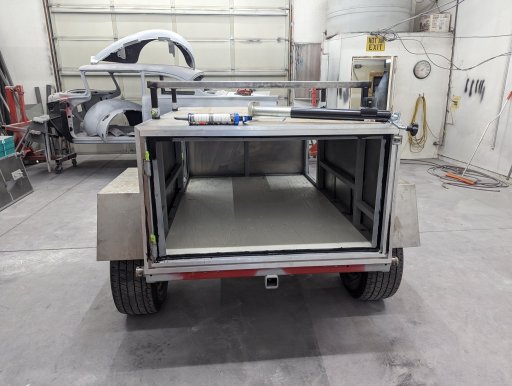
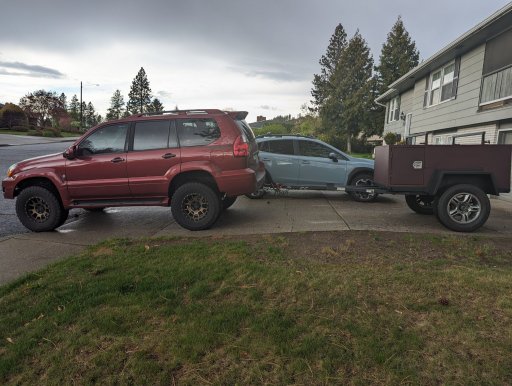
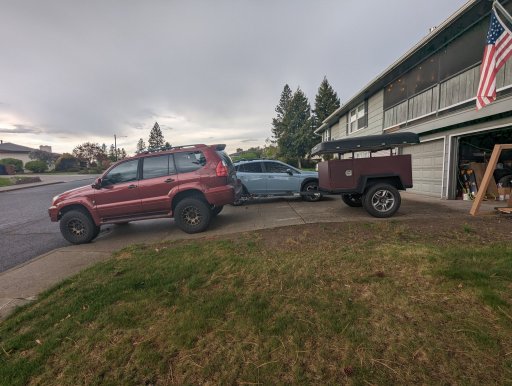
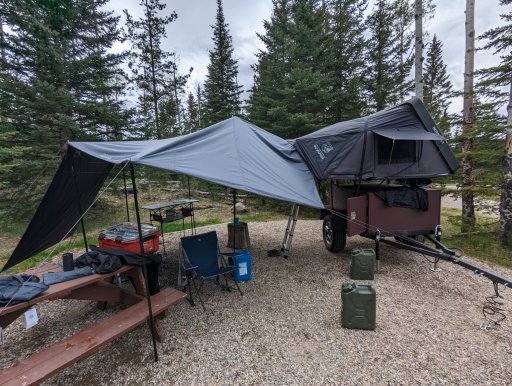
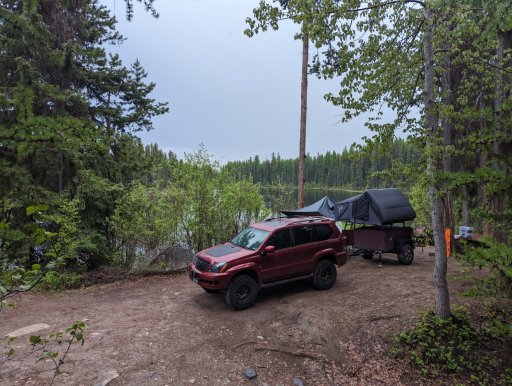
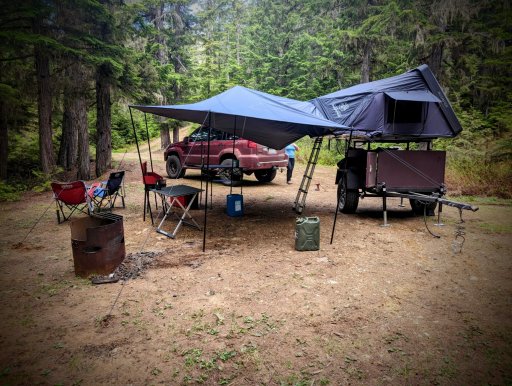
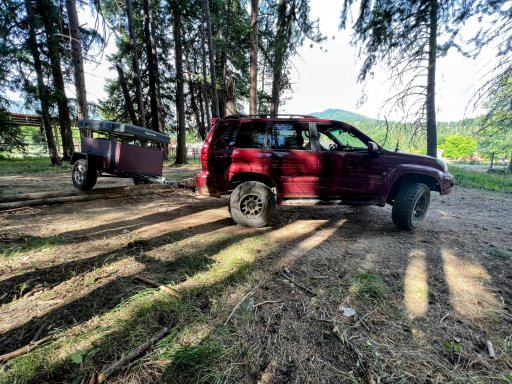
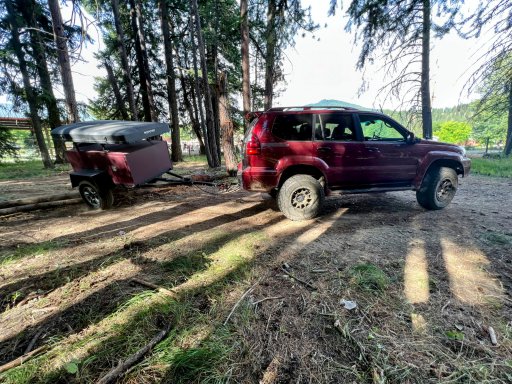
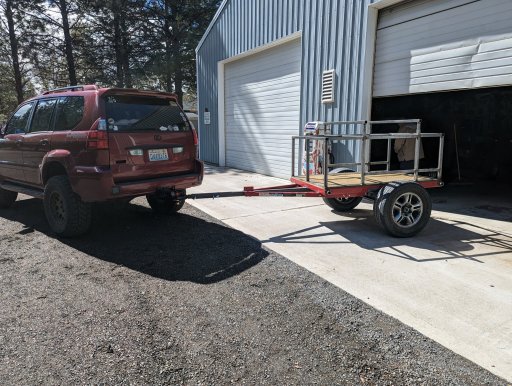
For those just looking for pics, you came to the right place lol here's how it sits right now (I'll update this as things change)
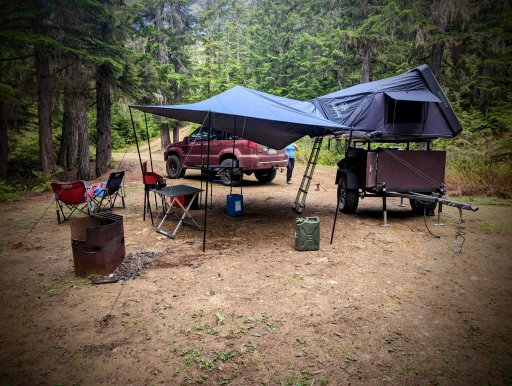
PXL_20230521_225214857~2.jpg
IMG_9804~3.jpg

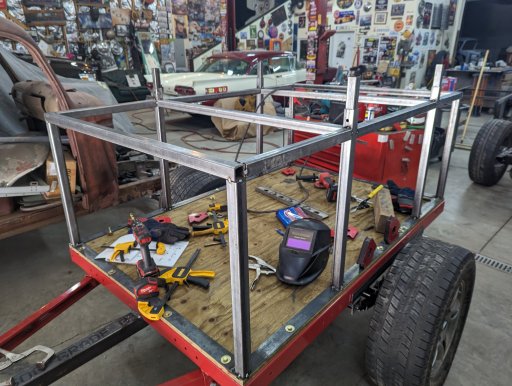
First a rundown of what my build consists of
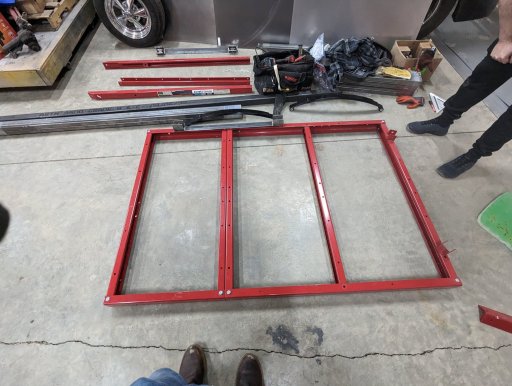
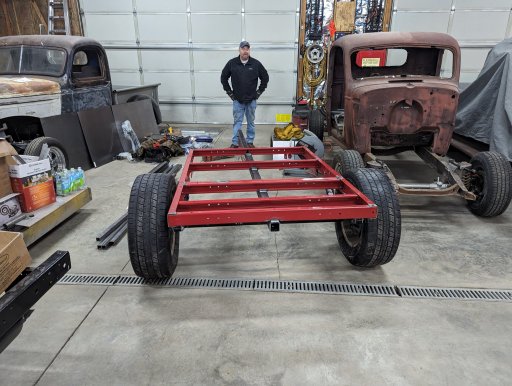
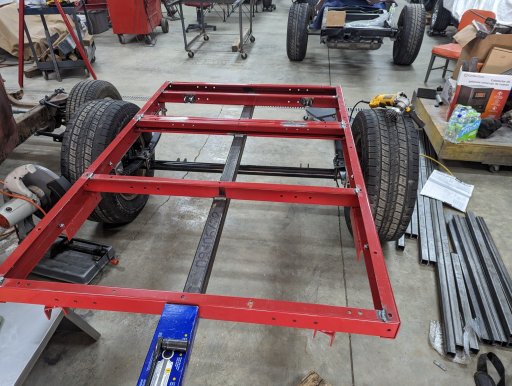
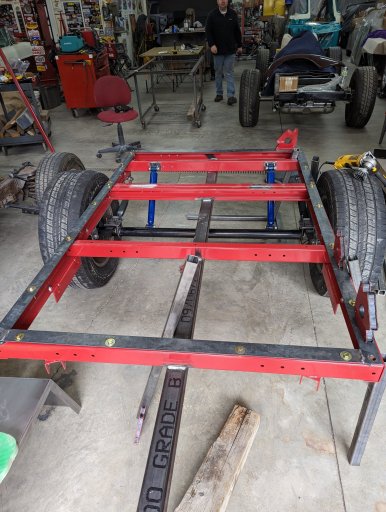
a Harbor Freight "Super duty" 1720lb trailer frame 1720 lb. Capacity 48 in. x 96 in. Super Duty Folding Trailer
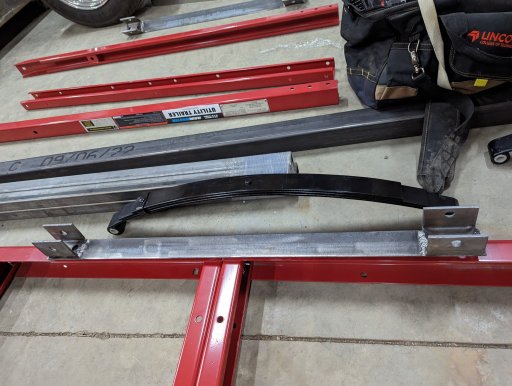
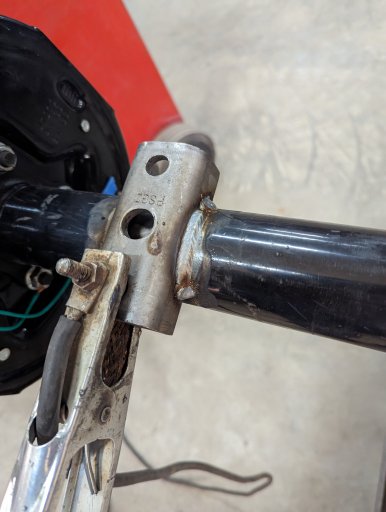
Compact Camping Concepts Soft ride spring Conversion Kit Harbor Freight Frame Smooth Spring Retrofit kit
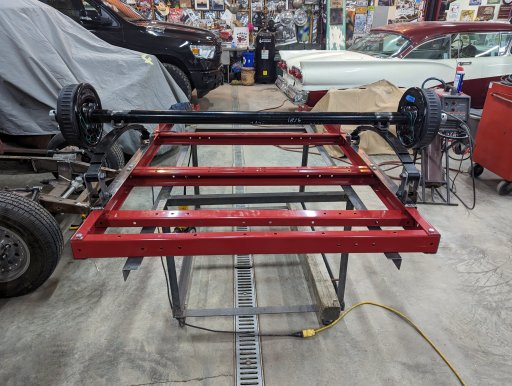
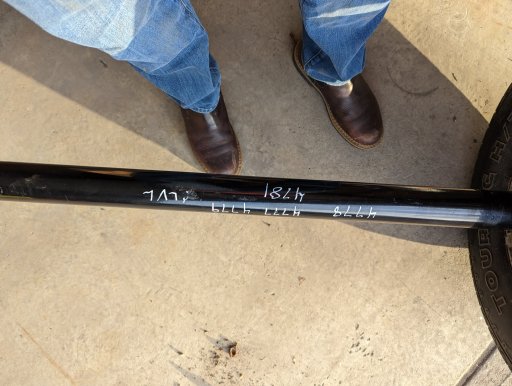
A custom width 3500lb Axle to match the GX's track. as well as 6x5.5lug pattern and brakes Camping Trailer Axle
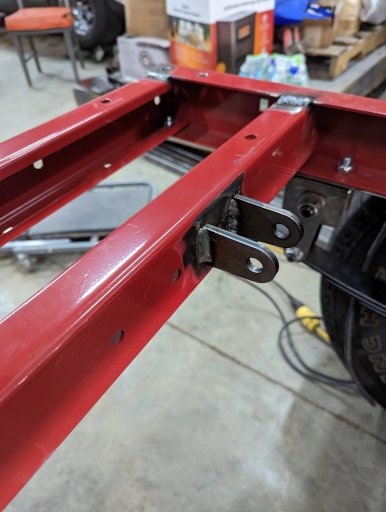
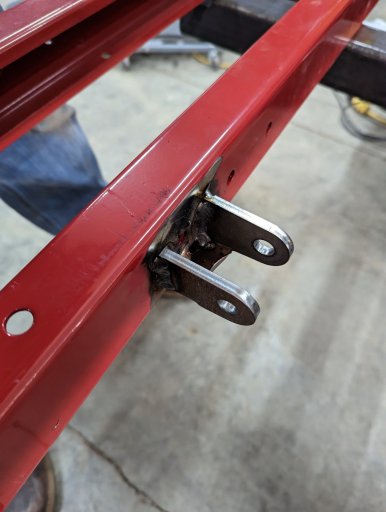
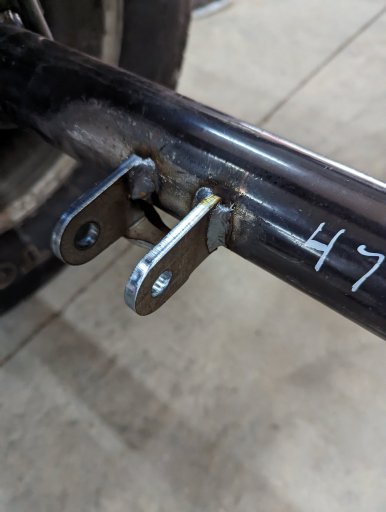
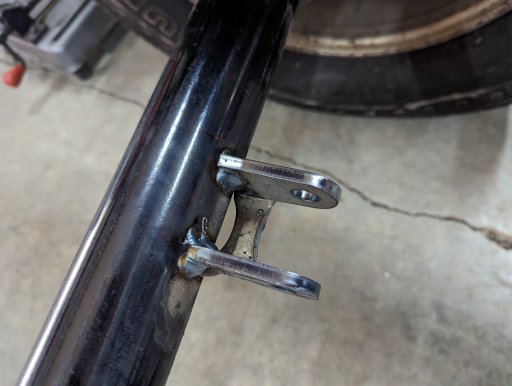
Compact Camping solution Shock mount kit Weld-on Shock Kit
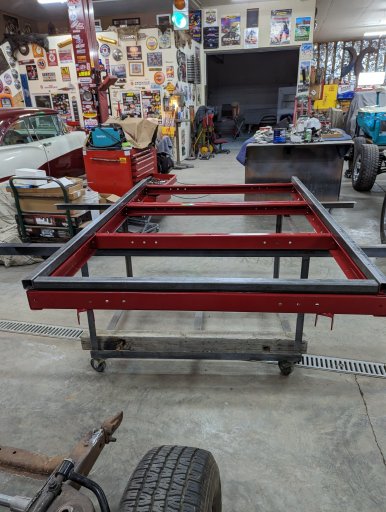
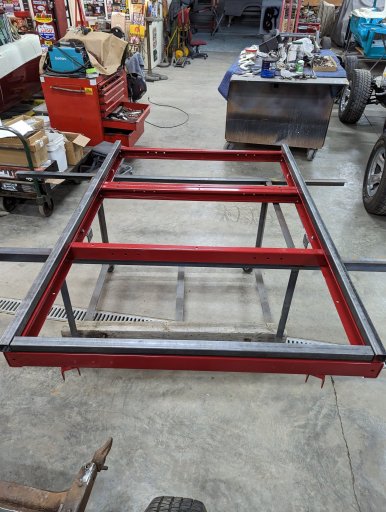
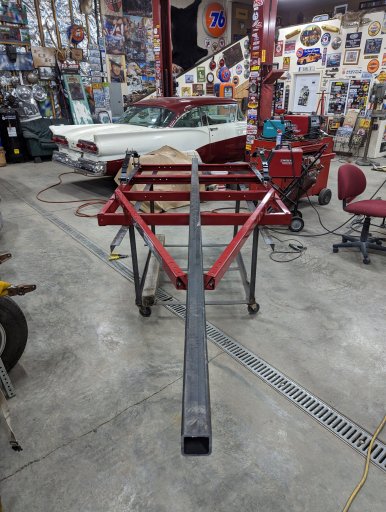
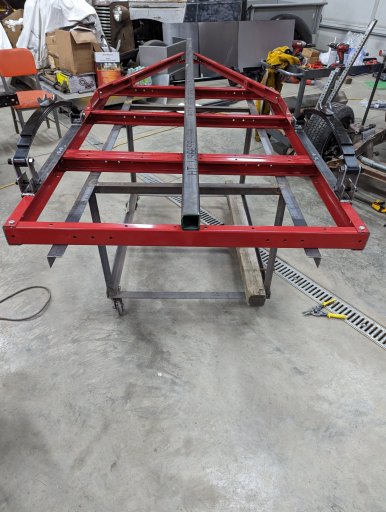
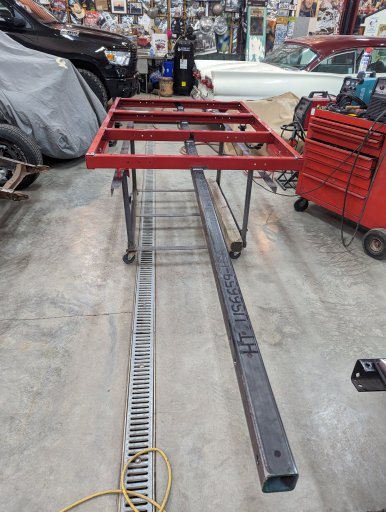
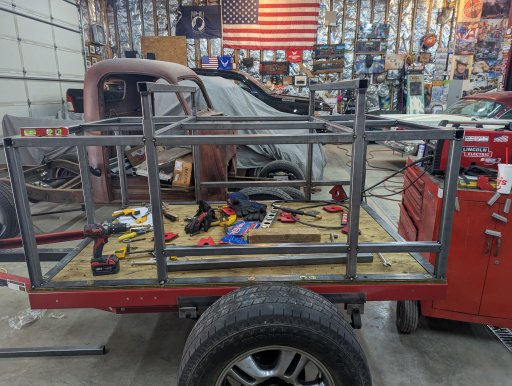
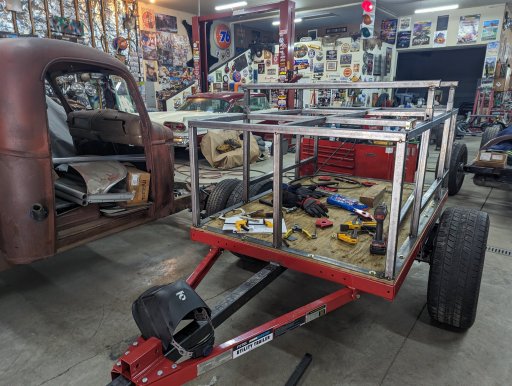
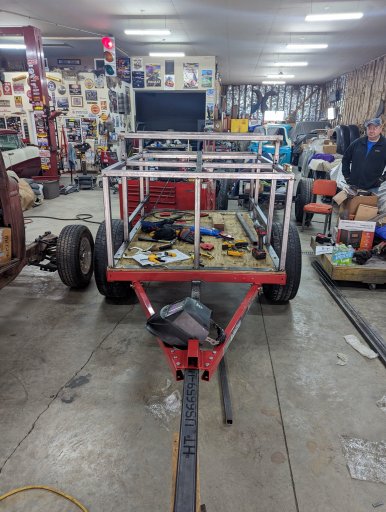
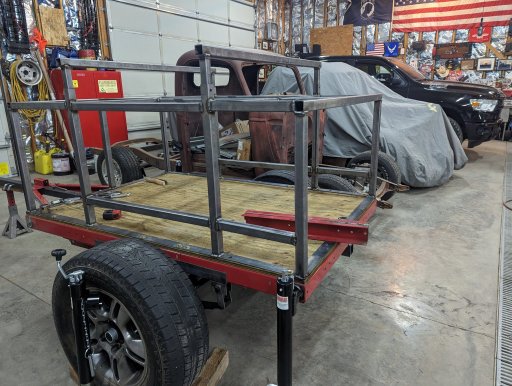
I ran a 11.5' 2.5" receiver tube down the middle as the spine of the trailer
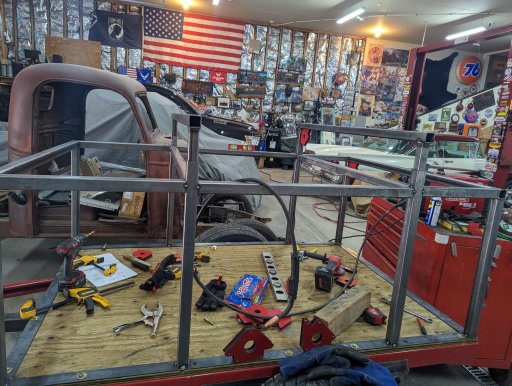
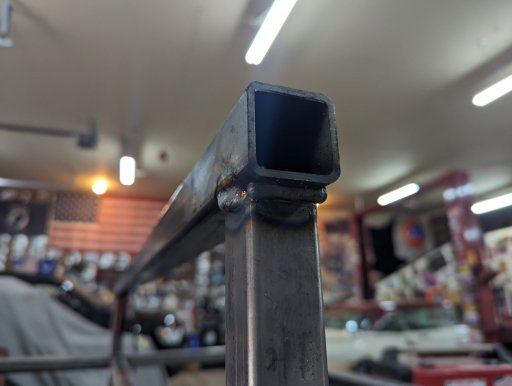
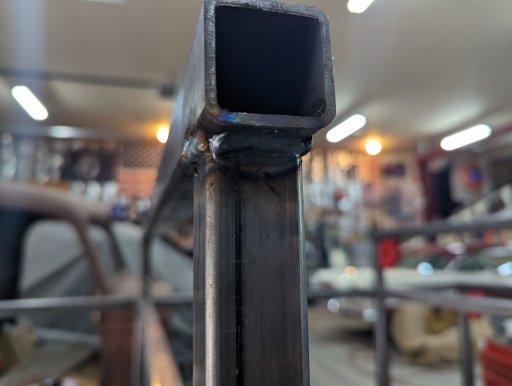
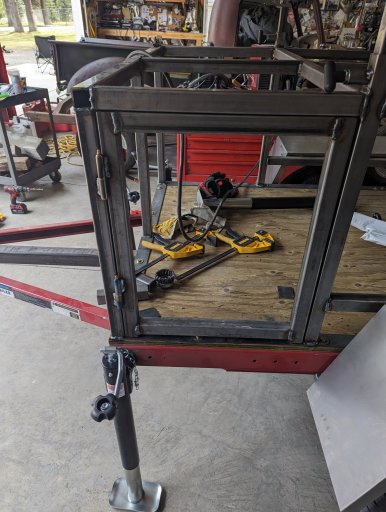
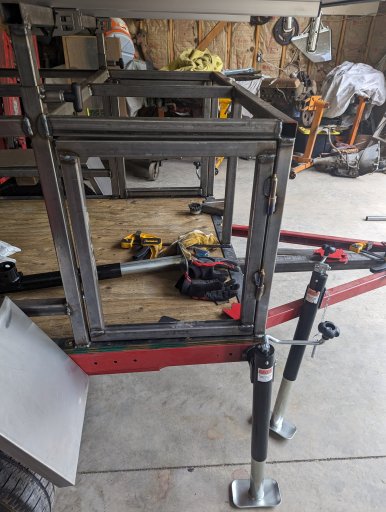
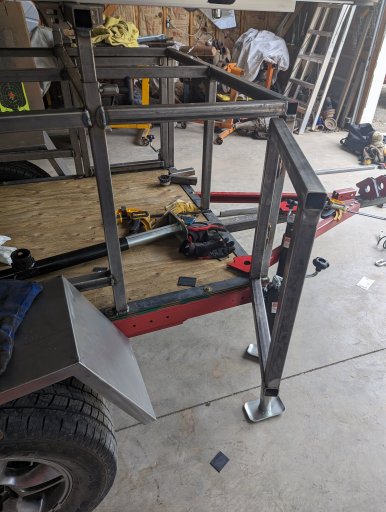
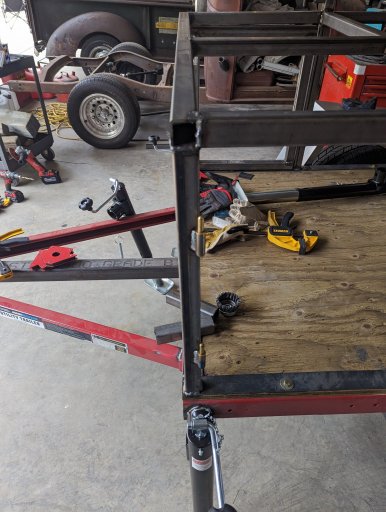
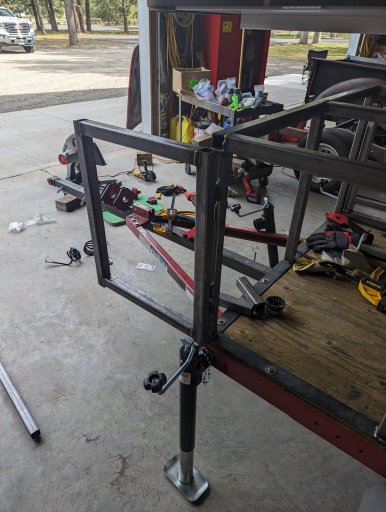
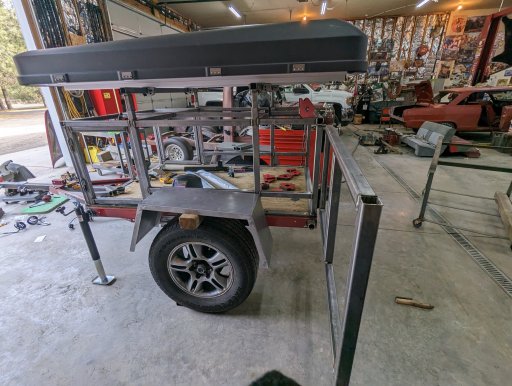
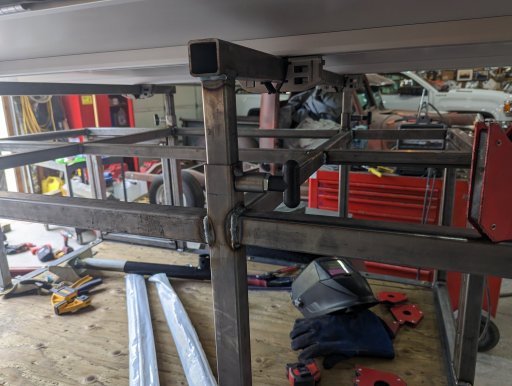
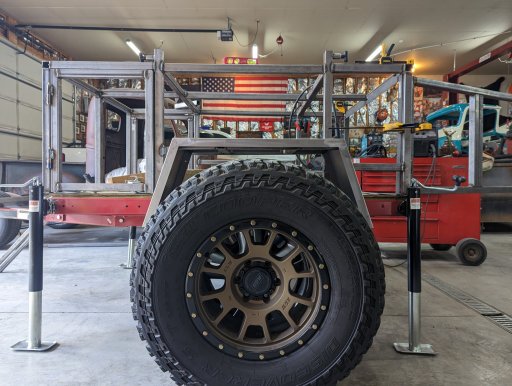
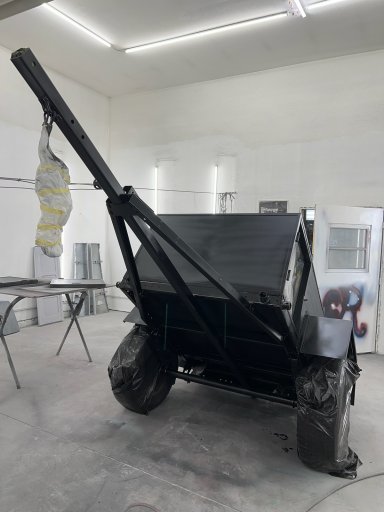
most of the "box" is 1.5" 11g square tubing, the 4 vertical posts for the telescopic aspect are 1.5" 14g, with 1.25 14g inside, this provided enough tolerance to avoid binding.
really I should have built the whole thing out of 14g and saved some weight...
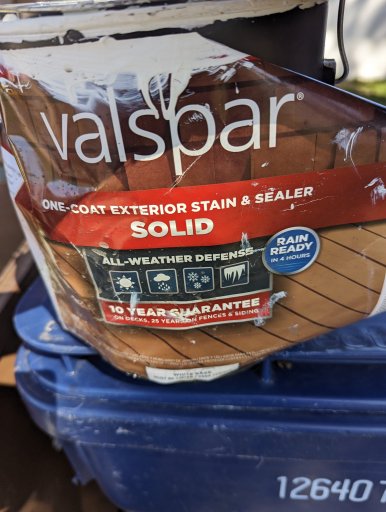
3/4" marine grade plywood(pressure treated) that was then painted with 10 year all weather paint/stain
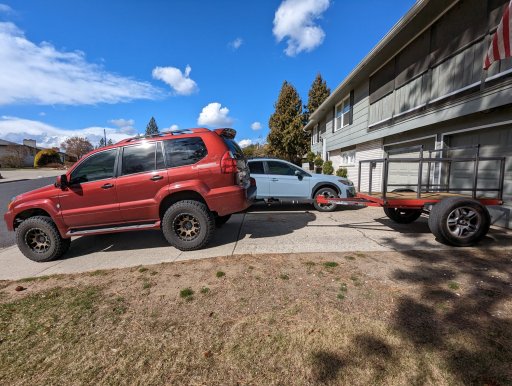
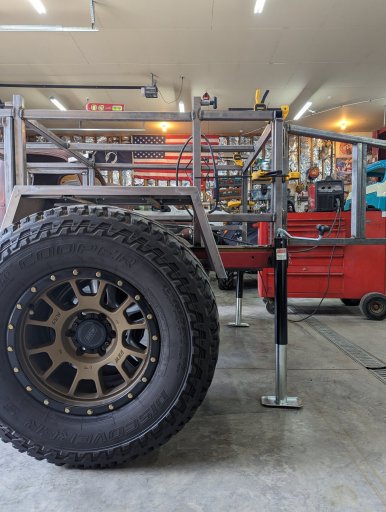
Wheels and Tires are take-offs from my GX, I'll eventually upgrade to at least 33's (they're 30's, which I thought were 32's... this will come into play later) but more than likely 34's to match the GX
I did 20g sheet for the body,
Max Coupler for the hitch/receiver.
Compact Camping Solutions Wide M416 Trailer Fenders


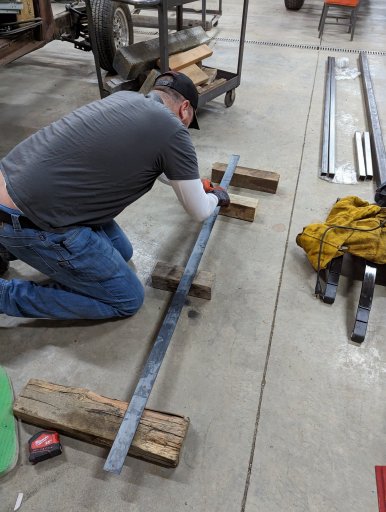
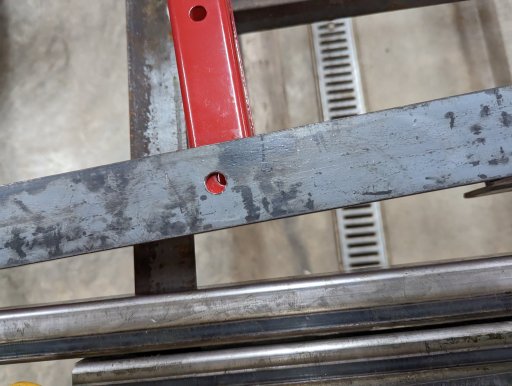
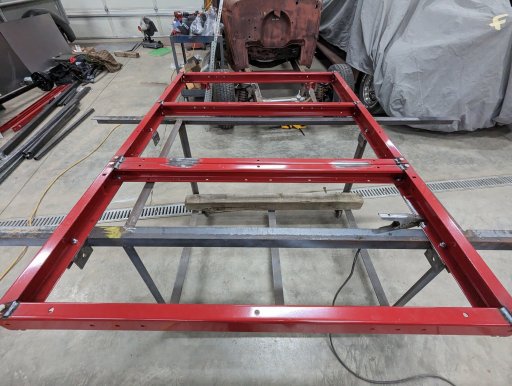
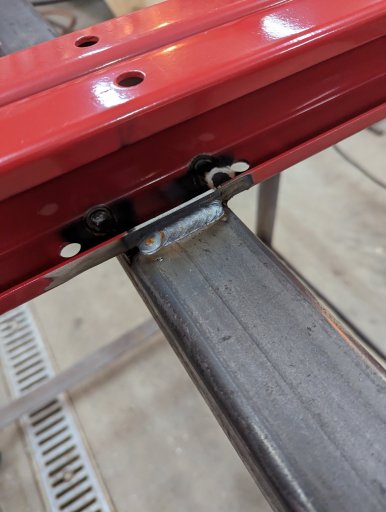
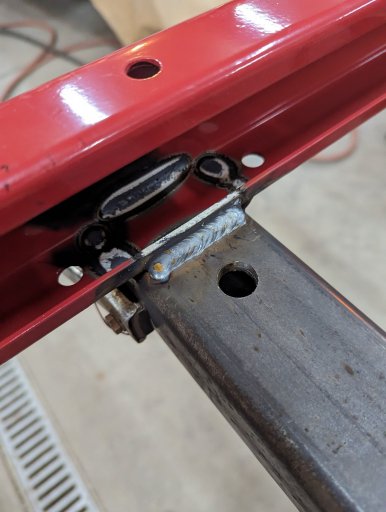
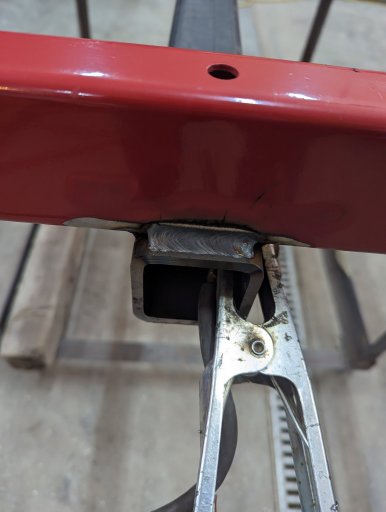
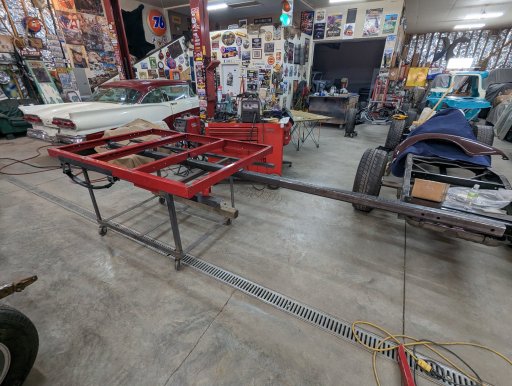
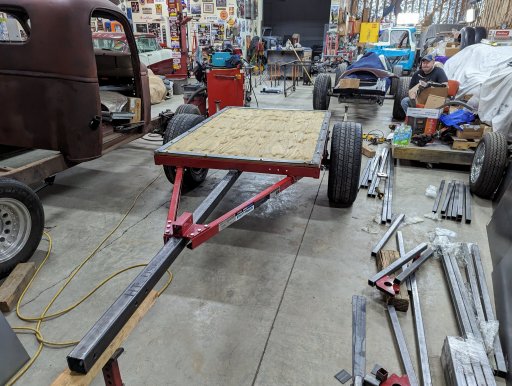
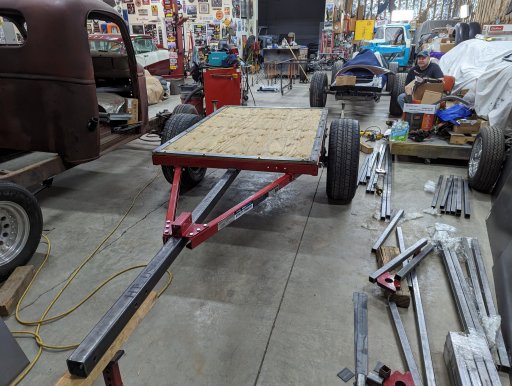
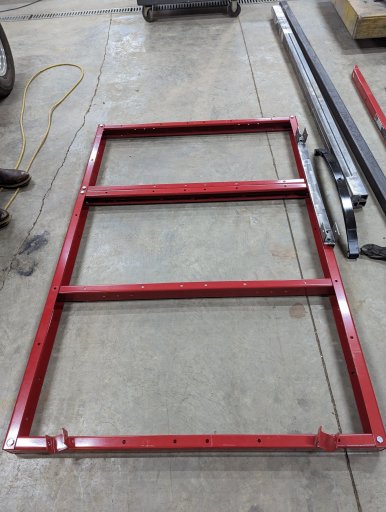
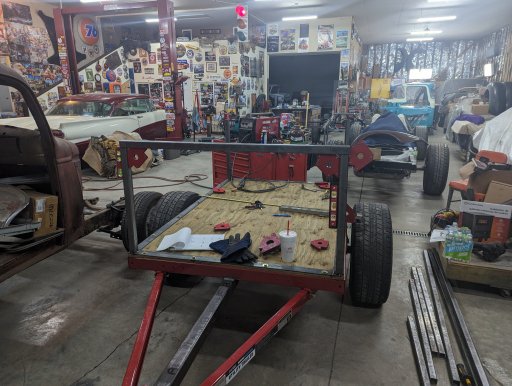
I chose the HF Frame for 1 main reason, ease of titling in Washington. I've heard tales that ever since covid, the state police aren't super responsive with trailer inspections (admittedly I never even tried) I cut this down from a 4x8 to 4x6. and welded it (as well as bolts just because) looking back, I probably should have just built the frame myself, as much of my initial issues were trying to make my design fit the HF frame. and so I had to make several design decisions around it. it's also the weak point on my build, not that I think it'll fail, just that I overbuilt the rest.


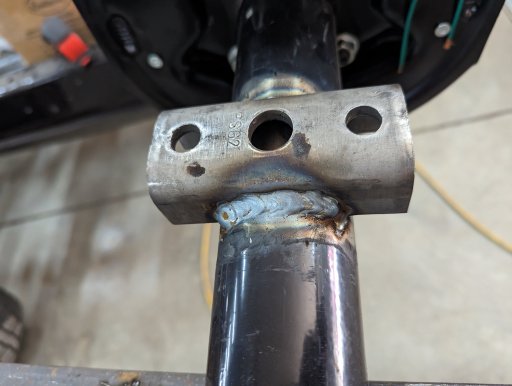
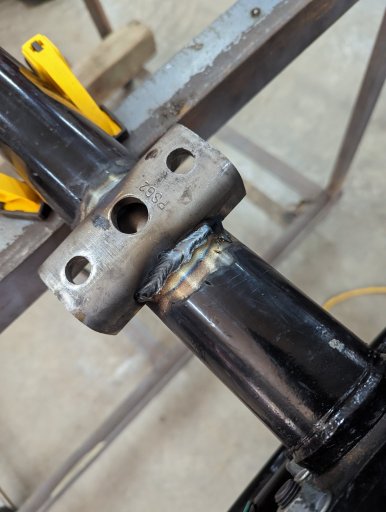
PXL_20230326_160536687.jpgPXL_20230319_005222035.jpgPXL_20230326_160442032.jpg

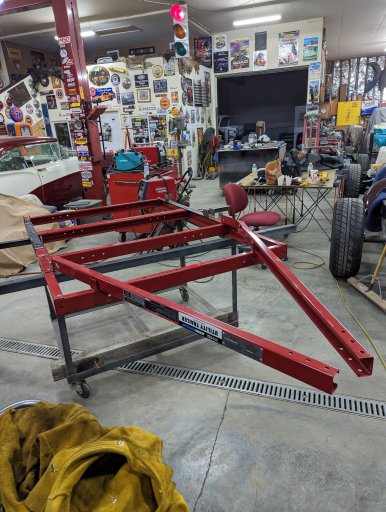
I added the compact camping soft spring kit


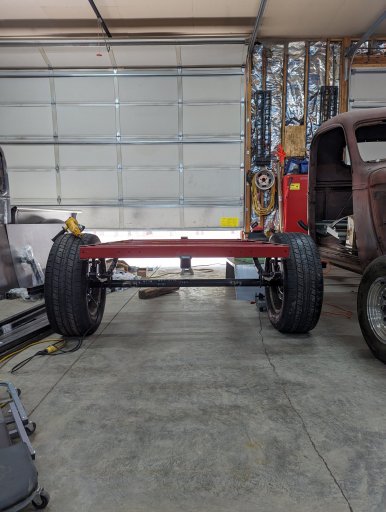
PXL_20230326_160555108.jpgPXL_20230326_160600177.jpgPXL_20230326_173235458.jpgPXL_20230326_173243991.jpgPXL_20230326_180811911.jpgPXL_20230326_181945944.jpgPXL_20230327_204743331.jpgPXL_20230327_212318183.jpgPXL_20230327_221634664.jpgPXL_20230327_221654482.jpgPXL_20230328_172522077.jpgPXL_20230328_182452404.jpgPXL_20230328_182501210.jpgPXL_20230328_182507294.jpgPXL_20230328_203536485.jpgPXL_20230328_203540278.jpgPXL_20230328_203545557.jpgPXL_20230328_203549445.jpgPXL_20230328_203555653.jpgPXL_20230328_203849429.jpgPXL_20230328_203901184.jpgPXL_20230328_220119940.jpgPXL_20230328_220137042.jpgPXL_20230329_173038807.MP.jpgPXL_20230329_173049633.jpgPXL_20230329_173102482.jpgPXL_20230329_190828591.jpgPXL_20230329_190837552.jpgPXL_20230329_190842731.jpgPXL_20230329_190849920.jpgPXL_20230329_190857132.jpgPXL_20230329_190926866.jpgPXL_20230329_195819057.MP.jpgPXL_20230330_210907926.MP.jpgPXL_20230330_210908842.MP.jpg
At this point is where I realized... that my tongue weight was too much for my liking already even with nothing really on it... my axle was too far to the rear. When I cut the frame down, I never moved the axle to compensate. I moved it forward 6" and it's perfect.

PXL_20230331_150703733.jpgPXL_20230331_150716190.jpgPXL_20230331_193527757.jpgPXL_20230331_193536561.jpgPXL_20230331_193545282.jpgPXL_20230331_201343337.jpgPXL_20230331_201350318.jpgPXL_20230331_201352121.jpgPXL_20230331_203248263.jpgPXL_20230331_203253707.jpgPXL_20230331_203300164.jpgPXL_20230331_203307176.jpgPXL_20230331_203312467.jpgPXL_20230331_220436008.jpgPXL_20230331_220444557.jpgPXL_20230331_220453690.jpgPXL_20230331_220500052.jpgPXL_20230401_021240793.jpgPXL_20230401_021250828.jpgPXL_20230401_021257874.jpg
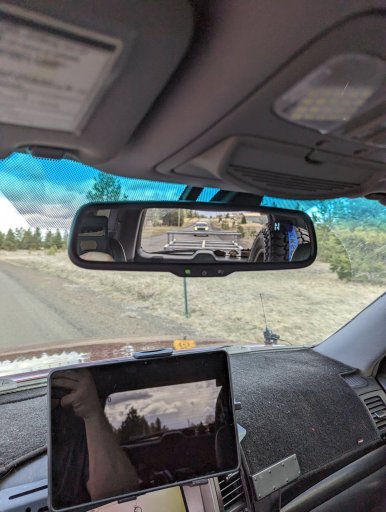
I towed the trailer home and it towed awesome. the max coupler really made it feel connected it tracked amazing


PXL_20230401_191718016.jpgPXL_20230401_192530408.MP.jpgPXL_20230401_221140729.jpg

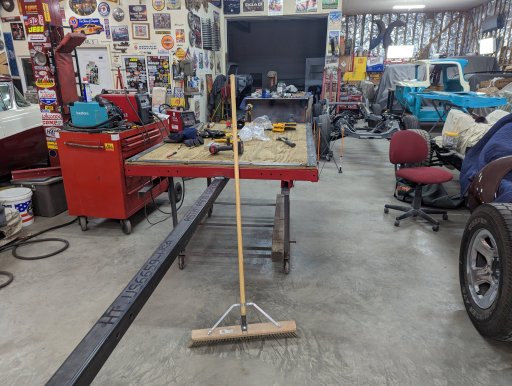
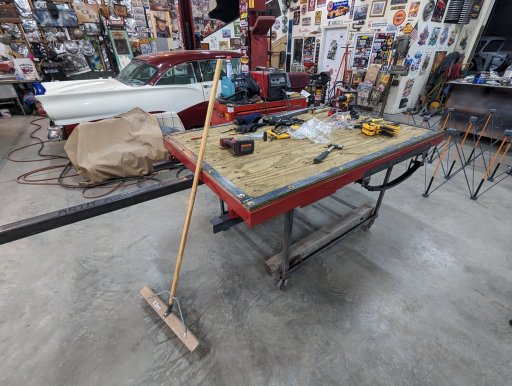
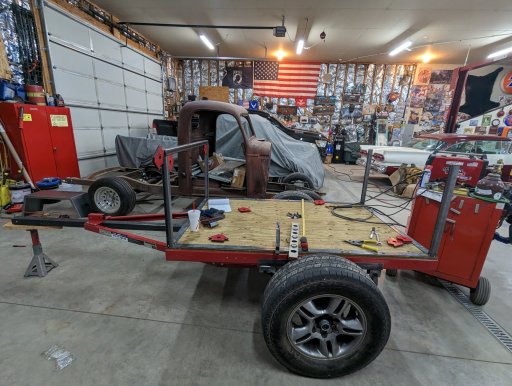
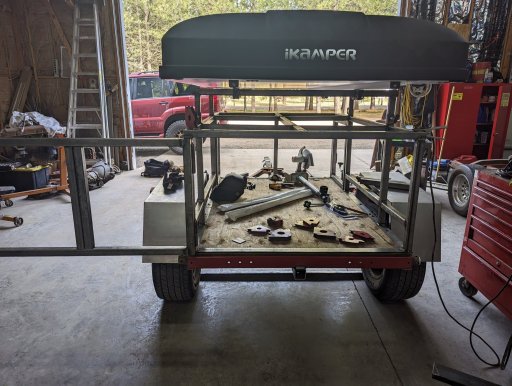
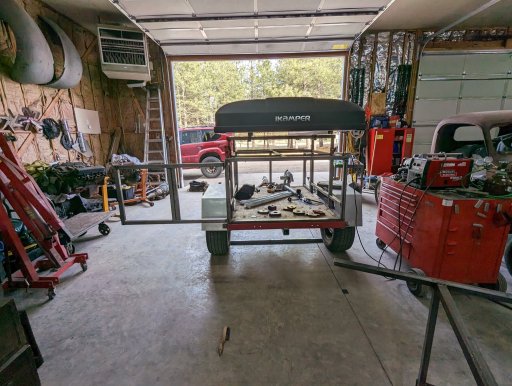
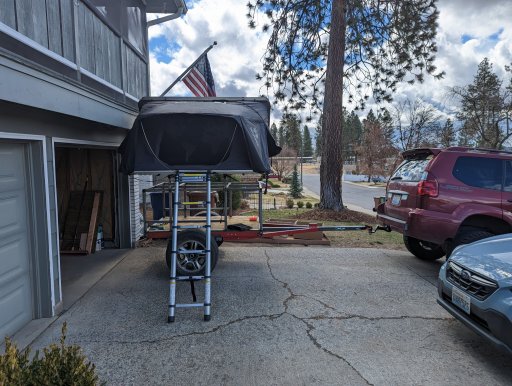
I test-fit the tent on(mainly because the tent was taking up the spot in the garage... so I had to put it on so I could get the trailer into the garagePXL_20230402_195650518.jpgPXL_20230402_195652648.jpgPXL_20230402_195708808.jpgPXL_20230402_200224866.jpgPXL_20230415_205412264.jpgPXL_20230415_220259188.jpgPXL_20230415_220308215.jpgPXL_20230415_220340499.jpgPXL_20230415_220358886.jpgPXL_20230415_230923155.jpgPXL_20230415_230943534.jpgPXL_20230415_231137642.jpgPXL_20230415_231145278.jpgPXL_20230415_231907722.jpg
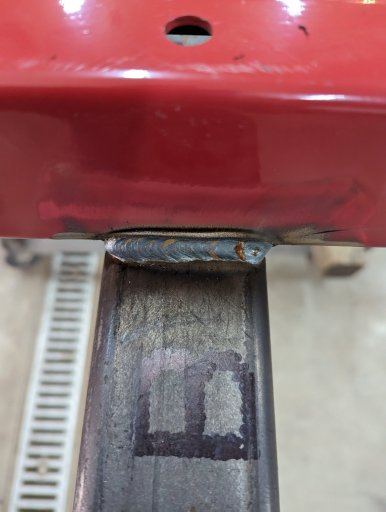
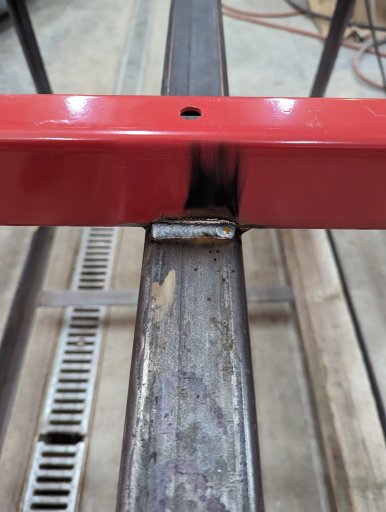
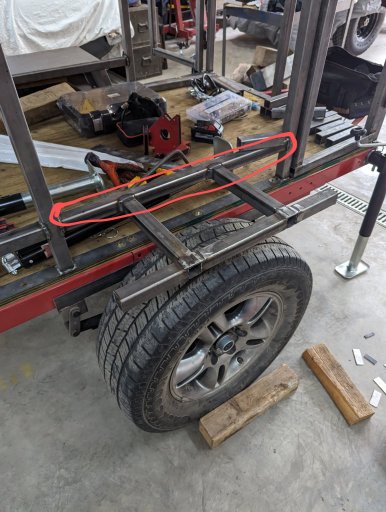
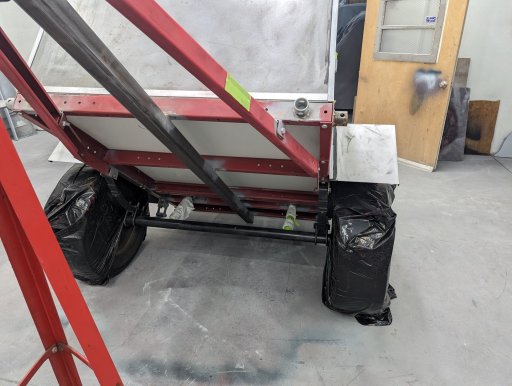
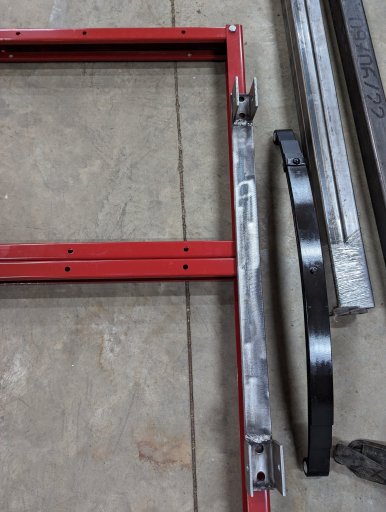
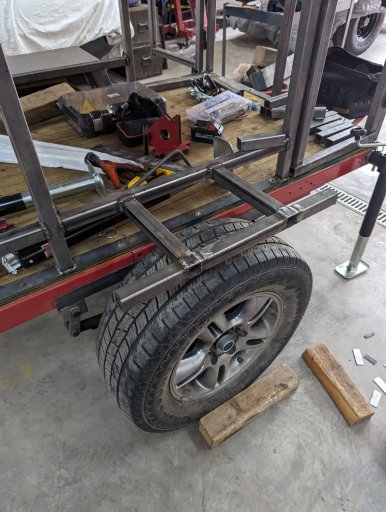
Here's the support I built to support the fender so I can use it for a step or as a mount

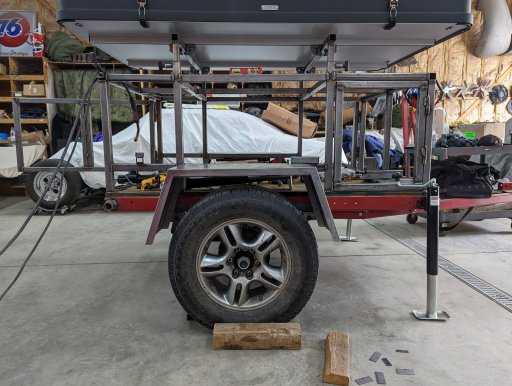
I ended up having to move this bar up about 5"s to allow clearance for 34's... This is the point I realized that my fender was too low because I was using my stock tires to get measurements, and I thought they were 32's, when in fact they were 30's (I think i would have been too low even if they were 32"s now that I look at it) thanks @Codeman and @PapaDave for calling this out that!

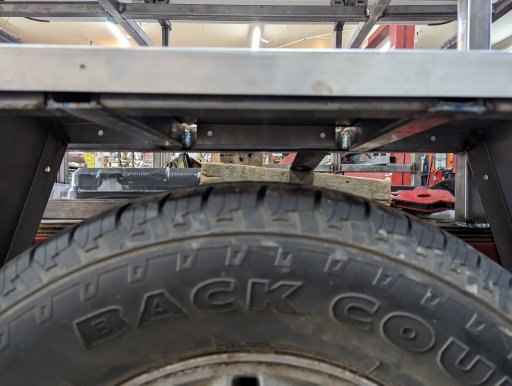
Sitting my 34 spare in front of the stock to see about clearance. the fenders are built to allow a 35, so they're wide enough...it's jus the camera angle that makes it look like they'll hit
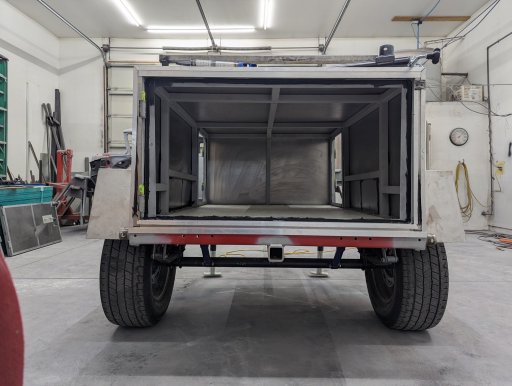
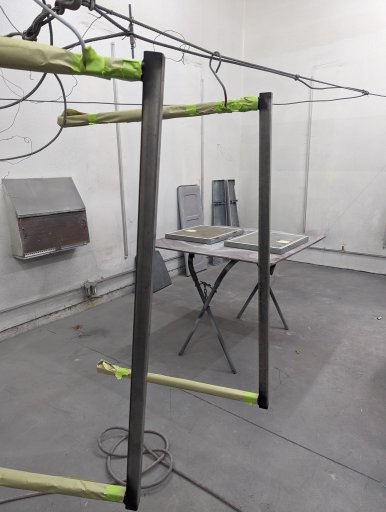
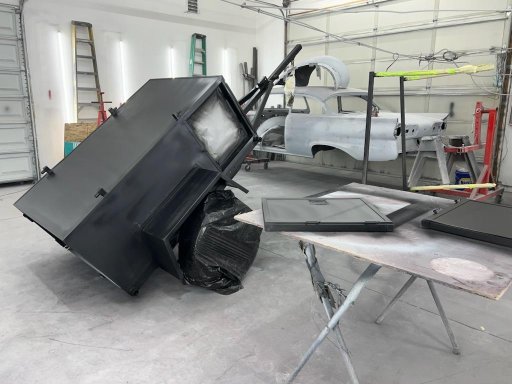
test fitting the 34 spare so I could get proper placement of the spare carrier so I don't make the same mistake as I did with the fenders Pulled it all apart to paint the plywood, primer all the bare metal, and grind down all the welds to prepare for skinning.

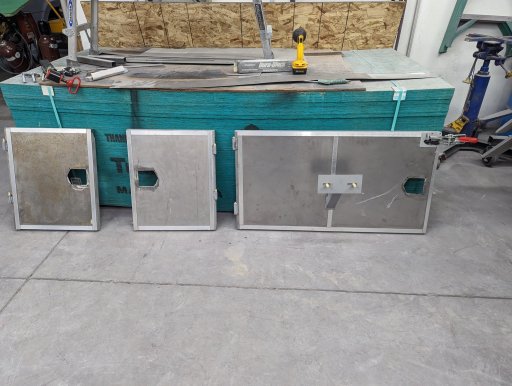
PXL_20230416_185951863.jpgPXL_20230416_185951863~2.jpgPXL_20230416_190011045.jpgPXL_20230416_193744156.MP.jpgPXL_20230416_193818614.MP.jpgPXL_20230416_193827052.jpgPXL_20230422_170854860.jpgPXL_20230422_170955113.jpgPXL_20230422_171004649.jpgPXL_20230422_171016687.jpgPXL_20230422_184945890.jpgPXL_20230426_212000965.jpgPXL_20230426_212000965-01.jpegPXL_20230426_215532443.jpgPXL_20230430_230504618.MP.jpgPXL_20230430_230504618.MP-01.jpeg


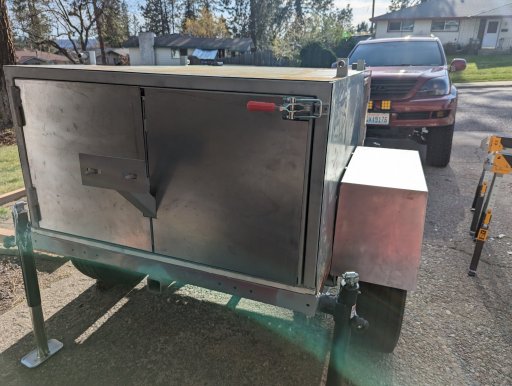
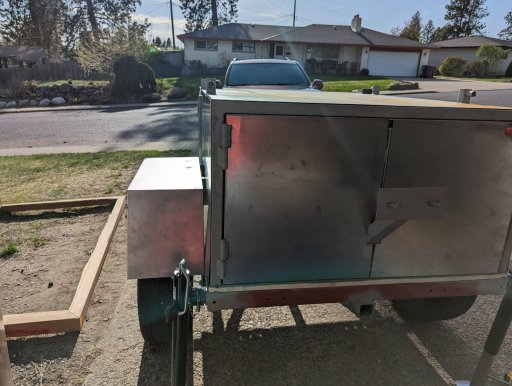
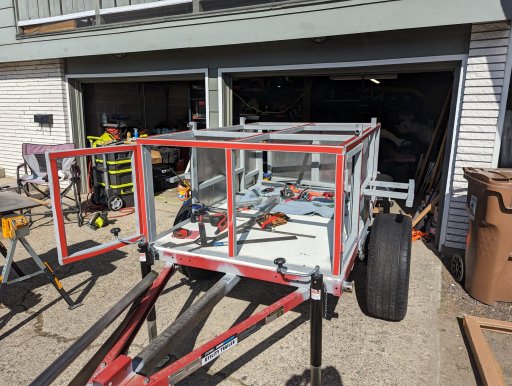
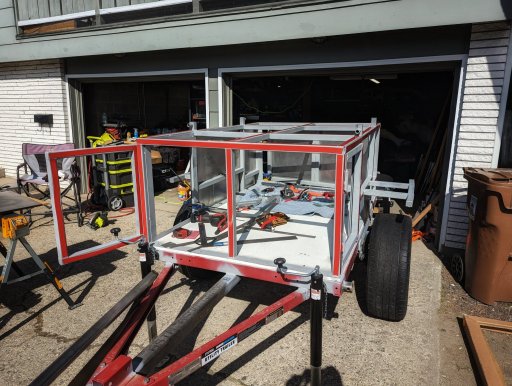
I put on about 150' of VHB tape to hold on the sheet metal and trim. at 35 lbs of adherence per inch I'm confident it's not going anywhere LOL also threw in some construction adhesive in a few areas, and some seam sealer to ensure it'll stay dry inside.


PXL_20230430_230513904.jpgPXL_20230430_230513904-01.jpegPXL_20230430_230527888.jpgPXL_20230501_000419484.jpgPXL_20230501_000446324.jpgPXL_20230501_000729448.jpgPXL_20230501_000734843.jpgPXL_20230501_000744374.jpgPXL_20230501_000750865.jpgPXL_20230502_232801630.jpgPXL_20230503_000756107.jpgPXL_20230503_003837528.jpg
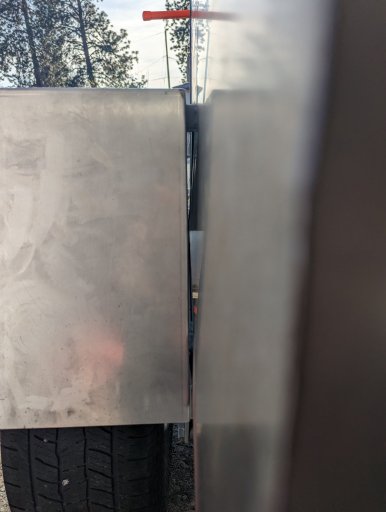
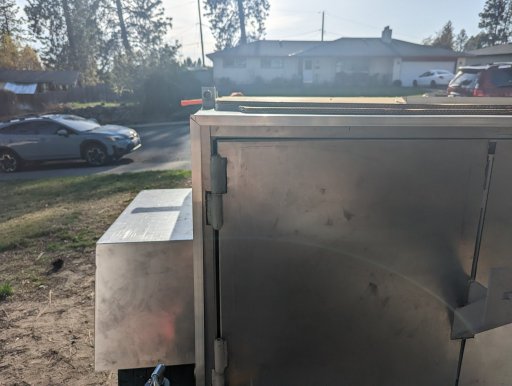
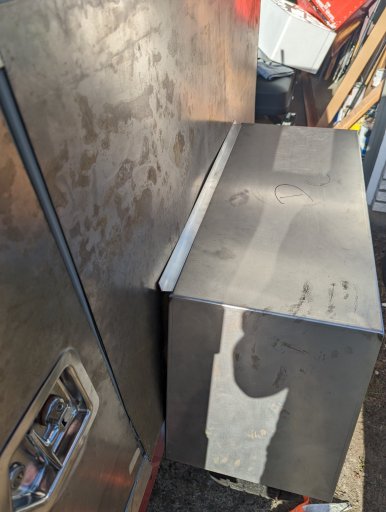
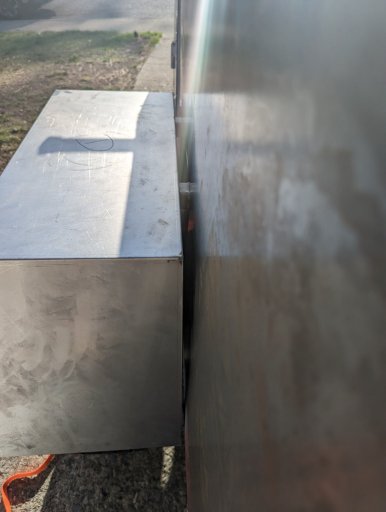
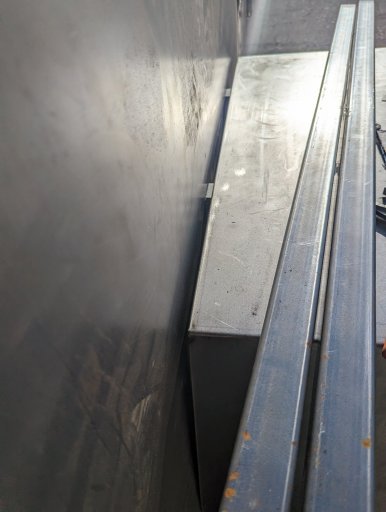
Due to my lack of pre-planning, I ended up with a gap between the fender and the wall... took a great idea by @PapaDave

PXL_20230503_004110835.jpgPXL_20230503_004115067.jpgPXL_20230503_004159145.jpgPXL_20230503_004246523.jpgPXL_20230503_004751322.jpgPXL_20230503_024008810.jpgPXL_20230504_012316649.jpgPXL_20230504_012856026.jpgPXL_20230504_012907080.jpgPXL_20230504_012913217.jpg

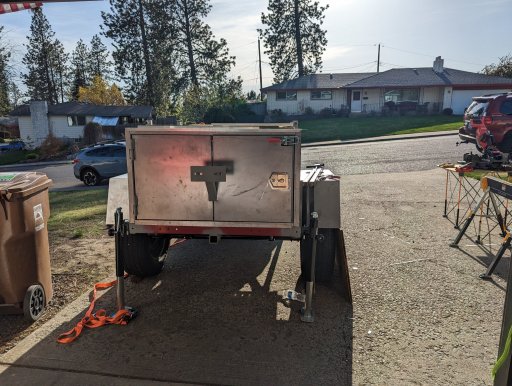
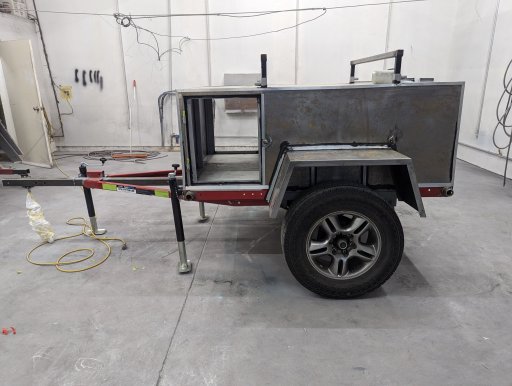
And here it sits. ready for Raptor lining.
PXL_20230506_170734750.jpgPXL_20230506_170740861.jpgPXL_20230506_170756376.jpgPXL_20230506_171111860.jpgPXL_20230506_171138824.jpgPXL_20230506_171557058.jpgPXL_20230507_145719557.jpgPXL_20230507_145743899.jpg
 
Last edited:

Ebbs

Rank VI
Member

Influencer III

4,518
Spokane, WA, USA
First Name
Brandon
Last Name
Eberhardt
Member #

20143

Ham/GMRS Callsign
KE0JBH
Service Branch
Air Force 02-18
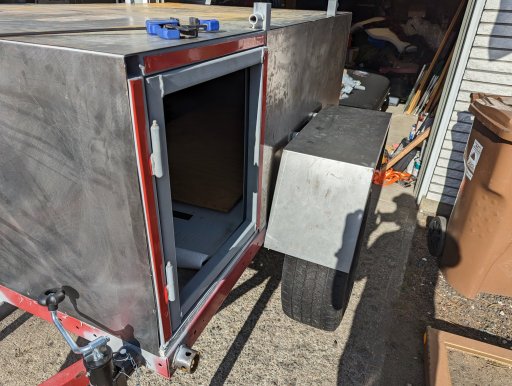
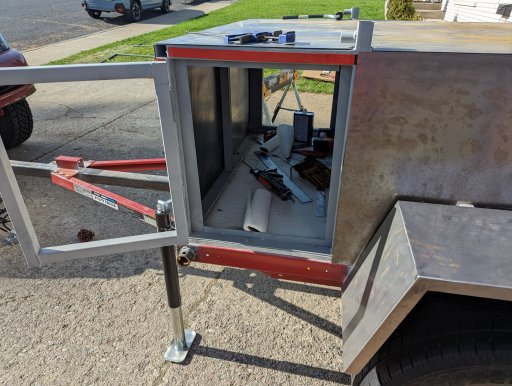
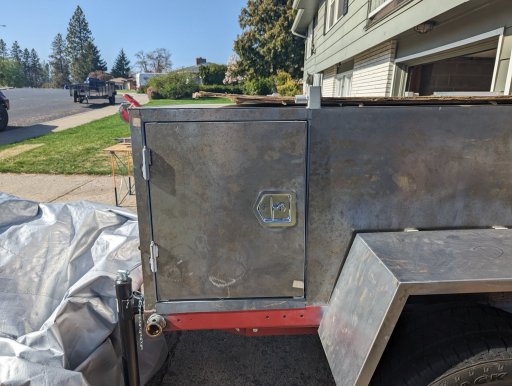
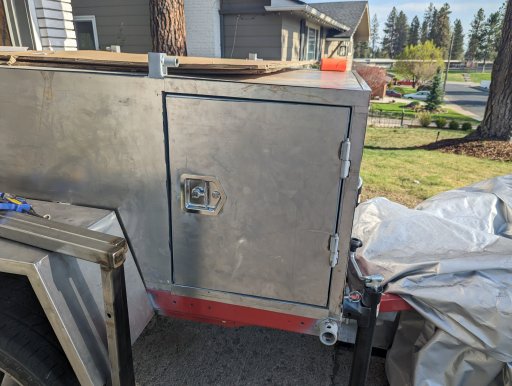
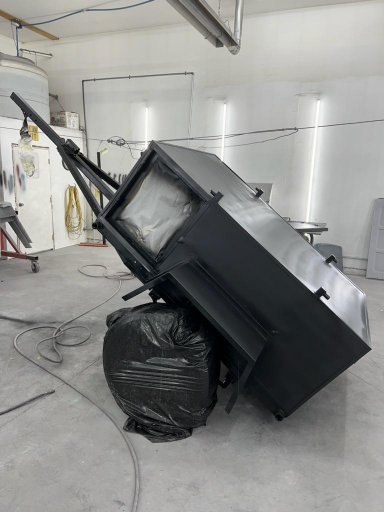
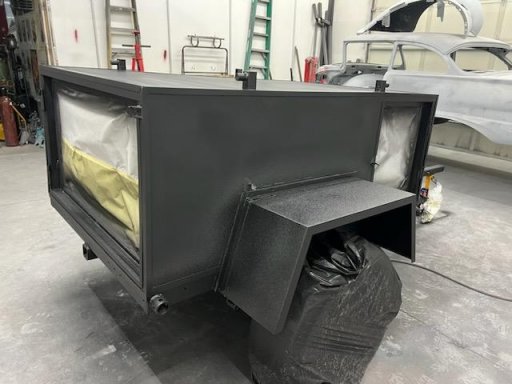
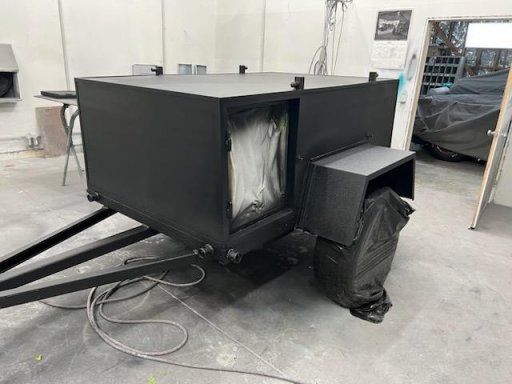
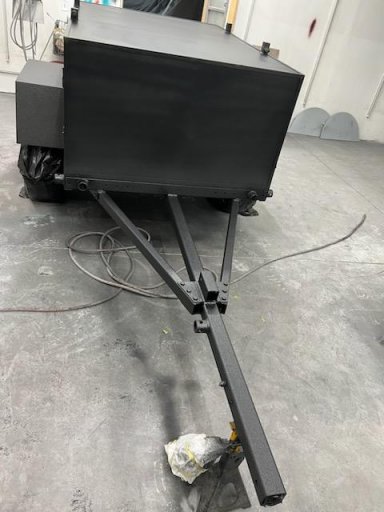
got some shots from my buddy, here's the first coat of Black Raptor (the bottom got a heavy coat, top just a light coat, as it'll get covered with a color matched coat)
IMG_20230508_050704.jpgIMG_20230508_050651.jpgIMG_20230508_050655.jpgIMG_20230508_050656.jpgIMG_20230508_050659.jpgIMG_20230508_050702.jpg
 
Last edited:
  • Like
Reactions: Shahn and PapaDave

MrWilsonWJ

Rank V
Launch Member

Member III

1,691
Kennewick, WA
First Name
Dustin
Last Name
Wilson
Member #

23384

Nice build, I'm looking at doing something similar in the future so seeing stuff like this is great for inspiration and ideas. One suggestion though and you might have already done it, is to drill a hole in the bottom of the 1 1/2" vertical tube for your telescoping system. It will collect water and dirt and you'll need a way to get it out. It would really suck to have it rust out or get water in and freeze. On a different note, have you ran it across a scale yet or know about what it weighs so far?
Again, nice build!
 
  • Like
Reactions: Ebbs

Ebbs

Rank VI
Member

Influencer III

4,518
Spokane, WA, USA
First Name
Brandon
Last Name
Eberhardt
Member #

20143

Ham/GMRS Callsign
KE0JBH
Service Branch
Air Force 02-18
Nice build, I'm looking at doing something similar in the future so seeing stuff like this is great for inspiration and ideas. One suggestion though and you might have already done it, is to drill a hole in the bottom of the 1 1/2" vertical tube for your telescoping system. It will collect water and dirt and you'll need a way to get it out. It would really suck to have it rust out or get water in and freeze. On a different note, have you ran it across a scale yet or know about what it weighs so far?
Again, nice build!
Good point. The tent will hang over and cover, but a drive in a downpour will still end up with water in tubing. I'll do that for sure!

I will hit the scale this weekend for sure. I'm not really sure what to expect for weight... Thinking 700-900lbs? But that's a true WAG lol
 

Ebbs

Rank VI
Member

Influencer III

4,518
Spokane, WA, USA
First Name
Brandon
Last Name
Eberhardt
Member #

20143

Ham/GMRS Callsign
KE0JBH
Service Branch
Air Force 02-18
Excellent work! thanks for sharing the build. Looking forward to seeing the final product.
Thanks! I'm anxious to get it out on the trails. I have a plan for interior build out of drawers and slides. So "final product" is a relative term
 

MrWilsonWJ

Rank V
Launch Member

Member III

1,691
Kennewick, WA
First Name
Dustin
Last Name
Wilson
Member #

23384

Good point. The tent will hang over and cover, but a drive in a downpour will still end up with water in tubing. I'll do that for sure!

I will hit the scale this weekend for sure. I'm not really sure what to expect for weight... Thinking 700-900lbs? But that's a true WAG lol
I've built some things in the past and had them get messed up from water getting in so wanted to spare you the headache. Another idea I had looking at your build and this one might not be as good. You could cut down your 1 1/4" legs a little bit, cap the ends and find a coil spring to drop down the 1 1/2" tube for some spring assist in your lift. It would take some searching to find the right diameter, length and spring rate but would make it nice to have it lift at least part way on it's own. If the spring rate ends up pretty stiff to get enough lift you could use cables/pulleys with a crank to compress it and control the raise.
 

MrWilsonWJ

Rank V
Launch Member

Member III

1,691
Kennewick, WA
First Name
Dustin
Last Name
Wilson
Member #

23384

While looking for ideas for a trailer build I came across this folding table and thought it might be handy mounted to the side of a trailer. Not sure how sturdy they are but I have a few of their triangle toolboxes on farm pickups and they're built plenty stout.

 
  • Like
Reactions: Ebbs

Ebbs

Rank VI
Member

Influencer III

4,518
Spokane, WA, USA
First Name
Brandon
Last Name
Eberhardt
Member #

20143

Ham/GMRS Callsign
KE0JBH
Service Branch
Air Force 02-18
I've built some things in the past and had them get messed up from water getting in so wanted to spare you the headache. Another idea I had looking at your build and this one might not be as good. You could cut down your 1 1/4" legs a little bit, cap the ends and find a coil spring to drop down the 1 1/2" tube for some spring assist in your lift. It would take some searching to find the right diameter, length and spring rate but would make it nice to have it lift at least part way on it's own. If the spring rate ends up pretty stiff to get enough lift you could use cables/pulleys with a crank to compress it and control the raise.
I have 60 lb gas struts that will lift the top when the pins are pulled.
 

Ebbs

Rank VI
Member

Influencer III

4,518
Spokane, WA, USA
First Name
Brandon
Last Name
Eberhardt
Member #

20143

Ham/GMRS Callsign
KE0JBH
Service Branch
Air Force 02-18
Ok got the Raptor done. not super happy with the color, but wasn't really ever chasing a matchy match look. PXL_20230510_010048905.jpgPXL_20230510_011719903.jpgPXL_20230510_012217747.jpgPXL_20230510_012227415.jpgPXL_20230510_012250179.jpg
 
Last edited:

Ebbs

Rank VI
Member

Influencer III

4,518
Spokane, WA, USA
First Name
Brandon
Last Name
Eberhardt
Member #

20143

Ham/GMRS Callsign
KE0JBH
Service Branch
Air Force 02-18
Glad to see you got it done. I just did 3200 miles with mine. You certainly find out what you need to re-do after 2 weeks and dragging it a crossed 6 states.
Nice where all did you go?
I thought I might have passed your GX outside Sandpoint yesterday on my way home.

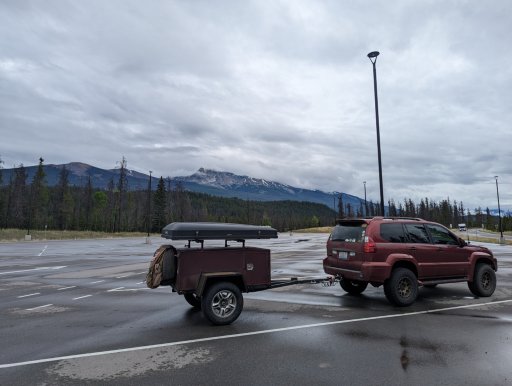
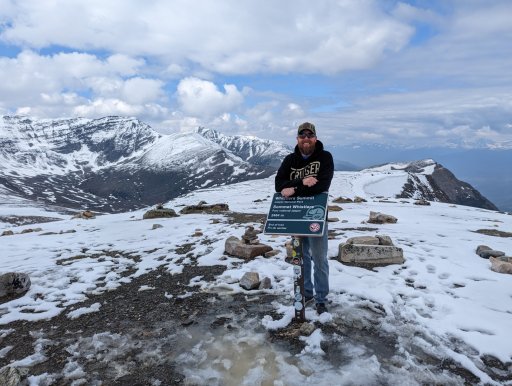
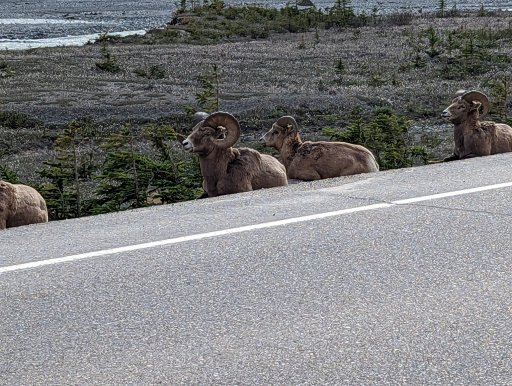
Just got back from the "shake down run" a 1500 mile trip through Canada and Montana. Tons of rain, but no issues with the trailer, minus my table catching on my license plate light wiring when I pulled it out and disconnecting it.

I hadn't done the seals for the doors and still had next to no water inside (we saw about 6"of rain in our 7days of travel) and very little dust (ironically saw some pretty dry areas on the Alberta side)

Met up with @Codeman and family in Montana to surprise the wife.
media.jpgmedia.jpgmedia.jpgmedia.jpgmedia.jpgmedia.jpgmedia.jpgmedia.jpgmedia.jpgmedia.jpgmedia.jpg
 
Last edited:

Enthusiast III

1,183
Newman Lake, Spokane County, Washington, United States
First Name
David
Last Name
Schlenker
Member #

42509

Glad to see you got it done. I just did 3200 miles with mine. You certainly find out what you need to re-do after 2 weeks and dragging it a crossed 6 states.
Nice where all did you go?
I thought I might have passed your GX outside Sandpoint yesterday on my way home.

Just got back from the "shake down run" a 1500 mile trip through Canada and Montana. Tons of rain, but no issues with the trailer, minus my table catching on my license plate light wiring when I pulled it out and disconnecting it.

I hadn't done the seals for the doors and still had next to no water inside (we saw about 6"of rain in our 7days of travel) and very little dust (ironically saw some pretty dry areas on the Alberta side)

Met up with @Codeman and family in Montana to surprise the wife.
Basically Moab area but traveled through Wyoming to see some sites.
 
  • Like
Reactions: Ebbs

TexasLandman

Rank IV
Launch Member
Member

Enthusiast III

1,116
Midland, TX, USA
First Name
Christopher
Last Name
Harrell
Member #

16045

So at the time of starting this, I'm done with the initial build, just waiting on Raptor lining. So most of this will be in a single post, but thought I'd share and pass on some of the things I've learned along the way.
For those just looking for pics, you came to the right place lol here's how it sits right now (I'll update this as things change)
View attachment 259047


First a rundown of what my build consists of
a Harbor Freight "Super duty" 1720lb trailer frame 1720 lb. Capacity 48 in. x 96 in. Super Duty Folding Trailer
Compact Camping Concepts Soft ride spring Conversion Kit Harbor Freight Frame Smooth Spring Retrofit kit
A custom width 3500lb Axle to match the GX's track. as well as 6x5.5lug pattern and brakes Camping Trailer Axle
Compact Camping solution Shock mount kit Weld-on Shock Kit
I ran a 11.5' 2.5" receiver tube down the middle as the spine of the trailer
most of the "box" is 1.5" 11g square tubing, the 4 vertical posts for the telescopic aspect are 1.5" 14g, with 1.25 14g inside, this provided enough tolerance to avoid binding.
really I should have built the whole thing out of 14g and saved some weight...
3/4" marine grade plywood(pressure treated) that was then painted with 10 year all weather paint/stain
Wheels and Tires are take-offs from my GX, I'll eventually upgrade to at least 33's (they're 30's, which I thought were 32's... this will come into play later) but more than likely 34's to match the GX
I did 20g sheet for the body,
Max Coupler for the hitch/receiver.
Compact Camping Solutions Wide M416 Trailer Fenders


I chose the HF Frame for 1 main reason, ease of titling in Washington. I've heard tales that ever since covid, the state police aren't super responsive with trailer inspections (admittedly I never even tried) I cut this down from a 4x8 to 4x6. and welded it (as well as bolts just because) looking back, I probably should have just built the frame myself, as much of my initial issues were trying to make my design fit the HF frame. and so I had to make several design decisions around it. it's also the weak point on my build, not that I think it'll fail, just that I overbuilt the rest.
View attachment 257047
View attachment 257051

I added the compact camping soft spring kit
View attachment 257047View attachment 257052View attachment 257053View attachment 257057View attachment 257059View attachment 257060View attachment 257062View attachment 257063View attachment 257064View attachment 257065View attachment 257066View attachment 257067View attachment 257068View attachment 257069View attachment 257070View attachment 257071View attachment 257072View attachment 257073View attachment 257074View attachment 257075View attachment 257077View attachment 257078View attachment 257079View attachment 257080View attachment 257081View attachment 257082View attachment 257083View attachment 257084View attachment 257085View attachment 257086View attachment 257087View attachment 257088
At this point is where I realized... that my tongue weight was too much for my liking already even with nothing really on it... my axle was too far to the rear. When I cut the frame down, I never moved the axle to compensate. I moved it forward 6" and it's perfect.
View attachment 257089View attachment 257090View attachment 257091View attachment 257092View attachment 257093View attachment 257094View attachment 257095View attachment 257096View attachment 257097View attachment 257098View attachment 257099View attachment 257100View attachment 257101View attachment 257102View attachment 257103View attachment 257104View attachment 257105View attachment 257106View attachment 257107View attachment 257108View attachment 257109View attachment 257110I towed the trailer home and it towed awesome. the max coupler really made it feel connected it tracked amazing View attachment 257111View attachment 257112View attachment 257113
I test-fit the tent on(mainly because the tent was taking up the spot in the garage... so I had to put it on so I could get the trailer into the garage
View attachment 257114View attachment 257115View attachment 257116View attachment 257117View attachment 257119View attachment 257120View attachment 257121View attachment 257122View attachment 257123View attachment 257124View attachment 257125View attachment 257126View attachment 257127View attachment 257128
Here's the support I built to support the fender so I can use it for a step or as a mountView attachment 257129

I ended up having to move this bar up about 5"s to allow clearance for 34's... This is the point I realized that my fender was too low because I was using my stock tires to get measurements, and I thought they were 32's, when in fact they were 30's (I think i would have been too low even if they were 32"s now that I look at it) thanks @Codeman and @PapaDave for calling this out that!
View attachment 257130View attachment 257132View attachment 257134View attachment 257135View attachment 257136View attachment 257138

Sitting my 34 spare in front of the stock to see about clearance. the fenders are built to allow a 35, so they're wide enough...it's jus the camera angle that makes it look like they'll hitView attachment 257139View attachment 257140View attachment 257141
test fitting the 34 spare so I could get proper placement of the spare carrier so I don't make the same mistake as I did with the fendersView attachment 257142
Pulled it all apart to paint the plywood, primer all the bare metal, and grind down all the welds to prepare for skinning.
View attachment 257144View attachment 257145


I put on about 150' of VHB tape to hold on the sheet metal and trim. at 35 lbs of adherence per inch I'm confident it's not going anywhere LOL also threw in some construction adhesive in a few areas, and some seam sealer to ensure it'll stay dry inside.
View attachment 257146View attachment 257147View attachment 257148View attachment 257149View attachment 257150View attachment 257151View attachment 257152View attachment 257154View attachment 257155View attachment 257156View attachment 257157View attachment 257158View attachment 257161View attachment 257162

Due to my lack of pre-planning, I ended up with a gap between the fender and the wall... took a great idea by @PapaDave
View attachment 257163View attachment 257164View attachment 257165View attachment 257166View attachment 257167View attachment 257168View attachment 257170View attachment 257171View attachment 257172View attachment 257173
And here it sits. ready for Raptor lining.
View attachment 257180View attachment 257182View attachment 257184View attachment 257186View attachment 257188View attachment 257190View attachment 257192View attachment 257193
Great build! Can’t help but notice the ford in the background. Is that 58? Anyhow both builds look great!
 
  • Like
Reactions: Ebbs

Ebbs

Rank VI
Member

Influencer III

4,518
Spokane, WA, USA
First Name
Brandon
Last Name
Eberhardt
Member #

20143

Ham/GMRS Callsign
KE0JBH
Service Branch
Air Force 02-18
Great build! Can’t help but notice the ford in the background. Is that 58? Anyhow both builds look great!
Thanks!
Honestly I have no idea, it was a buddy's shop that he was extremely gracious about me using. He has quite a few rigs in there.
 
  • Like
Reactions: TexasLandman

Ebbs

Rank VI
Member

Influencer III

4,518
Spokane, WA, USA
First Name
Brandon
Last Name
Eberhardt
Member #

20143

Ham/GMRS Callsign
KE0JBH
Service Branch
Air Force 02-18
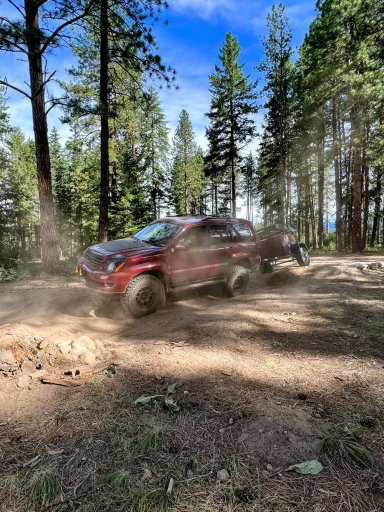
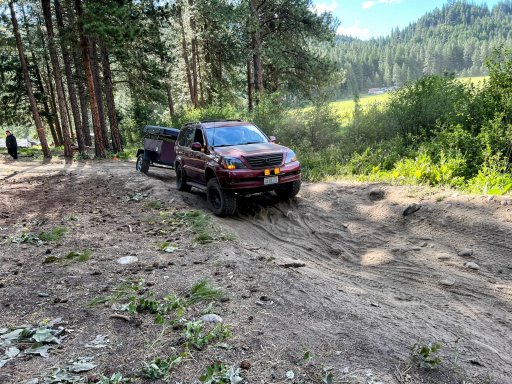
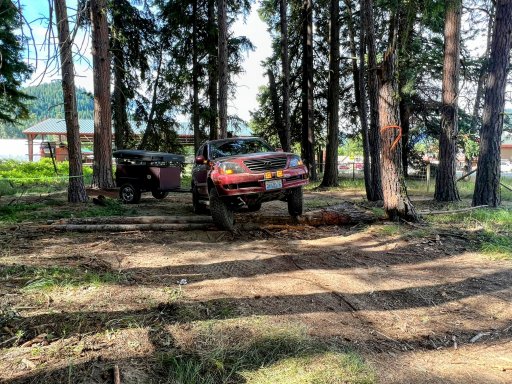
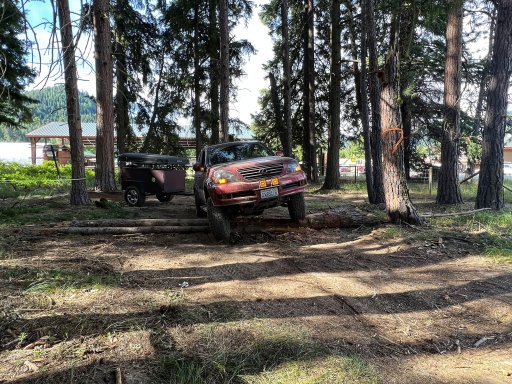
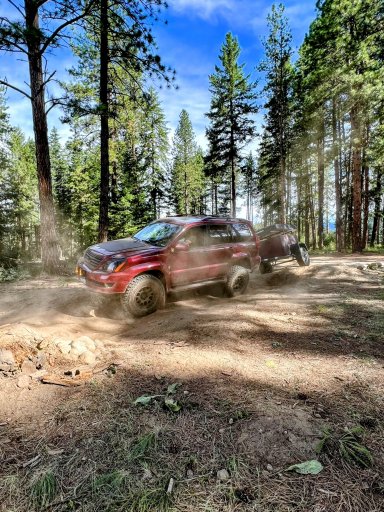
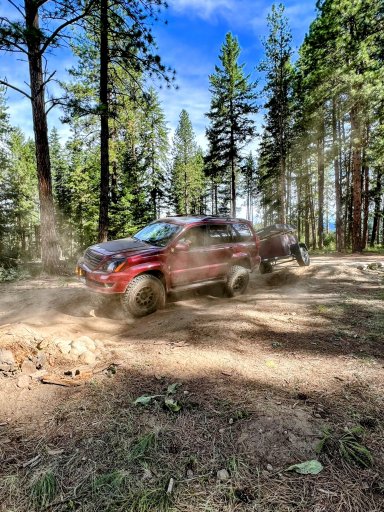
Just got back from Northwest Overland Rally, and got to test the trailer on their technical course, worked amazing. the Maxcoupler really shined and 0 issues, only a light drag of the hitch nut on the receiver cresting the top coming out of the last "pit" which was about 7' deep.
IMG_9804~2.jpgIMG_9816~2.jpgIMG_9854~2.jpgIMG_9855-01.jpegIMG_9866~2.jpgIMG_9870~2.jpgIMG_9874~2.jpg
 

Attachments

  • Like
Reactions: Shahn

PapaDave

Local Expert Northern ID and North East WA
Member

Protector II

8,868
Coeur d'Alene, ID, USA
First Name
Dave
Last Name
Addington
Member #

10123

Ham/GMRS Callsign
KN6BKH
Those are great shot and great work on the trailer! Really nice DIY to be everything you need
 
  • Like
Reactions: Ebbs