Build/activities thread: 1989 Raider, 2010 Sequoia, and my other stuff.

  • HTML tutorial

irish44j

Rank II

Enthusiast III

443
Fairfax County, VA, USA
First Name
Joshua
Last Name
Hickey
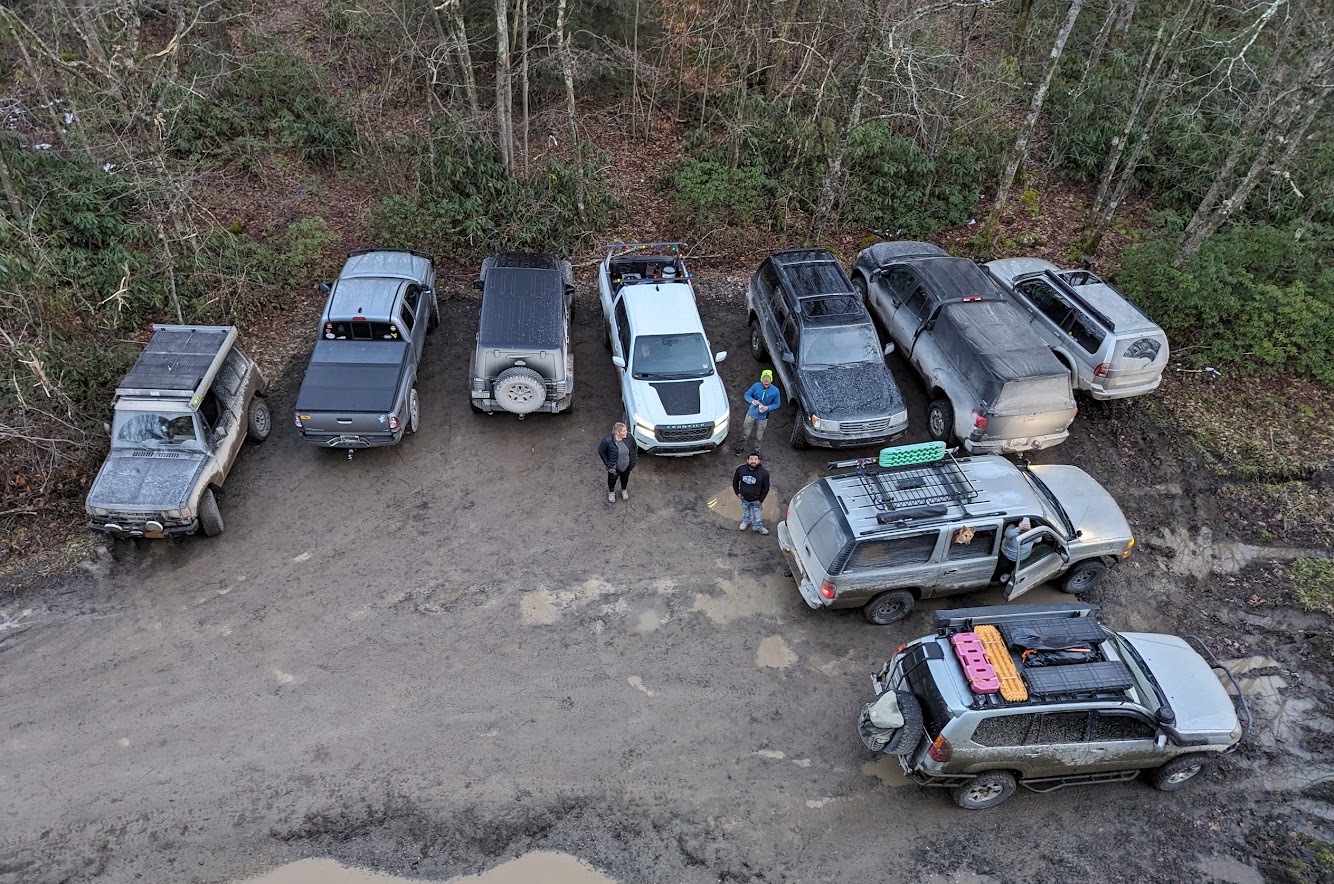
So since I have my build threads on my various vehicles elsewhere, I'll just pick up here where I am on those, and post about various stuff I'm doing TO them and WITH them (admittedly less cool than the adventuring many of you do, but hopefully they'll improve!

Here are a few relevant links if you want to see earlier stuff on the different projects (hopefully it's ok to post these here!)

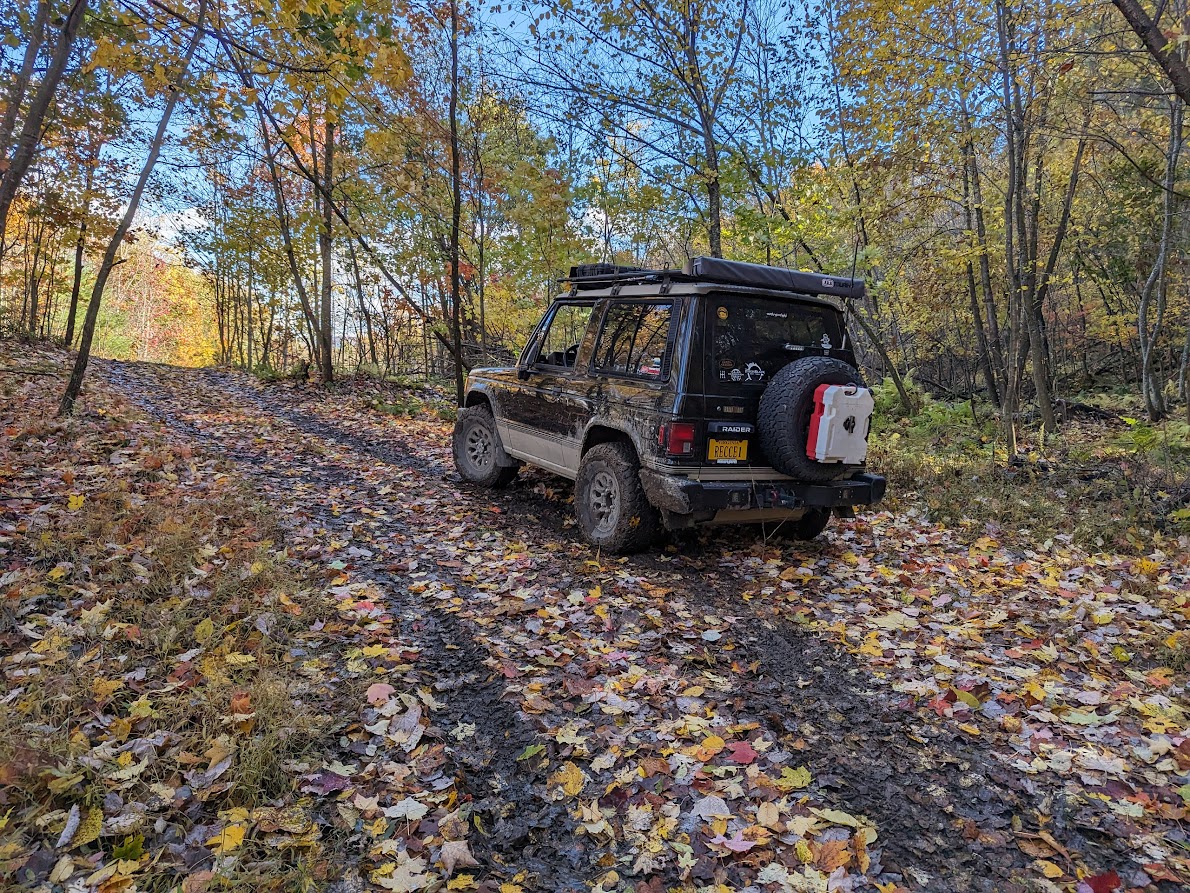
Raider build (from the start): Rad Rally (Dodge) Raider (akaMonteroakaPajero) Build
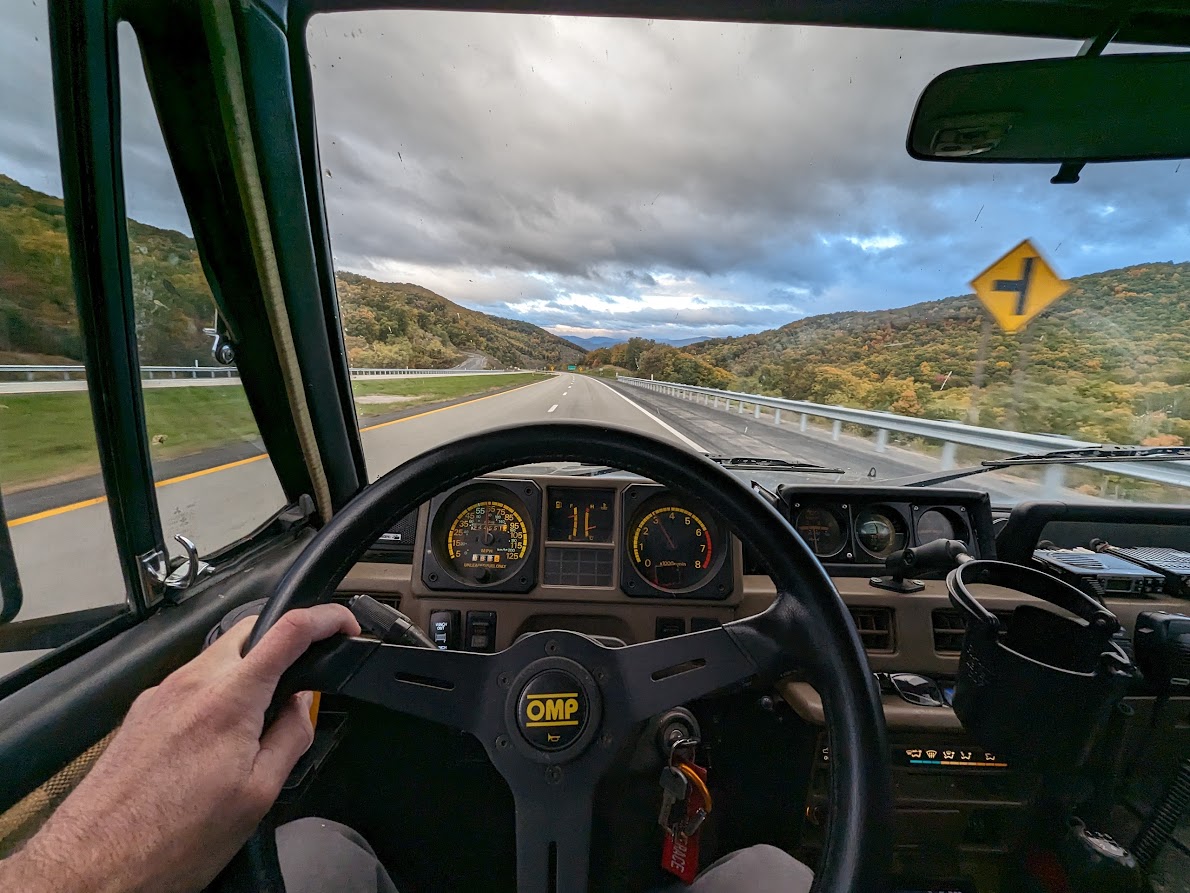
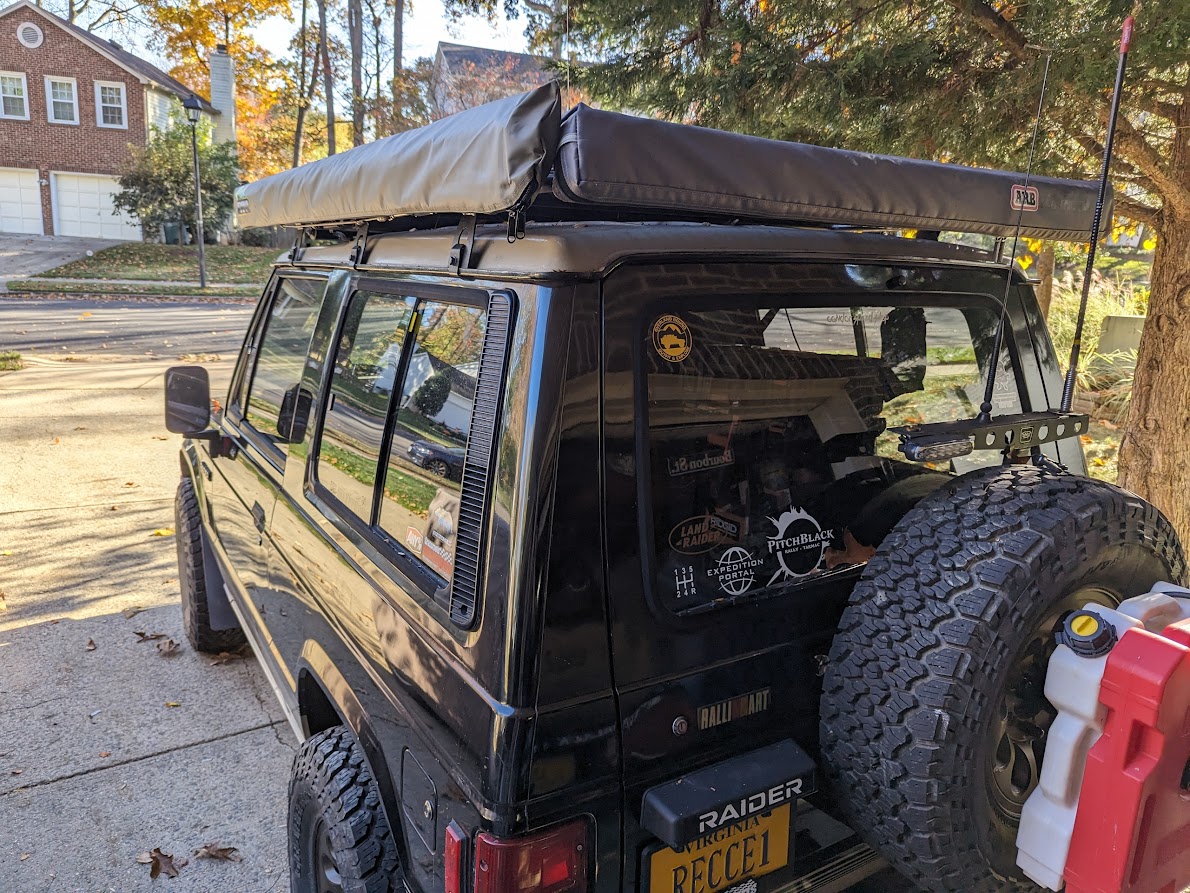
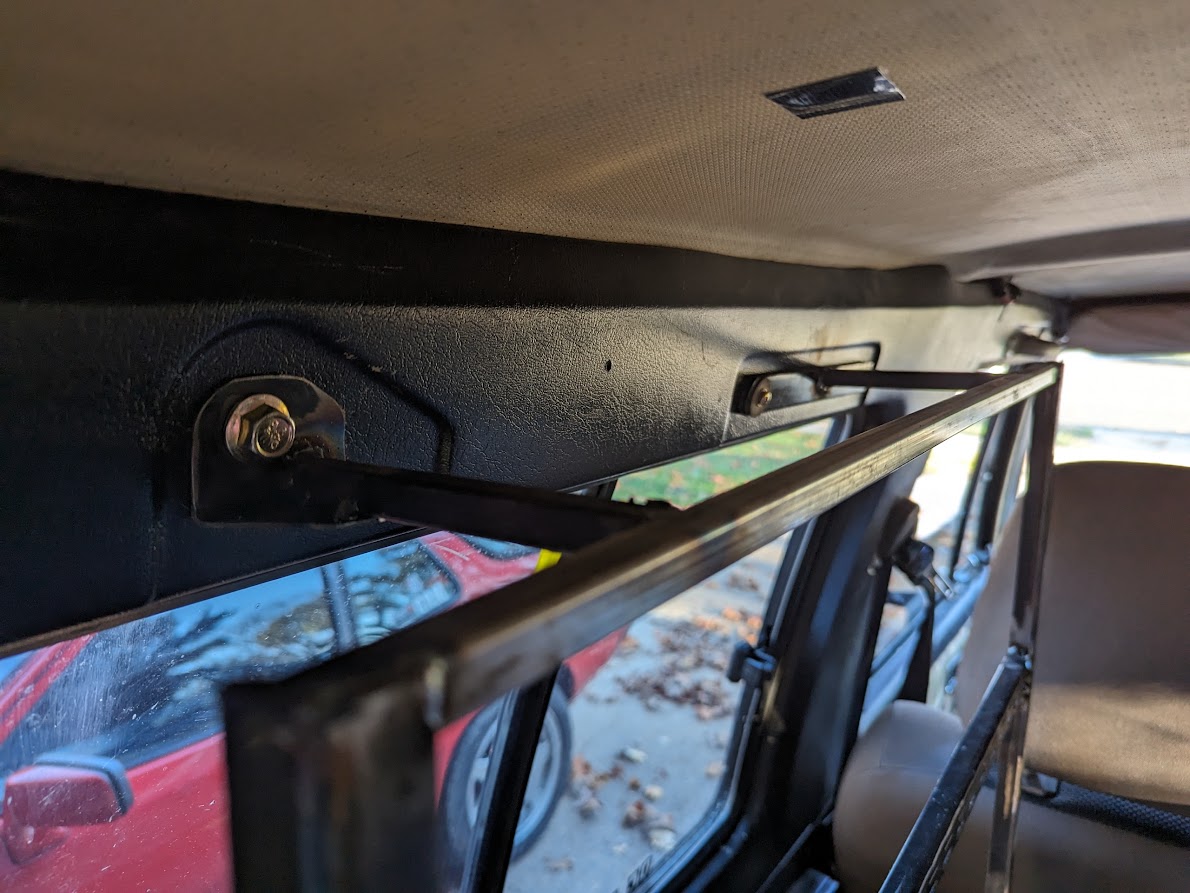
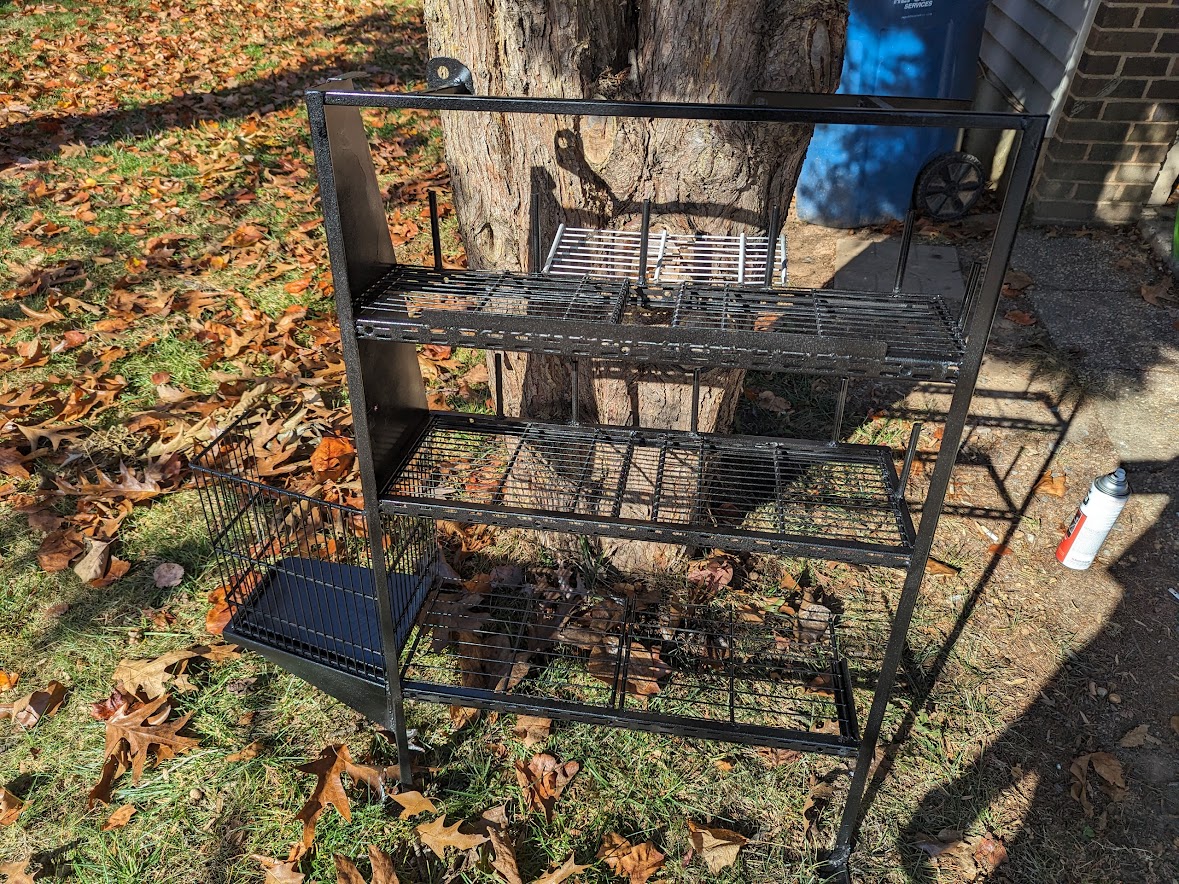
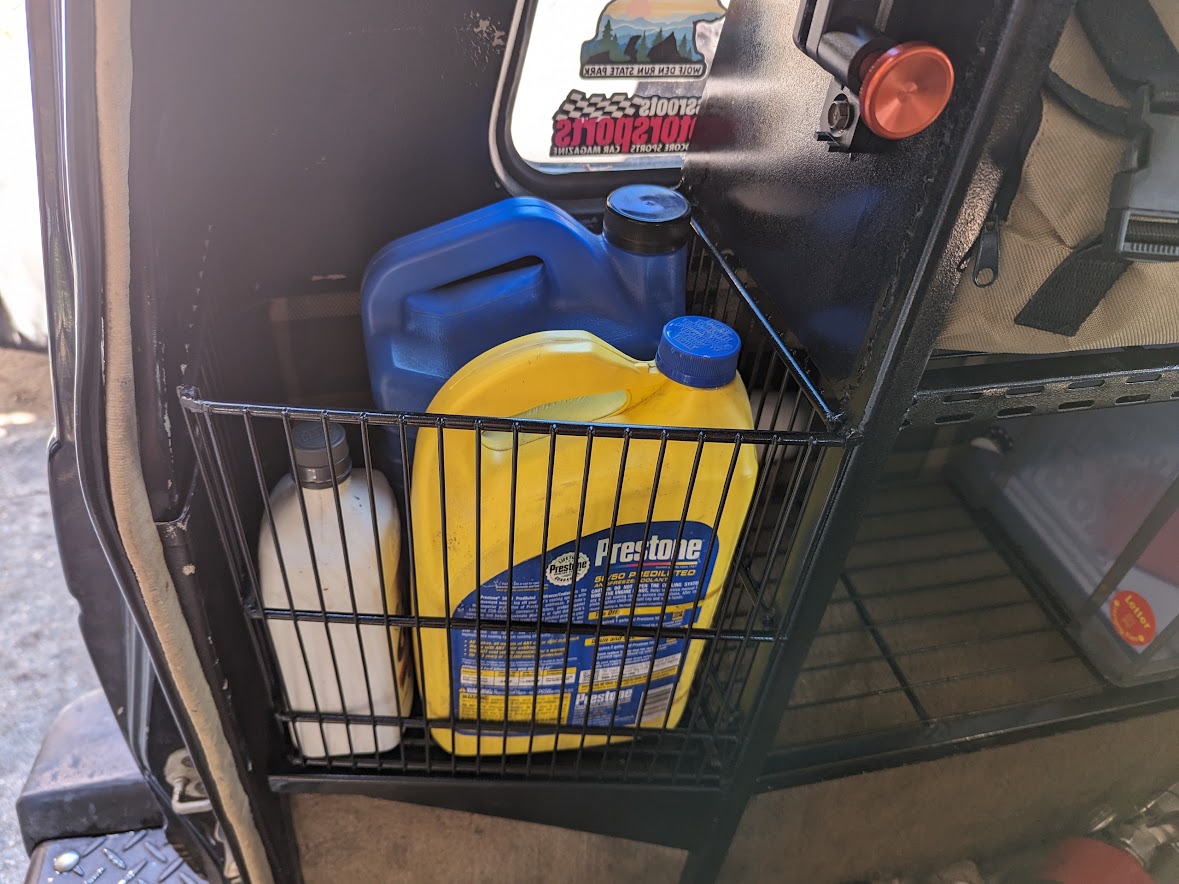
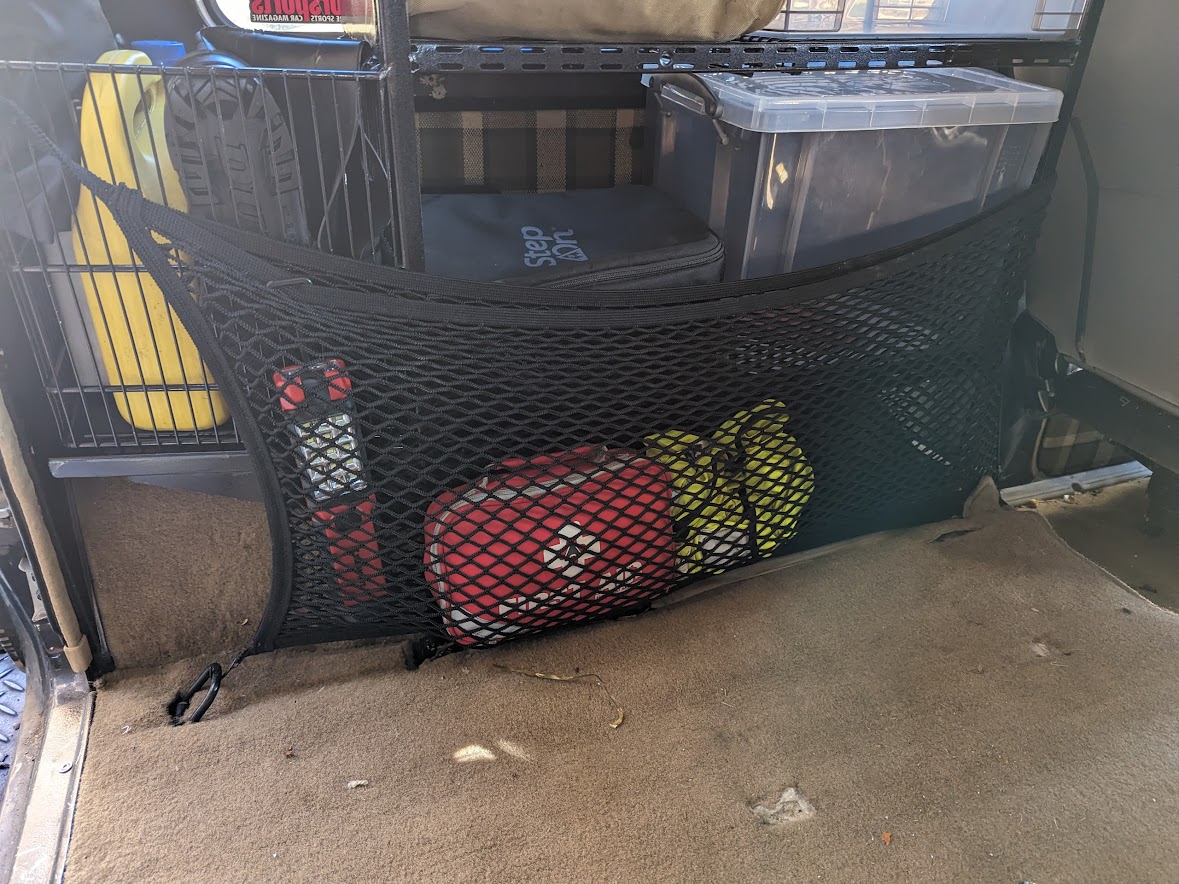
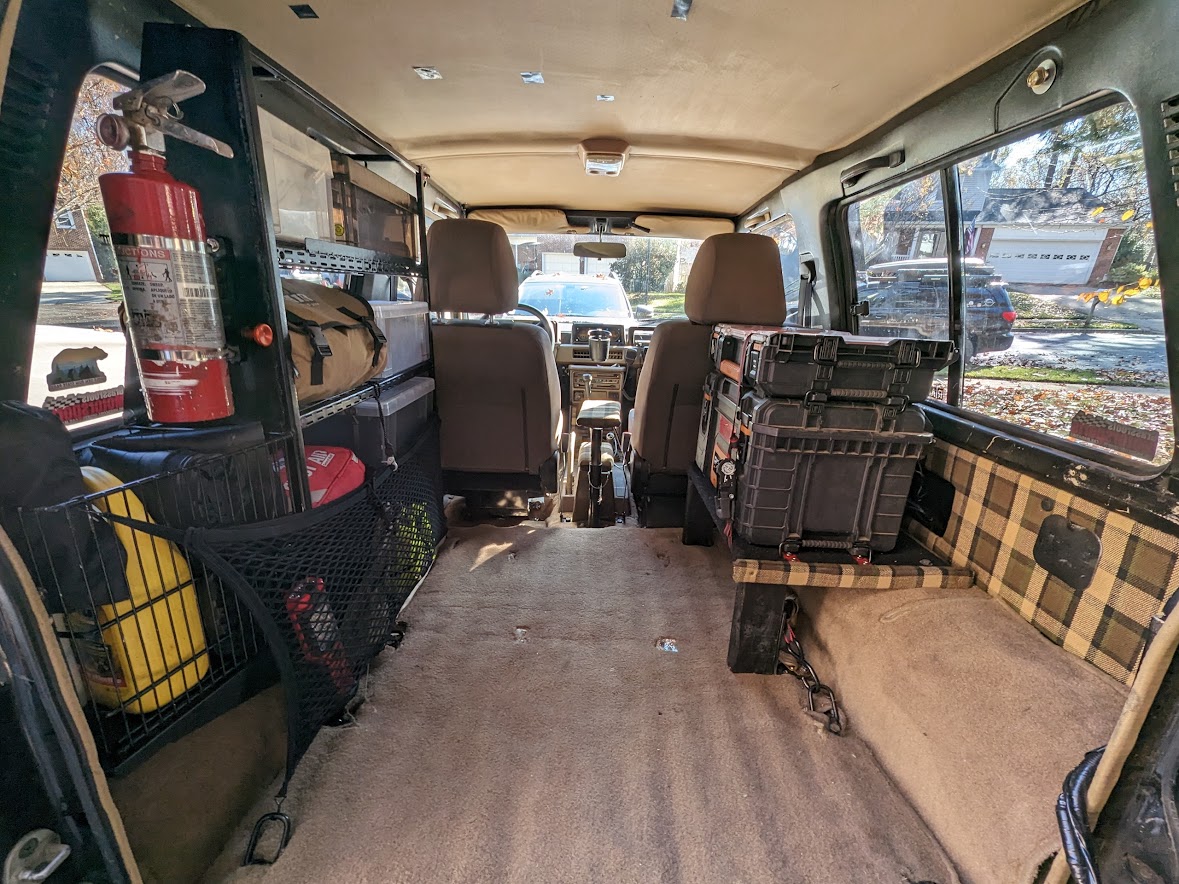
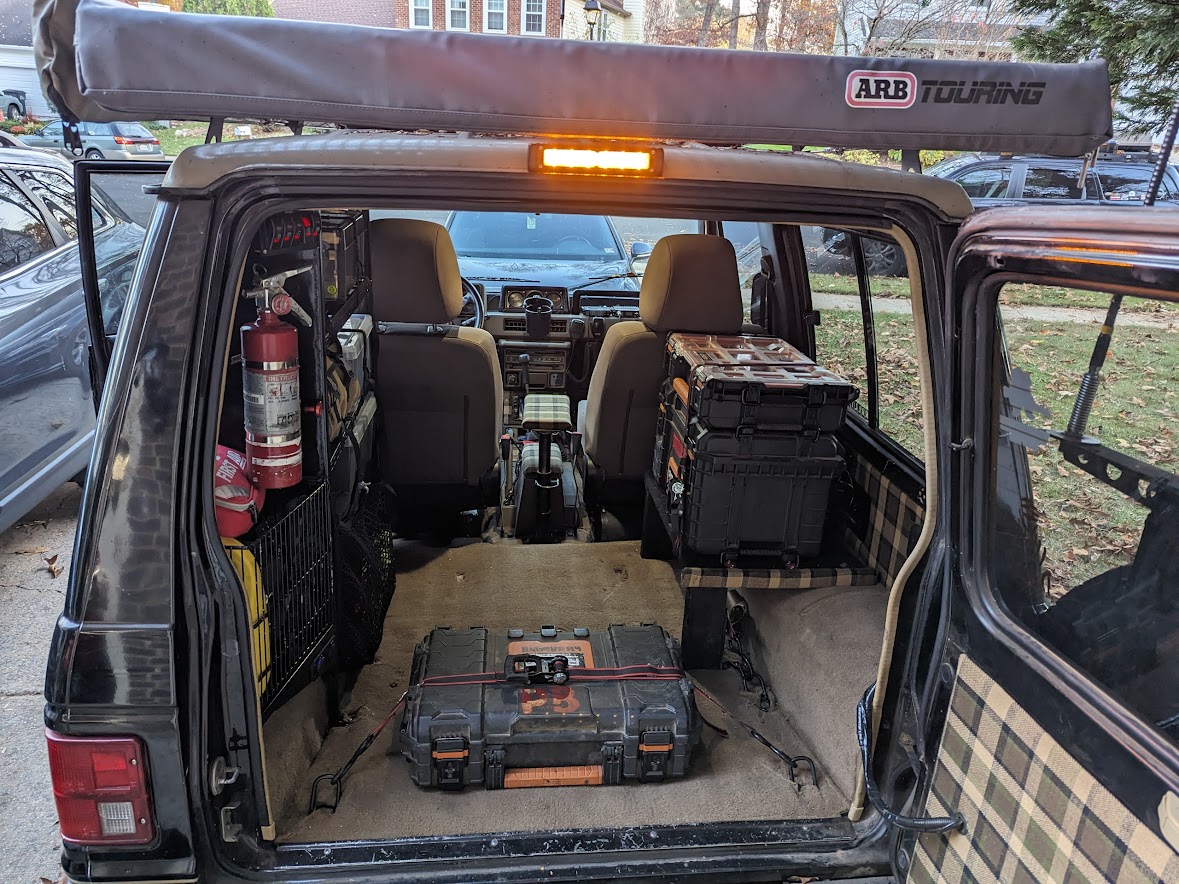
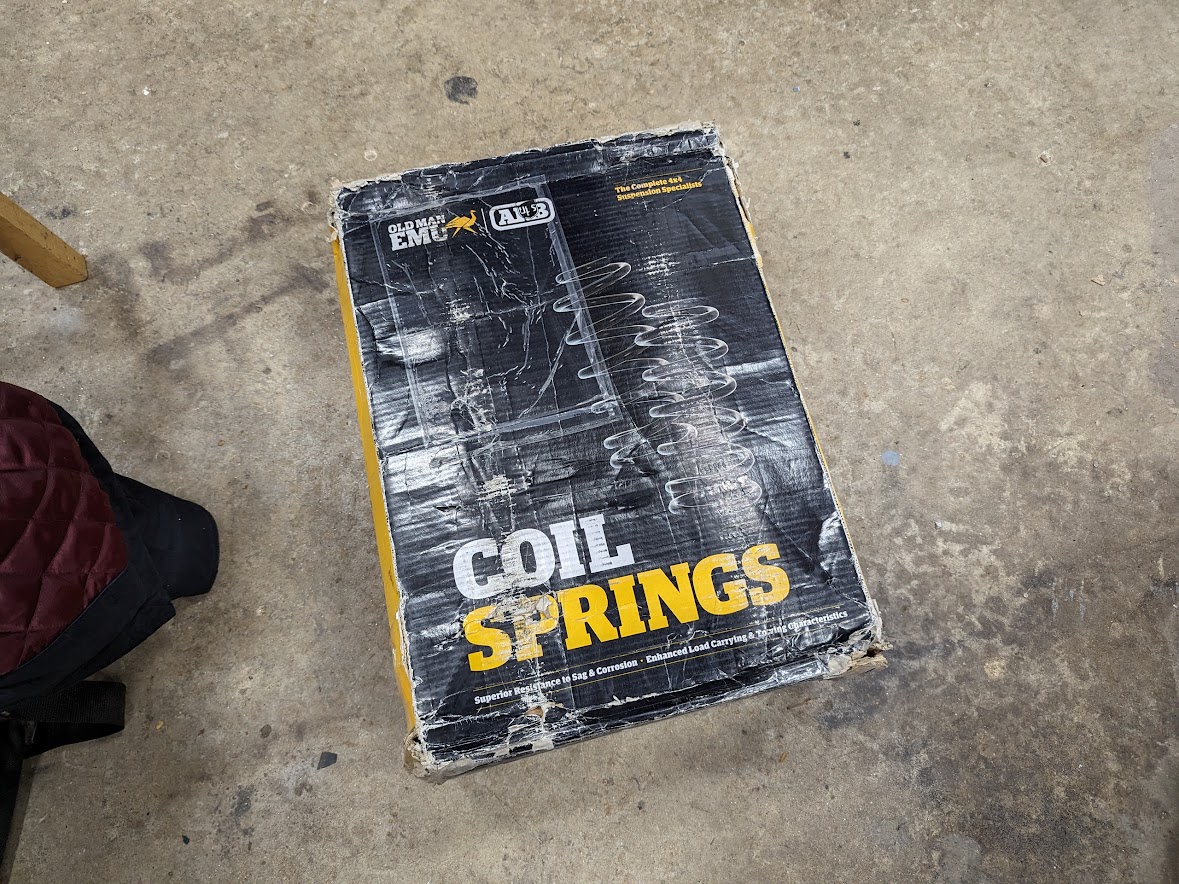
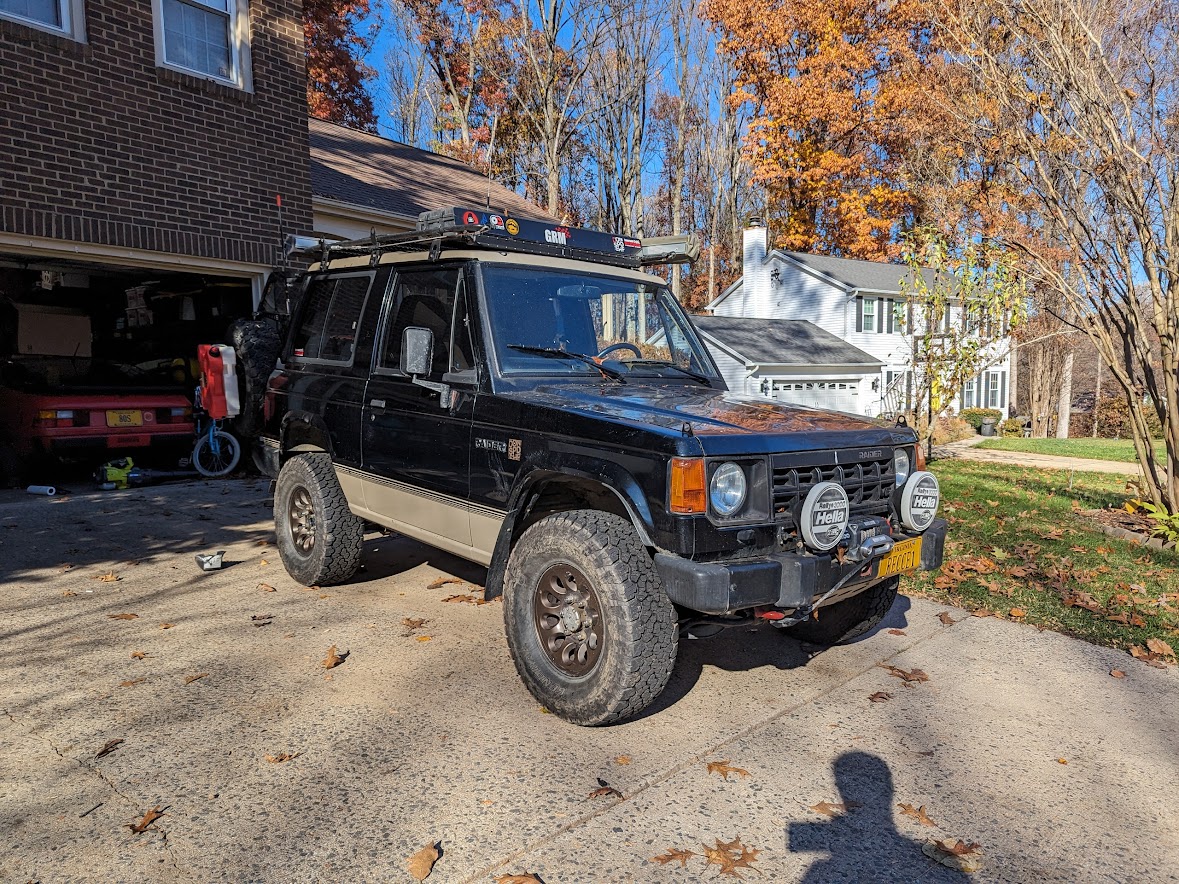
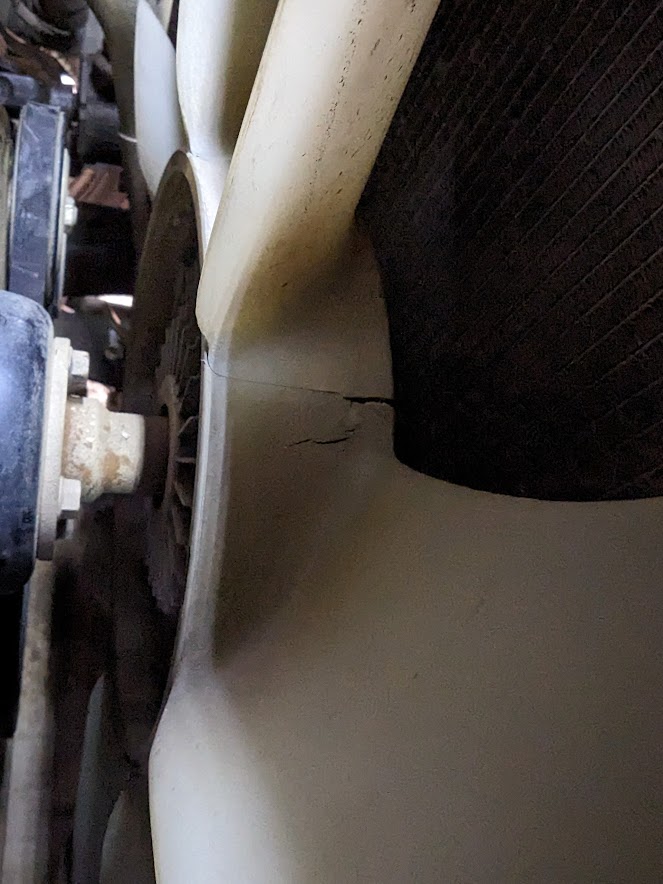
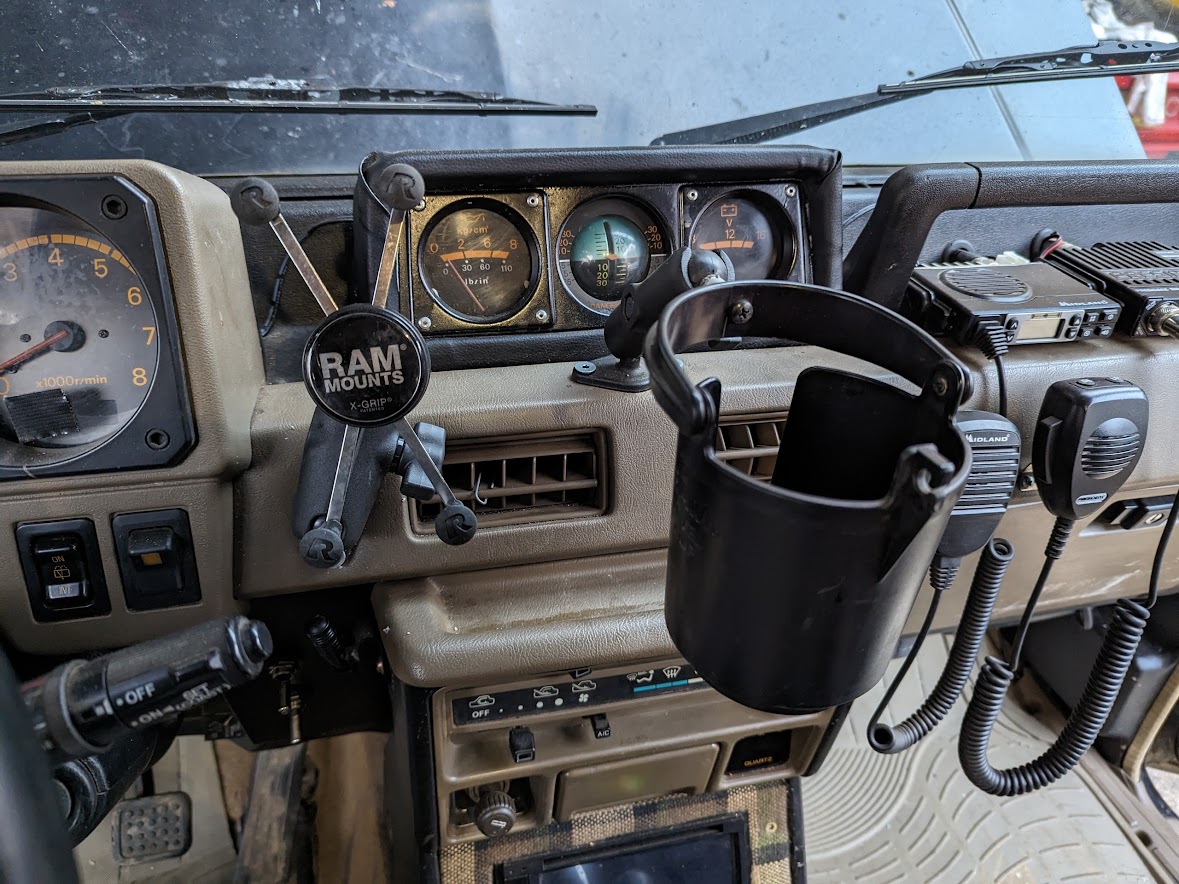
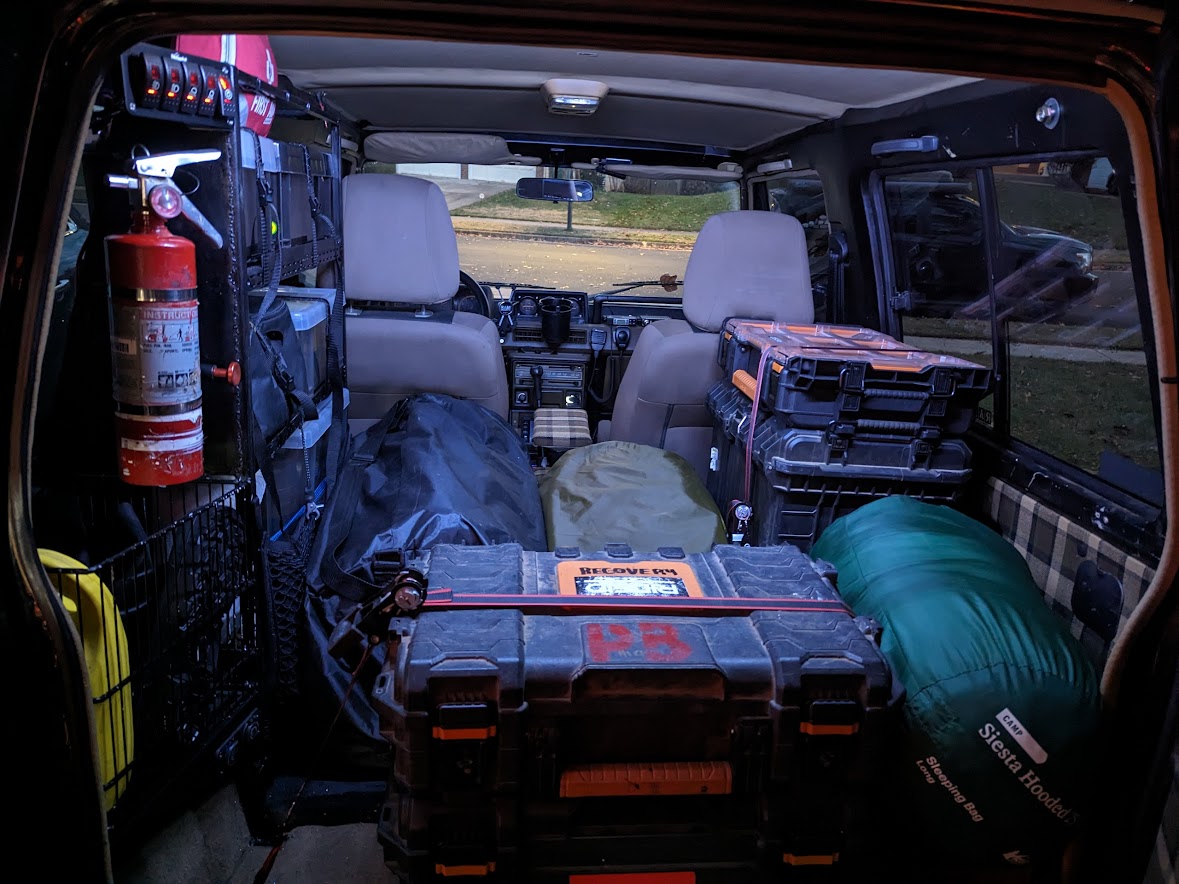
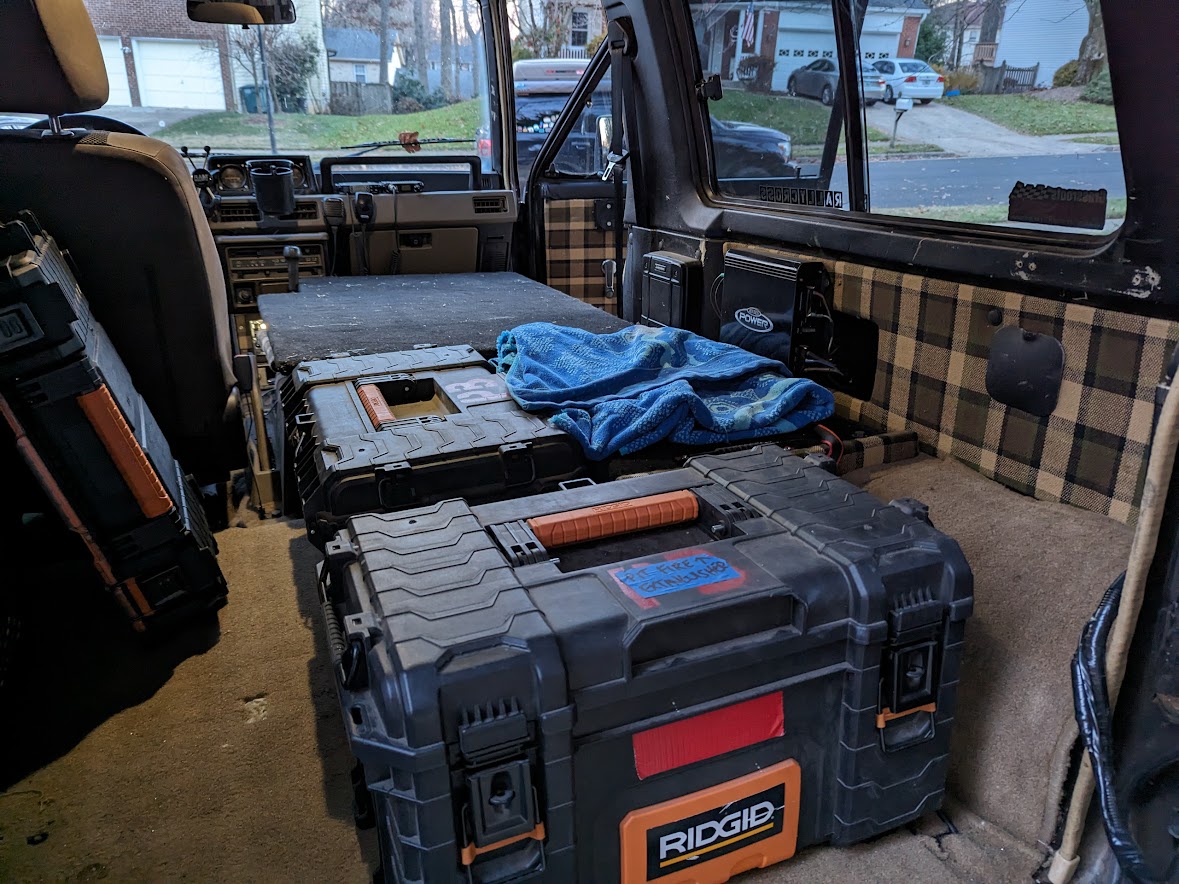
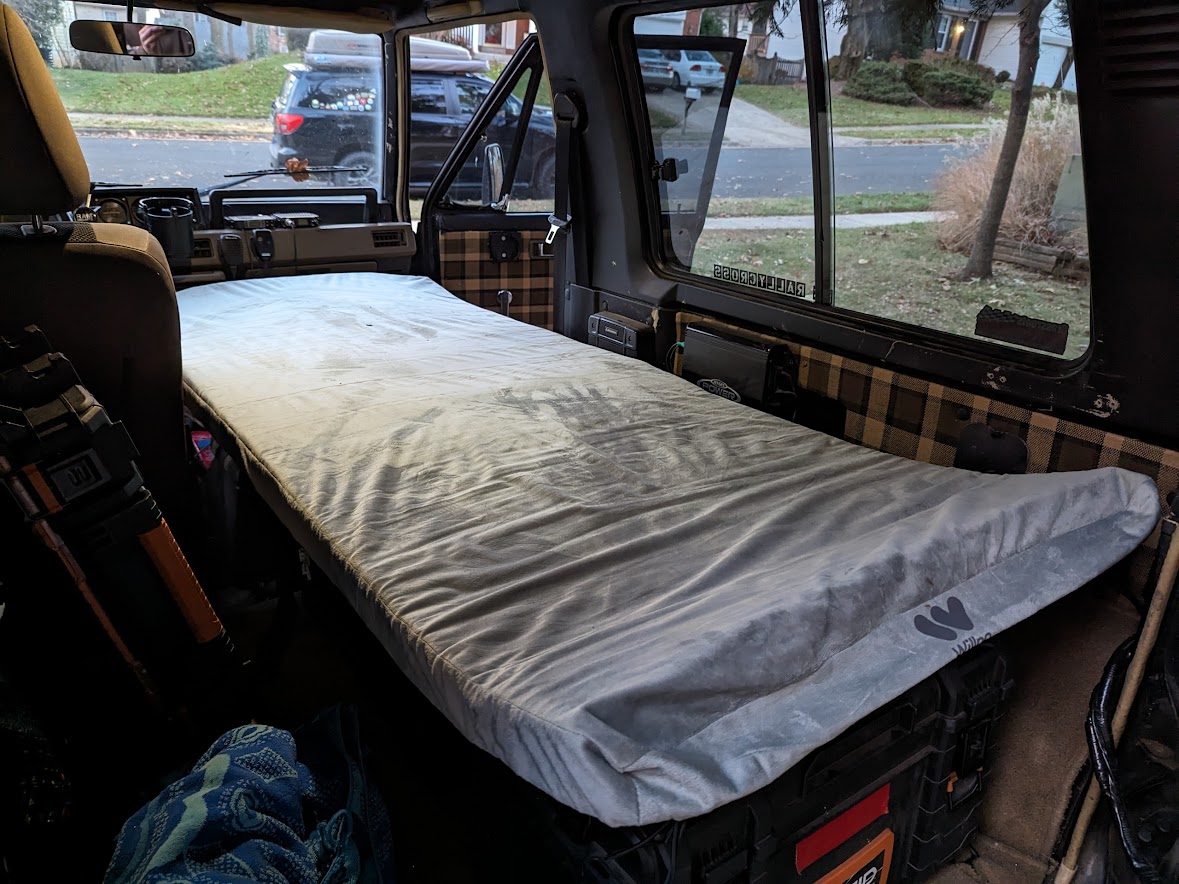
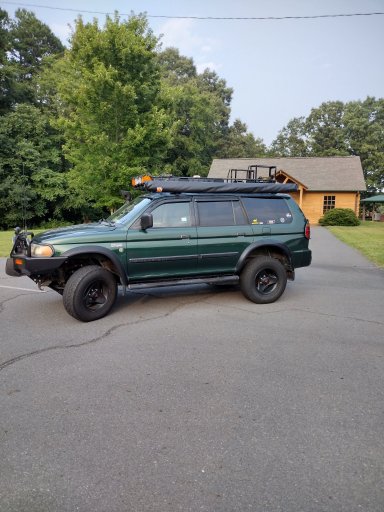
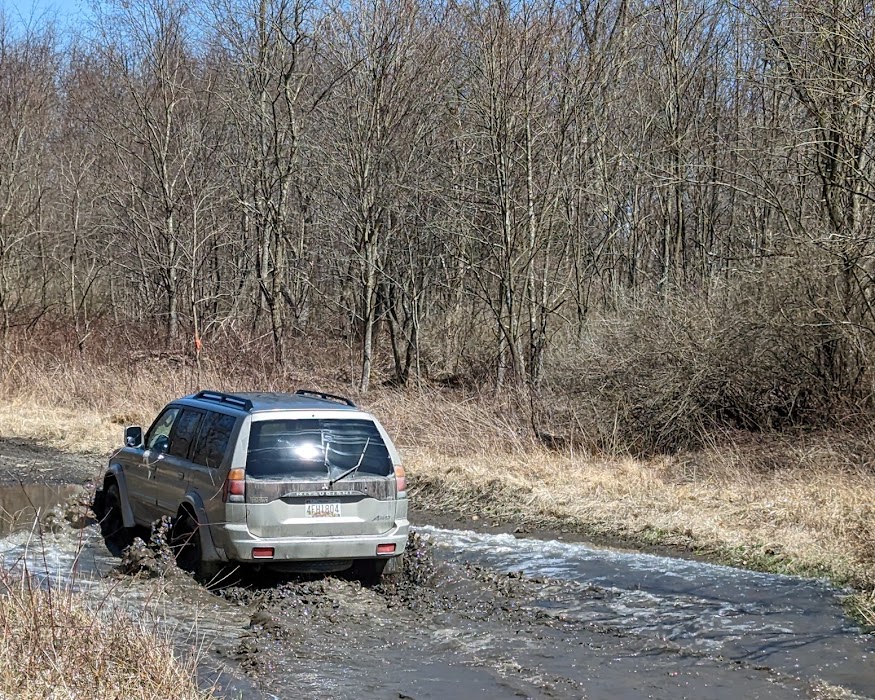
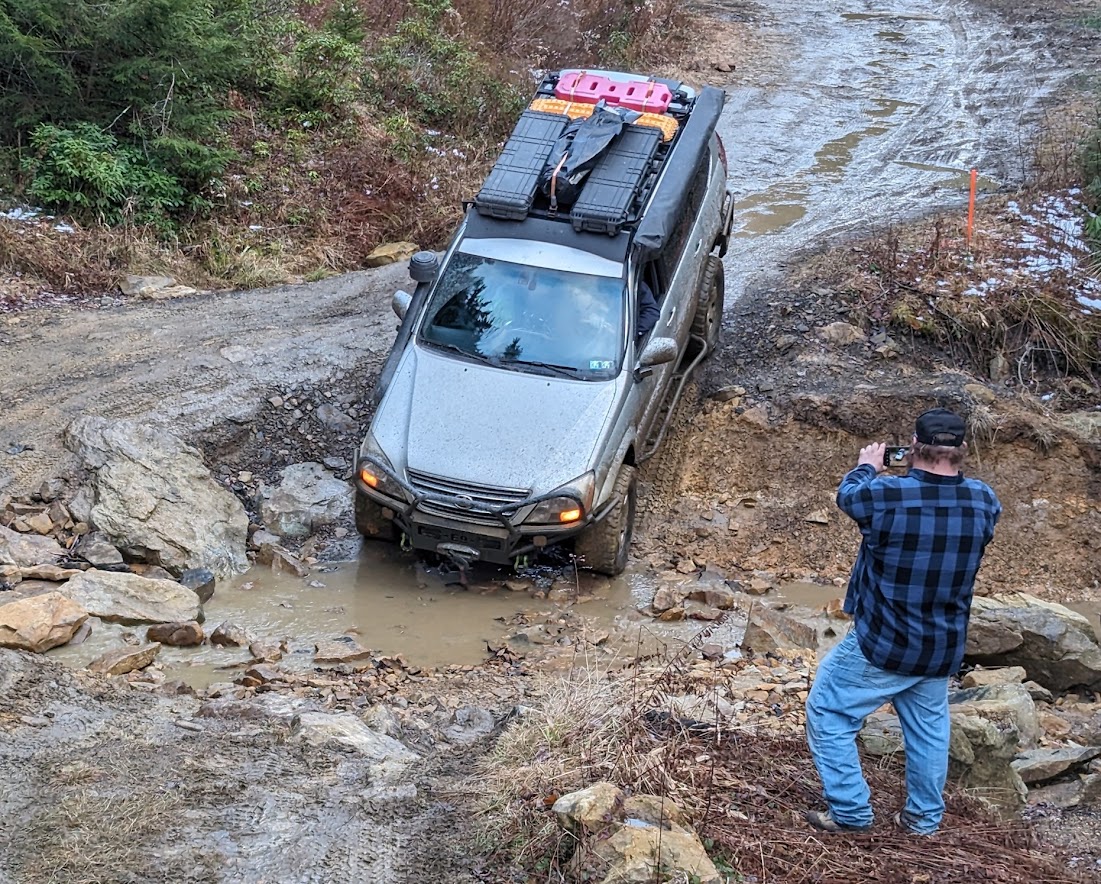
- Cliffs: I built it out of two Raiders, and the end-result is that it has zero rust anywhere, it has the factory offroad package (basically an LSD rear end), it has the 3.0L V6, it has a manual transmission. Basically, it's practically a unicorn with all of those things together in a short-wheelbase Montero. It's mostly stock mechanically, Bilstein 4600s and some bushings, and just has some armor and A/T 31s on it, plus a home-made roof rack and a good bit of interior customization (like WRX seats on the stock "suspensions bases").

Sequoia build, though ExPo forum doesn't really seem to work these days, IDK..: Pitchblack Motorsports - 2010 Sequoia rally support and light adventure rig
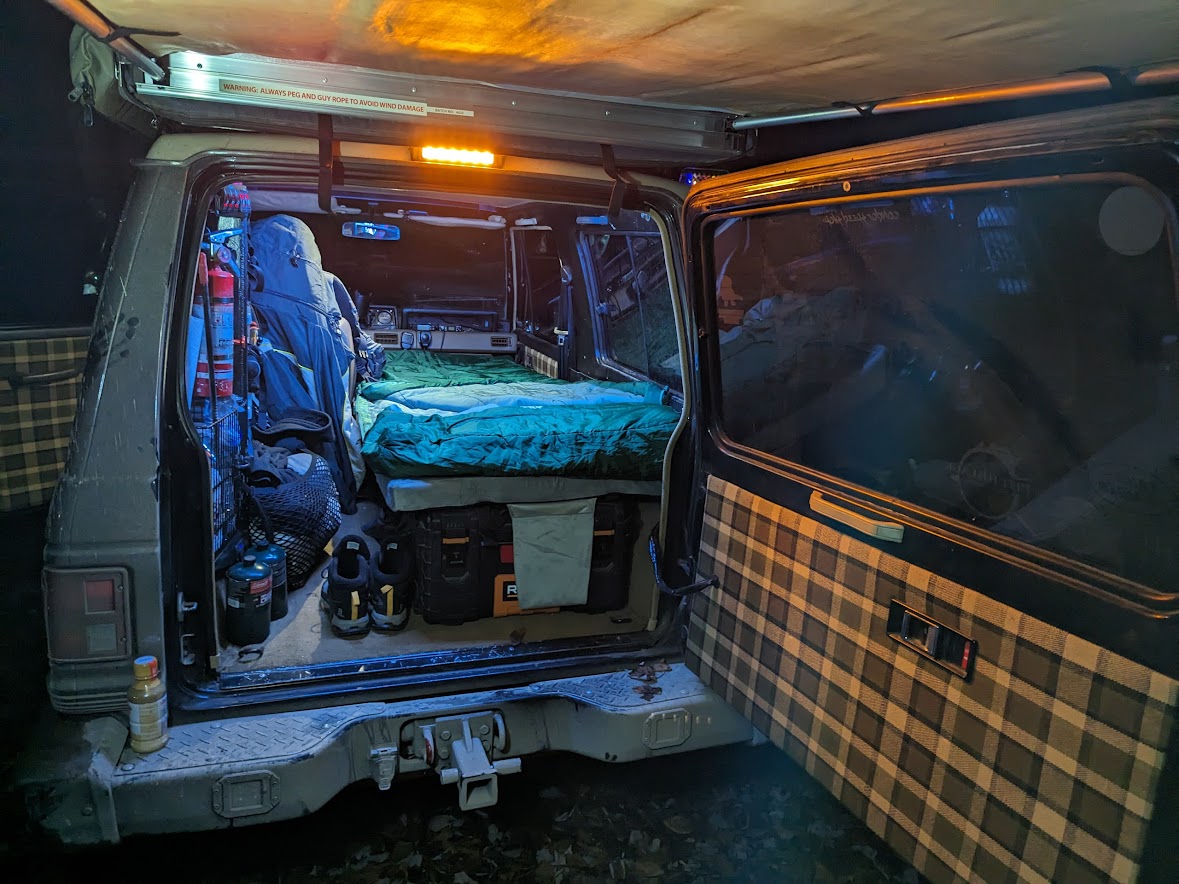
- Cliffs: Stock-ish mechanically + Lexus 18s and BFG ATs slightly larger than stock, home-built 8' rack, road shower, awnings, lights, the usual. Plus a 7' sleeping/storage platform and som eother interior functional upgrades.

Offroad pickup bed trailer build (scratch-built frame with Mighty Max bed to match the Raider): Mighy Max Rally Service/Adventure/Utility Trailer

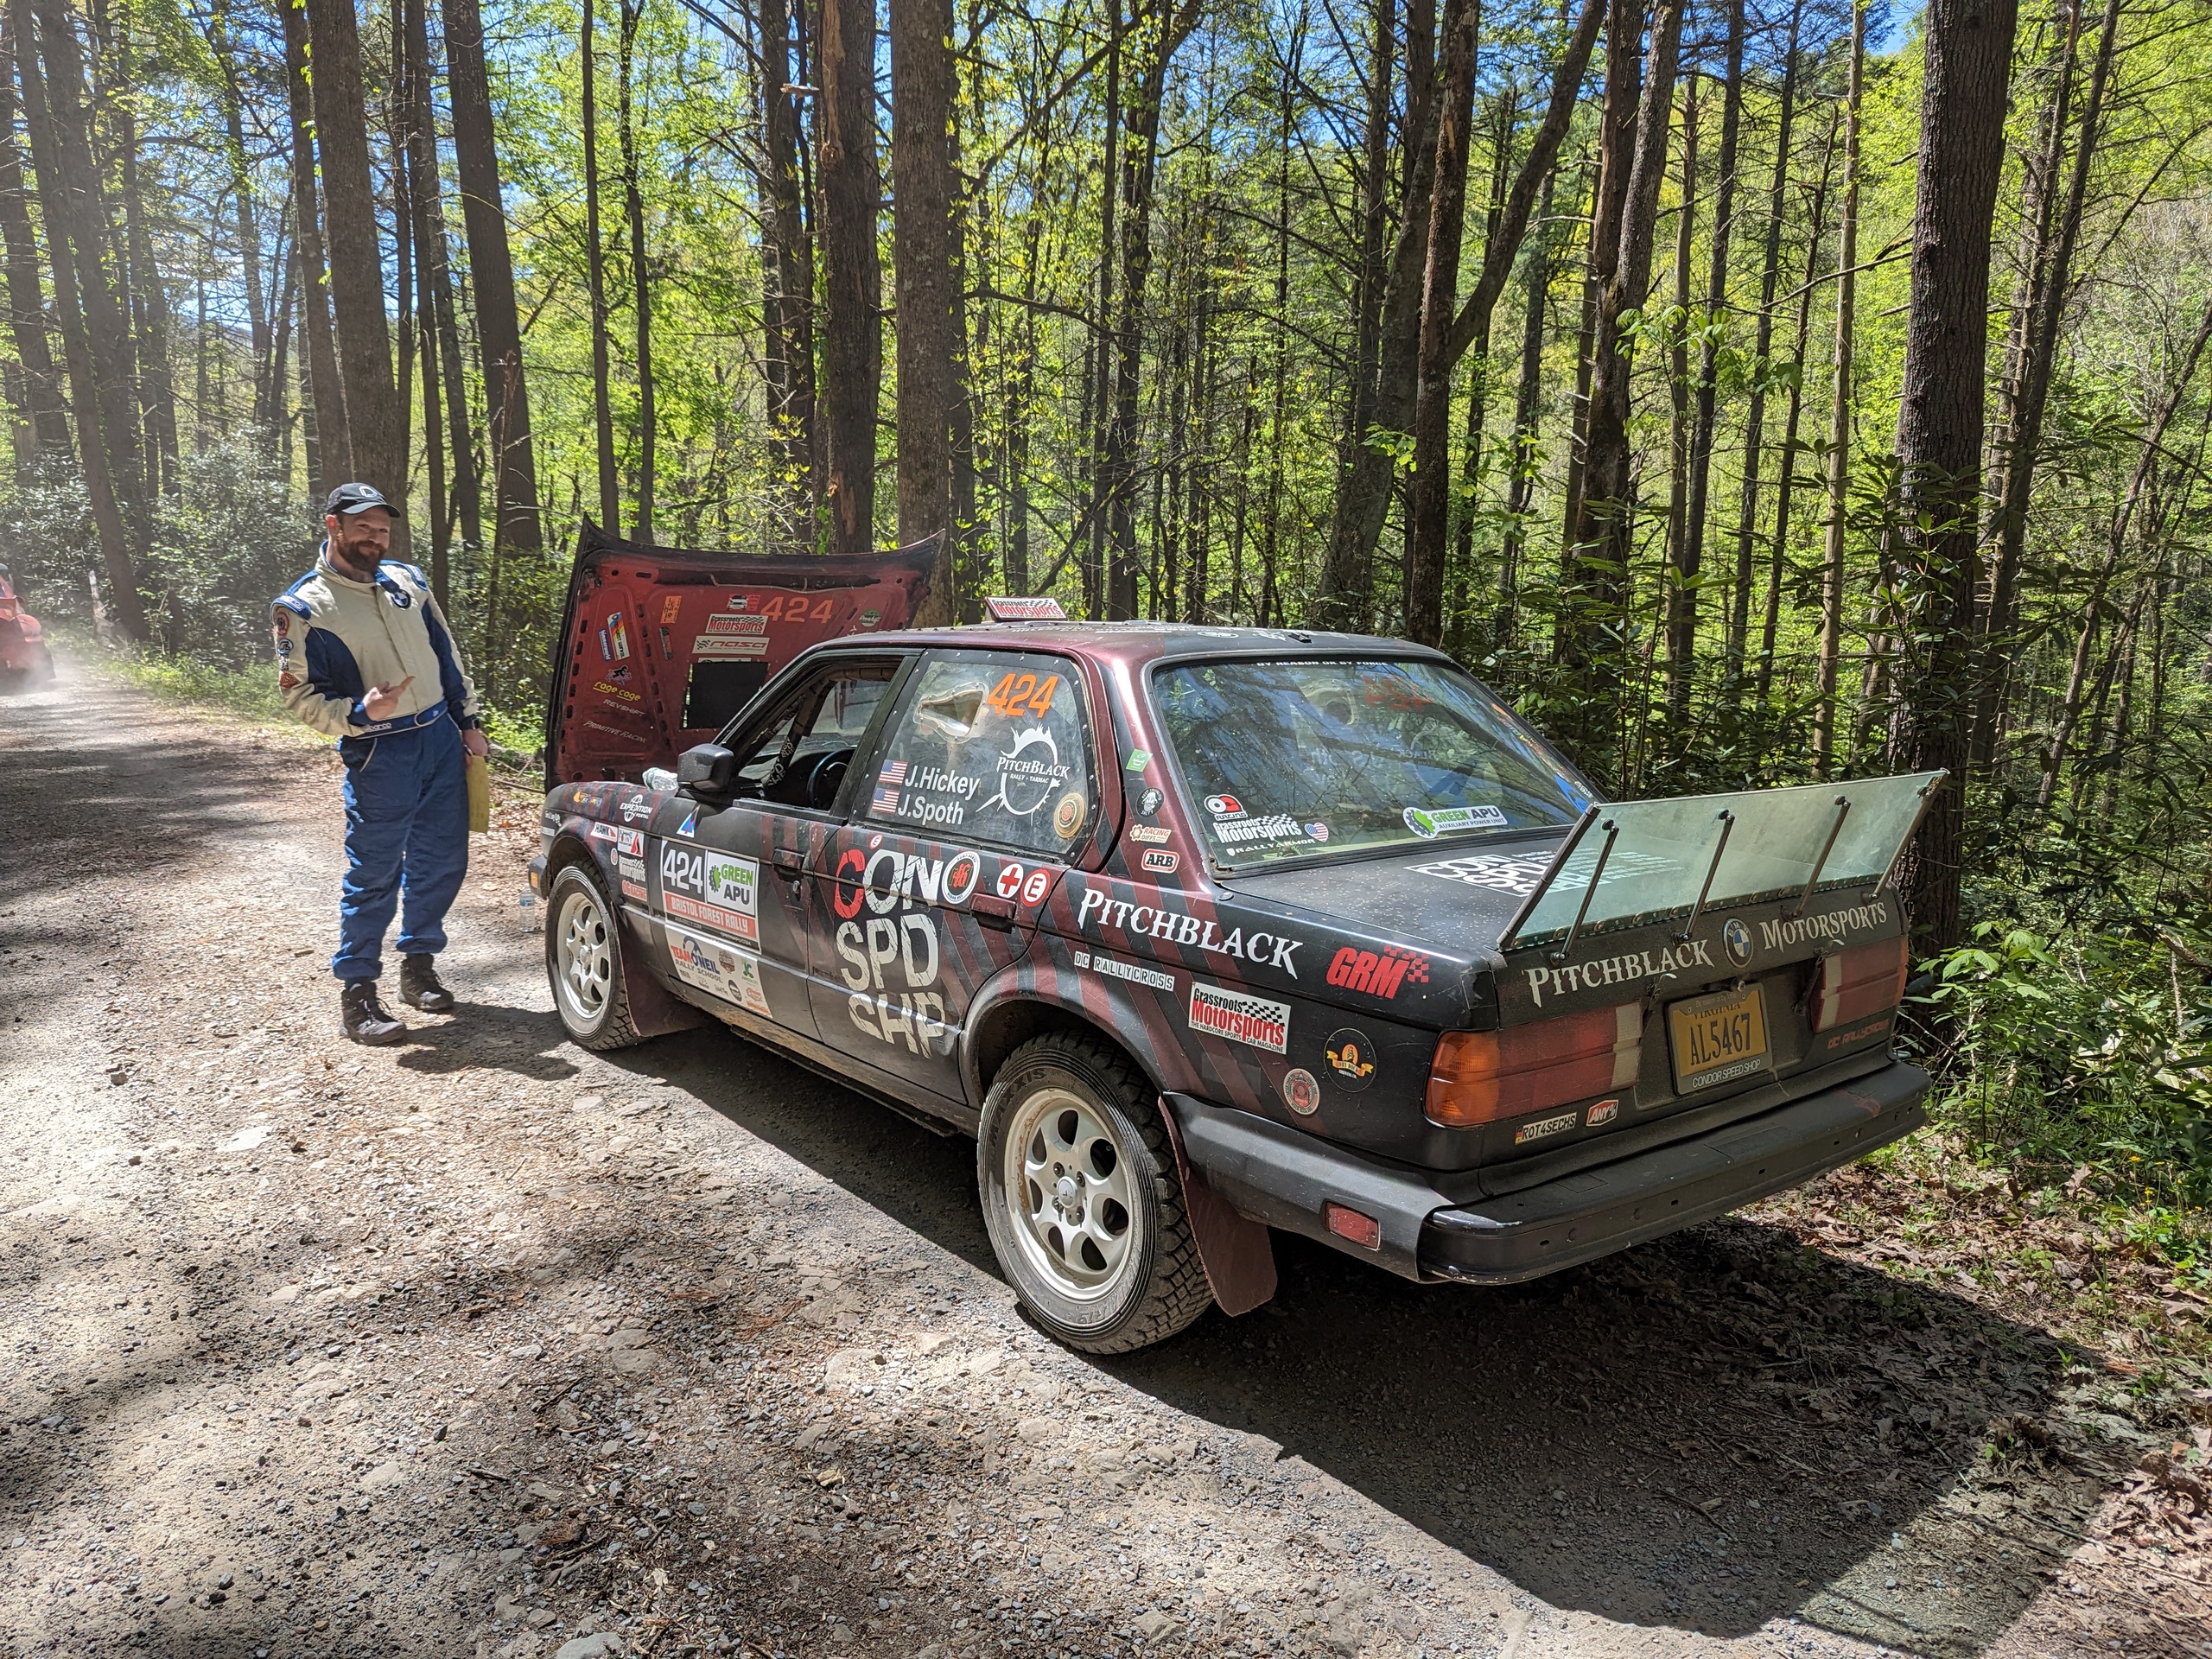
If you want to read about my 1985 BMW stage rally car build (and my 1988 Porsche 924S): BMW Rally Car + Porsche 924S Build + other projects
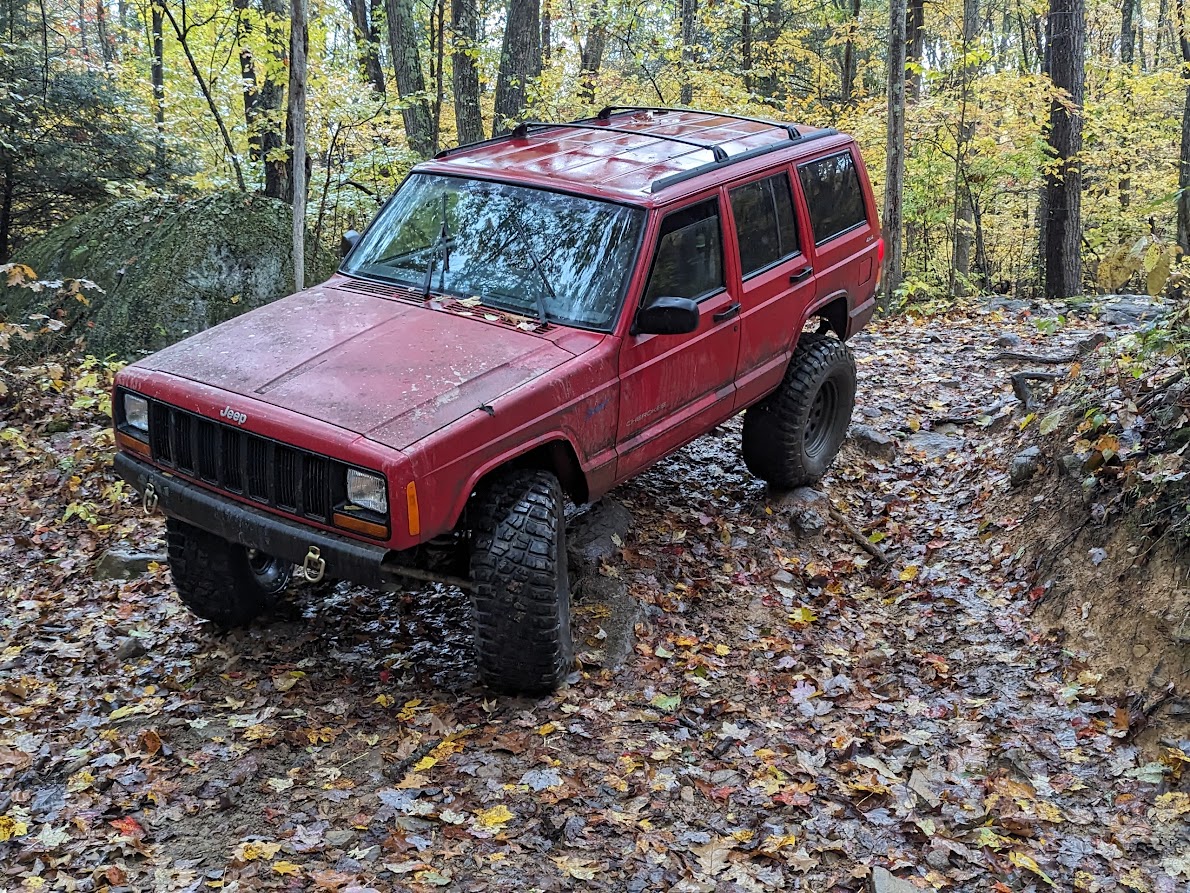
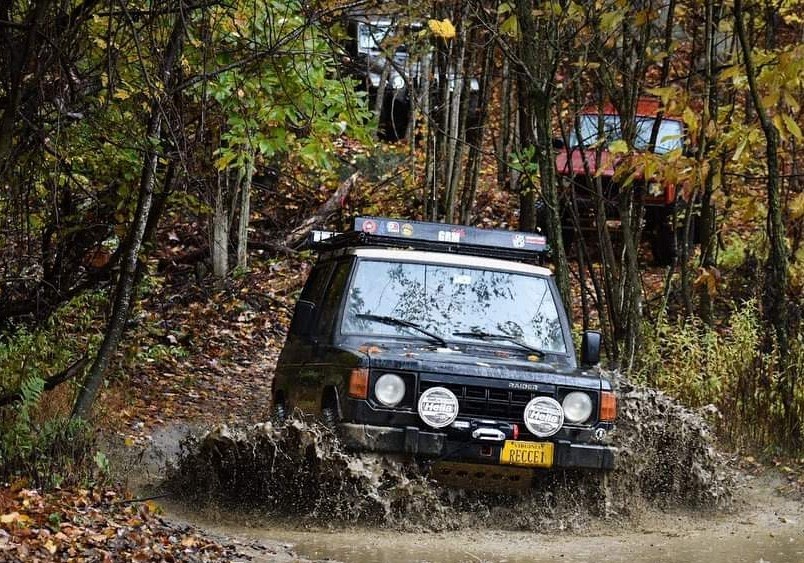
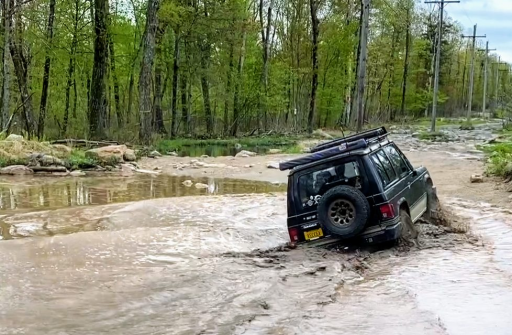
Here's the Raider:
1698461479789.png

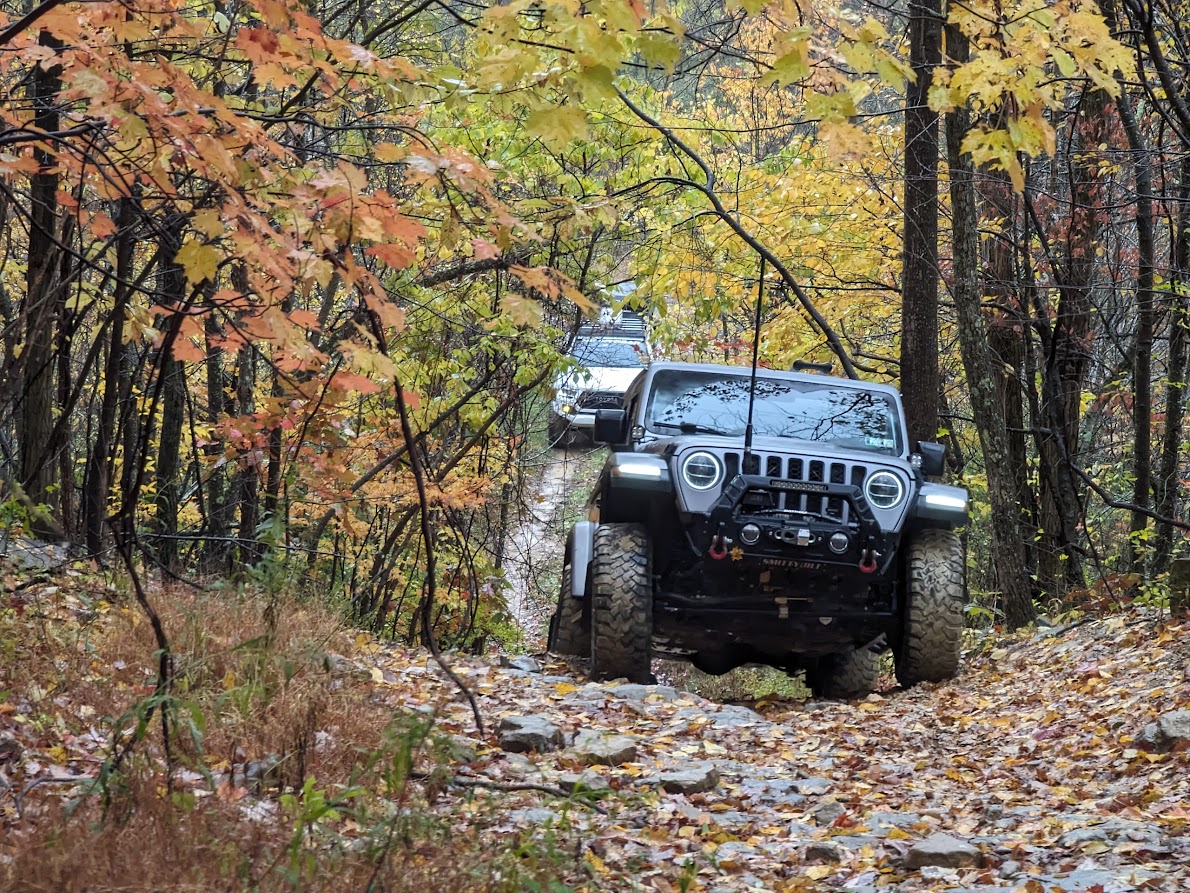
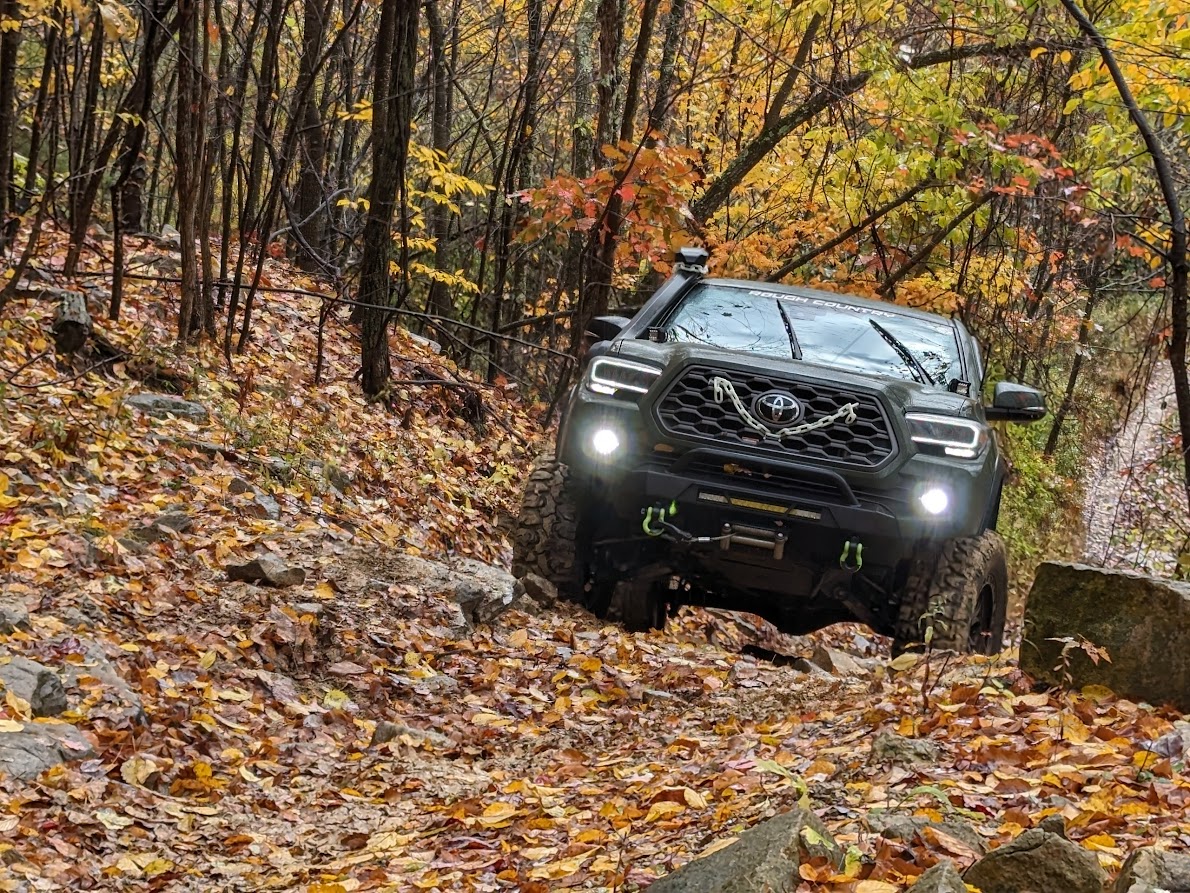
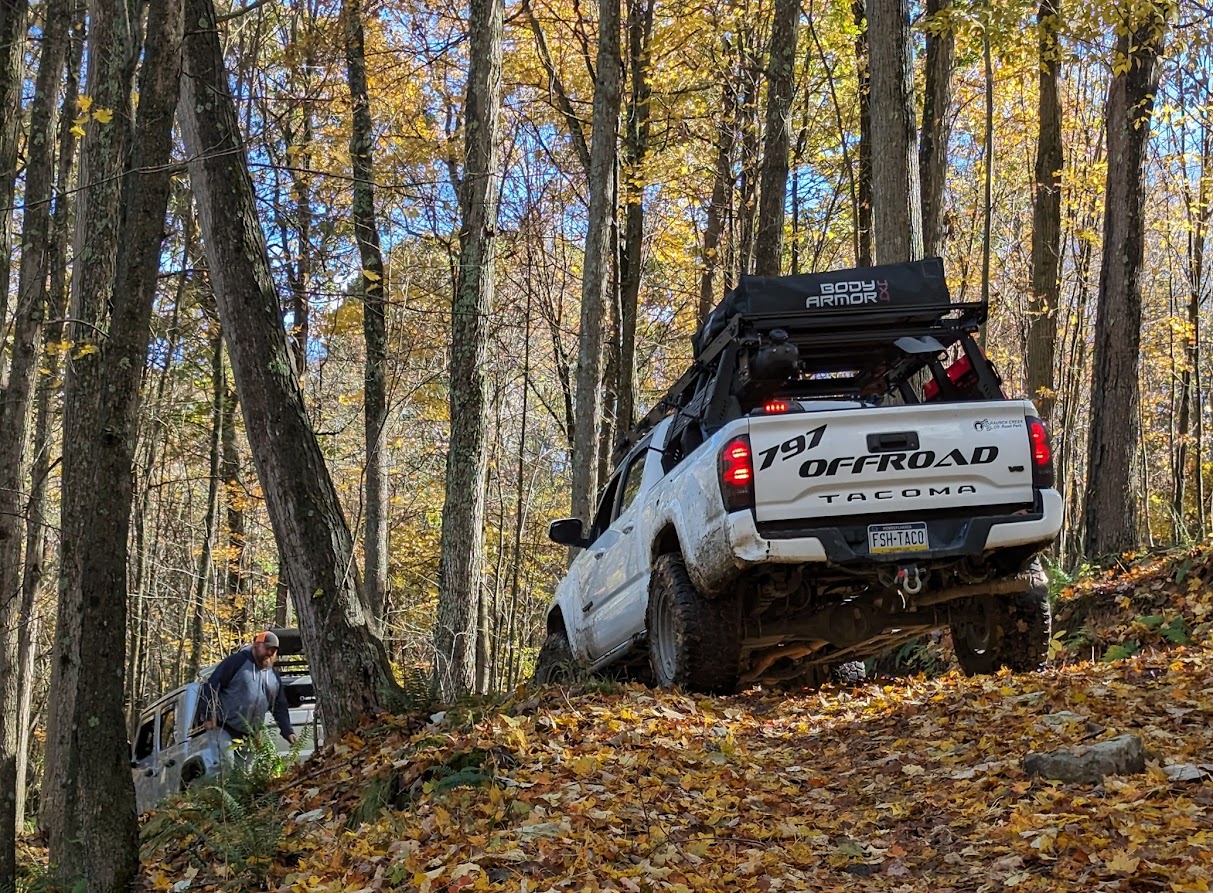
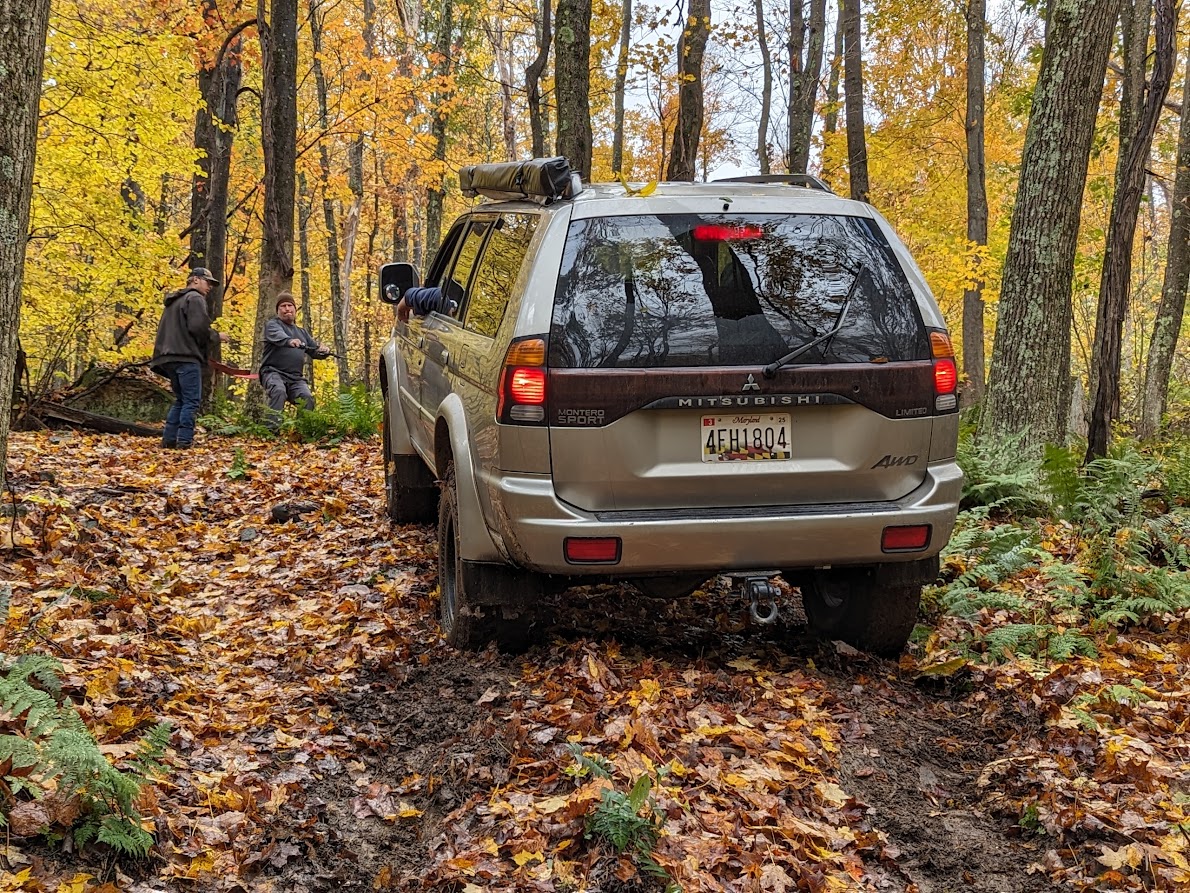
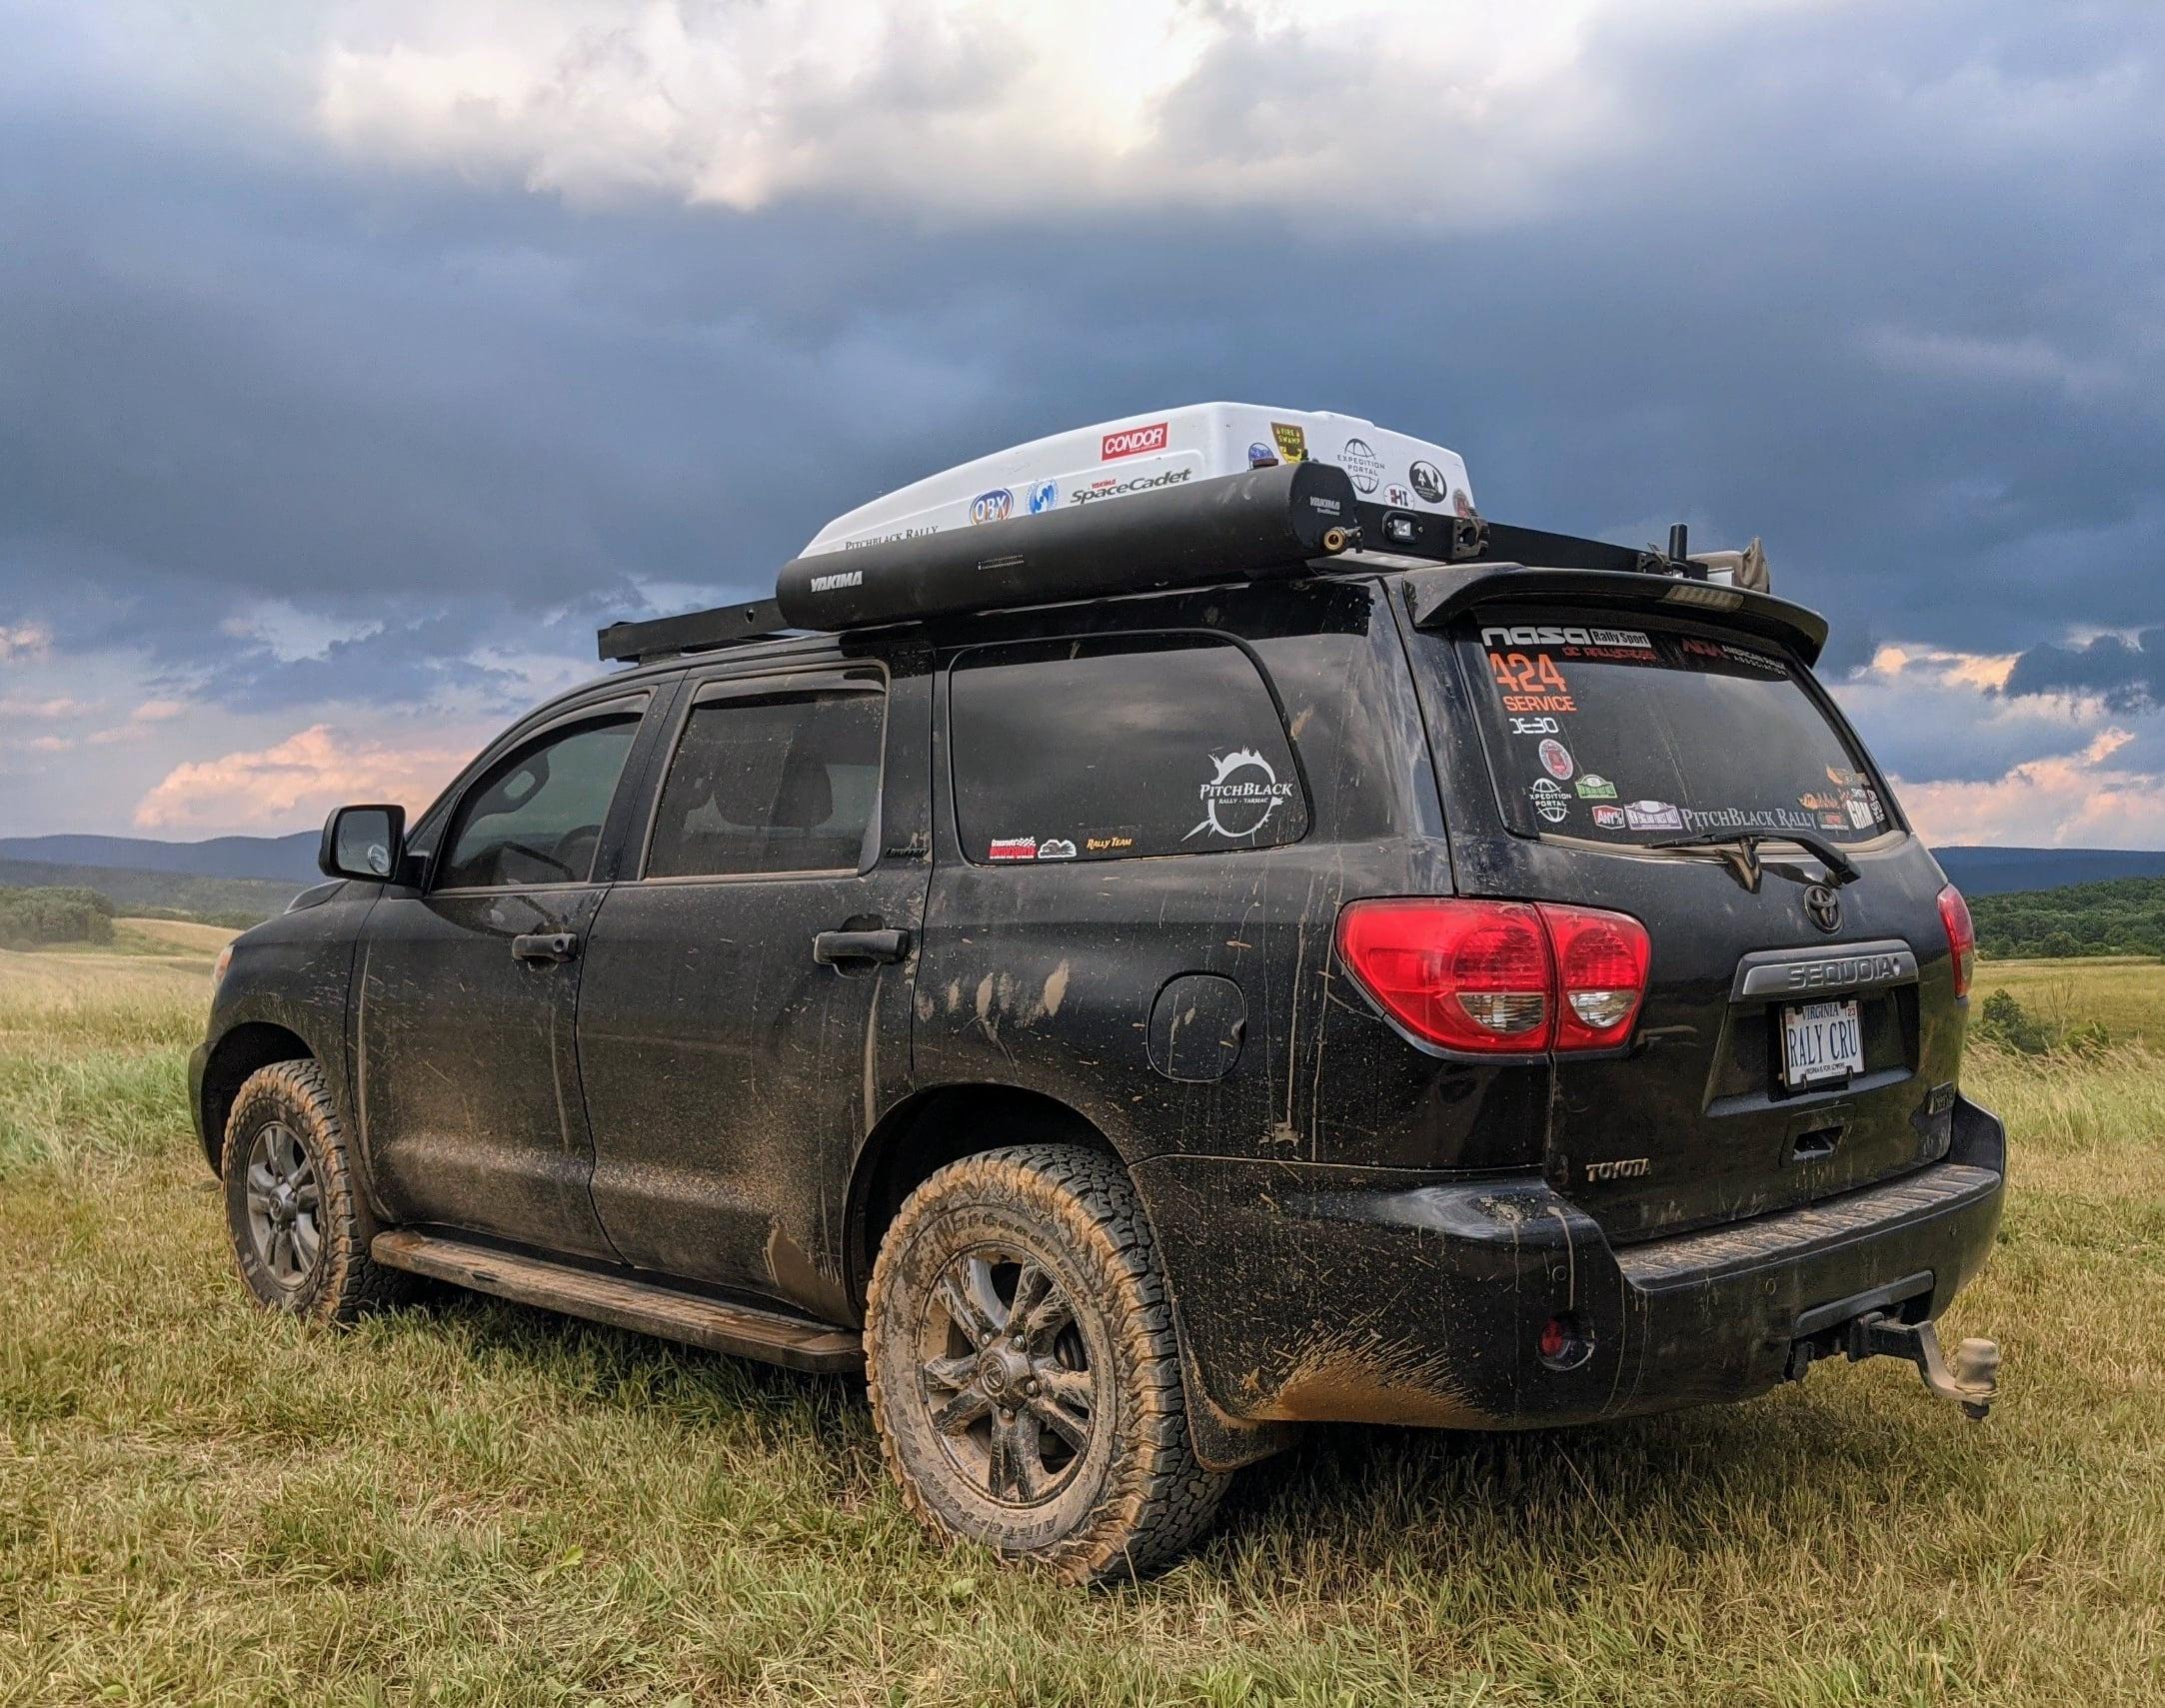
Here's the Sequoia, which is used for some camping and mild offroad stuff, but mostly for towing and recovery of my stage rally car and hauling gear


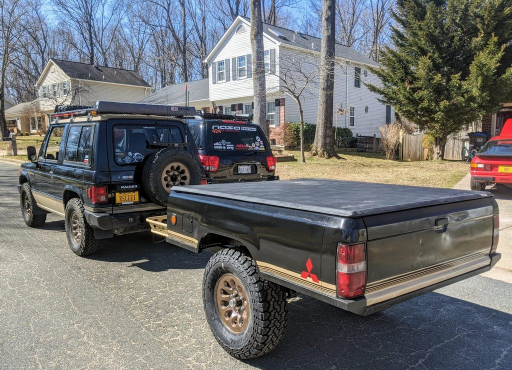
Here's the Trailer, with the Raider and my old Sequoia
1698461540107.png

oh, and the rally car, since it's offroad more often than most 4x4s.

 
Last edited:
  • Like
Reactions: genera_lee

irish44j

Rank II

Enthusiast III

443
Fairfax County, VA, USA
First Name
Joshua
Last Name
Hickey
So, jumping right into the present....last weekend's trip in the Raider.

Andy set up another run to Wolf Den Run, but this time the intent was to do some harder lines than our prior visit, and some freshly-cleared trails (and map them, sine they're not mapped yet). As it turned out, a couple days of rain would make for some interesting conditions. Also continuing my gearing up with the correct stuff for camping, as I learn more about what I need, what I can fit in the little truck, etc.

Headed up to western Maryland in the early morning to meet up - some of the guys camped the night before but I couldn't get up on Friday.


Upon arrival, it was clear this was a group of much better-equipped rigs than my previous rides with Andy - which were mostly near-stock 4x4s, while most of the attendees to this one were fairly heavily-built rigs with much more ground clearance, lots of lockers, more gear, and more weight than the little Raider, with several of them pretty heavily setup for long-duration overlanding type of stuff with full kitchens, RTTs. One of the TAco guys said his truck was around 6000 lbs....which is about what my Sequoia is! As it would turn out, the weight would hurt these guys in the slippery, steep trails we took.

RJ's triple-locked Gladiator was there, basically the guy who can get anywhere and get anyone else unstuck lol


A couple nice Tacos


Mike was there with his finally-working XJ, which proved to be pretty much unstoppable, and a big upgrade to his long-bed Tundra lol


Plus a few others, and Andy in the Monty Sport


All in all, Wolf Den Run has some rocky sections, but a lot of it is steep semi-rocky + clay-based dirt. WIth the rain, freshly-fallen leaves, and steep upgrades it was a challenge in some areas. Right at the start we decided to tackle a new trail marked green/blue, which was that way for a while, but then took a 90 degree turn up a very steep hill that was basically untracked. To make it more fun, directly below the hill was a long drop into a valley and teh main road below. Sketchy.

Andy gave it a shot first, and made it about 1/4 of the way up before losing all traction and slowly sliding backwards. We quickly hooked up a strap to a tree while he set up a winch spot. Then 15 minutes later he was winched up to the top.


I decided to give it a go, hoping my light weight and LSD would help me get up there. No such luck, didn't even make it as far as Andy. Initially started winching up with my little 5500lb guy, moving up slowly...


by then, RJ had found a way around and ended up at the top and we all figured it would go quicker to use his big-boy winch with a snatch block to drag me up there....you can kinda see how steep it is here, but it was a LOT steeper than it looks, especially with zero traction.


So if one were to slide back down, it would be to end up down in that road way down there, over a near-vertical drop....


The reast of the group didn't even bother, and took the bypass, and we continued on. About an hour later, we reached a trail previously used by UTVs only (mostly hunters) but now open for full-size vehicles. It was a long uphill (maybe 1/8 mile by my estimates, with a bunch of tight turns and a few narrow spots between trees and large rocks that the small rigs could threat through but the bigger guys would have crawl a bit. Everyone was a bit tentative about it. RJ headed up, triple-locked, and made it up a few minutes later. Andy went next and made it up too. I took off and carried good speed, acting more like the rally driver I am and apart from a few especially steep areas managed to keep traction and get to the top. Then the shitshow began. The white Taco did not hit it very hard and instead was double-locked and trying to take it slower (in order to avoid the tree on the left, I assume). That wasn't the way.....about 10% of the way up he got stuck and then proceeded to mud-pit the entire area sliding back and forth going noplace. Traction boards didn't help...

(again, this was pretty steep, looks flat in photos lol)


Then RJ backed down a ways to a flat-ish area and we linked a bunch of tow straps together and RJ slowly dragged the Taco most of the way up the hill....this took about an hour...


Next up was the Tundra, who got stuck in the same place and spent a lot of time spinning tires to try to dig (and eventually found some rocks and tire smoke lol). He eventually made it past that spot and up to the top


The other Taco with M/Ts carried speed and made it up no problem, as did Mike's XJ, which made it look easy with its huge MTs and light weight.


From there we hit some scenic spots and ate some lunch


----

After the day was over we headed 30 minutes up the road to the camping spots, started a fire, got a lot of shelters and awnings up, and had some dinner and hung out.


Set up my little camp


It rained overnight, but the tent (REI) was leak free and I more or less placed it well for the little awning to give me a good entryway. All in all, still need to refine my list of gear, especially for cooking, but I'm getting there. I know my parents got me something useful for Christmas already, and if you've followed my Sequoia thread, it's the 6-foot version of what I just put on that ;)

On the way home, checked out a very-low reservoir. Can't see it well here, but there was a big Chevy 4x4 stuck in the deep mud at the bottom (or at least it looked so). I didn't see anyone around and my little rig probably couldn't have helped anyhow, so didn't go too far down for fear of the same mud lol...


So, lessons from this trip:

- I definitely need a bit more suspension rate, and height. I was hitting things nobody else was (not a surprise with this group), though the little Raider is still able to go around obstacles if needed. In any case, as I put more stuff into this Raider, I plan to upgrade the torsion bars and springs over the winter to improve things and give me a bit of height. Nothing drastic though.

- Slowly accruing camp gear. I pay close attention to what the experienced guys pull out of their rigs for dinner, sleeping, comfort, etc and jot down notes on what things to look into, or how they arrange things, etc. I have some ideas for improving the Raider in terms of storing stuff rather than just having everything in huge bins in the back....

- For the types of trails we go to most often, M/Ts are probably preferable to A/Ts. Something to think about down the road whenever I replace tires.

- The Raider continues to be impressively capable, going places pretty easily that a lot of high-dollar rigs with us were struggling with. Part of that is because it's small and can pick better lines, of course. But all in all still pretty happy with its capabilities in regular trail stuff (though the lack of flex/clearance makes really large rocky areas much more difficult.

 
Last edited:

ZombieCat

Rank V
Member
Investor

Advocate I

1,421
Maryland
First Name
Adventure
Last Name
Awaits!
Member #

8736

Excellent write up and beautiful pictures! Thank you for sharing your adventures. The fall colors in both Maryland and Virginia are amazing this year. We hiked Old Rag (Shenandoah National Park) a few days ago and the views were spectacular.
 

irish44j

Rank II

Enthusiast III

443
Fairfax County, VA, USA
First Name
Joshua
Last Name
Hickey
With my parents in the middle of a major house move, they jumped the gun and did Christmas (and my birthday, if 47-year olds still get birthdays) early. I had told them how much I liked the ARB Room on the Sequoia, so they took advantage of a Halloween sale at Ironman and picked up a closeout on their 6.5' awning + room combo, which is basically a clone of the ARB setup (they must have some kind of deal, because both are from Australia and most of the components are literally identical....or there's no patents there haha). In any case, it arrived the other day...I stashed it in the garage with the intent to install later, but you all know I can never wait to do projects...


First I had to make some mount brackets. The awning came with beefy L-brackets, but the upside ot having a home-built rack is you can just weld more stuff directly to it, makes life easier. I'll mention here that I really like that Ironman not only sends all the requisite tiedowns, stakes, and nice stainless hardware, but they also throw in a 10mm ratcheting wrench. Not that I don't have several of those, but it's a nice touch and you can never have too many


So, got out the tools and chopped some brackets to weld onto the rack, out of some scrap pieces I had sitting around.


Since they have to go where my driver's side tiedown points are, I chopped those off the rack and re-welded them onto these mount brackets, angled so they'd have better bolt access.


Then welded them on, making sure to align stuff correctly, and bolted the awning up. It's a bit longer than the truck's cabin, but doesn't reach much beyond my front-riggers for the branch risers anyhow. Will be nice to have full-coverage of the entire passenger compartment side when the awning's out, including the driver's door and sliding window


I'm keeping the little rear awning on as well. I figure if I'm camping I can use the Room (which I didn't set up for pics, sorry) or my tent for sleeping using the main awning, and the little awning provides a dry/covred area over the rear door for making food, or whatever.


--

Meanwhile, been thinking about storage for camping stuff. I dislike just having everything in giant bins and would like the ability to "rack" some smaller containters with different types of stuff, whether that be tent/awning tiedown stuff, all my coffee stuff, food, or various other things. So let's built a side-rack over the driver's side rear wheelarch. This is a fully scrap-metal build, since it's more fun than just spending $200 on a bunch of overpriced metal. Luckily, I have a good amount of scrap stuff, plus a bunch of old closet shelving wall support brackets, which are pretty nice for this kind of stuff. The idea with this rack is to fit various standard containers (i.e. stuff I can buy at Home Depot or Walmart), plus a couple gallon jugs (oil/coolant) and other stuff. So everything is designed/measured to accommodate those specific sizes.

Also it has to bolt-in, so all mount points are existing OEM bolt holes (rear seatbelt, old rear seat slider bolts, etc.). I want to be able to remove it in 2 minutes if I need more space for some reason.

Anyhow, here's what I got done today. The outer frame. I'll add shelves that go back toward the window side, plus a rear section that will be angled. But the main frame was most important to get welded up and secured first.


As noted, each leg is bolted to OEM floor bolts, and up top there are brackets tying into the rear upper seatbelt bolt, and the two screws that hold the OEM rear grab handles on (now replaced with a metal bracket). AL\ll in all, feels very secure and unlikely to go anyplace.


So, more on that once I have time to get some more progress done.
 

irish44j

Rank II

Enthusiast III

443
Fairfax County, VA, USA
First Name
Joshua
Last Name
Hickey
Ok, now to finish up the rack. So a few things first:

1. I figured out exactly what kind of containers I want to use. I had initially planned to just use the stuff from walmart, but since I need to strap things down, those tend to be somewhat flexible. In my garage I have a number of a brand called "Really Great Container" that I keep small tools and stuff in. Got them from a garage sale years ago and they have external ribbing and are pretty beefy. After a quick look, it turns out they sell about 10 sizes of them at Staples/Office Depot so i ran down there and picked up a couple others in bigger sizes than the smaller ones I had. These are part of the plan, and I built the shelves specifically for them.
2. 100% of what I built metal-wise is from scrap stuff I had sitting around (so, cost =$0). I used wall brackets for garage shelving. I used some steel square tube. I used some round tube pieces that I kept from a broken pet terrarium thing that we had (6 of them @ 16" long each were really useful), and I used various cut-up pieces of closet wire shelving after experimenting on which directions to mount them for best strength.
3. I ran out of Argon right after the last post, and since I can't get any on a 3-day holiday weekend I did the rest of it with fluxcore, which is definitely not as pretty but does have the advantage of being able to not prep stuff as well (especially the coated closet shelving pieces, which are hard to wire-wheel to bare metal in some places.

It rained on Friday and with the garage chock-full I had to create my own working space....


So anyhow, here's what I knocked together on Friday. Looks like a junky garage shelf, basically.


But, looks a lot better after 2 coats of paint + a coat of truck bedliner.


And here's what it looks like installed (with fire extinguisher mount added, which used to be in a less convenient place)


On the left there I basically used wire shelves sideways to make a "gear basket" of sorts. I figure it'll just hold a jug of oil, or my mud boots, or whatever other dirty crap I want to throw in there...


Heres with the boxes fitted. I have some semi-stretch camlock straps I got off amazon that will be fore strapping everything down, not pictured...


On the backside the boxes are kind of locked into position by these little posts that go inside the "ribs" of the boxes. Photo through the side window from the outside:


I also had a grocery net sitting around from my GTI so that seems like it could be useful for little stuff, jackets, etc...I'll have to put some small tiedown loops in better locations, but this is the general idea:


So here's a full view of my cargo setup at the moment (fish-eye makes it look roomier than it is, lol). The boxes on the right are tools, jack, spare parts. I also have a recovery gear box that isn't pictured but it just straps to the floor at the moment....


So that's the setup. I have some smaller accessories, lighting, electrical, and......suspension.....stuff coming up next (suspension maybe not til later in the winter, tbd.).

I also just gave my wife a short list of various camp/cooking items that I'd like to have, but don't yet, since Chrismas and my birthday are coming up.
 

irish44j

Rank II

Enthusiast III

443
Fairfax County, VA, USA
First Name
Joshua
Last Name
Hickey
On to some accessorizing, or really just adding stuff I've had on the list since the last time night camping: electrical.

First, when camping out of the back its inconvenient to not have USB power for my phone, etc. So ran some wire, drilled some holes in the lower bracket of the new shelf rack thing, and now I do.... (no real need to add screws but I will eventually...)


Another issues was lighting. unlike the Sequoia, this rig doesn't have much in exterior lighting, and the interior lighting is circa 1985 or so brightness, so, not bright. I'm adding a few things to address those and the first are some outside lighting for the near-vehicle camping area. I decided to go with some aluminum RV-style lights that shine downward and hopefully won't be as blinding as the big floods on the Sequoia. These are off Amazon for $20 each or so and are pretty good quality, plus they have both a bright white flood setting and a dimmer yellow "mood" lighting, which is nice.

They're flushmount, not brackets, so drilling some more holes in the roof.....the wires are underneath the light mount, so no visible wiring outside. This was a bit more work than I thought since the Raider has a triple-layer skin on this part of the roof. I didn't have long enough M4 bolts to get through so for the moment just using some screws with backing plates. Will fix that in the near future.


And mounted


I don't have the switches and wiring set up yet, but jumped off some 12v to see how the lighting is. The white is indeed bright and will be good for setting up at night, etc.


And the amber is sufficiently dim that it won't cause too much light pollution at campsites, but will be enough to keep me from running into stuff in the dark.


I'm going to mount a second one of these over the rear door so I have lighting under both awnings, and will also put in some better interior lighting later this week...
 
  • Like
Reactions: Dougnuts

irish44j

Rank II

Enthusiast III

443
Fairfax County, VA, USA
First Name
Joshua
Last Name
Hickey
Got some switches off Amazon and made a bracket up. So all my camping and interior lights can be controlled from the back and avoid having to go into the cab to do it..

Didn't take any great pics of the bracket or whatever, but it was just an old steel shelf that used to hold ski boots (got a bunch of those from the ski shop I work at).


  • Like
Reactions: OG_Zuninja

irish44j

Rank II

Enthusiast III

443
Fairfax County, VA, USA
First Name
Joshua
Last Name
Hickey
Just to finish up that project, did the rest of the wiring tonight, and hid it all better. In addition, I added a second yellow/white flood over the rear door, which will be nice for camping and loading/unloading stuff at night. So now I have two...


Incidentally, I noted once again that the roof edge on these things is triple-skinned with a lot of profile. Seems to be the roof structure is pretty stout in case of a rollover etc. It does make for some needed creativity when drilling through, since the skins are at different angles internally, with airspace between some, making it hard to drill straight through.

I also wired up a couple cheap LED light strips over the back door inside, since the OEM cabin light isn't very bright and also doesn't really light up the back. It's also not activated by the back door opening so you have to climb in and flip the switch, which is annoying if you're loaded up.

up top....


--
UPS also brought me some "used in good condition" OME springs off some Amazon seller. The box looked like I went through WW2 on the way here...


Look like someone ran them for a very short time, since the part tags are still attached. But they were about 30% cheaper than new ones, and just have some scratches and scuffs.


Though the fact that someone returned them makes me a bit hesitant about how these will be. OME claims they're a 1.25" lift with a stiffer main rate (but progressive) on a SWB Montero, so we'll see how much lift I end up with an dhow the ride/handing quality is compared to the probably-very-tired OEMs. Not many reviews of suspension stuff on these rigs out there, since most of the best posts were on 4x4 Wire, which is more or less defunct these days, so got these without much research to go on (a few other choices have equally thin reviews...)
 
  • Like
Reactions: DintDobbs

DintDobbs

Rank V

Advocate III

1,412
First Name
Daniel &
Last Name
the Vulture
@irish44j Now this is the good stuff, right here. Finally found another soul with a 2-door rig. Our needs are different, but our challenges are the same. Short wheelbase vehicles for life!

Always been a sucker for square body Mitsubishis; Montero, Pajero, Raider, whatever you please, I'll take a dozen.
 

irish44j

Rank II

Enthusiast III

443
Fairfax County, VA, USA
First Name
Joshua
Last Name
Hickey
@irish44j Now this is the good stuff, right here. Finally found another soul with a 2-door rig. Our needs are different, but our challenges are the same. Short wheelbase vehicles for life!

Always been a sucker for square body Mitsubishis; Montero, Pajero, Raider, whatever you please, I'll take a dozen.
Thanks, do you have a build thread as well? Always looking for ideas!
 

irish44j

Rank II

Enthusiast III

443
Fairfax County, VA, USA
First Name
Joshua
Last Name
Hickey
Suspension day!


The tired original springs/torsion bars have done their job, but time to get something that gives me a bit more clearance and load-carrying ability so this thing isn't stanced out when I'm carrying all my gear.

Rear install was pretty easy - just unbolt the shocks and the lateral link and you can just pull the old ones out and put the new ones in. The new ones are thicker coils with one end progressive, but are shorter free-standing than the stockers.


Didn't take a photo of them installed.....they look like springs lol.

Fronts I also got OME torsion bars, but ran into a bit of a question mark. The bars have nice blue and red stencils on them denoting RH and LH regarding what side they go on:


But here's the odd part: On one end they also have "L" and "R" but those are marked opposite of what the stencil says:


Note though that the paint marks there are the same colors as the stencils (e.g. opposite of the end mark). This is presumably the rear end of the bar (with the other end having green marks, similar to the front markings on other torsion bar brands). Now the only thing I can think of is that the arrow above the letter on the rear end is pointing TOWARD the opposite side of where they mount (to indicate indexing position - though Gen 1 mitsus don't actually have an indexing mark that I've ever seen on the stock ones. I sent an email on Friday to OME, but with a weekend meaning no response yet, decided to just do them on the sides the stencil marks say. Note that the incluk\ded instructions say to use the stencils and don't mention the end marks whatsoever... So that's what I did. All in all torsion bar install on these trucks is super-easy. Like it can be done in about half an hour once you know how to do it. So if these end up being opposite of correct, not a big deal to swap them.

Notably the OME bars are about 2mm thicker than stock ones


Also, this truck has always had a bit of positive camber up front, which annoys me. And lifting it up will give it more positive camber. So I loosened the UCA mount and put 1/16" shims along with the two factory shims, which got my camber pretty close to zero.

After a couple test drives to settle them, my impressions:
1. The rear springs are advertised to be a 1.5" lift on the 2-doors (and 0.5" on the 4-doors) but mine is currently sitting about 2" higher in the back (probably because the stock springs were very, very tired) - which is good since I don't have all my gear in it. Just jumping on the rear bumper the rear is noticeably firmer, even with the progressive coils. WIth the stock stuff just standing on the bumper (170lbs me) would push the rear end down more than an inch. Now it's only like 1/4-1/2" at most.
2. Fronts are obviously adjustable on these, so I cranked them to where they're currently about 1.5" higher than before. I may adjust a bit more once I drive it for a while.
3. Ride quality is improved on all fronts. More solid feeling on bumps, just soaks them up better (on the road, at least). Also a nice reduction in leaning in corners and nosedive when braking. It's not a Porsche, but this upgrade seems to have improved handling confidence after a short test drive, even with the truck now being taller. so that's good.

Anyhow, a few pics of the "after." All and all pretty pleased with this upgrade so far - wasn't terribly expensive and only took 3-4 hours to do all the install (the shims took longer than the springs).


irish44j

Rank II

Enthusiast III

443
Fairfax County, VA, USA
First Name
Joshua
Last Name
Hickey
Remembered today that I need to address the PS belt. Last time out on the trails it was slipping pretty badly once it got wet and was noticeably loose. So took a few minutes today to put a new one on and tension it properly (and a new AC belt while I was at it).


While in there, I noticed my fan has a lot of cracks


Still feels pretty solid, but I'll get some plastic epoxy and fill the cracks in when I get a chance.

Oh, and picked up a properly-fitting Ram Mount for my phone. Tired of it falling off the little ledge I usually stick it on lol. Nice having a dash with metal backing, some star-head self-tappers work fine and make it easy.


irish44j

Rank II

Enthusiast III

443
Fairfax County, VA, USA
First Name
Joshua
Last Name
Hickey
Next weekend heading out to the mountains with friends to do some (possibly snow) wheeling/exploring/hiking and camping. Not really sure how the weather will shake out - cold for sure, but TBD if snow, rain, wind since we'll be up in the Appalachians so decided to go back to one of my earlier concepts in the Raider, just in case I don't want to use a tent or the ARB room. A couple years ago I had a platform in the back of this thing (now removed), with an extension that went over the passenger seat if the upper part was unbolted). So I dug out that piece of wood and decided to see if I could make it work without all the brackets that I previously had (but can't really use now). The plan was to see if it could be done using only the stuff I already carry for camping - i.e. my tool/gearboxes, etc.

So with a regular setup, here's basically what the truck looks like loaded up for camping/weekend trip. I don't have my tool bag or my personal clothes bag right here, but instead I put in the ARB room sack (big). Also are my big foam mattress, sleeping bag, and all of my camp gear, kitchen gear, etc.


Now, let's take that stuff and see if it'll work.

First, remove the boxes from the right side flat base over the wheel arch. This will be part of the platform. Then remove the front seat from its base (30 seconds, 4 bolts). At camp this would have to sit outside, so will have a tarp to put over it.

With the seat gone, the sleeping extension board is held up by my cooler, which is just the right height, at the front end


The rear end sits on the side platform, and the left side sits on my armrest, which can be lowered to any height (I built it that way). There's a notch on the corner so the shifter clears the platform.

Then use my toolboxes to complete the "base" and a towel or whatever to level one section. All in all, came out pretty much level.


With the mattress on it, it feels totally level - or at least better than the ground!


When not in use, the extension board just sits under the cargo in the back, so doesn't take much space. So we'll see if this is what I do next weekend, depending on the weather.

--

Also changed the gear oil in my diff after 3 years. Still looked pretty clean, no water, and very little metal on the plug magnet. Went with a mix of 90w and 140w LSD oil, if anyone cares....
 

MrWilsonWJ

Rank V
Launch Member

Member III

1,691
Kennewick, WA
First Name
Dustin
Last Name
Wilson
Member #

23384

I really like this build, had a neighbor growing up that had one of these little rigs and always thought it was cool. It's nice to see people building unique older rigs and taking them out to do cool stuff. Not knocking the new stuff but you can only see so many Tacomas, 4 runners, JK's and F150's before they all start to look bland and the same. That's the whole reason I decided to build a WJ instead of a JK, sure I could have gotten a JK, thrown 3.5" lift and 35's at it and been wheelin' that afternoon but I like to be a little different. Keep up the good work.
 

irish44j

Rank II

Enthusiast III

443
Fairfax County, VA, USA
First Name
Joshua
Last Name
Hickey
I really like this build, had a neighbor growing up that had one of these little rigs and always thought it was cool. It's nice to see people building unique older rigs and taking them out to do cool stuff. Not knocking the new stuff but you can only see so many Tacomas, 4 runners, JK's and F150's before they all start to look bland and the same. That's the whole reason I decided to build a WJ instead of a JK, sure I could have gotten a JK, thrown 3.5" lift and 35's at it and been wheelin' that afternoon but I like to be a little different. Keep up the good work.
Thanks, and fully agree. The old rigs are fun to see around, and don't weigh in at 6k lbs like some of the geared-up Tacos I wheel with. Plus when you have a 60k$ truck (or more) you have to be more careful (unless you're rich).....this one I love that I don't have to worry about dents or pinstripes :) Also the lack of real aftermarket forces you to be creative, which I find more fun in a build than just buying a catalog full of CNC-cut stuff that I can't afford anyhow lol.
 
  • Like
Reactions: DintDobbs

irish44j

Rank II

Enthusiast III

443
Fairfax County, VA, USA
First Name
Joshua
Last Name
Hickey
I have a 01 montero sport, I agree that different builds make it fun.
nice! The guy who leads most of our trips actually has a Montero Sport as well (I forget what year) that he also uses for stage rally Sweep. He's slowly building it up, but it's quite capable even stock-ish with good tires.

 
  • Like
Reactions: DintDobbs

irish44j

Rank II

Enthusiast III

443
Fairfax County, VA, USA
First Name
Joshua
Last Name
Hickey
Last trip of 2023 - Central West Virginia, Dolly Sodds, Blackwater Falls, Canaan Valley, and surrounding areas.

To finish up 2023 we took a wheeling/camping trip out to West Virginia, which was one day of great weather (50s even up in the mountains) and one day of torrential rain (but still warm). This one had some great trails and scenery, good primitive camping (if not a bit muddy), and I have a list of improvements to make - mostly small stuff regarding camping/storage - over the winter. So since pics are more interesting than me talking, here's some pics with captions...

We started off up at Dolly Sodds wilderness, which is the eastern continental divide and popular with hikers and campers. This late in the season we only encountered a handful of people up there - though plenty of hunters with their beagles, mostly standing on their cages atop the pickups - and none of these guys were very polite on the trails, I might add. Basically they never backed off to allow passing, and we ended up pulling into some deep ditches to let them by - one even touched tires with our buddy's Tundra. In any case, the driving is mostly just gravel roads that any reasonable car or crossover can handle, but there were some great views up there:


Getting toward the end of Dolly Sodds and into the surrounding forest we started scoping out campsites to come back to later. It had snowed 5-6" the day earlier, which had mostly melted so everything was pretty wet...


As opposed to our last trip, which was in an area where all the trees had dropped all their leaves, the Canaan Valley area is full of conifers and rhotedendrons, which makes it oddly green for the middle of December in the mid-Atlantic.....with trails still closed in by greenery, and a lot of water holes, stream crossings, etc.


At this point we dropped off the main trails to look for more challenging stuff, and a better campsite.


Even my little rig got a lot of pinstriping - and we had some guys with us in much larger vehicles.


Looped around and stopped off at Lindy Point, which has some of the most iconic views in the area


Then back on the hunt for camping, through some fun terrain....


The stock Frontier Pro-4X was pretty impressive in its capabilities throughout the weekend, by the way


And couple well-setup Toyotas who do a lot of overlanding all over the eastern US, like this one...


I'll mention here I'm not in many action pics since I do most of the photography on trips, but maybe some others will send me some once they get home....


We raced as quickly as possible through several miles of rough stuff trying to get up to the Olson observation tower before sunset, and made it up there just in time...


We went up the tower for pics (admittedly, I bailed halfway up since my ankle was a bit sore...but others went the full way)


Then headed to town, stopping on the way for some vistas


After grabbing a beer at a local brewery, we headed back down the wet trail to the promising campsite we found earlier. Slower going in the dark with rain starting.


Everyone got there (8 vehicles, IIRC) and got set up and then we got to cooking (taco night, among other things) and chilling


With heavy rain and wind expected after midnight, I decided to sleep in the rig rather than getting the tent or room out. So after removing the passenger seat (and covering it with a tarp under my rear awning) I was all set


Crashed out just before midnight and already could hear the rain coming down. Then around 3am a big BANG hit the truck. It being dark out and me being tired, I looked to make sure the windshield was not broken and went back to sleep. In the AM I found the parts of a 8-10 foot dead branch that had crashed down on me from way up, brearking some smaller branches on the way down. Luckily it just hit the roof rack and didn't do any damage to anything.


Also, I slept with my head toward the tailgate. In the middle of the night I rolled over and noticed my pillow was wet at the half of it my head wasn't totally on. Then I felt dripping from the roof. Crap - are my new lights leaking? Nope, Apparently one of the straps for my awning had dropped into the weatherstripping and was slowly routing water, drip-by-drip, into the vehicle right onto my pillow lol.


I grogglily opened the door and pushed it out and re-closed it. In the morning, I found that while that one was out, I had at that point let the OTHER strap do the same thing on the other side, which had dripped for 4 hours on my (thankfully waterproof) mountaineering boots. D'oh. So theere are a couple small improvements I plan to make to get rid of that issue as well as a few other annoying areas where water drips if the door is open (with awning deployed).

In the morning we packed up in the rain and headed out to explore some more. WIth all the rain overnight, the small rivers we crossed to get there were a good bit deeper, but not too bad....


As we exited to the maintained roads, this guy was chiling there watching.


We hit up Blackwater Falls, which were roaring pretty good


And after checking out some other places headed home through WV, above the clouds in many areas, with lots of rain.


Anyhow, a good trip, and the Raider as usual had no problems with any of the terrain, and the new suspension is a resounding success - more comfortable, more clearance, less bouncing around, and no sagging from my gear. So pretty pleased with that - almost no banging stuff underneath on rocks this time out. Still haven't solved the "bang" sound on certain articulations - I've checked almost everything and think it MUST be the bushings in the front right lower control arm possilbly binding and releasing, or something. I can't think of anything else at this point that I haven't checked and/or fixed.