Ok , Loads of Updates, Fails and general catching up;
Where to start...
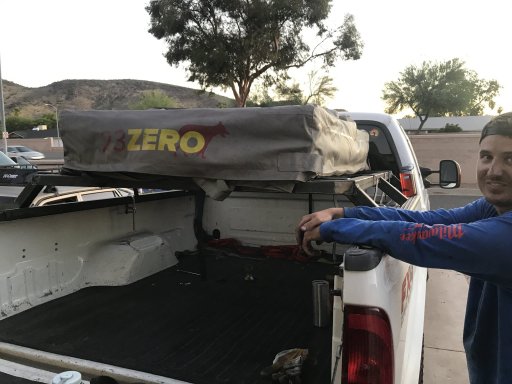
as I mentioned I traded a mountain bike for a trailer and roof top tent; A very gently used 23 zero tent and Annex. and the trailer Isn't much but its sturdy; but has some issues; we can go into them later.

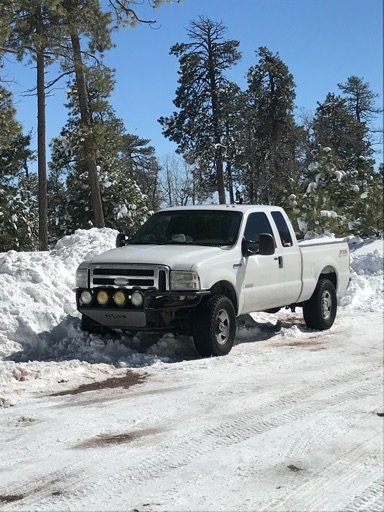
Now I am not a person who has the patience to take a trailer off-road; Two axles is plenty; on top of this the trailer was sturdy but needed some TLC; which doing an full trailer outfit and truck outfit seemed like double the work; So not going the trailer route. Also our starting platform wont run into the GVWR issues as fast as smaller platforms; Being an already bulletproofed 3/4 ton truck; we have a have greater capability for storage and hauling. We are going for a Mount, Romp, break, Upgrade, Repeat. Starting off we went for a less than traditional design of our rack; 2 inch square tube .095 wall. the design is a double layer design on the rack for two reasons; Protection for the tent from impacts and mounting points for things down the road as we build this rack further; we are fish mouthing the legs for strength and rigidity. down to 2 inch angle iron on the bed rails; we are mounting the tent at the height of the roof to save some headache from decreased MPGs and Low clearance areas be them on or off-road.
Now this design in living with it has some super apparent flaws I will point out later; weight is not directly one of them surprisingly;
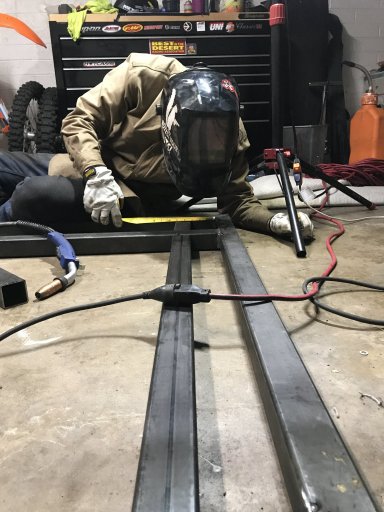
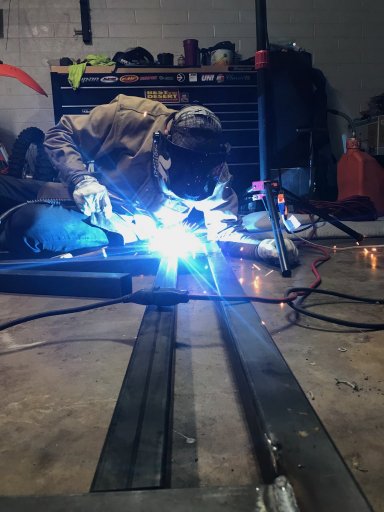
here is the first big fabrication fail; measure more than twice before cutting; also my buddy and I are bad at Napkin geometry;
we wanted to Kickers to be at a 45 degree angle for maximum stability, but unfortunately we forgot how triangles worked we had our height and our angles we wanted; but clearly did not do the math right; so we went back to the drawing board on how to make the legs land on the 2 inch angle iron attached to the bed rails; this is a learning experience; ( Since then we picked up an awesome program called Bend-Tech and a tube bender; V2 is gonna be way better.... Moving on; we corrected the Legs by changing the angle of the legs from 45 degrees to 62 degrees; a whole lot of measuring, welding and beers later.... Version 1 is complete.
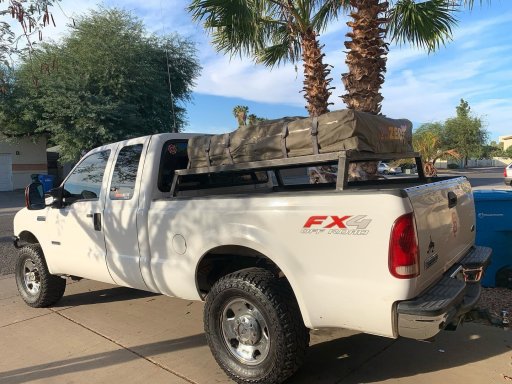

as you can see with the double Ring design we have plenty of room to mount things by the tent; such as an awning, storage boxes, Tools, Ect..
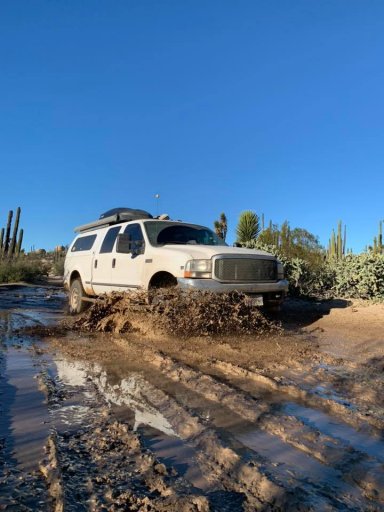
But first now that we have the tent mounted, Its time to go romp;
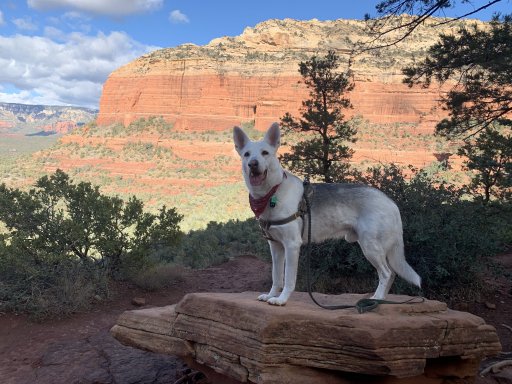
First trip with the tent is Sedona, Az. We took Dry Lake Road Trail to Devils Bridge; no wheeling pictures of that. I'll make sure to get some next trip.
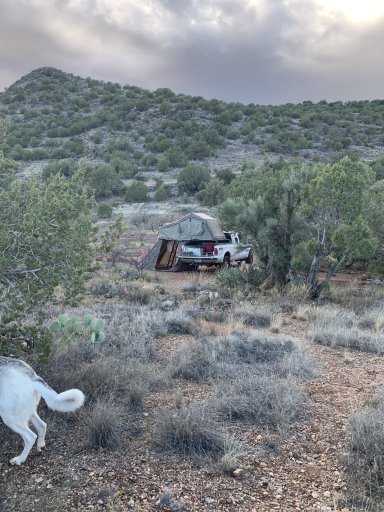
We then make our way to Lower Oak Creek, for a camp spot near the Creek; Unfortunately due to garbage and people not packing trash the campsite we wanted has been permanently closed.
Campground Closure FR89b, This is what happens when you dont take care of public lands. we found camp higher off the road; still too packed for my liking; we had some late night visitors; but the view helped belay any frustrations;
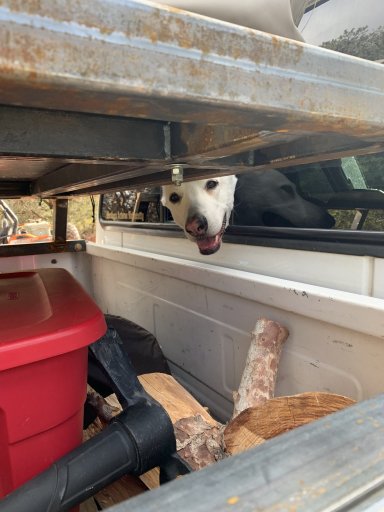
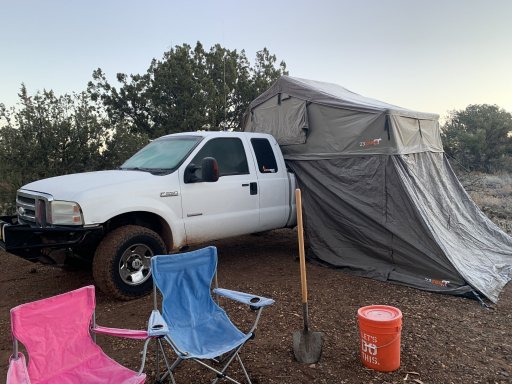
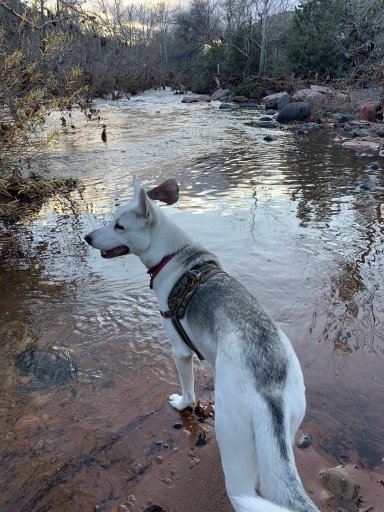
It was a balmy 26 degrees that morning; the tent worked flawlessly; it was a little chilly due to the fact we have only loaded it up with blankets and a dog at that time, condensation was minimum; we have since gotten a queen sized sleeping bag that fits the tent perfectly;
quick hike for the day, down to the creek;
Then a quick run back to home;
Ok, Next Post Ill get into all the issues we discovered on this trip with Version 1 of the Rack; As Version 2 is still in the planning stage; Input is appreciated!


 93.6 KB Views: 193