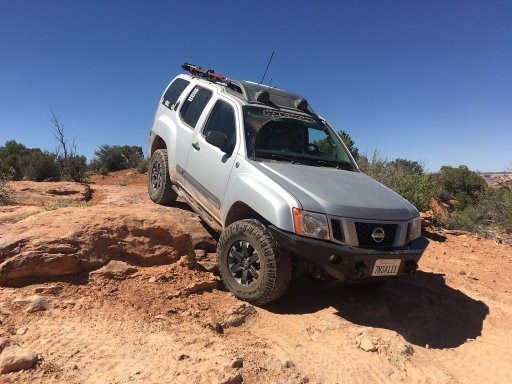
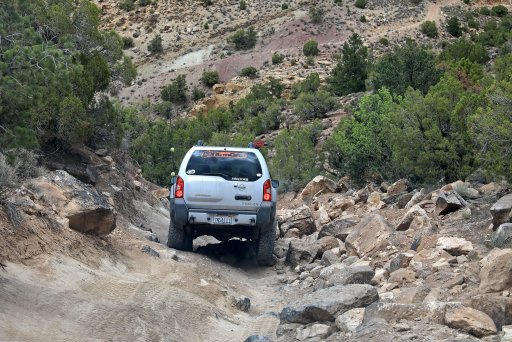
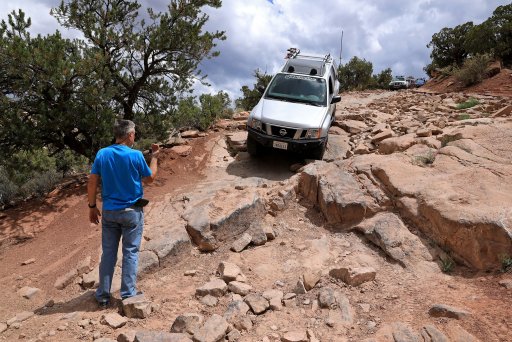
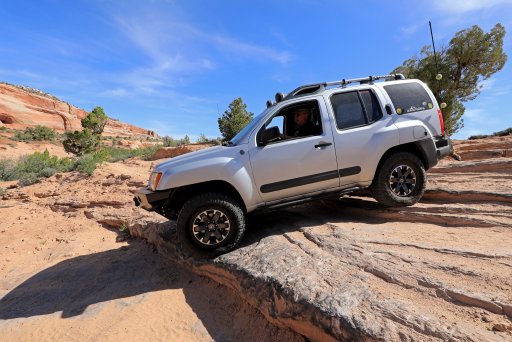
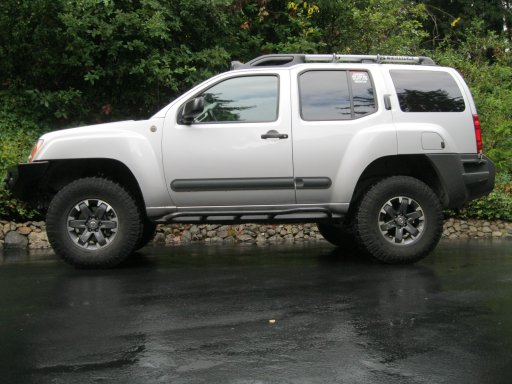
BCBrian's 2015 Nissan Xterra PRO4X

  • HTML tutorial

BCBrian

Rank V
Launch Member

Advocate III

1,836
Boulder Creek, CA
Member #

3344

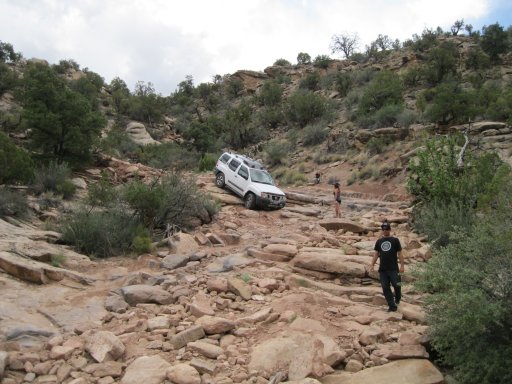
While on the trip to the Eastern Sierra's, I noticed that my antenna mount was loose. After pulling the corner plastic loose at the top of Laurel Lakes trail and tightening the mount, it was loose again by the time we got to the bottom of the trail just 4 miles later. I used a ratchet strap to secure it to my traction boards for the rest of the trip.

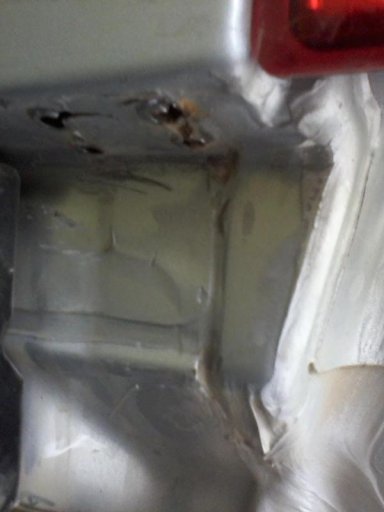
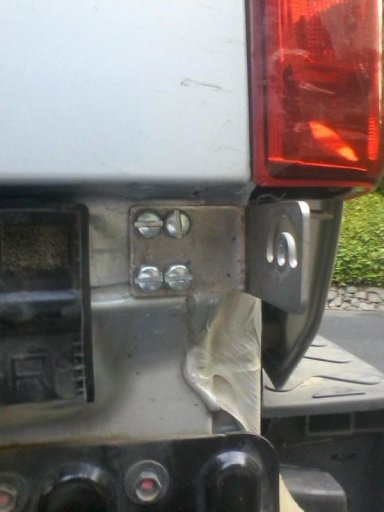
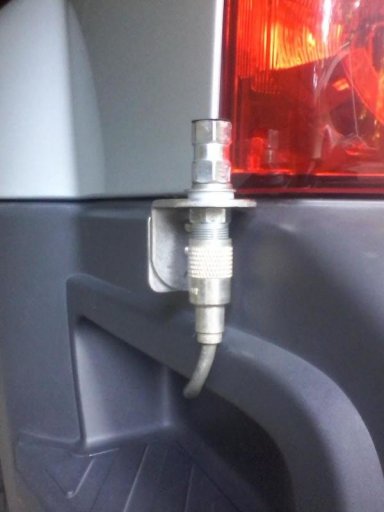
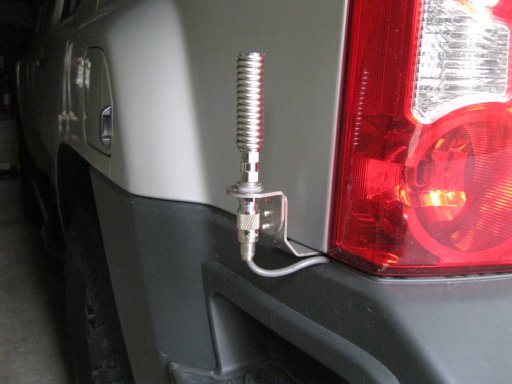
When I got home, I removed the corner plastic again and found that the sheet metal screws that I mounted the bracket with had ripped out of the sheet metal and caused it to crack in a couple places. I decided to reshape the bracket and mount it using some self tapping screws into an area that had 2 layers of sheet metal overlapped. This also required me to modify the plastic with a small slot for the bracket to protrude through. This feels a lot more secure than the previous setup and should help eliminate some of the bouncing that my antenna would do with the previous setup.

The first shot is the original mount location.
005.JPG Old mount location 2.jpeg Antenna mount fix.jpeg Antenna Mount new location.jpeg
 

Tavo726

Rank II
Launch Member

Enthusiast I

404
Lewisville, TX, USA
First Name
Octavio
Last Name
Lopez
Member #

8246

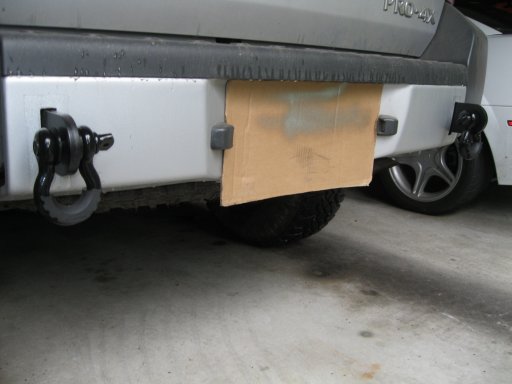
Awesome X man! Wife and I got a Pro-4X ourselves as well that we are working on. We both have a few ideas but trying to figure out the finance behind it. Overlanding isn't cheap. Haha! Question: how did you mount the recovery shackles on the rear? Looks like a good idea. Might want to try that out.
 
  • Like
Reactions: BCBrian

BCBrian

Rank V
Launch Member

Advocate III

1,836
Boulder Creek, CA
Member #

3344

Awesome X man! Wife and I got a Pro-4X ourselves as well that we are working on. We both have a few ideas but trying to figure out the finance behind it. Overlanding isn't cheap. Haha! Question: how did you mount the recovery shackles on the rear? Looks like a good idea. Might want to try that out.
Thanks Tavo! Habitat Off Road makes the recovery points for the X. They bolt directly to the frame utilizing the bumper mounting locations. Here is a link - https://habitatoffroad.com/collections/recovery-points

Keep an eye on my build as I am planning on buying a rear bumper soon and these will be for sale.
 

XXXTERRA

Rank 0

Contributor I

60
As I began planning some overlanding adventures later this year, I knew I had to come up with a way to carry fuel, traction boards and my High Lift jack. I copied an idea I found on TheNewX, with a few changes and now have a low profile roof rack capable of carrying these items. This rack is made from a 10' piece of Uni Strut, some 1 1/4" X 1/8" steel and various hardware available at my local Ace Hardware along with some Hi Lift mounts designed for Jeep hood hinges. The mounts are from McMaster Carr. The steel was inserted into the Uni Strut to strengthen it and increase the load carrying capability.

View attachment 17388 View attachment 17390 View attachment 17392
I really like that rack idea. It allows to go under ground yet still have your gear with you. I might just steal your idea!
 
  • Like
Reactions: Graeman and BCBrian

BCBrian

Rank V
Launch Member

Advocate III

1,836
Boulder Creek, CA
Member #

3344

Any noticeable decrease in mpg going to the larger tires?
The 285 DuraTracs are not much taller than the 265 Hankooks that came on my X. The gas mileage is already so bad on these rigs that I didn't see much difference with the new tires. With all the extra weight in armor that I'm carrying around, I only get about 16MPG on the freeway!
 

TeamHarrington

Rank I
Launch Member

Traveler I

271
Colorado Springs, CO
Member #

6624

The 285 DuraTracs are not much taller than the 265 Hankooks that came on my X. The gas mileage is already so bad on these rigs that I didn't see much difference with the new tires. With all the extra weight in armor that I'm carrying around, I only get about 16MPG on the freeway!
Lol I wish I still got 16....

Sent from my SM-G930V using OB Talk mobile app
 
  • Like
Reactions: BCBrian

BCBrian

Rank V
Launch Member

Advocate III

1,836
Boulder Creek, CA
Member #

3344

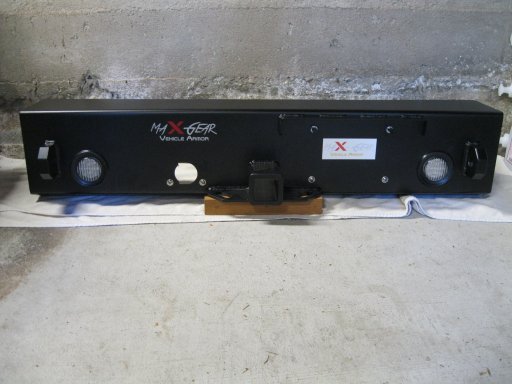
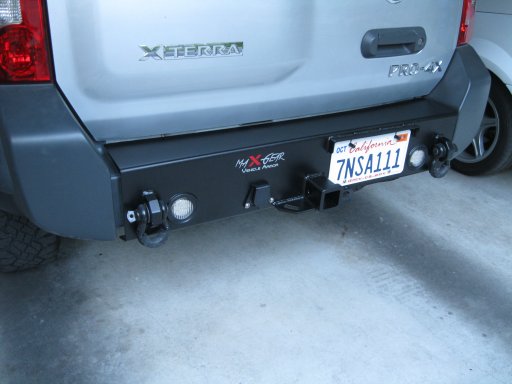
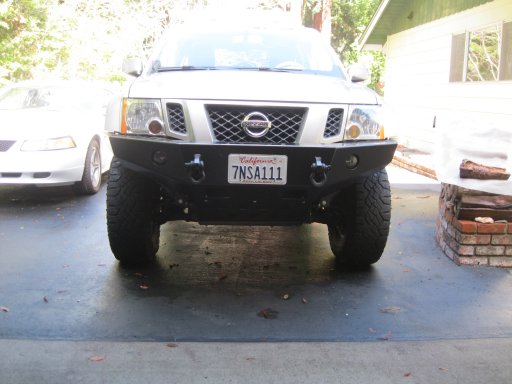
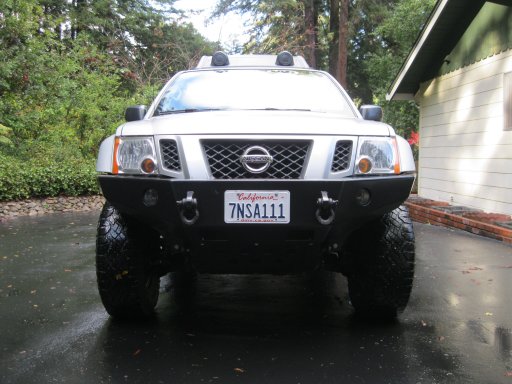
IMG_5981.JPG Here is a pic of my new bumper. It includes LED back up lights, LED license plate lights and the full wiring harness. The current wait time is about 6 months so I was super glad to get it instantly! More pic's will be added after the install.

View attachment 57990
 
  • Like
Reactions: Graeman

BCBrian

Rank V
Launch Member

Advocate III

1,836
Boulder Creek, CA
Member #

3344

After talking with the CJD Racing guys at goneMOAB, I decided my 75000+ mile uniballs in my PRG UCA's were toast. After failing to receive some replacements at the condo in Moab, I finally got them shipped to my home address and today went through the process of swapping them.

Luckily, my cousin has a 14 Ton press that helped a lot with this job. The old ones were definitely worn out (and had been for a while) and no longer had any of the teflon lining that the ball rides on. This allowed the ball to move up and down quite a bit. The steering is more precise and the creaking noises from the front end have been eliminated. Hopefully this set will last another 75000 miles!
 

BCBrian

Rank V
Launch Member

Advocate III

1,836
Boulder Creek, CA
Member #

3344

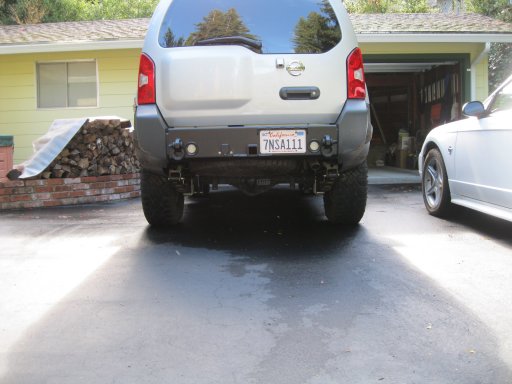
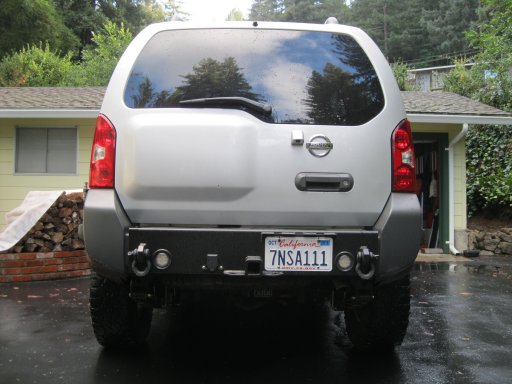
I have been looking at my new rear bumper sitting in my garage for over a month. Today I finally installed my final piece of armor and I am super happy with the end result.

I still need to connect the wiring for the LED backup lights in the bumper and the LED license plate lights and get a new 7 pin connector for the trailer connection after breaking the locking tabs off mine.

At some point I will pull the corner plastics and spray them with black bed liner to color match them with the bumpers.

If any of you Xterra guys are interested in buying my Habitat Offroad rear recovery points, just send me a PM.

Here are the before and after pictures.

IMG_4774.JPG IMG_6007.JPG
 
  • Like
Reactions: Graeman and JCWages

manualhydra27

Rank I
Launch Member

Traveler I

271
Denver
Member #

9304

I have been looking at my new rear bumper sitting in my garage for over a month. Today I finally installed my final piece of armor and I am super happy with the end result.

I still need to connect the wiring for the LED backup lights in the bumper and the LED license plate lights and get a new 7 pin connector for the trailer connection after breaking the locking tabs off mine.

At some point I will pull the corner plastics and spray them with black bed liner to color match them with the bumpers.

If any of you Xterra guys are interested in buying my Habitat Offroad rear recovery points, just send me a PM.

Here are the before and after pictures.

View attachment 61739 View attachment 61740
That bumper looks awesome!
 
  • Like
Reactions: BCBrian

BCBrian

Rank V
Launch Member

Advocate III

1,836
Boulder Creek, CA
Member #

3344

Rear suspension improvements

When I installed my rebuilt suspension from my Frontier on the X, I made the decision to leave the stock rear shocks in place (Bilstien 4600's) and go for the OME MD leafs rather than just an AAL. PRG had the OME's in stock and I got them for a good price and the install was much easier than what is required for the AAL. After 3 years of daily driving and some pretty rocky trails, the OME's have lost height from 1.8"s originally down to about 1.2"s currently. Time to upgrade.

On order are Alcan springs with 2.5 inches of lift made for 500 lbs over stock weight. I also have ordered Radflo Emulsion shocks, PRG adjustable shackles and the PRG leaf spring mount flip kit which puts the ends of the bolts up and eliminates the risk of trail damage. Once the springs arrive at PRG, I'll be making the trek up to Auburn for Greg's help with the install.

My goal is to get to 3"s of lift over stock and with the shackles at the 1" lift setting and the springs built for 2.5"s, once the springs settle I should hit that mark. If more lift is desired in the future, I can always adjust the shackles up. This was a long process of research and a lot of questions answered by friends over on TheNewX along with discussions with Greg at PRG and Bill Ford at Alcan to get the details finalized. The end product should match up nicely with my 2.5" Radflo's up front and improve the ride both on and off road.

Now the wait begins....
 

BCBrian

Rank V
Launch Member

Advocate III

1,836
Boulder Creek, CA
Member #

3344

Unfortunately, the Alcan springs that were shipped to me ended up having issues that resulted in me returning them for a refund. While I was refunded the original charges for the springs and shipping, so far they have refused to pay the return shipping charge ($182.90). If I receive a check to cover that I will be sure to post that info here.

There were 2 issues.... first, the leaf packs both had a slight twist that caused them to push the rear end about 3/8" to the drivers side and sit crooked in the shackles after installation. Second, the 'military wrap' feature at the front mount was made incorrectly and was contacting the frame. This caused a very loud bang every time I hit a seam on the fwy or any bump in the road. Due to these issues, I made the decision to refinish and rebuild the OME MD leaf packs that the Alcans were supposed to replace.
Finding the parts for the OME's was a challenge but after finally calling ARB North America in Washington state, I was referred to Will at Sierra Expeditions to source the parts. Here is his contact info and the part numbers for anyone who may want to rebuild their springs. Qty's shown are for 2 leaf spring pack rebuilds.

Sierra Expeditions, Mesa, AZ - Will (866) 507-4254
Qty Part Number Description Price
8 OME SLO 0530413 Leaf Liner Large 4MM Thick $1.05ea
2 OME UCB19 OME Centre Bolt and Nut $11.40ea
8 OME CLKROD Clip Liners (I used Gorilla Tape instead of these as they had broken and fallen off)
2 OME SB99 OME Dakar Spring Bushings $22.80ea from Nisstec

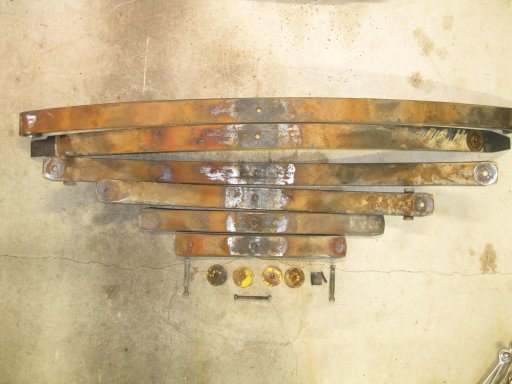
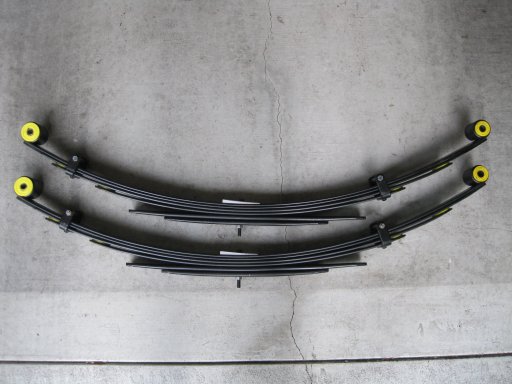
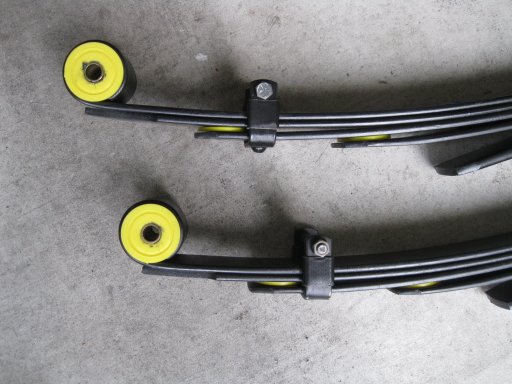
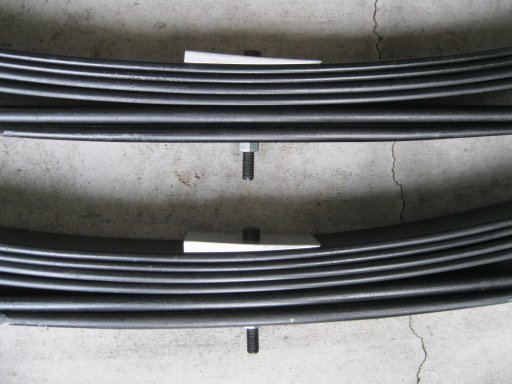
Once I disassembled the leaf packs, I used a wire wheel on my drill to remove the rust from the individual leafs before hitting them with 2 light coats of Rustoleum semi gloss black paint. After they had a couple days to fully dry, I installed new Leaf Liners (anti friction pads), wrapped the U brackets with Gorilla tape and reassembled them with shims to correct the pinion angle. I bolted them together using new Center Pins that were slightly larger diameter than the original pins. This required me to enlarge the holes in the shims and the bash plates included with the u bolt flip kit. The pins also needed to be shortened so they would not stick out of the bash plates and catch on rocks. The leaf spring holes were large enough to allow the slightly larger diameter replacement pins to work. I also used OME bushings that I had sourced previously from Nisstec.

Since the install of the Alcans was done by Greg at PRG, the new shocks, shackles and flip kit were already in place. This was my first time trying to remove and install leaf springs and it was a long and challenging process. I reset the shackles to the middle hole (1.5"s of lift) to try and equal the lift that the Alcans provided and ended up just a little lower (about 3/8"). I am very satisfied with the results and really like the way the rig rides with the Radflo Emulsion shocks.

Current measurements:
Drivers Front - 37 5/16"
Passenger Front - 37 5/16"
Drivers Rear - 38 3/16"
Passenger Rear - 38 7/16"

Here are some photo's -

IMG_6135.JPG IMG_6137.JPG IMG_6139.JPG IMG_6140.JPG IMG_6184.JPG
 
Last edited:
  • Like
Reactions: TerryD and JCWages

BCBrian

Rank V
Launch Member

Advocate III

1,836
Boulder Creek, CA
Member #

3344

After raising the suspension on my Xterra and taking it off road, I discovered that the rear tires were rubbing the frame significantly. The PRG shackles set on the middle hole allow them to pivot freely and improves the flex of the springs. This has made the interference between the tires and frame more of an issue than it was with the stock shackles. Since I did not want to buy new wheels only to damage them in the rocks, I decided to look into wheel spacers.

At the recommendation of a friend and fellow ClubFrontier member, I ordered these -


I also needed to get some longer lug nuts to work with the 1.3" long studs on the spacers and ended up with these -


Titan Wheel products provided excellent customer service and promptly sent me a 2nd set of lug nuts when the 1st set from them were defective and a replacement spacer after one of the studs was damaged. Unfortunately, the new lugs did not engage the conical seat on the wheels correctly so they promptly issued me a refund. The AccuWheel lug nuts are high quality and work perfectly.

2" of additional track width should provide some extra stability off road and also makes the rig look a lot better. Once I increased the height, the tires looked like they were tucked under the X more and the spacers get them out far enough to correct that. 1" is the perfect amount to work with the stock wheel studs which are 1" long.

Here are some before/after pics:

Before
IMG_6187.JPG

After
IMG_6191.JPG

Before
IMG_6189.JPG

After
IMG_6192.JPG
 
Last edited:
  • Like
Reactions: Overland_Mitsu