Another home built roof rack

  • HTML tutorial

davis31052

Rank V
Launch Member

Pathfinder I

1,798
Reno, NV, USA
First Name
Eddie
Last Name
Davis
Member #

3382

Service Branch
U.S. Marines
I attached the three sections individually to the cross bars. Two fasteners per section on each end. I covered the open ends of the rack with 1.5" aluminum angle from TSC
 

Red Beard

Rank V
Launch Member

Traveler I

1,836
Mexia, Texas
Member #

6543

Painting aluminum is a pain but a few extra steps will really help.
1) Always wear personal protective equipment when dealing with chemicals
2) Clean thoroughly with acetone and let dry.
3) Fill a clean spray bottle with distilled white vinegar and spray down the entire surface to be painted and allow it to dry on the metal. This will etch the surface and promote adhesion.
4) After the vinegar dries completely apply a coat of zinc based self etching primer. Allow it to cure.
5) Paint over the primer with you top coat.
6) Kick back and enjoy a tasty beverage of your choice and admire your job well done.
 

Justin Roach

Rank I

Traveler I

What tools did you use when completing this build? I'd love to do this myself for my cap but my power tool selection is low so idk if I could do it.

Also I'm not sure what the third picture is in your work shop is. It seems to differ from the rack on the truck, just wondering if I could get some clarification because I'd love to do this myself


Sent from my iPhone using OB Talk
 

CalTexMex

Rank V
Launch Member

Pathfinder I

1,798
Fremont, Ca
Member #

5593

Nice roof rack! I would def look into the max wt the stock roof rack can handle if your connecting your rack to it. Usually, it's not much. My 80 stock rack is not rated for much and they are known to fail. Remember, the wt stated is for a load on a smooth highway. Add washouts, whoops or fire roads to the mix and the stock rack might not hold up. I went with Gamiviti rain gutter mounts for my rack. Good luck and cheers!
 

davis31052

Rank V
Launch Member

Pathfinder I

1,798
Reno, NV, USA
First Name
Eddie
Last Name
Davis
Member #

3382

Service Branch
U.S. Marines
9F2E0FF6-1E39-4F1F-BFB6-F94F1336BE30.jpeg 9F2E0FF6-1E39-4F1F-BFB6-F94F1336BE30.jpeg AC2F4E24-E453-4811-A05B-FF20E2EE9C93.jpeg A4910110-08B2-488F-B9F0-339F90865999.jpeg 77B26B13-0EEC-434B-A9FD-25175B4A6ACD.jpeg 56F1C014-A484-4502-BD8F-1E55A21C78B7.jpeg 77B26B13-0EEC-434B-A9FD-25175B4A6ACD.jpeg 2F8A43EC-A4FA-41FA-AE0A-C739240E3B6C.jpeg 8249F7B6-391A-48F7-A16B-CA8C1DF00A3A.jpeg @Justin Roach,

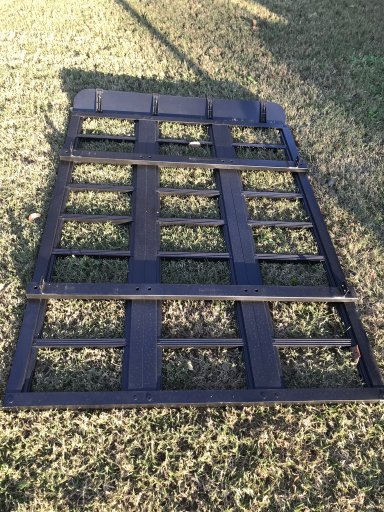
***updated with pictures showing underside***

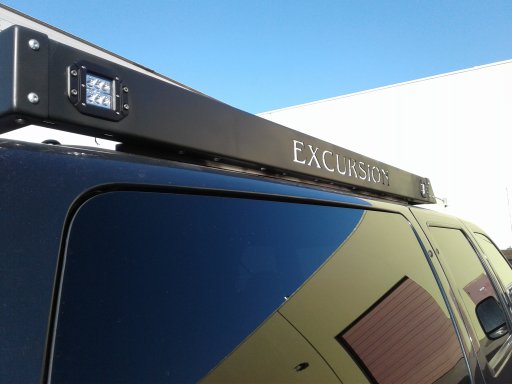
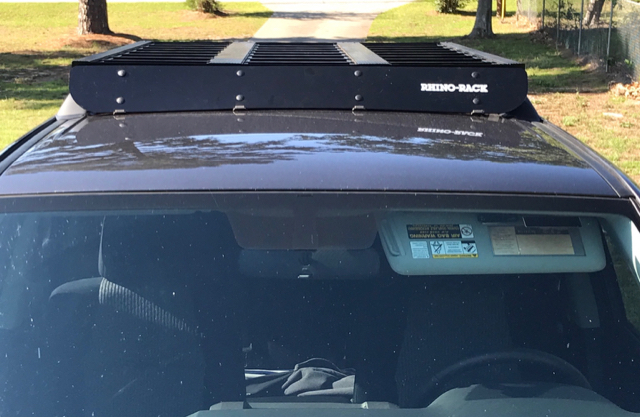
This rack was built to fit a 2016 4Runner utilizing the factory roof rails.

The short version of how I did mine is;

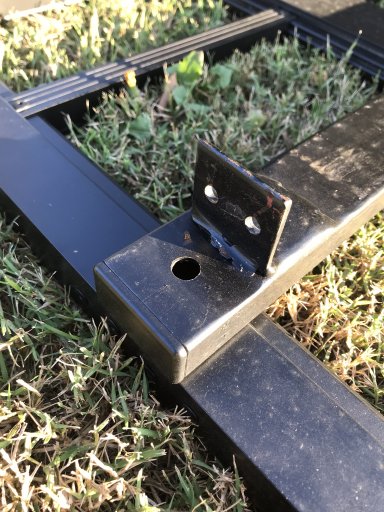
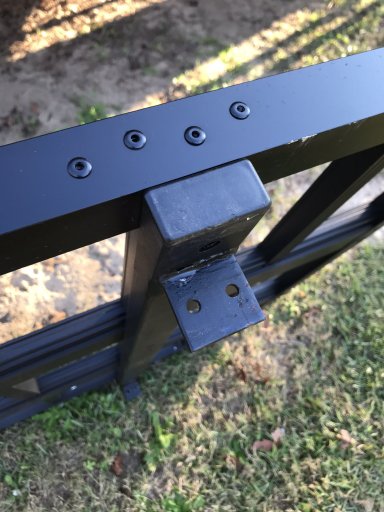
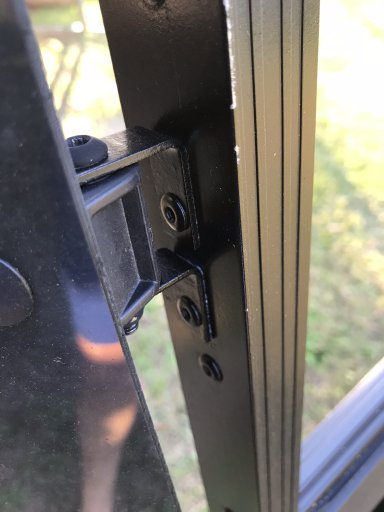
Using 1"x 2" 16 gauge rectangle tubing, and two pieces of 1" inch angle iron, I made the two cross bars to sit on top of my factory roof rails. The bars are attached to the roof rails by an insert I made to fit into the channel on the inside of the factory rails. Basically a piece of flat stock with two 1/4" bolts welded on. The finishing cap on the ends of the cross bars are some eBay finds.

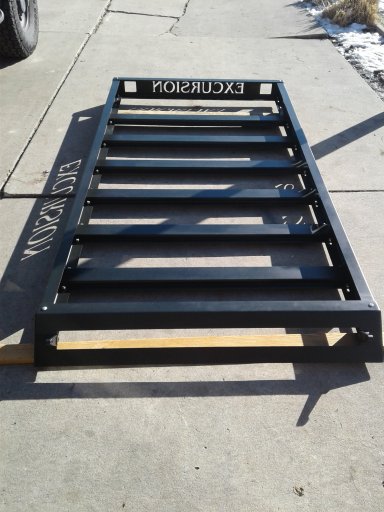
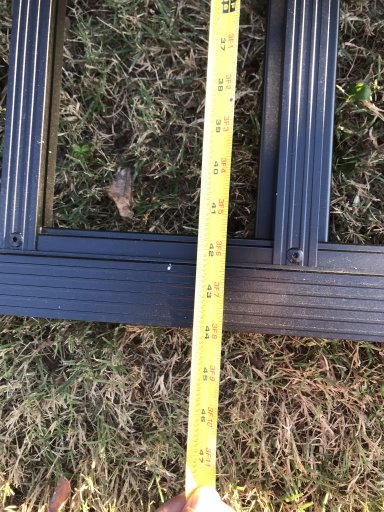
Next, I purchased a Harbor Freight Tri-Fold ATV ramp. I removed all the hinges and tailgate supports, which left me with three separate pieces. Then using my chop saw, I cut off one section of the three pieces of the ramp to shorten it by about 12-16 inches. Then I clamped all three sections of the ramp together so that the gaps where the hinges used to be, were closed up. This gave me a smooth surface on both sides. Removing all the hinges narrowed the overall width of the ramp by 3/8-1/2 inches.

Then came the task of securing the three sections of the ramp to my home made cross bars. I did this with 1/4-20 nut inserts. For this you would need a tool like this but for threaded nut inserts. http://www.northerntool.com/shop/tools/product_200578285_200578285

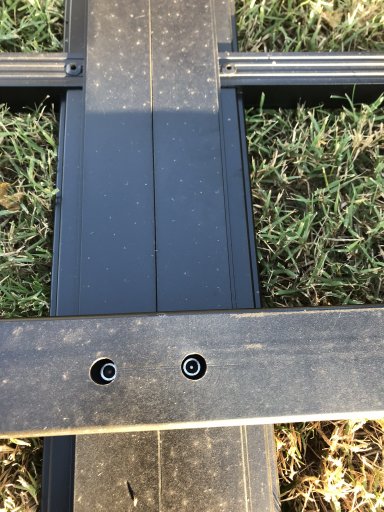
Once I had the cross bars centered and evenly spaced, I marked the bottom of the atv ramp for drilling. Using a 3/8" bit I drilled 6 holes, two holes in each section of the ATV ramps where it would lay across the two roof cross bars. Then, using the same pattern I drilled 1/2" holes into the undersides of the cross bars. This was so that I could put in the six 1/4-20 stainless steel socket head screws. I didn't bother capping the holes since they face down.

After all that, I went back and filled all the old rivet holes that I had drilled out with new rivets. Had I paid attention, I could have sorted the three pieces of the ramp so that the outer sides would have needed no rivets.

Then, the last part. I wanted all the cut ends of the atv ramp to be closed up. For this I used 1.5" aluminum angle.They are not water tight, but it looks more finished that way.

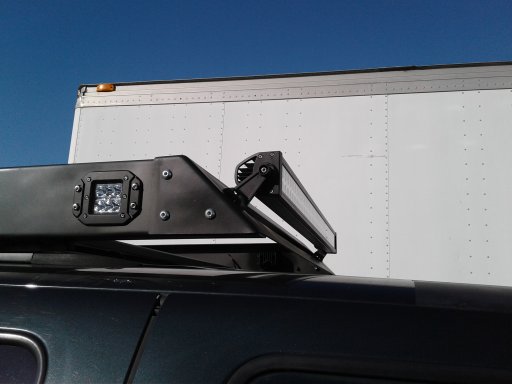
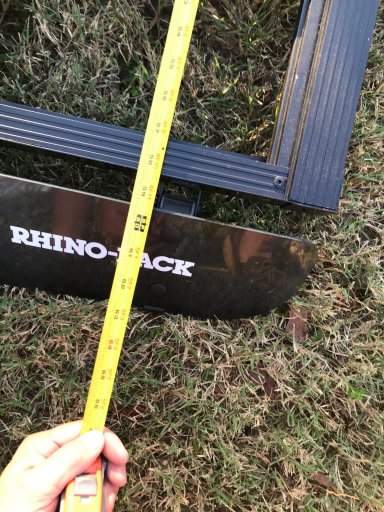
Lastly, paint and attachment of the wind deflector and called it a day.....or 5.

*****Disclaimer***** I make no claims to this racks ability to support any weight, Static or Dynamic.


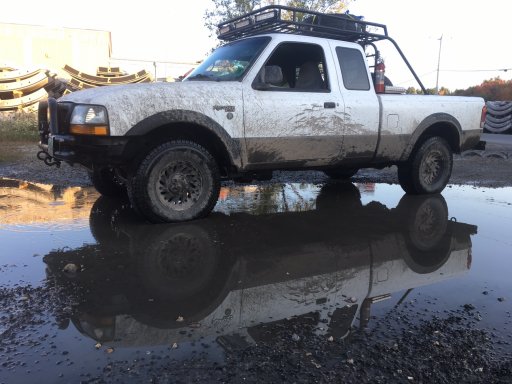
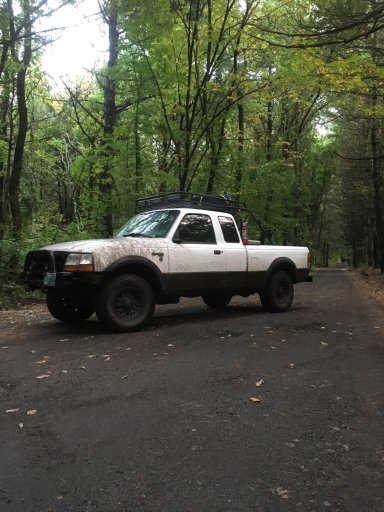
In regards to the pictures, the ones of the rack on the roof of the truck are mine. The picture of the rack on a garage floor was another members rack who posted right below me. I had to look twice myself when you mentioned it.

-Eddie
 
Last edited:

bkeegan1974

Rank I

Contributor III

Hi - what is the exact width of the ATV ramp after you removed the hinges?
And the joints where the 3 sections of the ramp (after hinge removal) look so smooth- they are more than just butted against each other? Did you put something in between to cover the joint?
Thanks!
 

EXCURSIONdad3232

Rank III

Enthusiast II

873
Layton, Utah
First Name
Nick
Last Name
Clark
Member #

3232

20171231_110917.jpg20180213_152745.jpg 20180213_152755.jpg
Got the wind deflector on today View attachment 23604View attachment 23605


Sent from my iPad using OB Talk
Looks great. I also did a DIY rack for our Excursion. I was going crazy spending many hrs thinking about what noise she was going to make. On our first run i was amazed at how little noise it made, until i got a cross wind. Well let me say it sucked. So unlike yours, i had to give the wind room to run. So i opened the front wind deflector up and just like that sound gone.
 
Last edited:

Crusty Overland

Rank V
Launch Member

Enthusiast III

1,721
Nashua, New Hampshire
First Name
Alex
Last Name
Levesque
Member #

9940

Here is the one I built absolutely free apart from welding wire, electricity and the lightbars. The truck is white now as seen in the last pic. The rack is off for winter.


Sent from my iPhone using OB Talk
 
  • Like
Reactions: cdunn334

davis31052

Rank V
Launch Member

Pathfinder I

1,798
Reno, NV, USA
First Name
Eddie
Last Name
Davis
Member #

3382

Service Branch
U.S. Marines
Looks great. I also did a DIY rack for our Excursion. I was going crazy spending many hrs thinking about what noise she was going to make. On our first run i was amazed at how little noise it made said:
I really like that rack! good job!!
 

Cahhhlos_B

Rank I
Launch Member

Member I

233
Melbourne, FL, USA
First Name
Carlos
Last Name
Bracetty Jr
Member #

21916

Nice!! I’ve been wanting a low profile roof rack,but didn’t want to pay a arm and leg for one. Going to def try this with some different hardware to make it sit lower.
 
  • Like
Reactions: Crusty Overland

Crusty Overland

Rank V
Launch Member

Enthusiast III

1,721
Nashua, New Hampshire
First Name
Alex
Last Name
Levesque
Member #

9940

Nice!! I’ve been wanting a low profile roof rack,but didn’t want to pay a arm and leg for one. Going to def try this with some different hardware to make it sit lower.
Here’s how she looks now. Completely detachable for winter but it is mounted to my backrack and full length rails on the edge of the bed
IMG_6909.JPG
IMG_6831.JPG
 
  • Like
Reactions: Edy Coyote

Joshua_Lionstrong

Rank II
Launch Member

Contributor III

327
Portage la Prairie, Manitoba, Canada
First Name
Joshua
Last Name
Leonhardt
Member #

6017

  • Like
Reactions: Crusty Overland