85 TOYOTA FJ60 BUILD

  • Thread starter Deleted member 82267
  • Start date
  • HTML tutorial
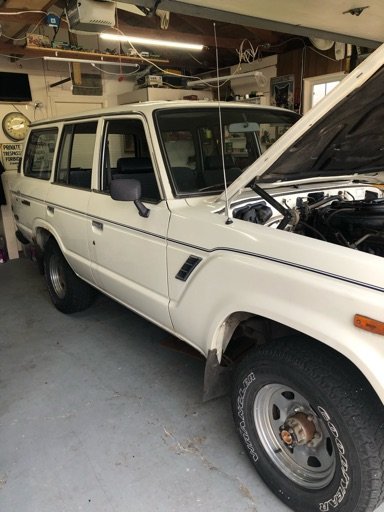
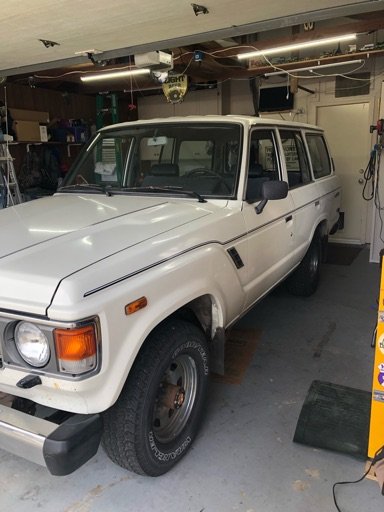
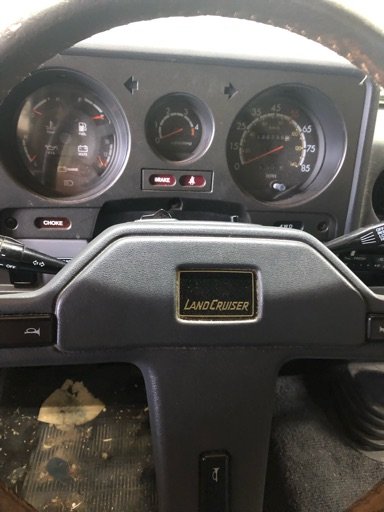
I have owned and driven Jeeps since the first day of getting my drivers license starting with a "48" willys. Now 38 years later I am the proud owner of a 1985 Toyota FJ60 (first ever foreign vehicle). I will be the third owner of this very clean beast. It has 130K miles on it and is very original so much so that I am a little conflicted on how much I should modify it. Factory gearing is 3:7something ? as that was standard for all the US imported FJ60's, since massive tires are not in the plans this gearing will work for me. So here we go, pics to follow soon.

STEP 1- RELIBILITY
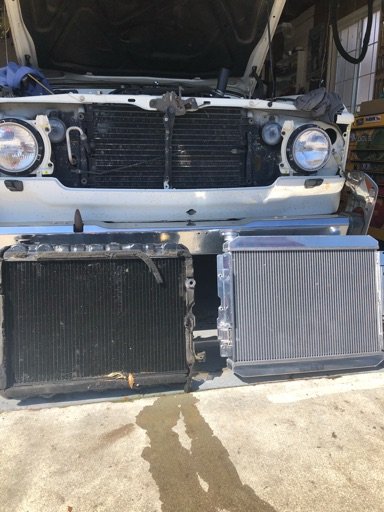
New radiator- old one leaks Done
New hoses - pretty sure current hoses are original and there area ton of them. Factory rear heat and oil cooler added several hoses. Done
New tie rod ends
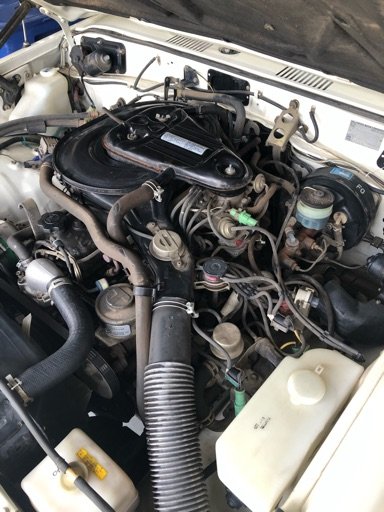
Carburetor - replace or add fuel injection? Current set-up is a vacuum hose nightmare!! California smog laws even worse.
Tune-up - Old school style, no computers on this 2F straight 6 tractor motor. Done
Brakes - stops great but getting new shoes, hoses and fluid. Drums and discs are still in spec.
New tires nothing crazy... 31's on a 15 inch steel wheel
New clutch
Repack wheel bearings
Replace all fluids

STEP 2 - FUNCTION
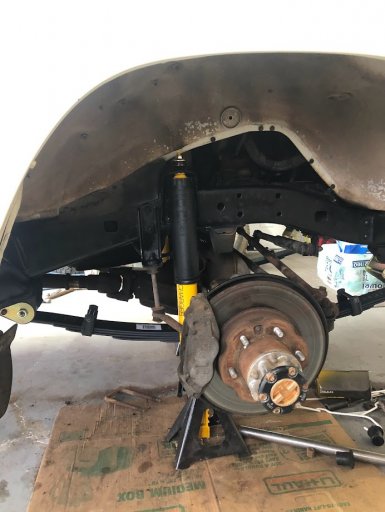
Lift kit - Old Man Emu 2inch complete kit. Done
Transmission swap - out with the 4 speed in with a 5 speed. Easy swap 5 speed was standard on non-imports. No drive shaft mods needed!! Even better Toyota still stocks the 5 speed.
Rear locker - ARB or Ox? like the idea of the Ox
Electrical - swap in internal regulated alternator with more amps. GM single wire unit. Add new fuse panel for accessories.
Winch
2nd battery - On an isolation circuit/ solar panel re-chargeable.
bumpers - I like the factory look, thinking of welding metal plates on the inside of the factory bumpers and doing a frame tie-in to keep the factory look.
Off road lighting
Skid plates - Has great factory installed protection. Done
Roof rack
Ham radio install
Trailer hitch
Recovery points
Rocker panel sliders

STEP 3 - COMFORT & STYLE
Stereo install
Tinted windows
New carpet
New wheels - Powder coat factory wheels black
First aid kit
Fire extinguisher
12 volt outlet in cargo area
Body and paint
Up grade to LED lights
Etc.......
 

Attachments

Last edited by a moderator:
MOAK

Rank V
Launch Member

Off-Road Ranger I

2,865
Wherever we park it will be home !!
First Name
Donald
Last Name
Diehl
Member #

0745

Ham/GMRS Callsign
WRPN 506
Cool, you’ve your priorities in order. You asked- ARB or OX rear locker? ARB hands down. Have fun, myself, as have several others on here, left the jeep world behind after owning our first Cruisers. Tis a very pleasant rabbit hole to explore.
 
Cool, you’ve your priorities in order. You asked- ARB or OX rear locker? ARB hands down. Have fun, myself, as have several others on here, left the jeep world behind after owning our first Cruisers. Tis a very pleasant rabbit hole to explore.
Looking forward to the build for sure. Thinking of the Howell fuel injection, any insight on this system?
 

MOAK

Rank V
Launch Member

Off-Road Ranger I

2,865
Wherever we park it will be home !!
First Name
Donald
Last Name
Diehl
Member #

0745

Ham/GMRS Callsign
WRPN 506
Looking forward to the build for sure. Thinking of the Howell fuel injection, any insight on this system?
No I do not. However, I recommend you do two things. Sign up on the IH8MUD forums as there is a plethora of Landcruiser knowledge there. Join the TLCA. Every club member I’ve dealt with is top shelf. This winter I’ll be driving 4 hours to a shop to get some re-gearing done along with the installation of an auxiliary fuel tank. It is a tight knit community and any crooks or bad mechanics have been weeded out long ago. You will soon learn that the strongest & best replacement parts are Toyota, followed closely by a couple of Aussie companies. One good example of this is Spicer joints. Forget about em, why use spicer when 555 Toyota spec parts will last a hundred thousand miles and more. I’m thinking about this as just yesterday a driveline shop hung up on me because they insisted spicer sealed joints are superior to Toyota’s spec joints. I asked why anyone in their right mind would choose to replace u joints every 30-40thousand miles? When mine have at least 150,000 miles on em. That’s when he hung up. In the jeep world an aftermarket part is generally an upgrade. The opposite is true with Landcruisers. ( cept for suspension systems coming out of Oz ) sorry to ramble, welcome to the club.
 
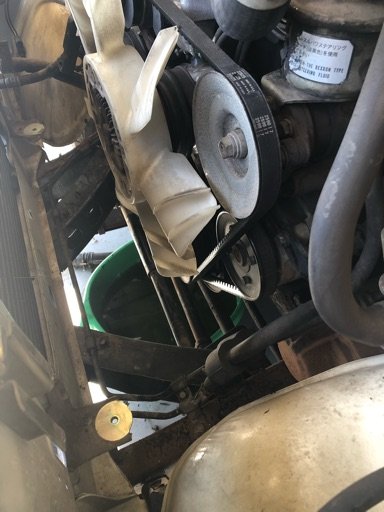
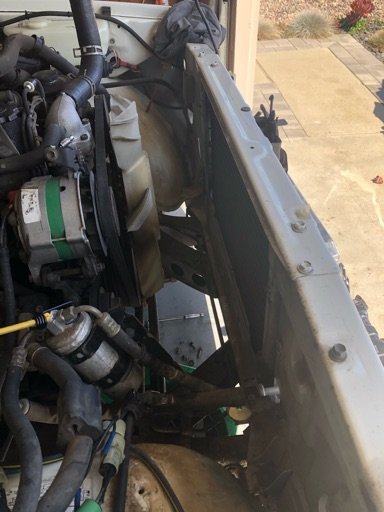
Pulled the old radiator today. Had to remove the grill to get to two bolts behind the AC condenser, battery tray, fan shroud and lower skid plate. Pretty straight forward, took about an hour. New radiator fit is very good. Not completely installed going to replace belts and hoses now that I have more room with the radiator removed.
 

Attachments

  • Like
Reactions: MOAK

MOAK

Rank V
Launch Member

Off-Road Ranger I

2,865
Wherever we park it will be home !!
First Name
Donald
Last Name
Diehl
Member #

0745

Ham/GMRS Callsign
WRPN 506
Pulled the old radiator today. Had to remove the grill to get to two bolts behind the AC condenser, battery tray, fan shroud and lower skid plate. Pretty straight forward, took about an hour. New radiator fit is very good. Not completely installed going to replace belts and hoses now that I have more room with the radiator removed.
cool, I’m sure as you continue with baselining your Cruiser you’ve come to understand how over built they are.
 
Now that the cooling system cools and keeps fluids where they belong I can start working out some drivability issues. Engine as a terrible sputter/hesitation when accelerating from idle to 1500 rpm, above 1500 the engine smooths out and pulls strong. I checked the maze of vacuum lines and valves for leaks and it all seems good, replaced plugs with no change. So last night started at ground zero for a tune-up starting with the valves. Looks like last time this was done someone did not know that .0014 and .014 are not the same. The exhaust valves were way tight! Adjusted all the valves set the valve cover in place and started it back up and instantly noticed the idle was much smoother. Now to check the timing, yep the mark is not even in the window so made a quick adjustment on the thing that spins and no surprise it idles even better. Set the idle speed and went for a drive, much better but still stumbles when just off idle. However this engine takes forever to warm up and now when fully warm it runs great, the stumble is gone and engine runs very smooth. I think I got lucky and no valves were hurt with the tight valve adjustment, with a vacuum gauge installed the vacuum is steady and solid at 16 in. I would like to make a mixture adjustment but the mixture screws are blocked off from the factory. Still considering fuel injection so I don't want to spend a ton of time messing with this carburetor.

Any suggestions on how to format a build thread... Should I update the original post or add to the thread like I just did? This is the first forum I have ever posted on.
 
Spent the weekend driving the cruiser, first time to get some highway miles on it. Runs great when up to temp but just terrible when cold. Fuel injection is going to be at the top of the list. I did find a non-emissions carburetor that I will try and see how that runs. Also have the made the decision to de-smog. I will keep all the parts just in case it has to go back to stock. The four speed transmission is really wanting another gear! 65mph is about top speed so maybe this spring I can put in a five speed. The local Toyota dealer can order one for $2500.00 I think that is a good deal.
 

ZRex

Rank VII
Launch Member

Explorer I

5,830
Elizabethton, TN
First Name
Mike
Last Name
Klepp
Member #

15512

I think fuel injection is definitely the way to go, although I have no insight for this model. You've got a sweet piece there and I'm excited to see what comes next. As far as formatting goes I think you're on the right track, creating new posts can make it a little easier to keep up with as the page count goes up. Keep up the good work, Robert!
 
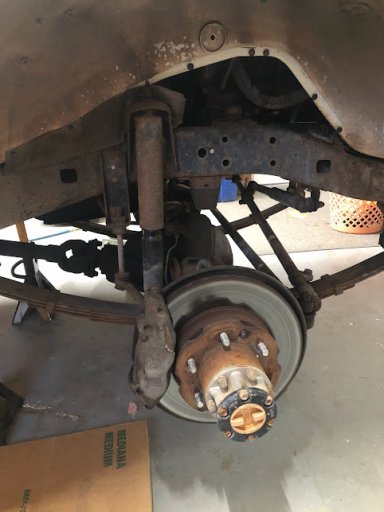
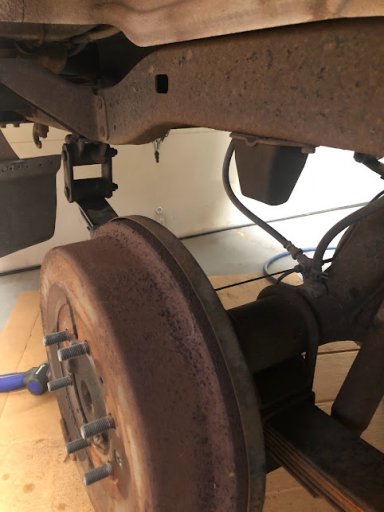
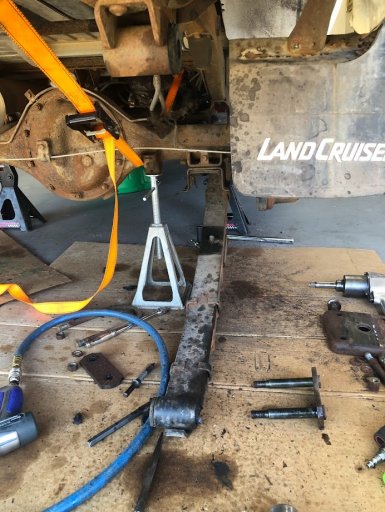
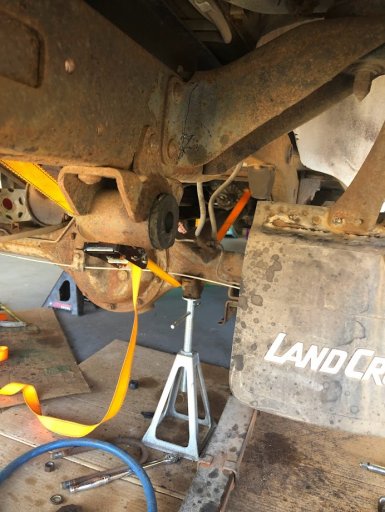
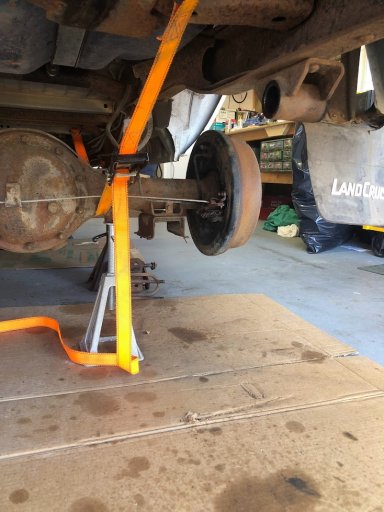
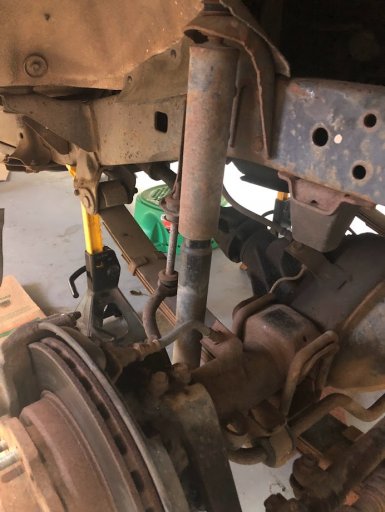
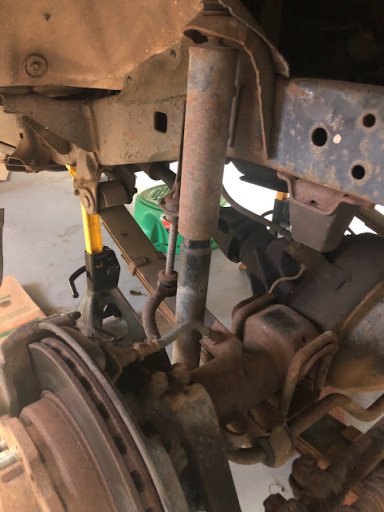
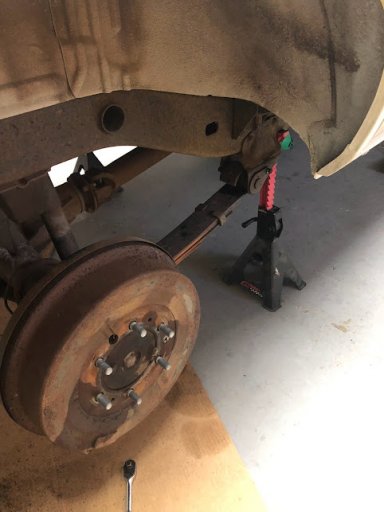
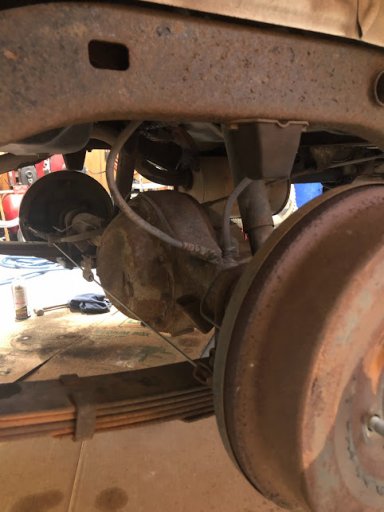
My lift kit is in route so I thought I would put the rig up on jack stands and spray all the bolts with penetrating oil. With the axle being on top of the spring I will put stands under the axle then drop the leaf springs leaving the axle on the stands. IMG_1951.jpgIMG_1952.jpgIMG_1953.jpgIMG_1954.jpgIMG_1955.jpgIMG_1956.jpg
 
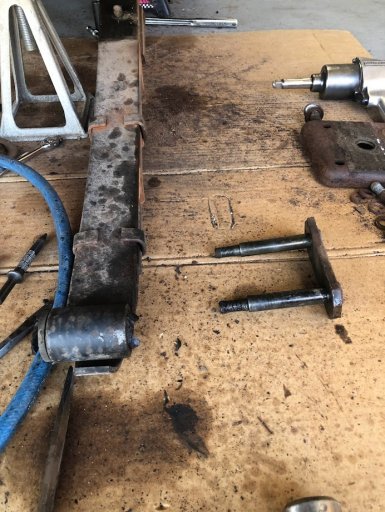
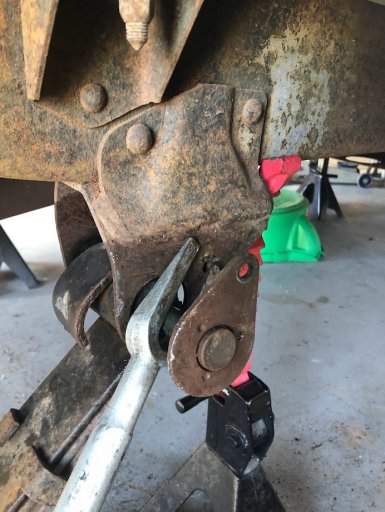
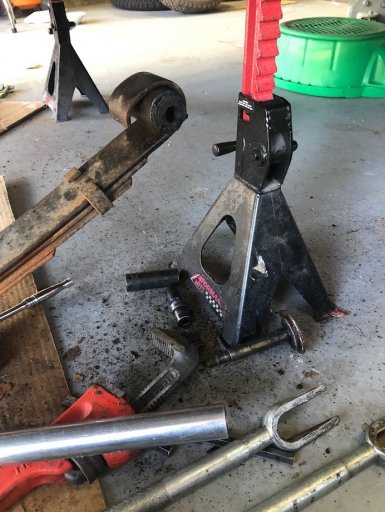
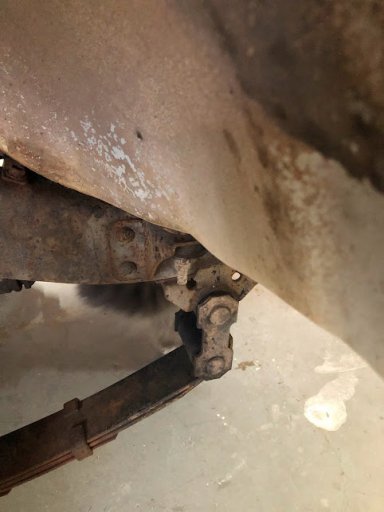
Busy weekend! Pulled off one leaf spring, not exactly setting any records. So the nuts all came off with no hassles but the forward pin and rear shackle whole different story. The rubber bushings did not want to let go. Took lots of PJ Blaster and every method of prying I could think of. Air hammer was useless as the rubber just absorbed the shock. So prying and twisting was the battle plan. Four hours later one spring out. I used a cargo strap and a trailer stabilizer jack to support the axle while the spring is out. IMG_1961.jpgIMG_1962.jpgIMG_1963.jpgIMG_1965.jpgIMG_1966.jpgIMG_1967.jpgOther springs will be next weekend. Once all the springs are removed I will paint the frame with POR-15.
 
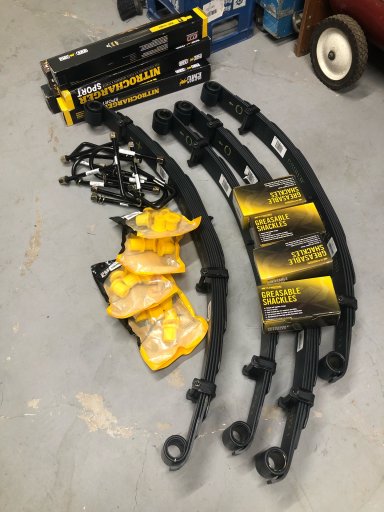
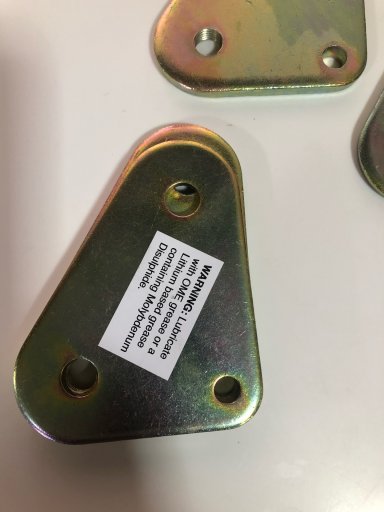
Well after seven weeks of waiting my lift kit finally arrived! I am happy with the quality of the parts but disappointed that one box has the wrong parts. What a bummer the rear shackle kit has mismatched side plates. On another note Leaf spring lifts are so simple compared to coil lifts. No control arms, track bars, drop brackets, etc. With leafs all you need is springs, shocks, u-bolts maybe brake lines if needed and your done.
 

Attachments

Last edited by a moderator:
Ob1

Rank VI
Launch Member

Influencer I

3,057
Palo Alto, CA, USA
First Name
Ofer
Last Name
Bruhis
Member #

17919

Ham/GMRS Callsign
KD6UKE
Well after seven weeks of waiting my lift kit finally arrived! I am happy with the quality of the parts but disappointed that one box has the wrong parts. What a bummer the rear shackle kit has mismatched side plates. On another note Leaf spring lifts are so simple compared to coil lifts. No control arms, track bars, drop brackets, etc. With leafs all you need is springs, shocks, u-bolts maybe brake lines if needed and your done.
Robert,

You would love this suspension. We have a 60 series with 500K miles and had the suspension for almost 200K. Broke one leaf once with too much weight on the rig, but other then that it is fantastic.

Cheers
 
Robert,

You would love this suspension. We have a 60 series with 500K miles and had the suspension for almost 200K. Broke one leaf once with too much weight on the rig, but other then that it is fantastic.

Cheers
Good to know! Unfortunately the the company I bought the kit from (Cruiser Corps) is in no hurry to make things right but I have rear shackles ordered from Cruiser Outfitters and they have been great to deal with. They will be my on line source going forward on this build.
 

Ob1

Rank VI
Launch Member

Influencer I

3,057
Palo Alto, CA, USA
First Name
Ofer
Last Name
Bruhis
Member #

17919

Ham/GMRS Callsign
KD6UKE
Robert,

You would love this suspension. We have a 60 series with 500K miles and had the suspension for almost 200K. Broke one leaf once with too much weight on the rig, but other then that it is fantastic.

Cheers
Good to know! Unfortunately the the company I bought the kit from (Cruiser Corps) is in no hurry to make things right but I have rear shackles ordered from Cruiser Outfitters and they have been great to deal with. They will be my on line source going forward on this build.
Yes. It’s hard to build trust in a shop. Ideally you do the work yourself and learn the rig. There is one shop in the west that I know well. Valley Hybrids. People send gear boxes and TC for rebuild from all over the world. I do most of the work myself except injectors etc. If you have any questions, shoot.

Cheers mate.
 
Last edited:
Yes. It’s hard to build trust in a shop. Ideally you do the work yourself and learn the rig. There is one shop in the west that I know well. Valley Hybrids. People send gear boxes and TC for rebuild from all over the world. I do most of the work myself except injectors etc. If you have any questions, shoot.

Cheers mate.
I agree which is why I do all my own work. Helps that I am an aircraft mechanic by trade and once upon a time I did own a auto repair shop.
 
  • Like
Reactions: Ob1
Good to know! Unfortunately the the company I bought the kit from (Cruiser Corps) is in no hurry to make things right but I have rear shackles ordered from Cruiser Outfitters and they have been great to deal with. They will be my on line source going forward on this build.
My suspension install has resumed. No thanks to Cruiser Corps after two weeks still no answer on how they intend to replace or refund me for the rear shackles. However made a call to Cruiser Outfitters and three days later had the parts I needed to continue my project. Hope to make some progress this weekend with some pics.
 
  • Like
Reactions: ZRex

Ob1

Rank VI
Launch Member

Influencer I

3,057
Palo Alto, CA, USA
First Name
Ofer
Last Name
Bruhis
Member #

17919

Ham/GMRS Callsign
KD6UKE
My suspension install has resumed. No thanks to Cruiser Corps after two weeks still no answer on how they intend to replace or refund me for the rear shackles. However made a call to Cruiser Outfitters and three days later had the parts I needed to continue my project. Hope to make some progress this weekend with some pics.
My interaction with Cruiser Outfitters was the same. Phenomenal! They are great.
 
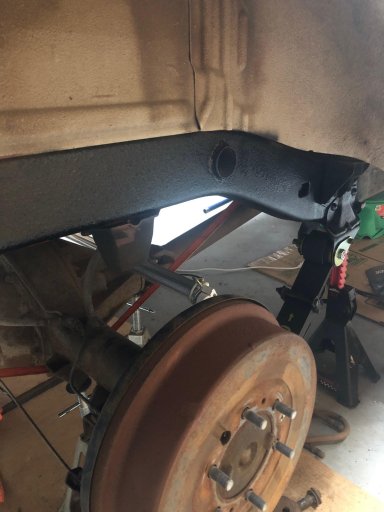
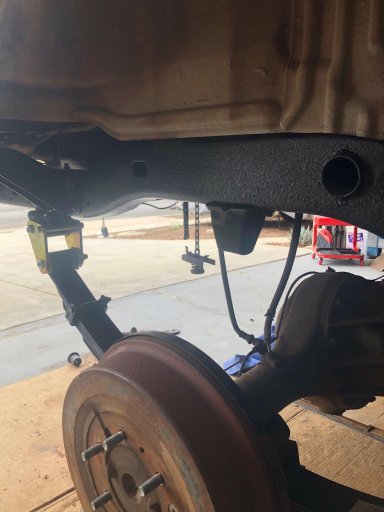
Spent the weekend wire brushing and painting the rear frame and installing new rear leaf springs, bushings and shackles. This kit has greaseable shackle bolts with zerk fittings. Makes it easy to maintain. Next up is replacing brake hose with a longer hose and longer diff vent hose.

Frame.jpgRear shackle.jpglift front.jpglift fronta.jpg
 
Last edited by a moderator:
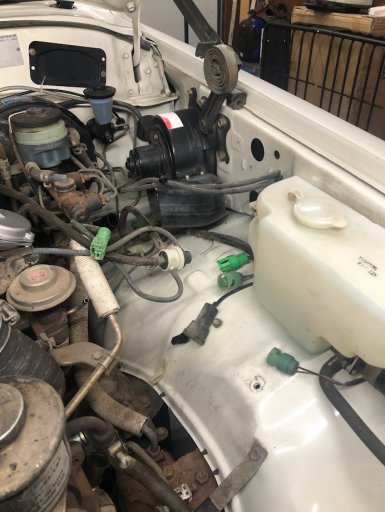
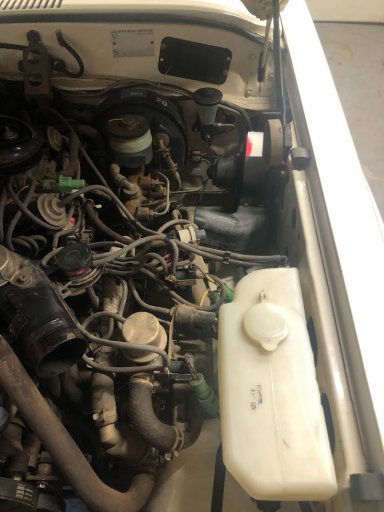
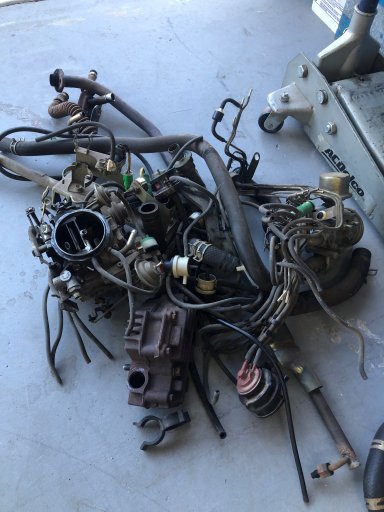
Now that the suspension has been installed, I have started doing a de-smog in preparation for fuel injection. What a ton of garbage! Removed at least 40 pounds of tubes, valves, switches and brackets. Will install a EGR block off plate and install plugs where the air injection manifold used to be. Then need to re-install vacuum lines for timing advance, Fuel vapor canister and PVC system. Once I get the fuel injection installed I think this will run cleaner then it did with 35 year old technology. The fuel injection will use an O2 sensor in the exhaust to control fuel mixture. Way cleaner then trying to re-burn exhaust with un-burn fuel. The cat is still and functional. Top picture is after removing all the EGR control system.

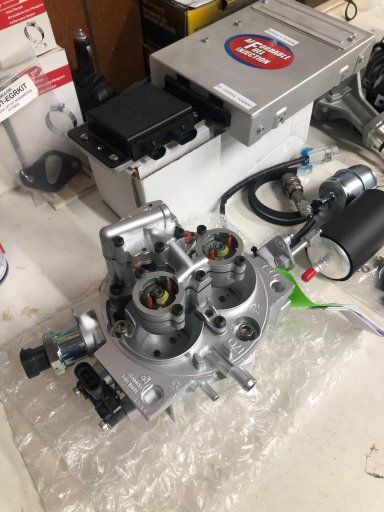
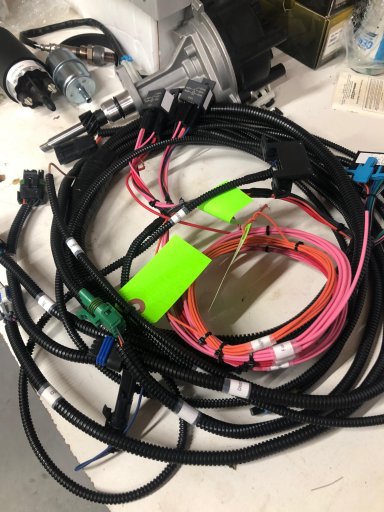
Step 2 My fuel injection is here!!

Smog after.jpg
Smog before.jpg
smog junk.jpg
AFIa.jpgAFIb.jpg
 
Last edited by a moderator:
  • Like
Reactions: Ob1