Enthusiast III
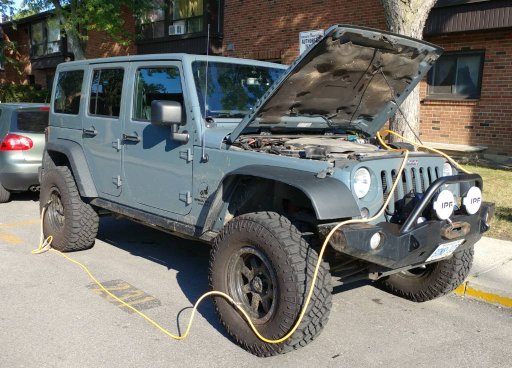
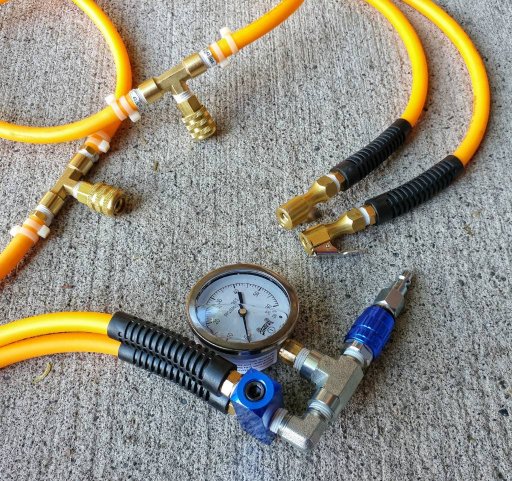
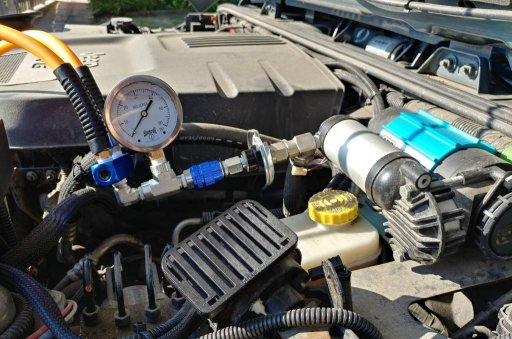
Airing down tires for traction is an old trick that is used by many looking to gain traction. Airing down each tire on its own, and then airing it back up can be faster with a 4 way setup.
I recently made this setup based on the following video.
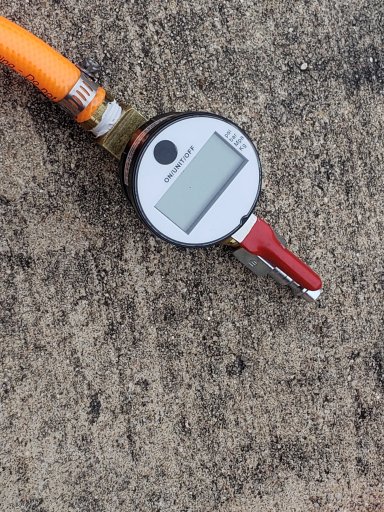
with a slight change, I made the Gauge and airport assembly removable so that it would be easier to protect the digital pressure gauge. Not shown is the 2 extra male threaded barbed adapter or the hose clamps. and quick release chuck and extra fitting
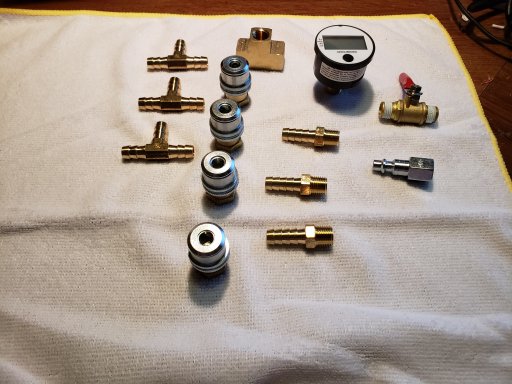
updated parts list from video decription
50’ 3/8 air hose http://amzn.to/2tCWsek
Cut into 7 pieces
2: 12’
2: 8’
2: 3’
1: Leftover section
4: standard bore lock-on air chucks http://amzn.to/2tCZShe
3: 3/8” T hose fitting http://amzn.to/2tx0xQN
1: ¼” brass shut off ball valve http://amzn.to/2seaQ8D
1: ¼” brass barstock female T http://amzn.to/2seuP77
1: Pressure gauge with 1/4” fitting http://amzn.to/2tz3WxZ
5: 3/8” barb with ¼” female fitting http://amzn.to/2szLVvu
15: ¼” to 5/8” hose clamps http://amzn.to/2txf7HZ
2 : ¼” Female NPT Plug http://amzn.to/2seaI99
1: 1/4-Inch Universal Brass Coupler with 1/4-Inch Female NPT
and the extra cut to desired length for you gauge and fill assemble
Start by threading the locking tire chuck on to the ends of the two 12 foot hose section, I mocked everything up with out teflon tape first.
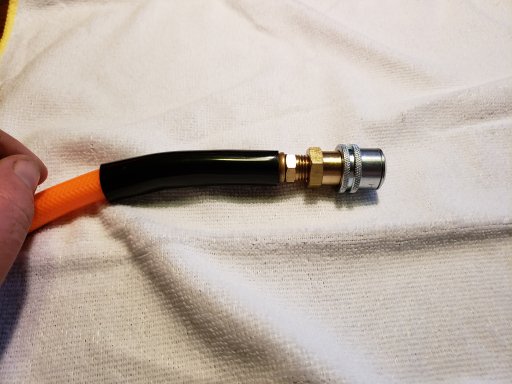
On one end of the 3 foot hose, push in your barbed 1/4" male fitting and secure with a hose clamp, and then attach a locking tire chuck.
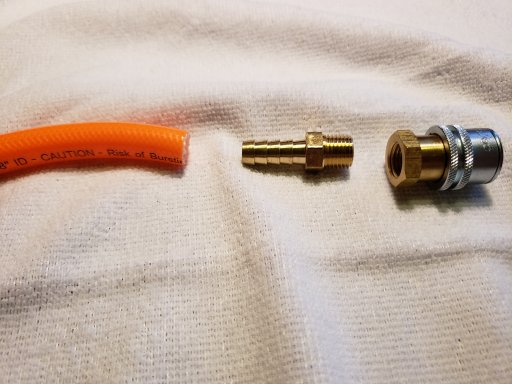
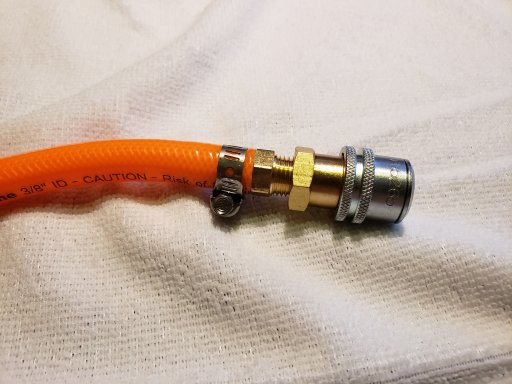
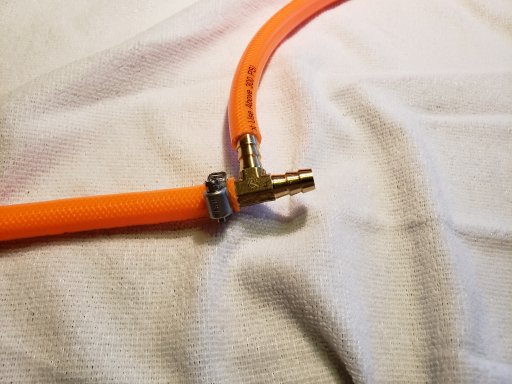
Attach the the 12 foot hose to the base of the barbed T as shown above, and the 3 foot hose to the leg of the T as shown .
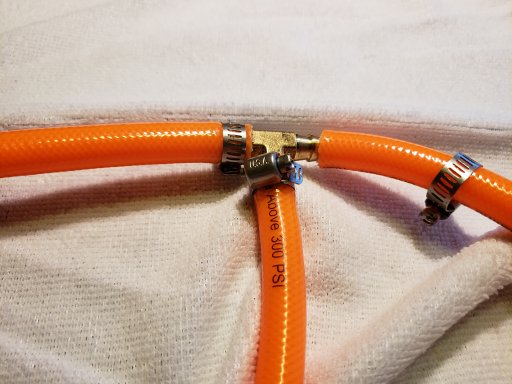
attached the 8 foot length to the other end of the barbed T fitting.
Now repeat with the the remaining 12 foot, 3 foot, and 8 foot piece to make 2 of these assemblies.
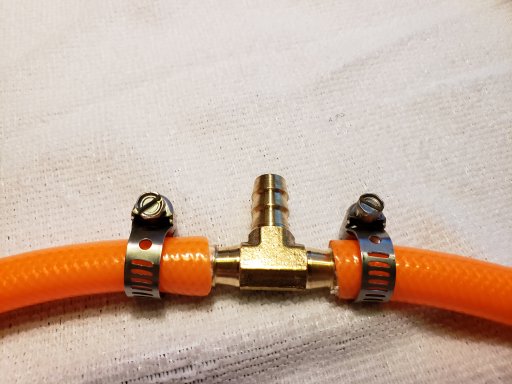
Join the left and right side hose assemblies together with your left over Barbed T.
I then took the left over hose section cut it in half. and added to the T
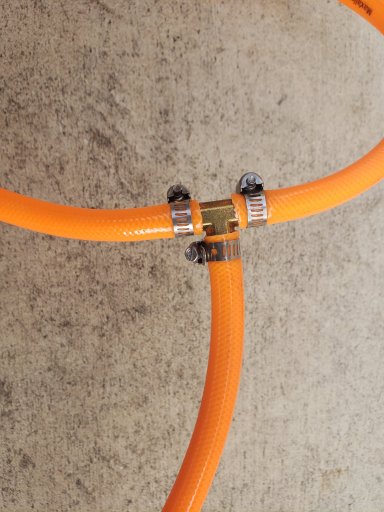
At the other end I added the 4th barbed 1/4" male adapter
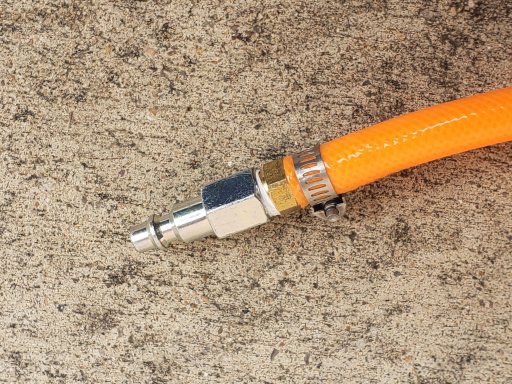 and a Male quick release air fitting
This completes the heart of your 4 way Inflate / Deflate system, The Brains of the system is up next.
the control valve, gauge and air fill /discharge port.
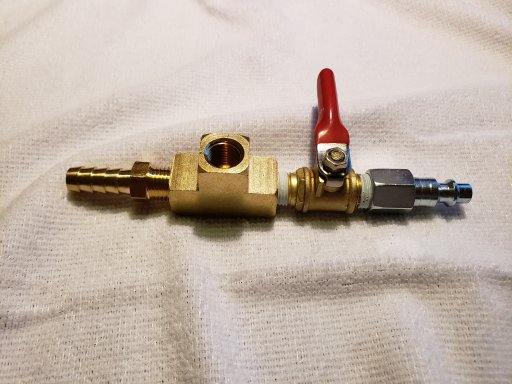
assemble as shown above and tighten all connections to ensure a airtight seal.
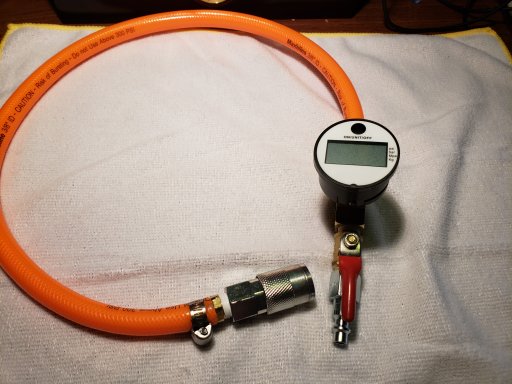
add your pressure gauge, and your 5th 1/4" male threaded barbed adapter, and your quick release air chuck. Line the face of your gauge up so you can read it while using the valve.
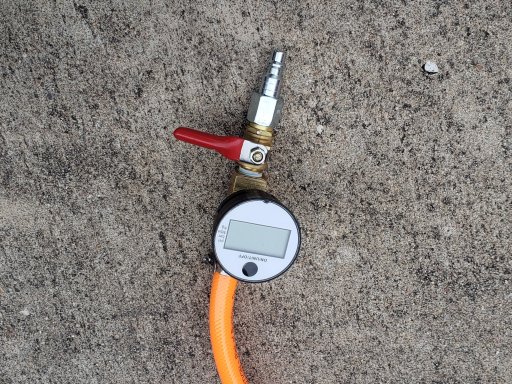
before attaching to your tires you will want to make sure the valve is in the off position or you will start to loose air right away.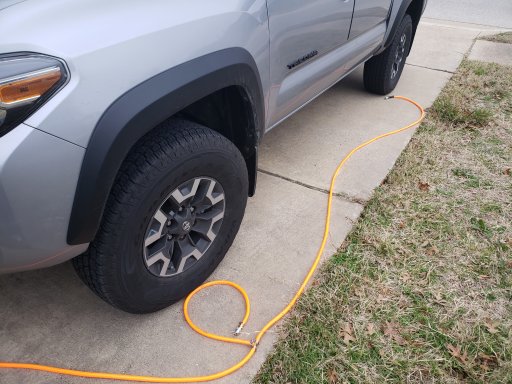
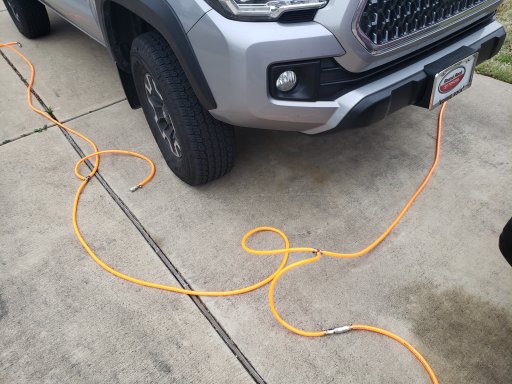
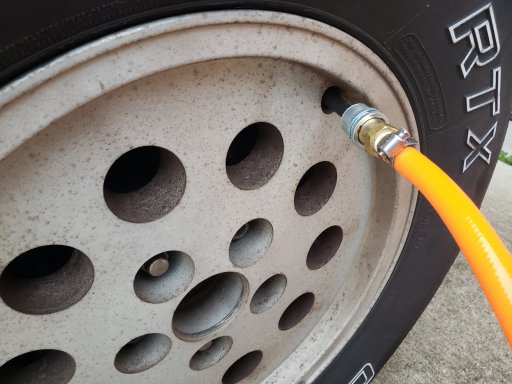
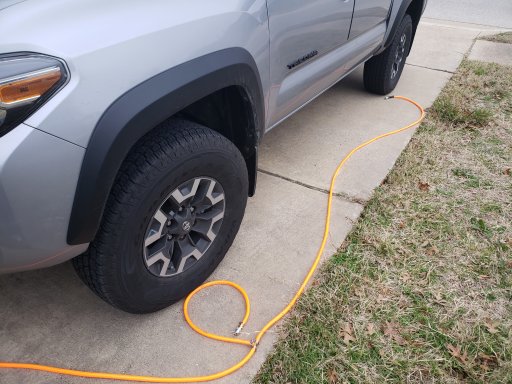
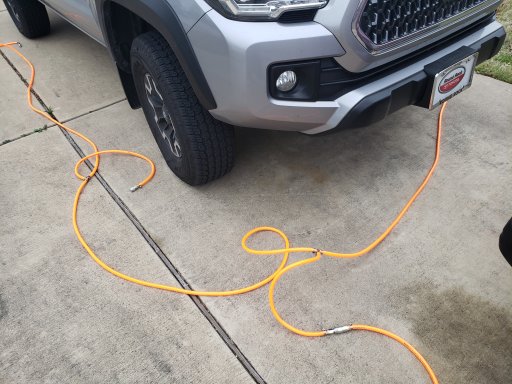
lay out your hoses and attach to your valve stems..
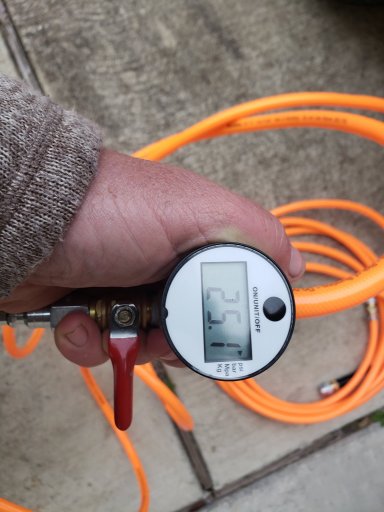
When turn you gauge on and set to PSI, press and release to change settings. press and hold to turn off.
Open the valve and watch your pressure drop. once you reach the desired pressure close the valve, turn the gauge off. and remove the tire chucks.
To inflate just add your air source to the airport before you open the valve.
I recently made this setup based on the following video.
with a slight change, I made the Gauge and airport assembly removable so that it would be easier to protect the digital pressure gauge. Not shown is the 2 extra male threaded barbed adapter or the hose clamps. and quick release chuck and extra fitting

updated parts list from video decription
50’ 3/8 air hose http://amzn.to/2tCWsek
Cut into 7 pieces
2: 12’
2: 8’
2: 3’
1: Leftover section
4: standard bore lock-on air chucks http://amzn.to/2tCZShe
3: 3/8” T hose fitting http://amzn.to/2tx0xQN
1: ¼” brass shut off ball valve http://amzn.to/2seaQ8D
1: ¼” brass barstock female T http://amzn.to/2seuP77
1: Pressure gauge with 1/4” fitting http://amzn.to/2tz3WxZ
5: 3/8” barb with ¼” female fitting http://amzn.to/2szLVvu
15: ¼” to 5/8” hose clamps http://amzn.to/2txf7HZ
2 : ¼” Female NPT Plug http://amzn.to/2seaI99
1: 1/4-Inch Universal Brass Coupler with 1/4-Inch Female NPT
and the extra cut to desired length for you gauge and fill assemble
Start by threading the locking tire chuck on to the ends of the two 12 foot hose section, I mocked everything up with out teflon tape first.

On one end of the 3 foot hose, push in your barbed 1/4" male fitting and secure with a hose clamp, and then attach a locking tire chuck.


Attach the the 12 foot hose to the base of the barbed T as shown above, and the 3 foot hose to the leg of the T as shown .

attached the 8 foot length to the other end of the barbed T fitting.
Now repeat with the the remaining 12 foot, 3 foot, and 8 foot piece to make 2 of these assemblies.

Join the left and right side hose assemblies together with your left over Barbed T.
I then took the left over hose section cut it in half. and added to the T

At the other end I added the 4th barbed 1/4" male adapter
 and a Male quick release air fitting
This completes the heart of your 4 way Inflate / Deflate system, The Brains of the system is up next.
the control valve, gauge and air fill /discharge port.

assemble as shown above and tighten all connections to ensure a airtight seal.

add your pressure gauge, and your 5th 1/4" male threaded barbed adapter, and your quick release air chuck. Line the face of your gauge up so you can read it while using the valve.

before attaching to your tires you will want to make sure the valve is in the off position or you will start to loose air right away.


lay out your hoses and attach to your valve stems..

When turn you gauge on and set to PSI, press and release to change settings. press and hold to turn off.
Open the valve and watch your pressure drop. once you reach the desired pressure close the valve, turn the gauge off. and remove the tire chucks.
To inflate just add your air source to the airport before you open the valve.
Attachments
-
2.2 MB Views: 66
-
5.2 MB Views: 32
-
5.3 MB Views: 32

