2017 Subaru Forester XT Touring - fast offroad tourer

  • HTML tutorial

SnookSniper

Rank III

Enthusiast I

874
Seminole, FL, USA
First Name
Zach
Last Name
Herman
Member #

29293

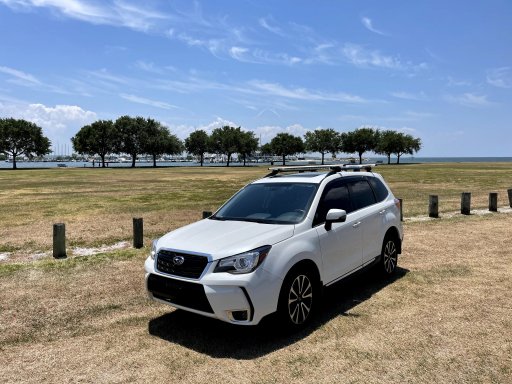
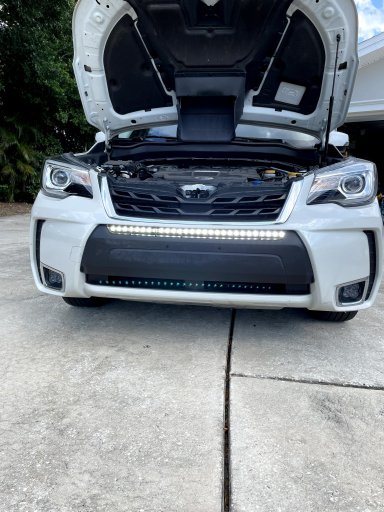
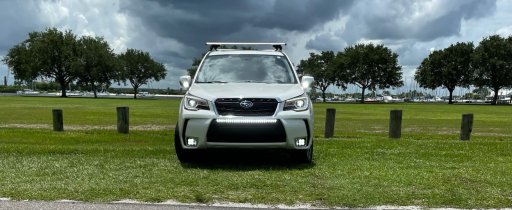
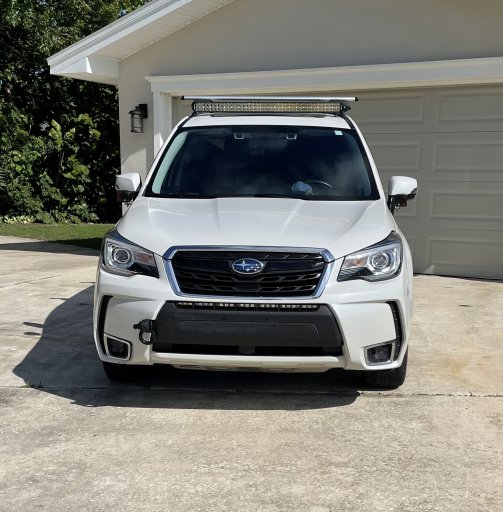
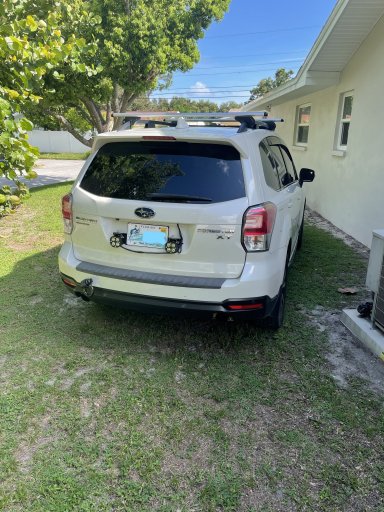
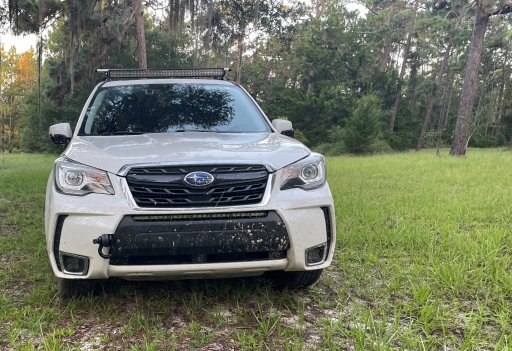
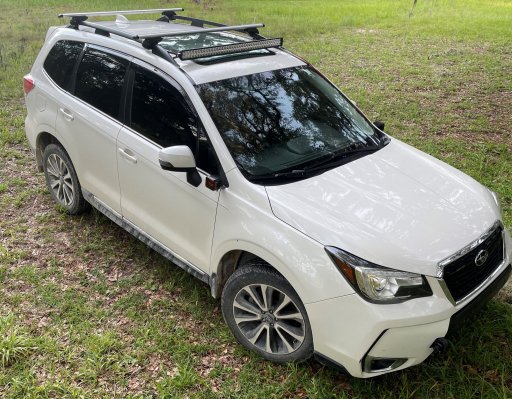
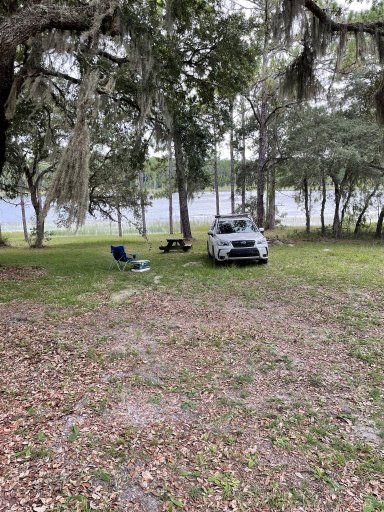
Early in 2020, I picked up a 2017 Subaru Forester XT. For those who don't know, this is basically the SUV version of the WRX. It has a 2.0L turbo boxer engine that's quite a bit of fun, even stock. It's my daily for a long commute, so I'm not going to do many modifications to increase maintenance - a lift kit, for example. I'm trying to keep it as close to stock as possible, mechanically at least.


fxt.jpg
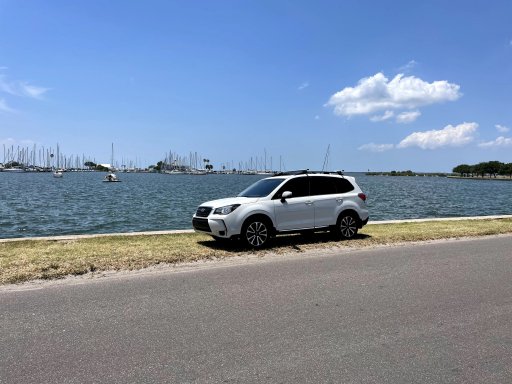
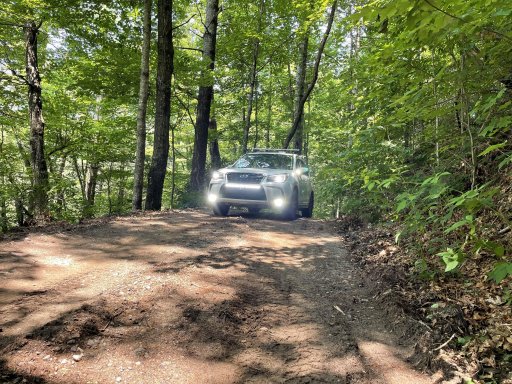
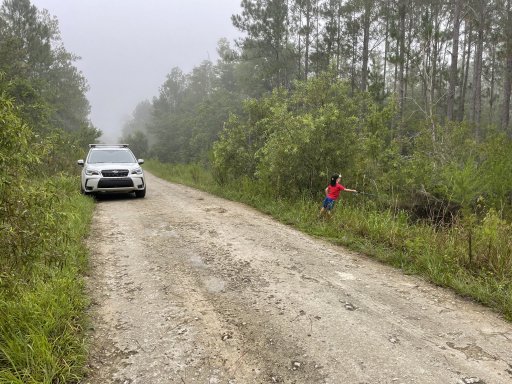
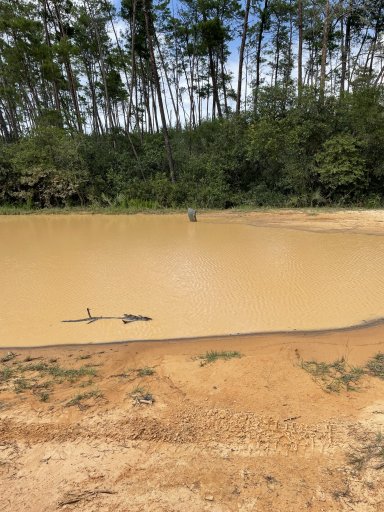
It's not actually that fast – these days, 250hp isn't much. It's connected and fun to drive, though – if you drive slow, it always feels like it's asking if you're sure you don't want to dip into the boost. I find I usually do. This particular one was a beautiful pearl metallic, had the turbo and the top-of-the-line touring package, Eyesight, adaptive cruise, King Ranch-esque saddle brown leather interior, torque vectoring all wheel drive, etc. The factory ground clearance is acceptable-ish. The Subaru AWD system seems very good; I'd say it seems similar in character to 4Runner A-TRAC. It's a brake-based limited slip arrangement, and the programming works. I've been in some very deep sugar sand, and it hasn't even considered getting stuck.
 
Last edited:
  • Like
Reactions: Glen Canning

SnookSniper

Rank III

Enthusiast I

874
Seminole, FL, USA
First Name
Zach
Last Name
Herman
Member #

29293

Mods to date:


Valentine One radar detector, hardwired and mirror mounted
Interior LED lights
Lighting:
- Factory steering-sensitive HID headlights
- Diode Dynamics SS3 fogs in factory locations.
- SuperBrightLEDs (“SBL”) 30” single row light bar – was originally going to be mounted underneath the forward roof rack crossbar, but I didn't like the change in... center of wind resistance, I guess? The roof rack cross bars already add some noise and drag, but even a single row led bar mounted underneath was causing far more marginal drag than I expected. Obviously the practically-designated factory spot for a light bar (behind the bumper) has always been appealing. I wanted the additional angular coverage a roof-mounted LED bar would provide – especially cresting the occasional misplaced hill around here in Florida – but ultimately the aerodynamic price proved too steep. I decided to mount it where everyone else has, for good reason. It certainly looks pretty there. I'll leave the pictures here in case anyone is interested in trying it out. It should work for any vehicle capable of taking the roof rack cross bars.
- 4x SBL 6” led bars – waiting to be mounted somewhere, likely under the roof rack side supports. Currently, two of them are on one of the roof rack bars. They may or may not stay there.
- Backup LEDs, license plate LEDs, etc.
Custom fishing rod holder
Florida tint
Arm rest storage mod
Roof rack crossbars
fxt roof led bar.jpg
fxt2.jpg
rear 2x 6 led bars.jpg

I wound up abandoning this setup because I didn't like the way I'd have to wire it, and because people keep thinking I was an undercover cop. No good.
 
Last edited:

SnookSniper

Rank III

Enthusiast I

874
Seminole, FL, USA
First Name
Zach
Last Name
Herman
Member #

29293

Mounting the LED bar

The brackets that came with the SBL LEDs were hot garbage already ( a known and considered fact), and neither of the two possible mounting orientations was even close to high enough. The 30” light bar I have is probably wider than it really needs to be, but it actually works out quite well with the factory cutout. You could use pretty much any length of single row LED bar in there (note that there will be some loss of flood spread due to the bumper, so a tighter pattern will likely do more for your you.

The switch is a 3-gang Nilight model with a voltmeter. I currently have it wired to a cigarette lighter plug and plugged into the cigarette lighter back there. The switch panel also has USB outs, which is nice. I fabricated the bezel out of a commercial napkin holder from Amazon. These things are a great tool. I stole the idea from a guy over on one of the Tacoma forums for my 4Runner, and I've used them for console organization and for materials for builds such as this one. I've probably bought five of them, and I'm about due to order five more.

Mounted the 30” single row SuperBrightLEDs bar behind the grill. My initial plan was to mount it under the aftermarket roof rack cross bars. I figured out the right combination of stainless hardware to get it on there. I had to shove a wrench inside the aluminum bars to get everything tightened down. It looked really cool, but had significant wind noise and wind resistance. Note that there would likely have been a corrosive reaction between the stainless and the aluminum bars, but I didn't keep it together long enough to have any insight beyond that. Mostly due to wiring and wind considerations, I decided to ditch the entire idea and mount the bar behind the grill.

I hadn't planned on doing it that way, or I likely would have ordered the Diode Dynamics kit for this application and saved myself the hassle of fabricating the brackets. Baja Designs was another strong contender, but I decided not to drop the money at this time.

Once the bar was mounted up behind the grill, it was time to attack the wiring. I heavily modified three Nilight two-lead LED bar installation kits to form the wiring harness. I took some angle aluminum and made a bar to hold the three relays. In the past, I've always seemed to go through a lot of relays, so I opted to make them mount via zip ties. If I need to replace one in the field, I can just cut the zip tie with a knife, or simply plug in the new relay next to the old one until I can make the complete switch back in civilization. The aluminum bar mounts under one of the strut tower bolts. It's okay, but I may look for a cleaner solution. Any suggestions here? Are there relay boxes which can handle the amperage of several LED bars?

Everything plugged in and looking pretty, with the remote touched to the positive battery terminal to confirm function.

Still need to wire up the remote leads through the firewall. I decided to take a little extra time here to make it a reusable, quality product. I used 14AWG wire, which is serious overkill for a remote wire. The good news is that it's big enough to handle a decent current if I decide I need power running through the firewall for some reason. Got everything done up and ready to go in the car, but I'm going to wait to run my incoming Midland ghost antenna at the same time as the remote leads. No need to open up the grommet twice.
 

Attachments

SnookSniper

Rank III

Enthusiast I

874
Seminole, FL, USA
First Name
Zach
Last Name
Herman
Member #

29293

Nice job! Any updates? Any pics of how you mounted switches inside?

Cheers!
As it happens, yes - I’ve been working on it. I couldn’t find a way I liked to mount the Nilite panel, so I decided to spring for an AAC Switch 4+. The switch fits perfectly. Currently l, I only have the ditch lights and LED bar wired up. It’ll be nice to have some extra light up in the mountains; the XT and I are taking our talents to North Georgia this weekend.

media.jpg

media.jpg
 
Last edited:
  • Like
Reactions: Fozlander

SnookSniper

Rank III

Enthusiast I

874
Seminole, FL, USA
First Name
Zach
Last Name
Herman
Member #

29293

The Forester XT was flawless on a 1400 mile trip up to Georgia and NC for the 4th. I did the hill climb up to the Darnell Shooting Range twice, and thought about going back for more. They've made some improvements since the last time I was up, and I had no issues with the stock suspension and street tires. The roads up there are just SO much more fun than what we get down here. CVT or no CVT, this car is great. It feels like a sports car on road and like a mountain goat in the dirt. I think I may drive it 'til the wheels fall off.

FXT GA.jpg
 

SnookSniper

Rank III

Enthusiast I

874
Seminole, FL, USA
First Name
Zach
Last Name
Herman
Member #

29293

Took a quick morning trip up to Richloam WMA. It was raining earlier and everything was wet. Lots of soggy trails I wouldn't have taken in my Silverado, much less an FXT on stock pizza cutters. Stuck mostly to the main trails, but still saw lots of deer and wild turkey. Did some fishing in places I'm not entirely sure contained fish, but the kiddo had fun. We had a great morning exploring in the mist.IMG_0768.JPGIMG_0777.JPG
 

Attachments

  • Like
Reactions: Fozlander

SnookSniper

Rank III

Enthusiast I

874
Seminole, FL, USA
First Name
Zach
Last Name
Herman
Member #

29293

In case you've never had the pleasure of using the Subie auto high beams, I don't recommend them. For instance, they don't even work under 21mph. So, on virtually any tricky terrain, the high beams don't work unless you manually hold them on all the time. This defective nonsense from Subaru has been the main impetus to add the lights. The little 30" single row just wasn't doing it for me (I may keep it on there and tie it into the high beams on a relay - even when the high beams decide to turn on, they're not as good as I expect from HIDs), so I added a 40" double row 4WDKing light bar from Amazon. I used some aluminum brackets for a Tacoma and riveted them into the factory roof rack side rails. I flipped the brackets to allow for the extra width - the bar is 42" wide, and I only had 41.5" between the rails. It worked wonderfully; rock solid and it doesn't even whistle!

1 front clean.JPG

Also added some rear lighting on an American Trail Products license plate frame. Currently running some no-name 40w spot pods. They really help when reversing, although they could use a bit more fill. I can always switch them out later if I feel the need.

2 Rear clean.jpg

Did just enough wiring to get the big bar and the rears functional for some woods driving, then headed up to the Ocala National Forest. Forest Road 9 (FR97 on Google Maps) is pretty crazy heading south from Hwy 40. You really should have at least AWD to even think about it. Sugar sand galore with plenty of opportunities to get stuck. Saw an F-150 buried to the frame rails and abandoned out there. Anybody need a bumper?

3 free bumper.JPG

The Subie did wonderfully. Ran some raceway to clean up the wiring a bit, then got rid of the offensive cleanliness. Played in the sand with a Wrangler JKU for a while and helped some clueless kids get the Honda Civic :fearscream: unstuck. Fortunately for them, they'd only made it about 40 feet of the road before getting bogged down.

4 front woods.jpg

The wiring stings the eyes a bit less this way. Hey, it works.

5 rear with raceways.jpg

This wire still needs a bit of help to stay in its channel. I've since run more of the raceway to clean it up and hold it in place. Testing continues.

6 top shot.jpg

IPA time! Cheers!

7 lake.JPG
 

SnookSniper

Rank III

Enthusiast I

874
Seminole, FL, USA
First Name
Zach
Last Name
Herman
Member #

29293

Time for some armor under there. Primitive Racing front and mid skid plates. There was only a moderate amount of cursing involved, mostly because I didn't have a spare set of hands. Easy install, great build quality, everything was spot-on. Nicely done, Primitive.

No rear diff plate, both because I read that the rear diff has more clearance than the front (at stock ride height; my eyeball measurement tends to confirm this) and because I read it was a pain to install. I've since found a Youtube video of someone doing one, and it doesn't look bad at all. I'll probably order one of those as well.

Front and Mid Skid Plates Installed.JPG
 

Patman

Rank III
Member
Investor

Enthusiast III

646
Hollister, Ca
First Name
Patrik
Last Name
Hultin
Member #

28792

Time for some armor under there. Primitive Racing front and mid skid plates. There was only a moderate amount of cursing involved, mostly because I didn't have a spare set of hands. Easy install, great build quality, everything was spot-on. Nicely done, Primitive.

No rear diff plate, both because I read that the rear diff has more clearance than the front (at stock ride height; my eyeball measurement tends to confirm this) and because I read it was a pain to install. I've since found a Youtube video of someone doing one, and it doesn't look bad at all. I'll probably order one of those as well.

View attachment 208969
The primitive rear diff skid is Crazy easy to install. I ran one on my Crosstrek and it took longer to jack it up then to install, no swearing required.