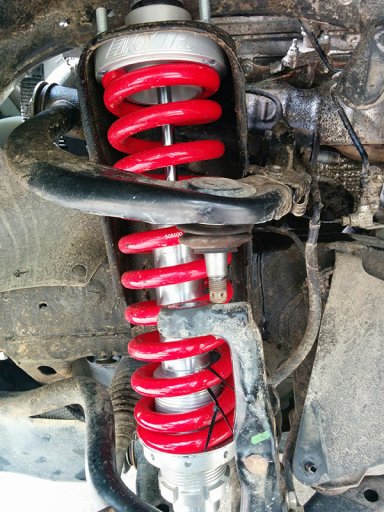
A week after installing the Toytec lift kit, the suspension in the T4R started to groan. I had already purchased Total Chaos UCAs but was still driving on the stock UCAs until the weekend could come and I could install them. I had always heard that if you lift 3" you need UCAs but this really sealed the deal as the truck would groan every time the weight on the chassis shifted.
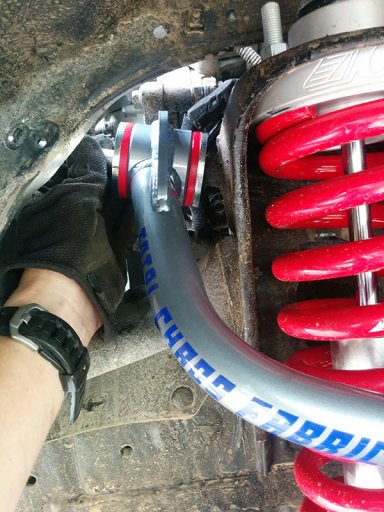
Today, I installed the Total Chaos UCAs. I did a bit of looking around and learning to figure out how to get the UCA long bolt out as it hits the fender preventing full removal. Total Chaos has a good video of a Tacoma install and I used that as a guide.
Here are some pictures of my install with some lessons learned. I will start by saying I am not a mechanic outside of backyard jobs. There are probably better ways to do this, there are usually multiple ways to do anything on a car. This is just what worked for me.
These are all the tools I used for the install, minus a breaker bar I had to grab for a stubborn bolt.

The zerk fittings only need to be snug, they do not need to go flush. The red bushings can be popped in by hand. Grease the inner metal sleeve and then use the deadblow hammer to insert the sleeve into the red bushings like in the video. What is not in the video is that the inside bushing will likely push out a bit after inserting the sleeve. Use the deadblow hammer to ensure the inner bushings are properly set flush with the UCA or you will never get the washer between the bushing and the frame (later on).

The start...
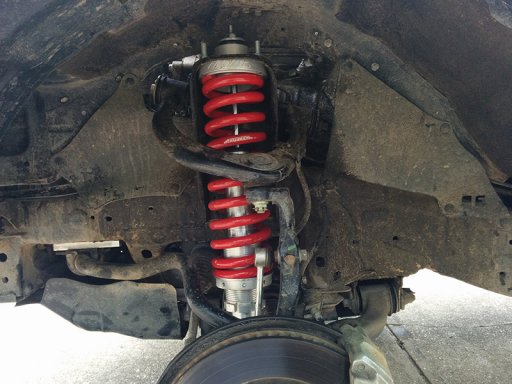
Disconnect the Sway Bar Link.

I loosely zip tied the spindle to my spring so later on it would stay put and not pull on the ABS or brake lines. Many ways to stabilize this part, use what you know.

Remove the dirt guards by popping out the plastic clips. You only need to remove enough clips to get it out of the way. You probably do not need to do the rear one but it made removal of the UCA mounting nut a little easier.


Contrary to the video, you do not need to go in through the top and remove wires. Just pop this one tab from under the wheel well to move the wire out of the way.

Use lockjaw pliers and bend the fender out of the way just enough for the bolt to clear. Make sure you are not grabbing any wires on the back side.

Remove the pin and loosen the castle nut but do not remove.


