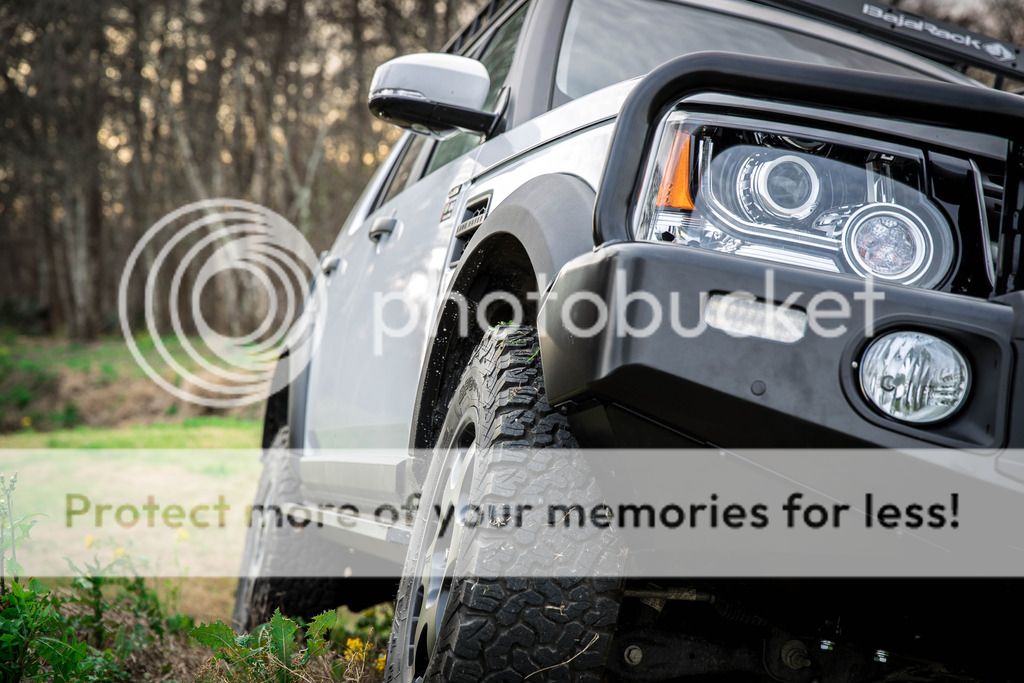
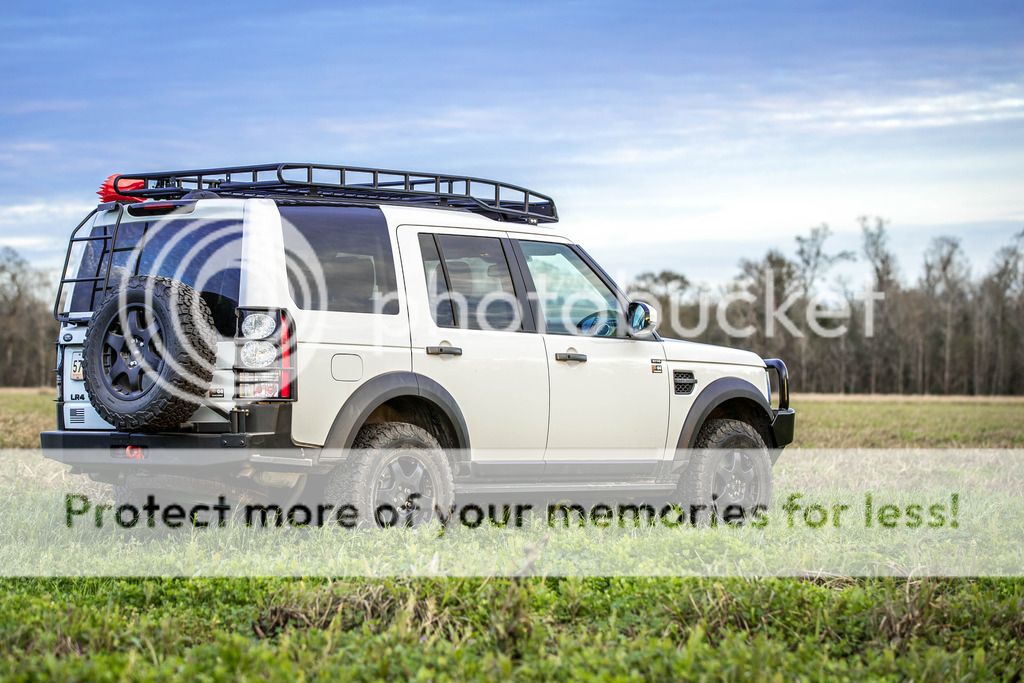
2016 Land Rover LR4 (Discovery 4) Project Build

  • HTML tutorial

Contributor I

60
Louisiana
Member #

2568

Quick introduction: My name is Christopher where I live in Louisiana just south of New Orleans; however, for the past 5 years I’ve been in Europe - UK to be exact just outside of London. I was lucky enough to have a new Defender 110 with the company while there but because of the import rules the Defender had to stay. I’ve been knowing I was coming back to the US for over a year where the ideas to build an overland LR4 started late 2015 as this was really the only option and also dream build of mine. Originally I started to look for a 2013 or older one with the V8 and HD package; however, this proved to be hard to find especially down here in the South where LR’s aren’t that common. I landed back on US soil Nov 4th where I had a rental for up to 2 months with the company but quickly started searching for a LR4. Even on new ones to find a HD package proved to be tough as the supply was getting quite small with production stopped. My local dealership was no help at all where I started looking all over really. I made an inquiry to LR Shreveport where low and behold they had a white 2016 LR4 with just 4K on the clock (demo vehicle) AND it had the rare HD package. I debated to go new but decided rather quickly pull the trigger where I was behind a LR again on Nov 15th.

Here's a shot of the truck just leaving the dealership


And a shot once home in South Louisiana:
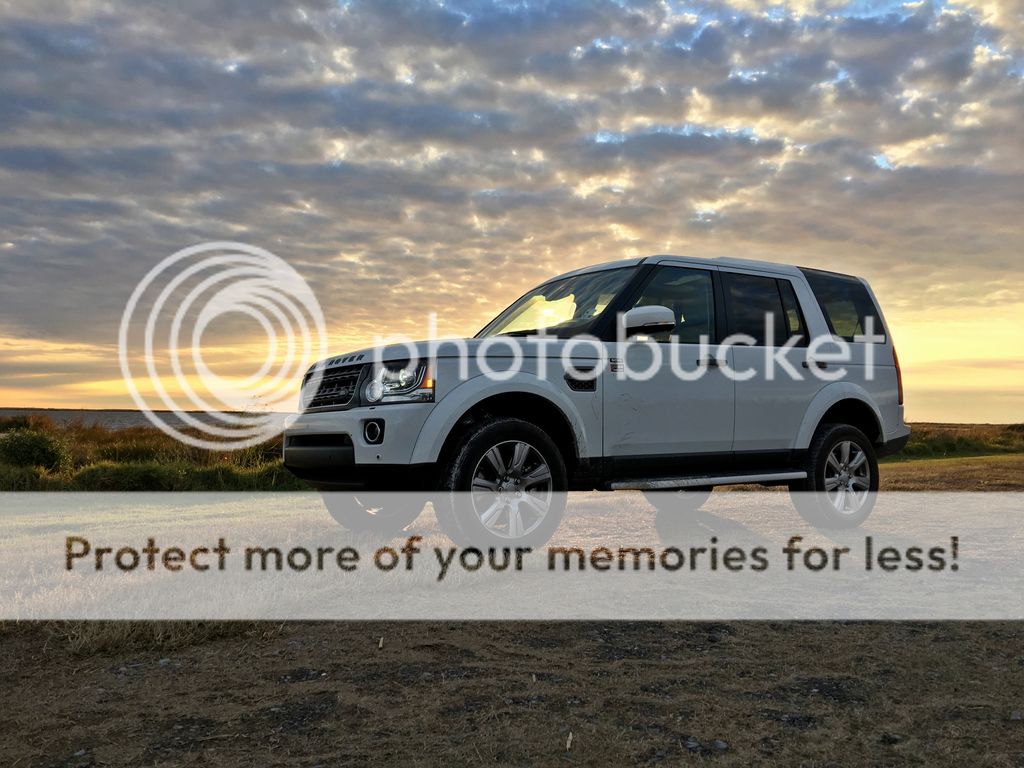


Now it was time to decide after a year of day dreaming on what to order to begin the build process. As you’ll see below I pretty much did everything all in one go but like with any build they are never done. I went to Lucky8 Offroad where Erik there was extremely helpful in getting everything for my truck. I also worked with Greg Johnson at Johnson Rods on the tires and lift rods. Here’s a full list of everything that I’ve done to date that I’ll detail below with pics:
  • ARB Summit Bar
  • Warn ZEON 10-S Winch
  • Johnson Rods
  • BF Goodrich All Terrain KO2 265/65/18
  • Tactical Rovers Rock Sliders (w/ side steps)
  • Tactical Rovers Rear Bumper and Tire Carrier (w/ side steps)
  • Baja Rack (with shovel rack)
  • ARB Intensity Lights
  • KrazyBeaver Shovel
  • Compomotive 18" Wheels & caps
  • Front Runner Ladder
  • Front Runner Drawer System
  • LR seat covers
  • LR Trailer Hitch & wiring harness
  • LR Tail Lamp Guards
  • Proclip iPhone Mount
  • Plasti-Dip (Wheel Flares, Badging, wheel caps and side vents)
  • Painted Tow Hooks

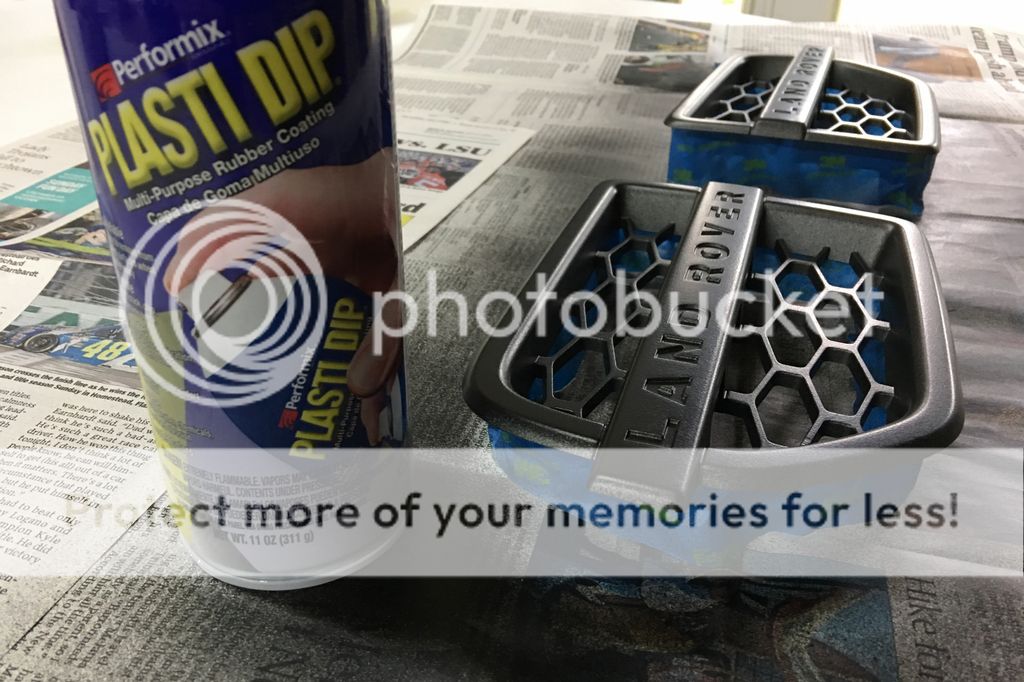
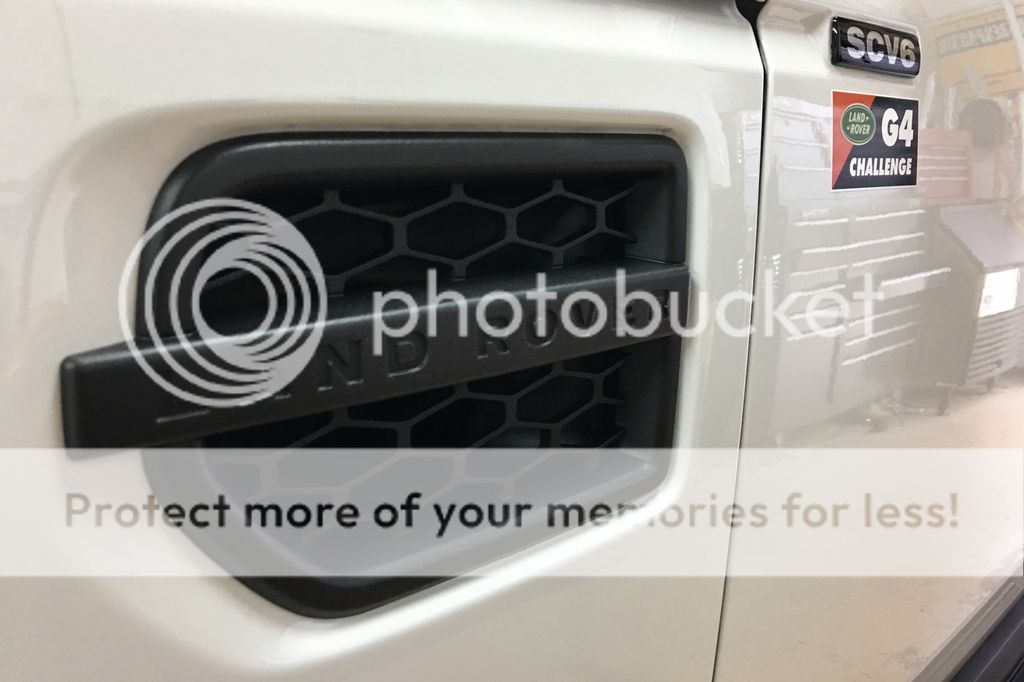
As I was waiting on everything to come in I decided to change the lettering and vents to a flat black. Originally I thought I would look to have these painted or replaced but then got the idea to plasti-dip them. Overall very pleased with the results where you’ll see later I plasti-dip the wheel flares as well.


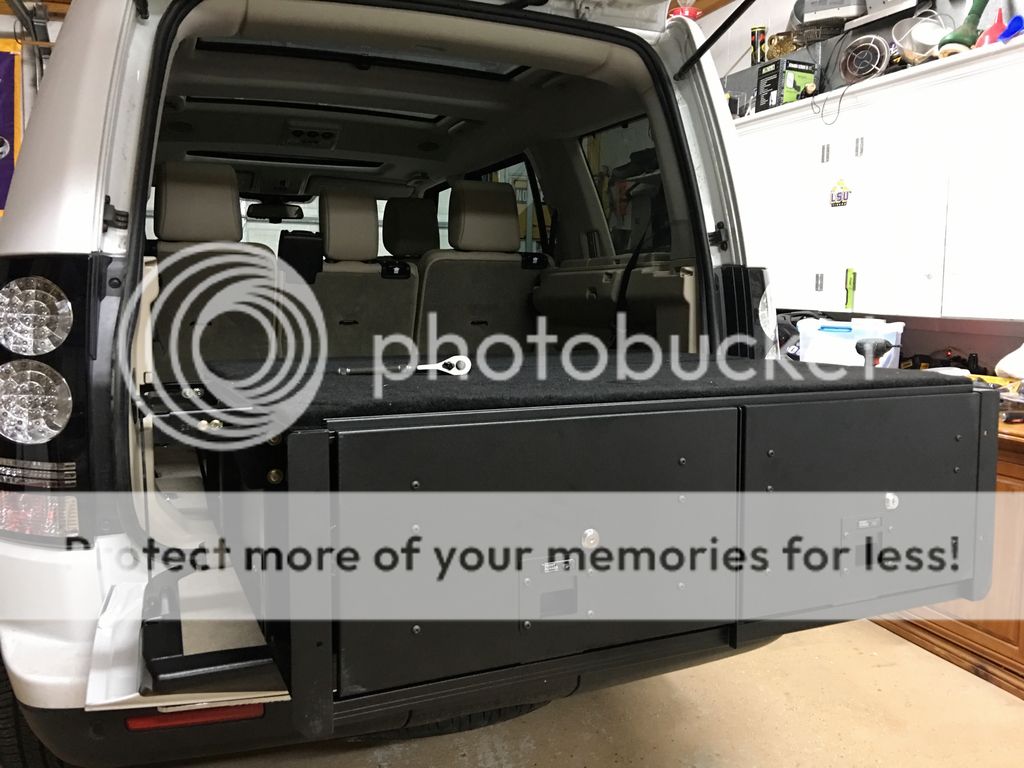
Front Runner Drawer System

Next kit to arrive was the Front Runner Drawer System. I was a little sticker shocked at the price of this unit, but I must say it’s quality kit with zero regrets. This was actually the only item I got help from on the entire project as I simply couldn’t lift it in truck on my own. Simple install but not something you want you want to remove from the truck once installed.


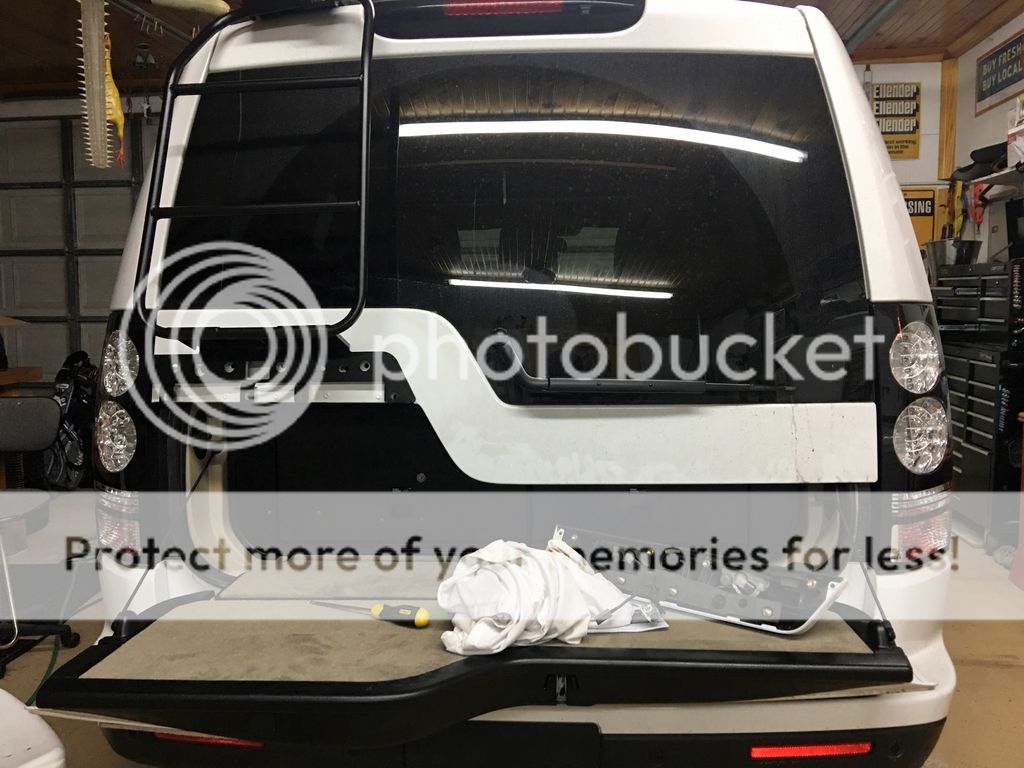
Front Runner Ladder

The ladder was next. I debated hard on the ladder as I was originally going to go with the ProSpeed ladder but knowing I would be doing the rear bumper and tire carrier I opted for the Front Runner ladder as it has the extra step over the OEM one. Install was a bit tricky as it took awhile to get it right without scratching the paint on the rear door.


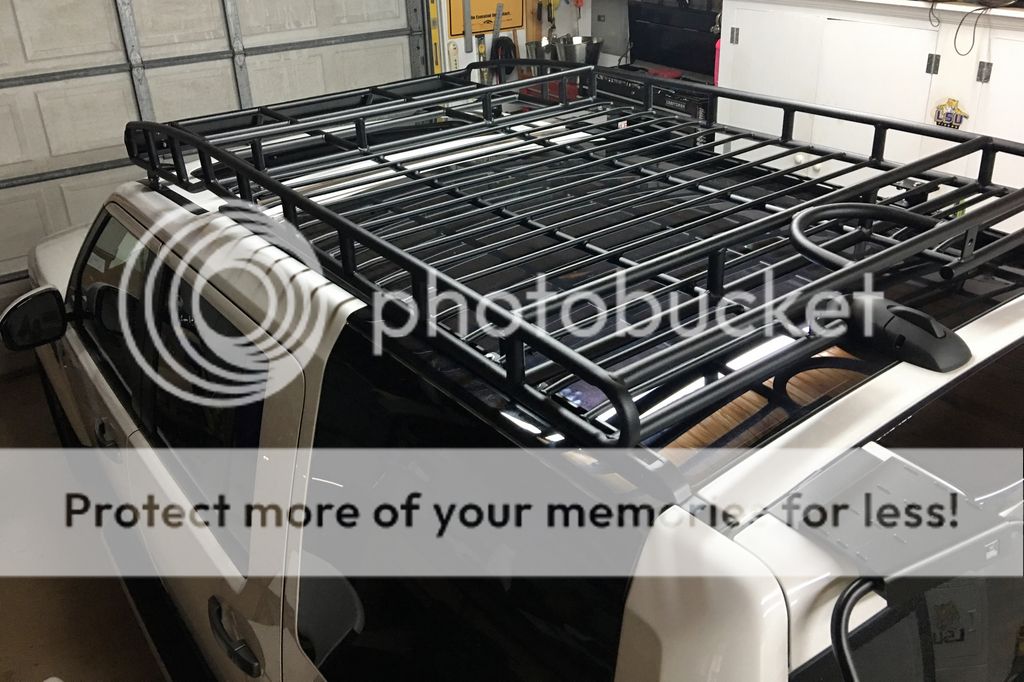
BAJA Rack

UPS then calls to ask if their is room to park a 18 wheeler as they had a delivery from Baja for the adventure rack. Luckily I live on a farm… Like the ladder I was back and forth between this one and the ProSpeed rack. Although I’ve never seen the ProSpeed rack in person I’m quite pleased with the Baja Rack. Very simple and straight forward install but because I have a new LR4 I had to order the shorter rails which was another added expense that became the norm on this project.


Wheels / Tires / Lift Rods

Now the project starts to get exciting when the new wheels showed up almost the same time the tires showed up. From the get go I was always going to go with the 18” compomotive wheels. I actually tried to order these before leaving the UK but couldn’t get them in time before the movers showed up. I also went ahead with Johnson Rods to give that extra lift where I’ve been quite pleased with the set up. In the corners you can somewhat feel the higher height but this isn’t a truck you want to be scorching around corners. Tire size I was torn between going 265 or 275. I went back and forth on this for a few days before opting to go with the BF Goodrich All-Terrain K02 - 265/65/18. I brought this to my local Good Year shop to install and swap out the tire sensors from the original wheels. From first site I knew I made the right decision when I came to pick it up. Pictures of these trucks simply don’t do it justice as its quite impressive in person with the new wheels and lift. I also went ahead and ordered up some black wheel caps and gave them a few coats of plasti-dip as they were a gloss black.

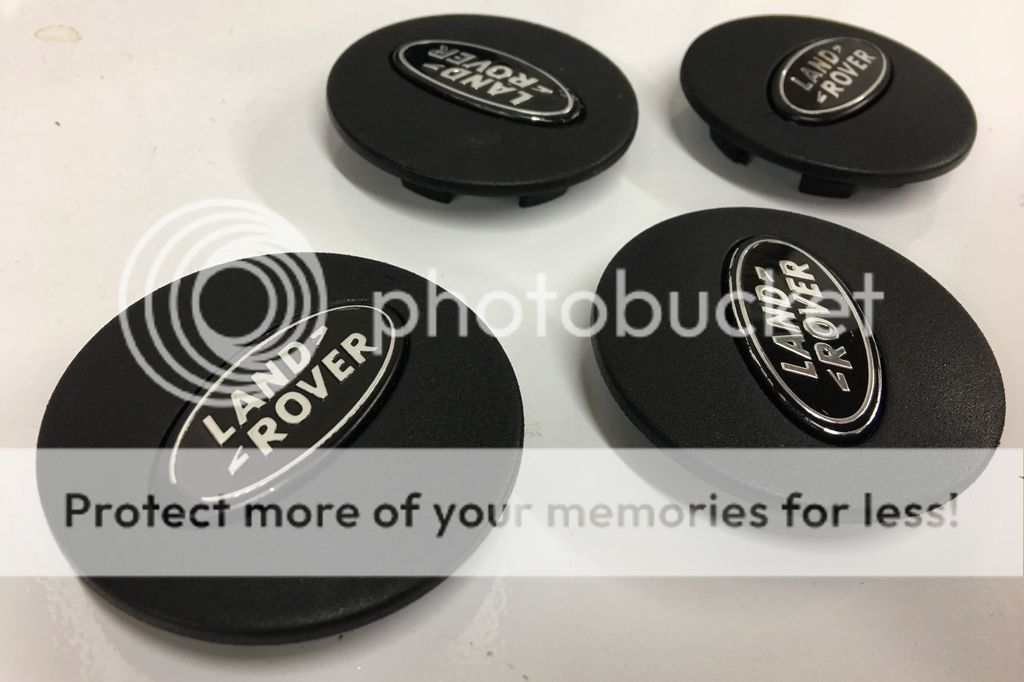


The big wait was on the bumpers as the new ARB Bumper was actually 1 of 4 bumpers to hit US soil in early January. It was just released for the late model LR4s where it was exciting to get the first one. On the rear bumpers there was a slight delay as they had to go back for powder coating due to a quality issue but Eric at Tactical Rovers was extremely helpful.
 

Contributor I

60
Louisiana
Member #

2568

Tactical Rovers Rear Bumper w/ Tire Carrier (and side steps)

First to install was the rear bumper. First impressions was quality pit of kit with some great welds/seems. Bumper was expected with weight but wow the sliders are quite heavy. To remove the rear bumper was quite easy. I opted to not have the sensors installed in the new bumper as with the tire carrier I’m told they don’t work properly where I’m fine with just the camera. Install was very tight where the LH side sits flush but a small gap on the RH side. These small gaps bother me where I tried a few ideas but never could get it to close. In the end though I’m actually not bothered by it. I did have to trim down the underneath side of the bumper with a grinder to allow for the spare tire to raise back up into the rear. Living on a farm I was lucky I had every tool under the sun but I can see where on this project for the normal person this could be quite frustrating.

Bumper removed ready to install the rear bumper:


Bumper installed:


Rear bumper underneath showing the area I had to grind away to allow for the spare to go back in:


Tire Carrier installed. Simple install with decent latch. I’ll miss being able to quickly open the rear door but at the same time it’s not that big of an ordeal to swing out the tire carrier. As noted above I kept the OEM spare as well underneath the truck. Member @finlayforprez kept his where he had good reason in that it provides that extra protection when off road as well as nice to have a 2nd spare if ever in that situation.


Tactical Rovers Rock Sliders

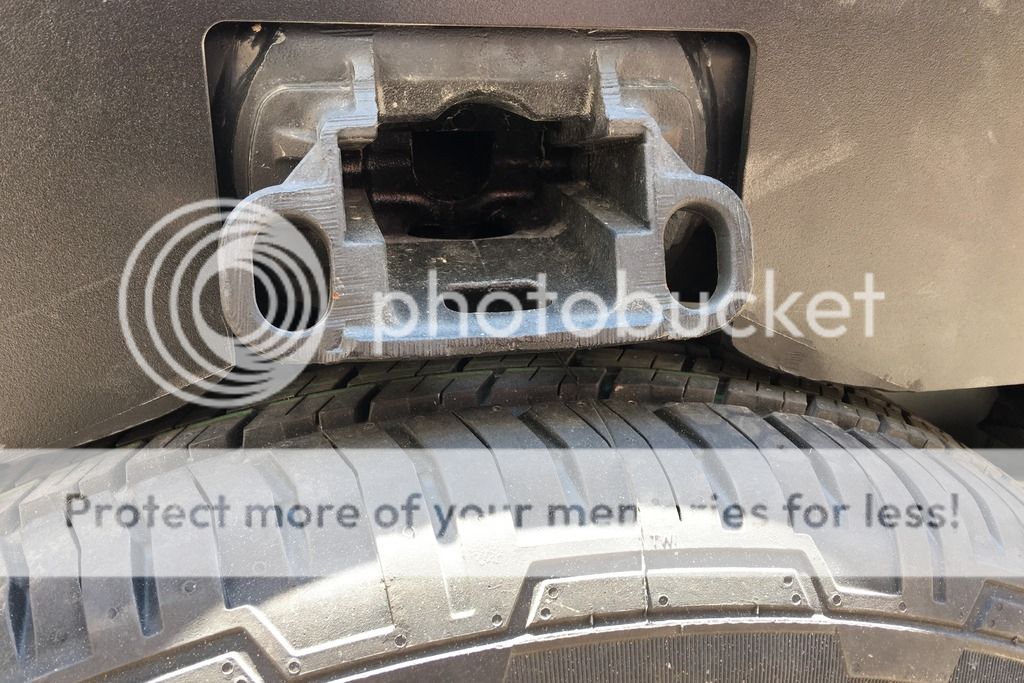
Did I say these are beefy AND heavy but great bit of kit. I read on here and other forums great reviews on these so this was a must. Installing these are your own can be quite tedious. I can’t tell you how many times I was completely under my truck to back on the side using a floor jack to slowly raise them in position to back under the truck again. Needless to say I was quite sore the next day. Only concern I have on these sliders is the relocation bracket for the air pump. Directions call for you to remove the plastic cover which is coated in foam and discard. You then use the new bracket to bring the pump further into the truck without using the original cover. To me the pump appears to be quite exposed especially to water crossings but haven’t seen any negative reports on this. Part of me wishes I tried to install it without using the bracket to see if it fits or wonders why it wasn’t designed to accommodate the original bracket. All in all though great sliders that provide ample protection. I just hope I don’t have to remove them again for any maintenance items.


LH side with sliders installed and area for the relocation bracket:

 
  • Like
Reactions: blackntan

Contributor I

60
Louisiana
Member #

2568

Plasti-Dip (Wheel Flares)

As I had the rear flares off for the bumper install I opted to go ahead with the plasti-dip. I actually went 2 weeks with just the rear flares painted as I was waiting on some key parts for the ARB bumper to show up that wasn’t accounted for in the original order. It also allowed me to see how they would do as well as look compared to the all white look. Upon installing them back on the truck I knew right away I would be doing the rest. Only issue I had was the flares mounted on the rear door. For some reason on the LR4 the clips are totally different than the front and rear flares and completely different than a LR3. I tried to remove the LH side where I was able to get it off of a few clips but saw it would be impossible to remove it further without breaking the rest of the clips. I also can’t see a way to install it back properly where I’ll be going to LR to see if they can’t reinstall this one wheel flare. For the other one I opted to plasti-dip it while on the truck. It’s actually quite easy if you take the time to mask off the truck. Great thing with plasti-dip though is you can just clean up any overspray with some elbow grease. For the flares I believe I ended up with 6 coats to provide a solid even finish.


Tail Light Guards

I originally wanted to install the rear light guards but was told by LR they are not compatible for the new models. I initially pushed this to the side but talking to Eric @ Tactical Rovers about the small gap on the rear bumper he suggested doing the lights guards where he was pretty certain nothing changed on the rear lights. I went ahead and found some on eBay. It does call for a rivet gun as you need to drill into the truck for 2 rivets on each side but I was able to use a technique without a rivet gun which took some patience and time to get right. In the end glad to see they are compatible with no issues.


Painted Tow Hooks

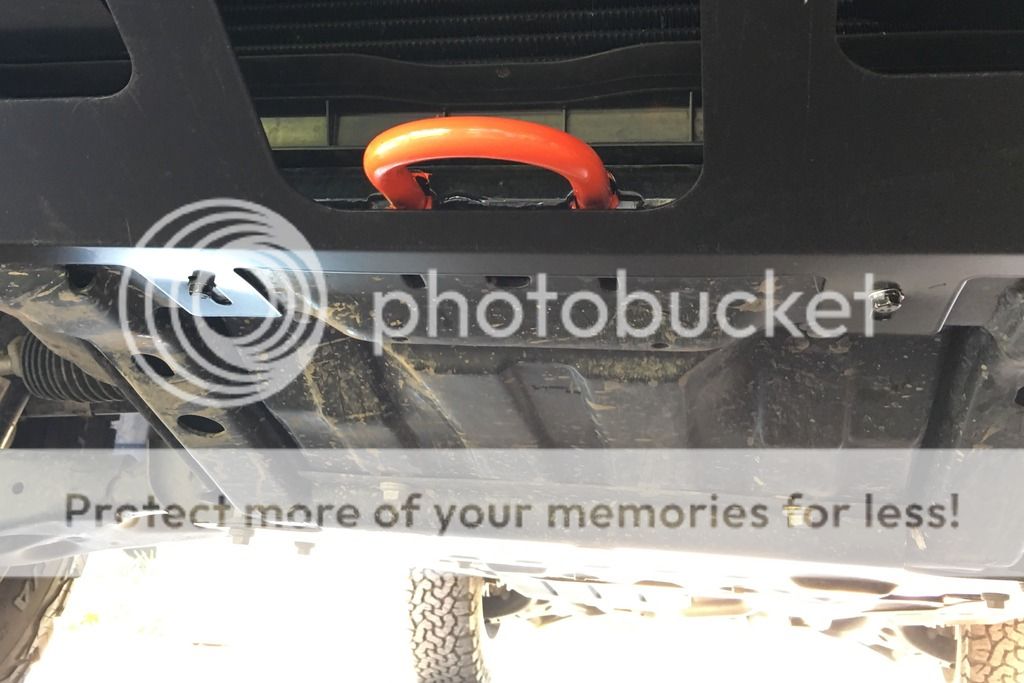
While waiting on the last piece of kit I decided to paint the tow hooks both front and orange to match the orange in the G4 decals.


Contributor I

60
Louisiana
Member #

2568

Now time for the bottom of the 9th for the grand install - the new ARB Bumper with winch and lights.

ARB Summit Bar

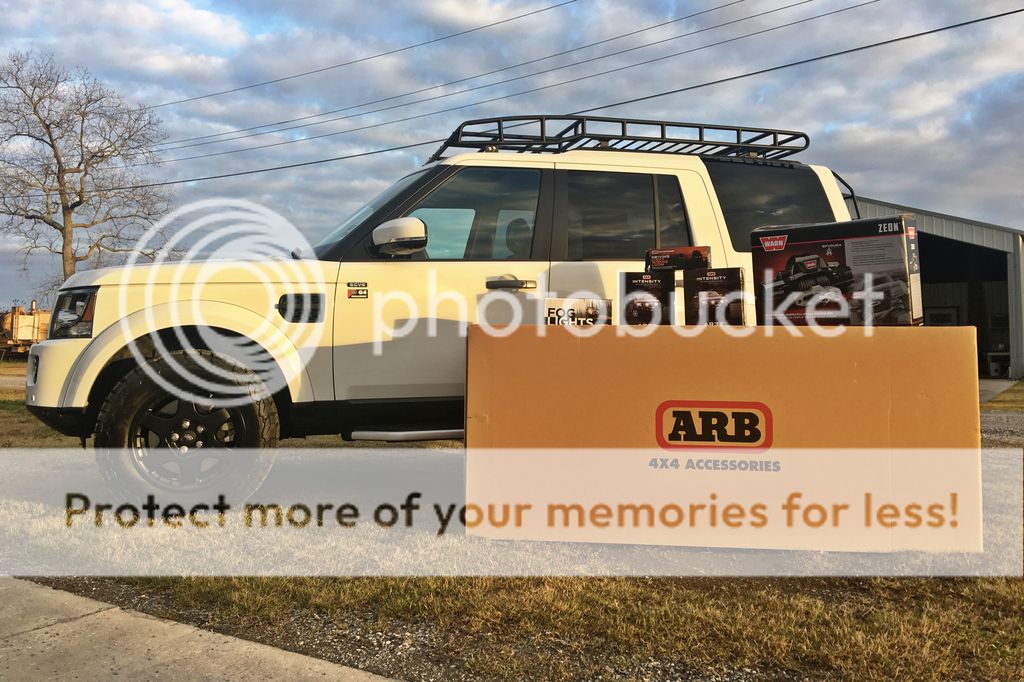
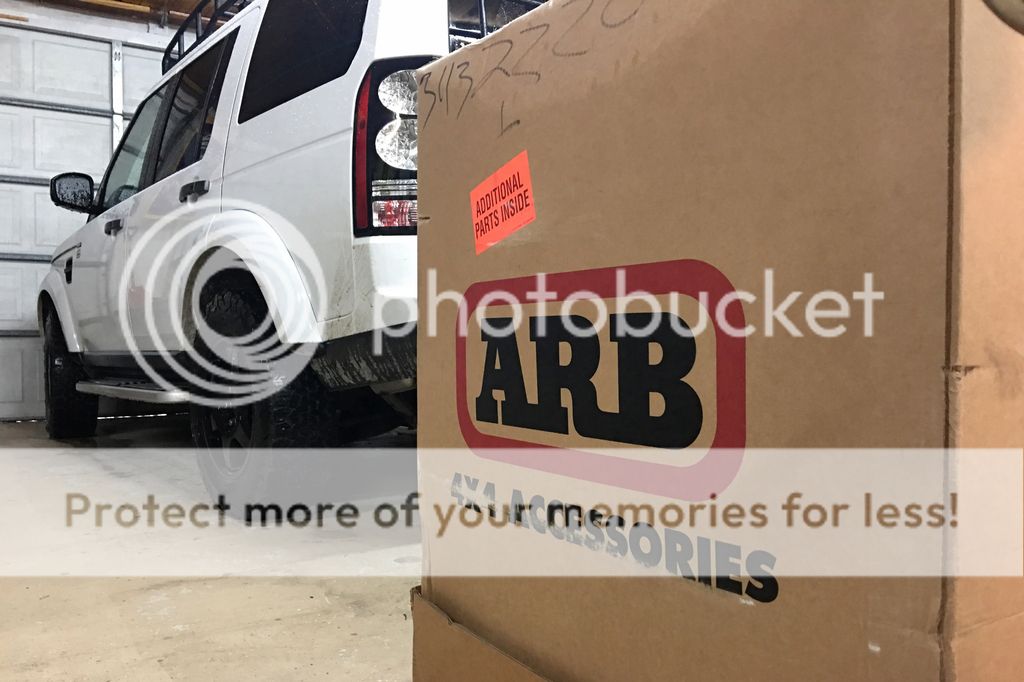
I didn’t save this part to the very end for a reason as this was the item I was looking forward to the most. The delay on this was due to the amount of parts that had to be ordered above and beyond just the bumper but I’m glad it was the last item as I almost lost my patience on this one. Once again another 18 wheeler delivery. What a huge box as well. It felt like Christmas morning with all these deliveries.


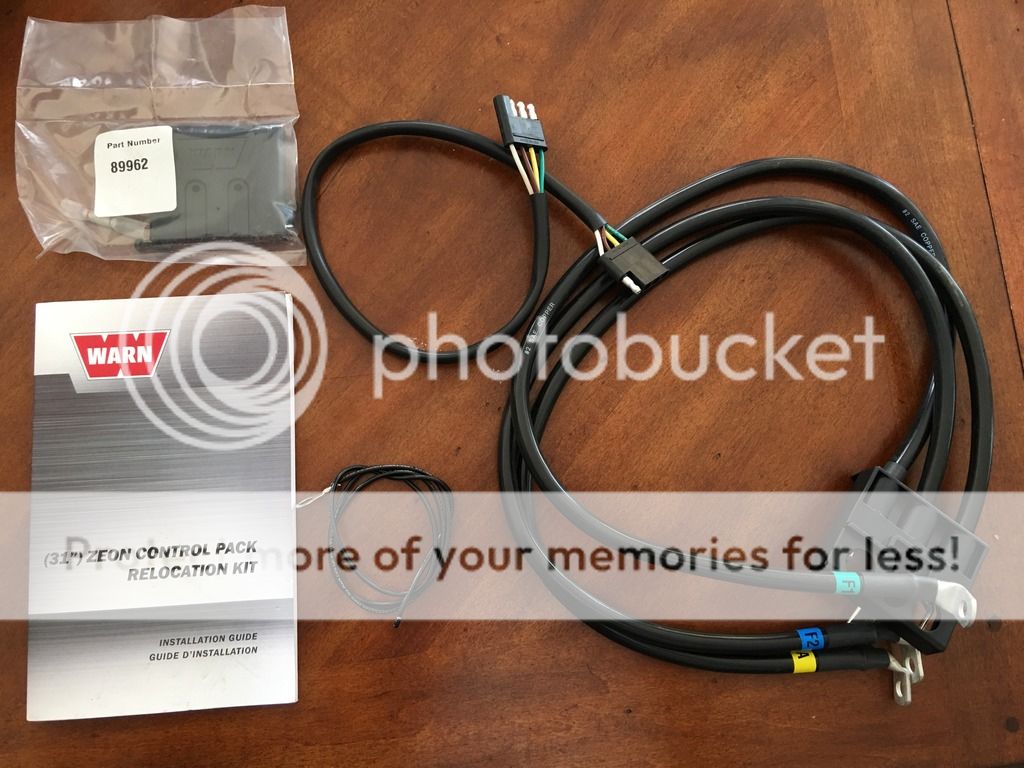
Upon going over the install instructions it was noted I was missing quite a few items. The winch install kit was ordered; however, you also need a winch relocation kit specific to the Zeon S winches that is poorly noted. Also the Fog Light adapter kit was ordered and provided, but if you read the instructions in-depth in the middle of the build it notes you need a wiring loom kit as well. I love the quality of the bar from ARB but also very disappointed in all required for this bumper and instructions were all over the map. You need several kits and those kits require sub kits which delayed this project a bit which should have been avoided.

Low and behold it was finally time to install the bumper. Like the rear bumper the front bumper comes off rather easily. I then began prepping the front end for the most expensive LR4 nose job to date. Quality kit and hardware is provided for this. My biggest pet peeve in this whole project is the front wheel flares though. ARB provides a cut out template for you to trim the wheel flares to fit the bumper very early in their instructions. The new bumper is actually at an angle where it meets the wheel flare over the previous bumper which was a straight parallel cut. The cut out was rather straight forward where I went ahead and made the cut, painted up my wheel flares and installed them back on the truck. Fast forward to the end quite a big gap between the end of the bumper and wheel flare where disappointing to say the least. If to do again and anyone else out there doing this install don’t trim the wheel flares per the template. Wait till the end to do this and leave some margin so you can trim down to a flush fit.


Here’s a few shots of the bumper test fitted to the front end. You can see the gap although its a little closer once bolted down later.


ARB Intensity Lights

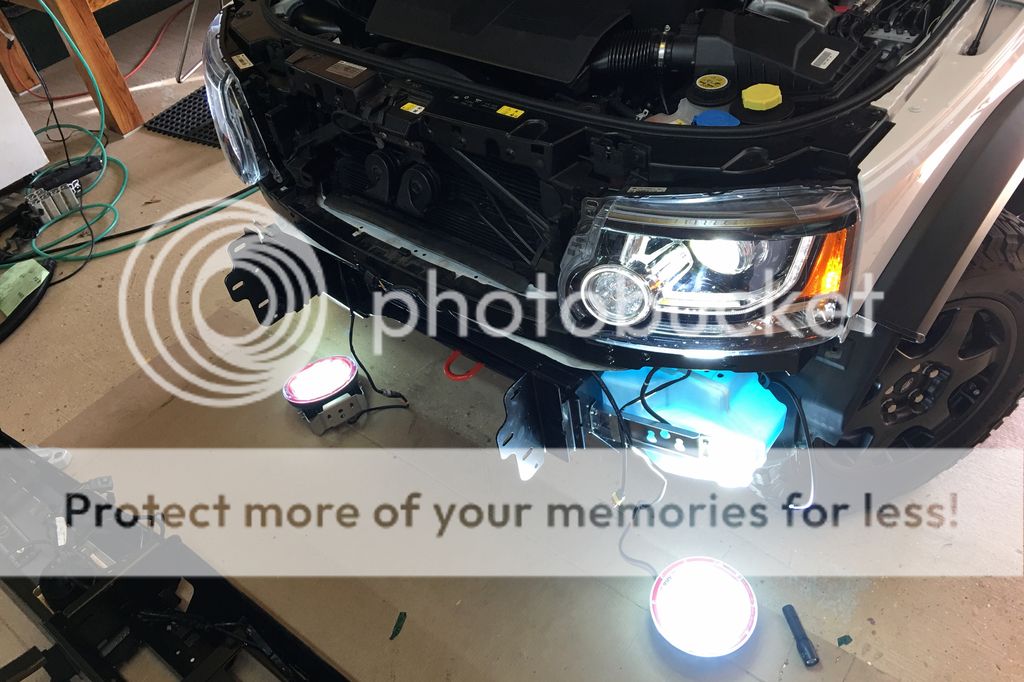
If you want to pull your hair out try installing lights to a new LR4. This part almost did me in where I wanted to throw in the towel a few times but didn’t give up as I wanted to finish this truck on my own from start to finish. Biggest issue is feeding the wires through the firewall. On the newer LR4s you have the start/stop feature which means a 2nd battery and more wiring/hardware up front. There is a grommet in the firewall to use but almost impossible to get to with a long pair of pliers (impossible even with the smallest hands to access) and once removed you have to poke a hole through the insulation from the inside to feed the wires through. It also took me awhile to figure out how to remove the plastic panels and dead pedal to gain access to this area. Instructions then call up for 2 different installs - one for “positive” switching and one for “negative” switching. Electrics is not something I’m crazy about where I called a friend who suggested it was positive so went this route. Test time, fog lights and marker lights work on the bumper but new Intensity lights are a no go. No power coming from the relay. Man I was bummed. I called LR if they could confirm the switching but they didn’t know what I was talking about so went ahead and tried it for negative switching AND BOOM! Big victory!


These lights have to be the brightest lights out there. They simply turn darkness into light. It’s wired to the high beam where you can switch them on/off but must be turned on with the high beam. Below is a pic of the switch install that was provided where you can also see where I mounted my proclip for my phone.


WARN ZEON 10-S Winch

Now that I finally got the lights working the “relocation kit” for the winch finally showed up where it was time to install the winch and get this rover back on the open road. The winch relocation kit is to allow you to remove the control box and rotate the gear box to allow the winch to fit in the space of the bumper which works well. I did notice the wires on the kit were wired wrong where I had to change this around before finishing up.


I originally tried to fit the winch and other items with the bumper flat on the floor but this proved almost impossible. I gathered 2 big blocks to rest the bumper on where you need to do this rather close to the truck as you need to connect the the pos & neg lines off the winch to the truck while you fit the winch. This makes it a bit easier to access everything; however, it’s a bit time consuming as with the winch in place the real estate becomes quite small to tidy up everything and install the remaining items for the bumper. A quick test of the winch to make sure it works and now time to hang the bumper. I was worried I wouldn’t be able to lift the bumper with everything installed on the bumper (and maybe should have asked for help) but I was determined to get it done that night. One big heave and she was up there on the truck where it was time to connect all the harnesses and bolt everything in place. This took some finesse and will power to get the bolts to line up but doable despite a few cuts and scratches on the hands. Pushing 3AM on Jan 26th the build for now is complete


Contributor I

60
Louisiana
Member #

2568

SUMMARY:

Overall I’m quite pleased and impressed in how everything came out despite the gaps on the bumper. Handling with all the weight has been negligible; however, I do notice the pump has to work a bit harder to get everything back in place on the suspension. One thing I don’t want to do is figure out the final number on what this all cost me in end (and it’s not over). It’s only money right? Big thanks to all on here for the helpful pointers and looking forward to hopefully meeting some of you on the trails at some point. And for those looking to do a similar install feel free to ping me with any questions as I’ll be happy to help.

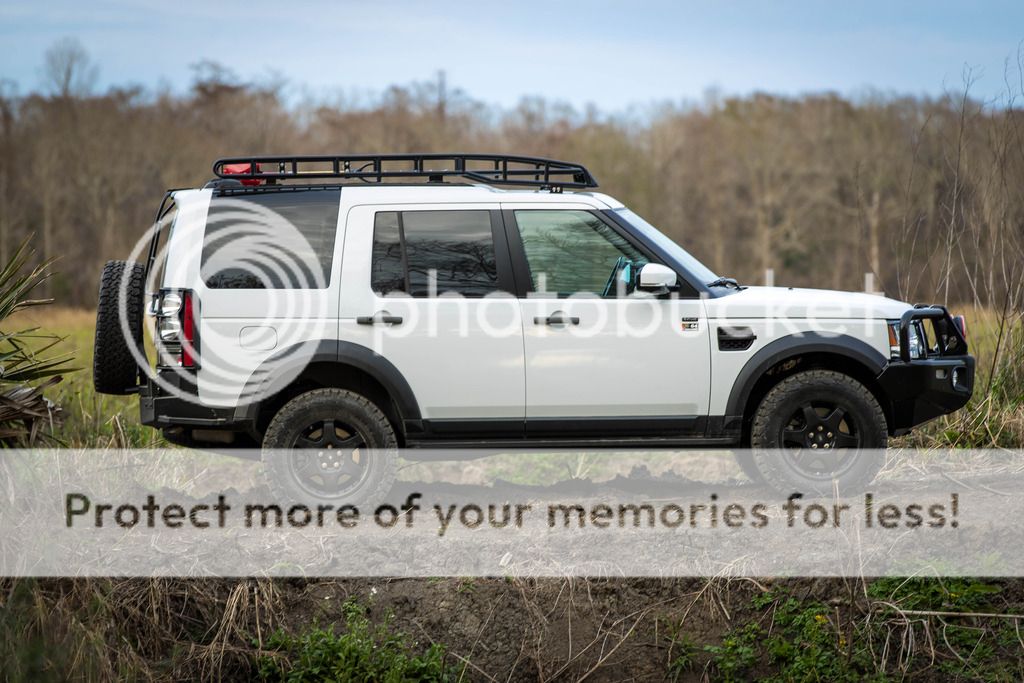
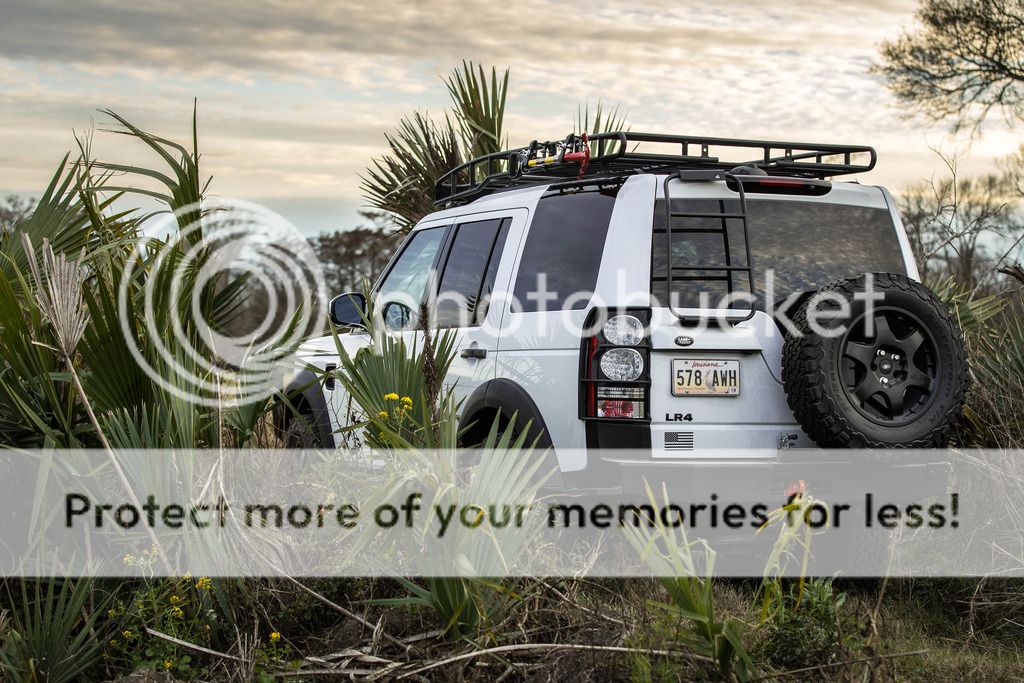
What’s next for this rig? Right away is to get out and test everything out and enjoy some adventures. Also need to mount my OB emblem as well. Here’s some better shots I took the day after on how she sits today. Enjoy!


finlayforprez

Rank V
Founder 500
Launch Member

Member II

1,963
Massachusetts, USA
First Name
David
Last Name
West
Member #

0001

BEST BUILD THREAD for a Land Rover LR4/Discovery 4 EVER! Chris, thanks so much for taking the time to really go through and detail your built, it was incredible. As you may know, I have a build thread in progress, but it's nothing compared with this thread. I am honored to have been along on your journey, albeit it all virtual, but you did an incredible job.
 

Contributor I

60
Louisiana
Member #

2568

BEST BUILD THREAD for a Land Rover LR4/Discovery 4 EVER! Chris, thanks so much for taking the time to really go through and detail your built, it was incredible. As you may know, I have a build thread in progress, but it's nothing compared with this thread. I am honored to have been along on your journey, albeit it all virtual, but you did an incredible job.
You are too kind! Thanks again for all the help along the way. I feel like we have twin trucks just separated at birth. This is just the beginning. Let's see what's next in store for our beasts.
 
  • Like
Reactions: finlayforprez

finlayforprez

Rank V
Founder 500
Launch Member

Member II

1,963
Massachusetts, USA
First Name
David
Last Name
West
Member #

0001

You are too kind! Thanks again for all the help along the way. I feel like we have twin trucks just separated at birth. This is just the beginning. Let's see what's next in store for our beasts.
We have twin trucks for sure!!! I actually like your LR4 better - haha! Those driving marker lights with the double row of LEDs - was that stock? I added different LED lights as well, but if you did that, I want the details!!! :-)

I have some questions about the drawers as well. ;-)
 
  • Like
Reactions: blackntan

finlayforprez

Rank V
Founder 500
Launch Member

Member II

1,963
Massachusetts, USA
First Name
David
Last Name
West
Member #

0001

I love seeing these built up Land Rovers. Here in SoCal they are mainly used for going to the grocery store and back. Thumbs up on those pics, They could be used for an ARB ad, especially the front shot of the grill.
There are actually a lot of folks up in Northern CA who build up these newer rovers (LR3/LR4 platform), but you are right, so many are just used as grocery getters. Then again, I see tons of Jeep Rubicon Unlimited rigs doing the same thing. Oh, and Ford Raptors... In my experience off roading those guys are the most nervous about getting those amazing rigs dirty. HAHAHAHAHHA!
 

Contributor I

60
Louisiana
Member #

2568

I love seeing these built up Land Rovers. Here in SoCal they are mainly used for going to the grocery store and back. Thumbs up on those pics, They could be used for an ARB ad, especially the front shot of the grill.
Thanks for the kind words. Maybe I'll see if ARB wants to trade some images for some kit:fearscream: